Quick answer
Use the DIY Prints CLASSROOM set as a structured printmaking station: prepare the die-cut pieces and tools ahead of time, demonstrate one print, then let students rotate through printing and decorating. This keeps the group art activity focused and reduces wasted materials.
Why this kit suits a classroom printmaking session
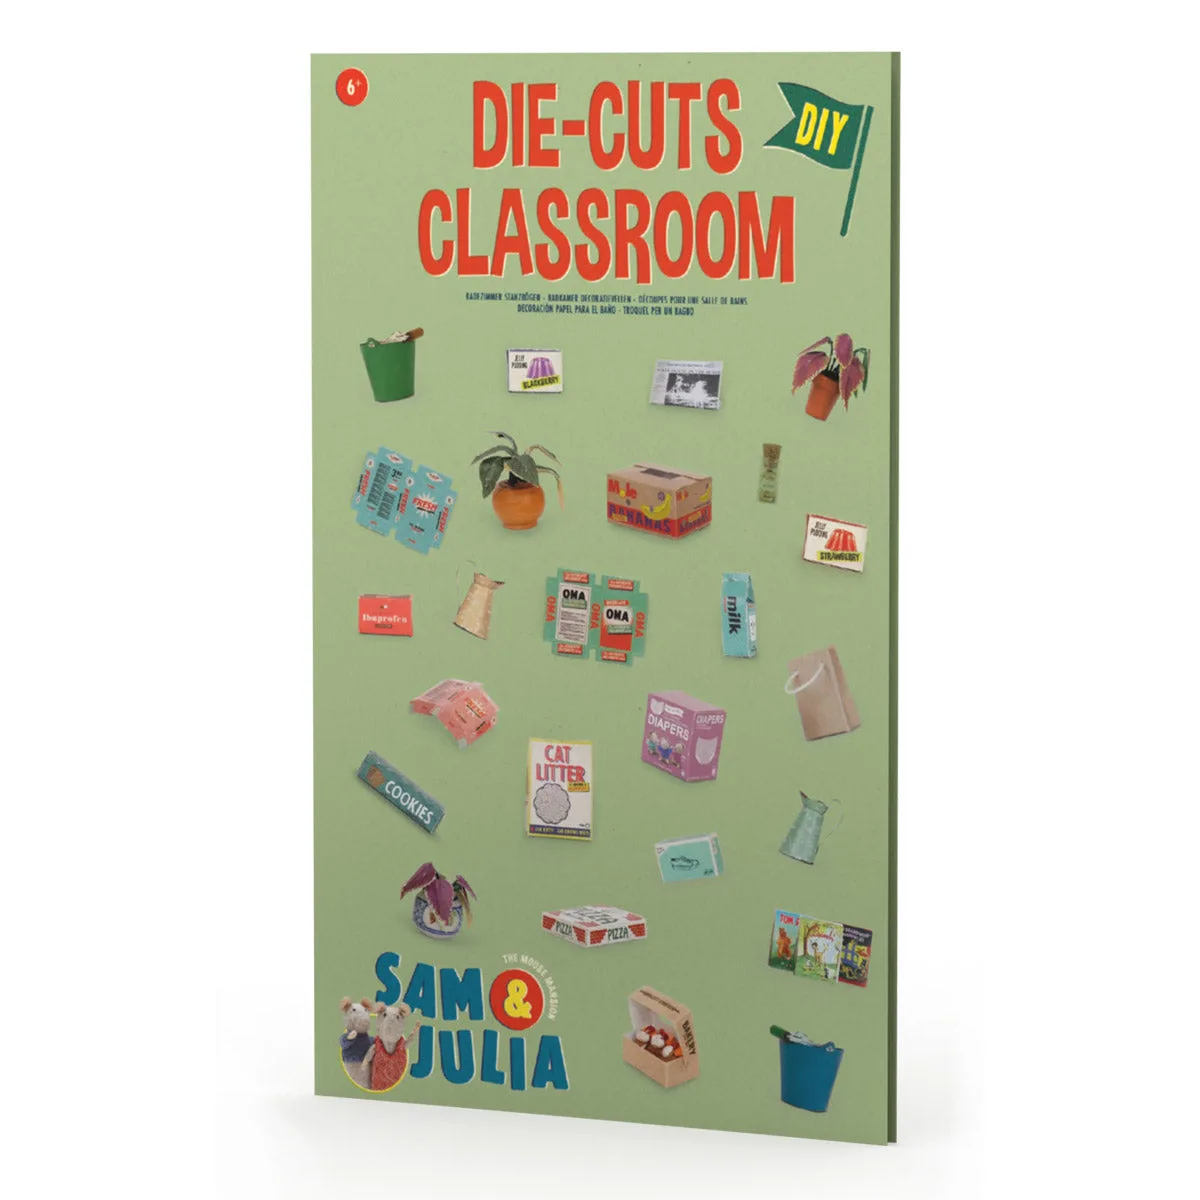
The DIY Prints CLASSROOM set is designed to decorate a classroom scene using die-cut paper pieces. Because the pieces are pre-designed, you spend less time on drawing and more time on the printmaking process itself. That makes it a practical choice for easy art projects for teachers who need a repeatable activity for multiple students.
One trade-off: the set is a single classroom-themed kit, so it works best as a focused project rather than an open-ended printmaking free-for-all. If you want every student to produce an identical scene, plan for sharing or rotating the pieces. If you want variety, combine the die-cuts with simple stamping or rubbing techniques using supplies you already have.
Set student expectations before the first print
Printmaking with kids goes more smoothly when you show the full sequence once before handing out materials. Explain that the die-cut pieces are for printing or decorating, not for free drawing, and demonstrate how much pressure to use. A short demo prevents heavy-handed prints that smudge and keeps the group art activity moving.
Step-by-step classroom printmaking process
- Prepare the die-cut pieces: Before class, separate the die-cut sheets and sort pieces by room or object type into shallow trays. Common mistake: leaving sheets flat on tables, where pieces stick together or get lost. Checkpoint: each tray should hold a complete set for one small group. Label trays by group number so students can return pieces to the right place.
- Set up a printing station: Cover one table with newspaper or a washable mat. Place the die-cut pieces, a small amount of ink or paint, and a few brayers or sponges at the station. Common mistake: putting out too much ink, which leads to smeared prints. Checkpoint: ink should be spread thin enough to see the table texture through it. Keep a stack of scrap paper nearby for practice prints before using good paper.
- Demonstrate one print: Show students how to apply ink to a die-cut piece, press it onto paper, and lift it straight up. Common mistake: sliding the piece, which blurs the image. Checkpoint: ask one student to repeat the motion back to you before they start. Emphasize lifting straight up, not sideways, to keep edges crisp.
- Rotate groups through printing: Divide the class into small groups and give each group five to seven minutes at the printing station. Common mistake: letting all students crowd the station at once. Checkpoint: groups waiting should decorate their background paper or plan their design. Use a timer to keep rotations even and avoid bottlenecks.
- Dry and assemble the classroom scene: Place finished prints on a drying rack or a labeled sheet of newspaper. Once dry, students can arrange their prints on the classroom background or mount them individually. Common mistake: stacking wet prints, which transfers ink. Checkpoint: prints should be touch-dry before assembly. Have students write their names on the back of each print before drying.
- Clean up as a group: Assign cleanup roles: one student collects die-cut pieces, another wipes brayers, another folds newspaper. Common mistake: leaving ink on tools, which dries and ruins them. Checkpoint: all pieces should be back in their trays and tools clean before dismissal. Store the die-cut pieces in a zip-top bag between sessions to keep them flat.
Product facts
-
DIY Prints CLASSROOM: The set contains everything needed to decorate a classroom scene using die-cut paper pieces. You can run the project without hunting for extra decorations, which simplifies prep for a group of students.
DIY Prints CLASSROOM