Between work, family, and social commitments, remembering to water your indoor plants can feel like one more chore on an endless to-do list. You love your leafy friends, but you've lost a few to underwatering or inconsistent care. The good news? You don't need to become a full-time plant sitter. A DIY self-watering planter setup can automate hydration, giving your plants consistent moisture while freeing up your time.
Self-watering systems work by using a reservoir of water at the base, which the plant draws up through capillary action or wicking. This method prevents both overwatering and underwatering, two of the most common plant care mistakes. In this guide, we'll walk you through how to create your own self-watering planter using simple materials, plus recommend some ready-made accessories that can upgrade your setup.
Why Self-Watering Planters Are a Game-Changer
Traditional planters rely on you to water from the top, which can lead to dry soil, root rot, or inconsistent moisture. A self-watering system keeps the soil evenly damp by allowing the plant to drink as needed. This is especially helpful for plants like ferns, peace lilies, and calatheas that crave steady moisture without being waterlogged.
For busy plant parents, a self-watering planter means you can go on a short trip or have a hectic week without worrying about your plants. It also reduces the risk of overwatering—a common killer of houseplants. Plus, it's an eco-friendly hack because water in the reservoir evaporates more slowly, so you use less water overall.
- Consistent moisture prevents leaf browning and wilting.
- Reduces watering frequency to once every 1-2 weeks for most plants.
- Ideal for beginners or anyone with a hectic schedule.
Materials You'll Need for a DIY Self-Watering Planter
You can build a simple self-watering system using items you likely already have at home. The basic setup involves a container for the water reservoir, a wicking material, and a pot with drainage holes. Here's a list of common materials: a large plastic or ceramic outer pot (no drainage holes), a smaller inner pot with drainage holes, a cotton rope or nylon cord for wicking, and a layer of gravel or perlite to separate the soil from the water.
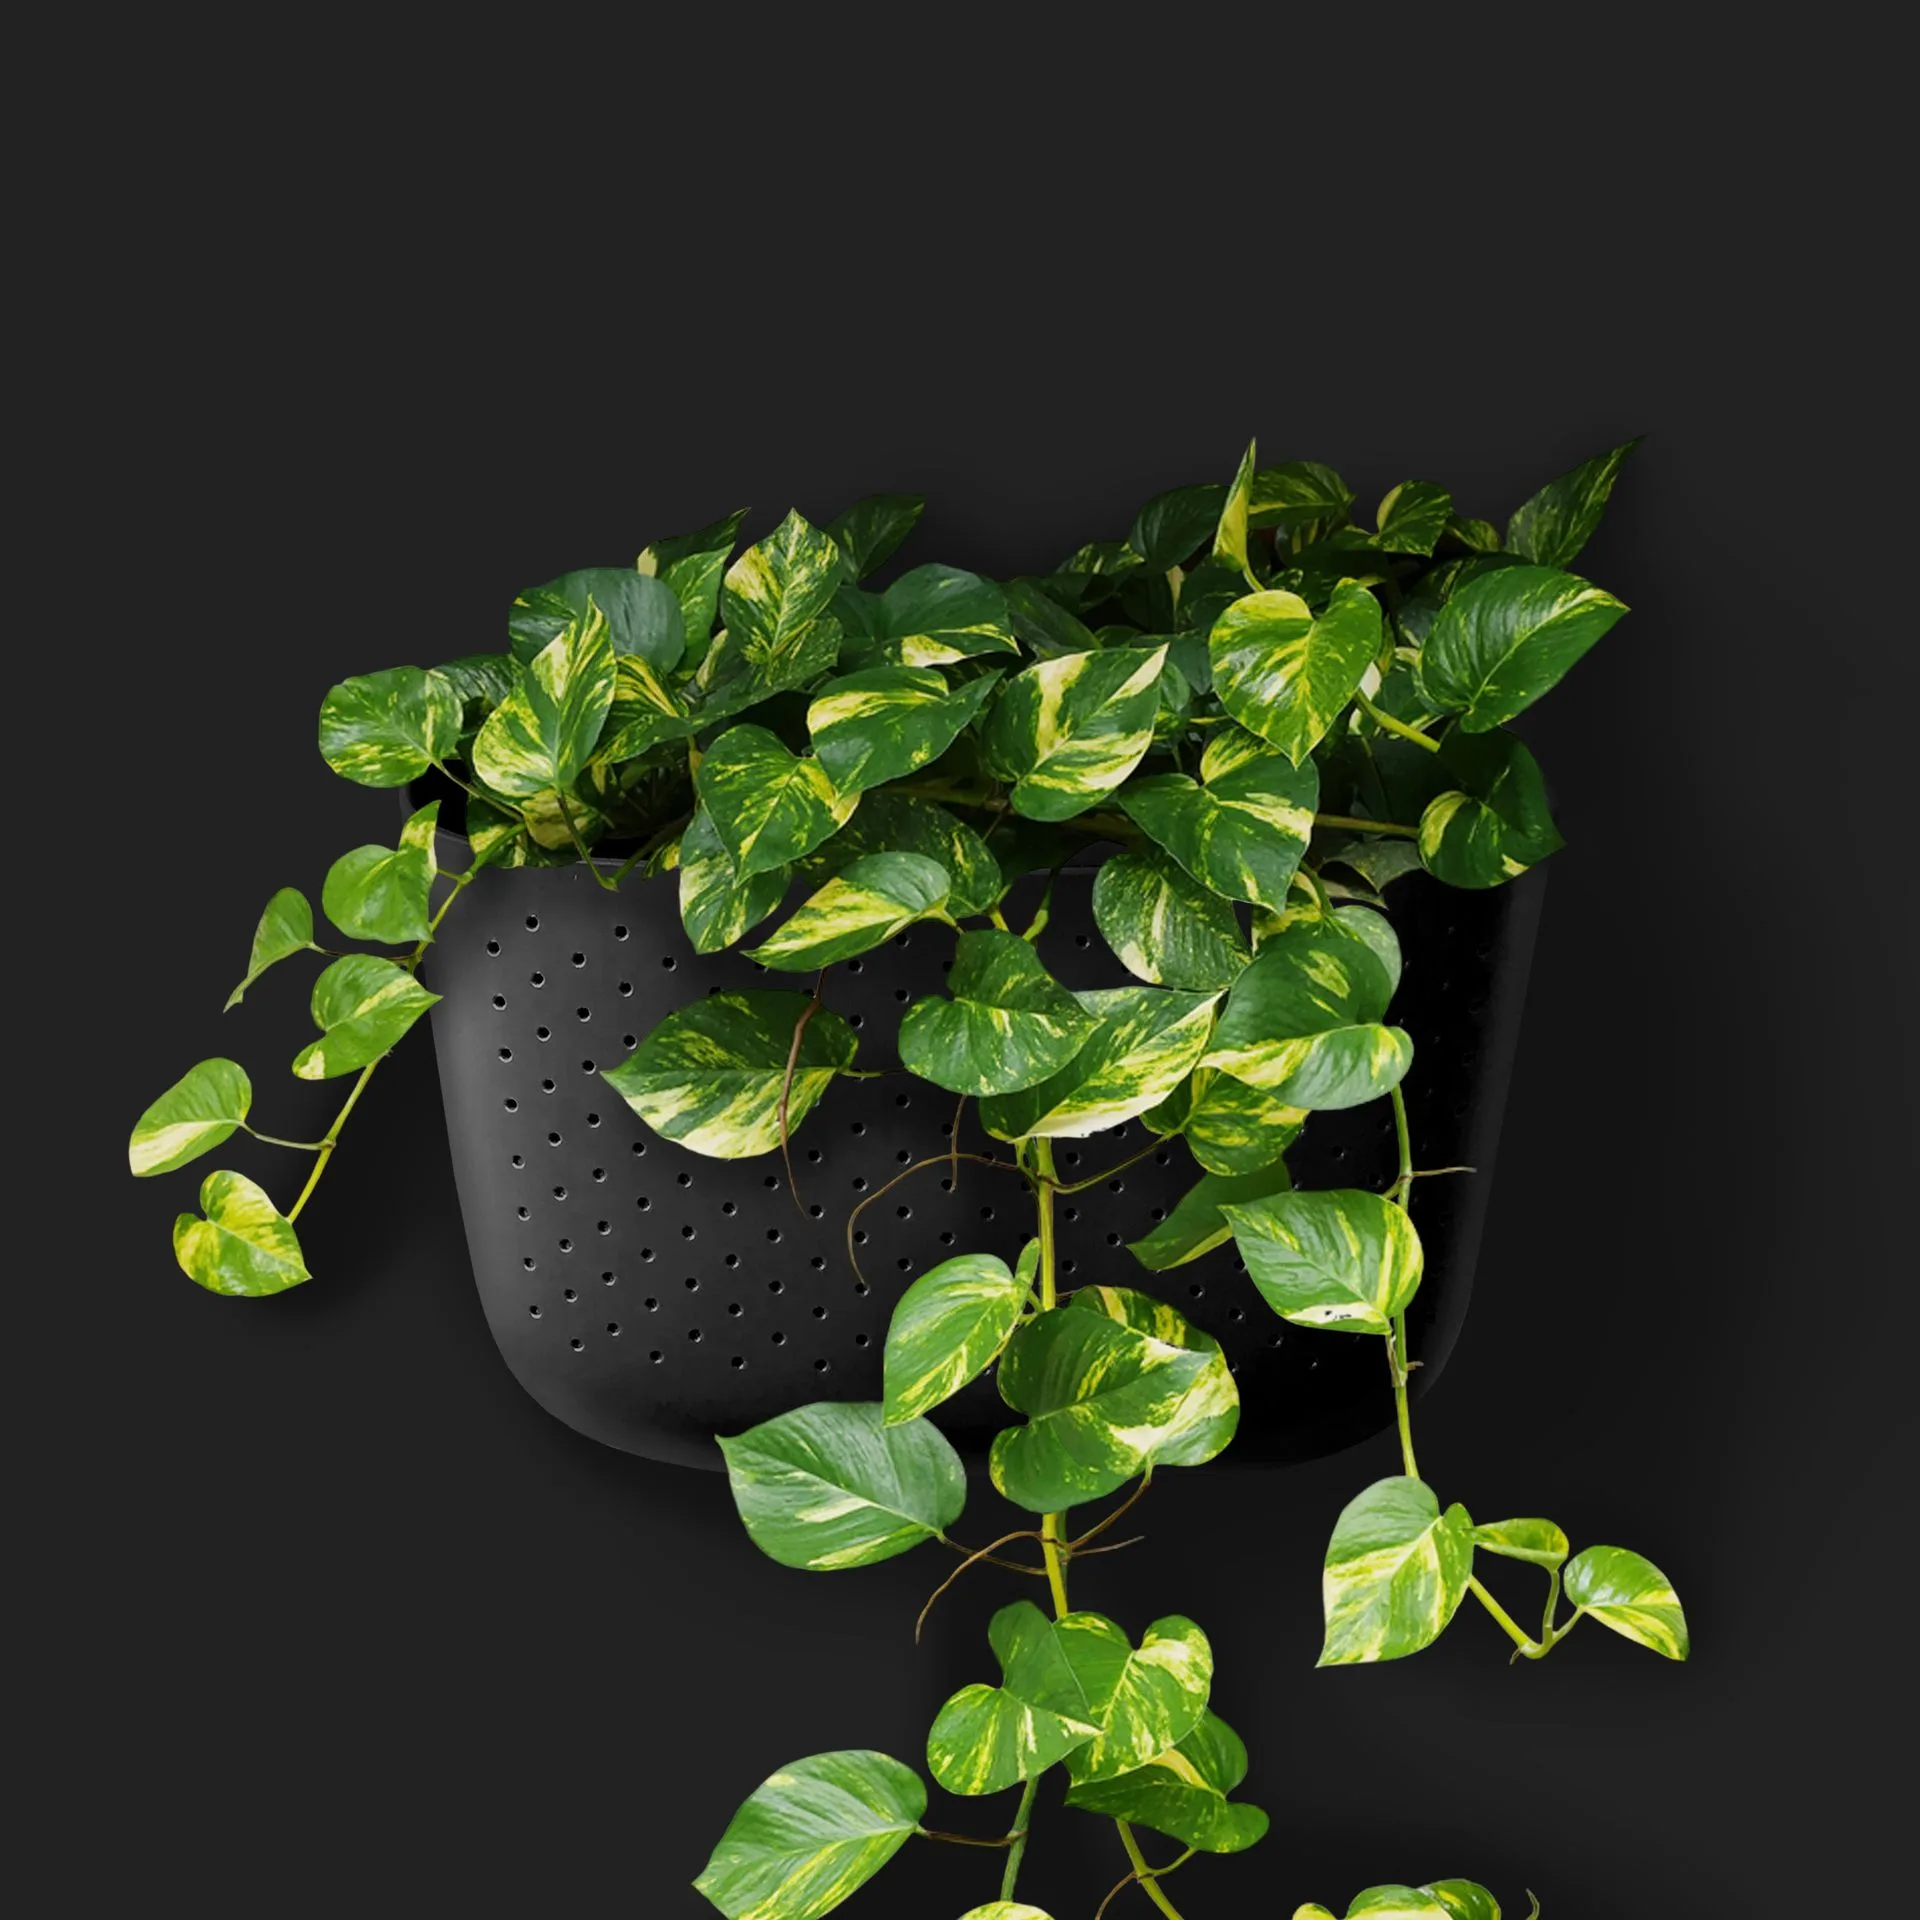
If you prefer a more polished look, consider using a decorative planter like the Loop Indigo Hanging Planter as your outer container. Its woven design adds boho charm while hiding the reservoir. For the inner pot, any standard nursery pot with holes works. The wick should be made of absorbent material—old shoelaces or thick cotton yarn are perfect.
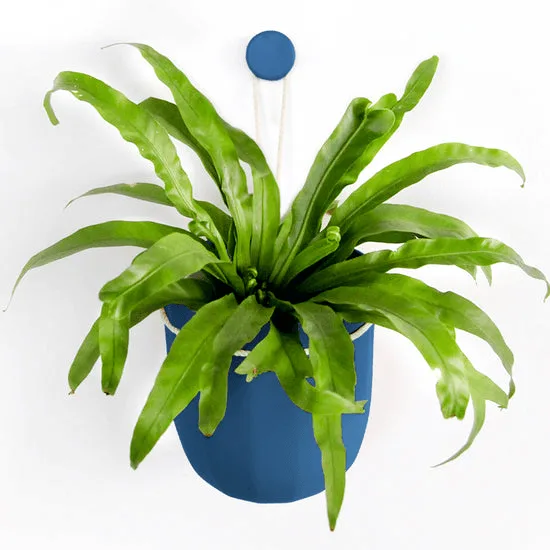
Loop Indigo Hanging Planter
- Outer pot: must be watertight (no drainage).
- Inner pot: has drainage holes to let water wick up.
- Wick: cotton or nylon rope, at least 12 inches long.
- Optional: gravel layer to prevent soil from touching water directly.
Step-by-Step Assembly Instructions
Start by threading the wick through the drainage hole of the inner pot so that about 2-3 inches of rope hangs inside the pot and the rest dangles below. If your pot has multiple holes, you can use one wick per hole for better water distribution. Next, fill the bottom of the outer pot with an inch of gravel or pebbles. This creates a barrier so the soil doesn't sit directly in water.
Place the inner pot on top of the gravel, making sure the wick touches the bottom of the outer pot. Add your plant and potting soil to the inner pot as usual. Finally, pour water into the outer pot until the gravel is submerged but the water level stays below the inner pot's bottom. The wick will draw moisture upward into the soil. Check the reservoir weekly and refill as needed.
- Test the wick by soaking it in water before assembly—it should be damp.
- Use a clear outer pot to easily monitor water levels.
- Avoid overfilling; the inner pot should not sit in standing water.
Upgrading with Ready-Made Accessories
If DIY isn't your style, you can enhance your self-watering setup with accessories designed for automated care. The Pocket 5 Drip Kit is an excellent option for converting any standard pot into a self-watering system. It includes five drippers that connect to a water source, delivering slow, steady moisture directly to the root zone. You can set it on a timer for complete automation.
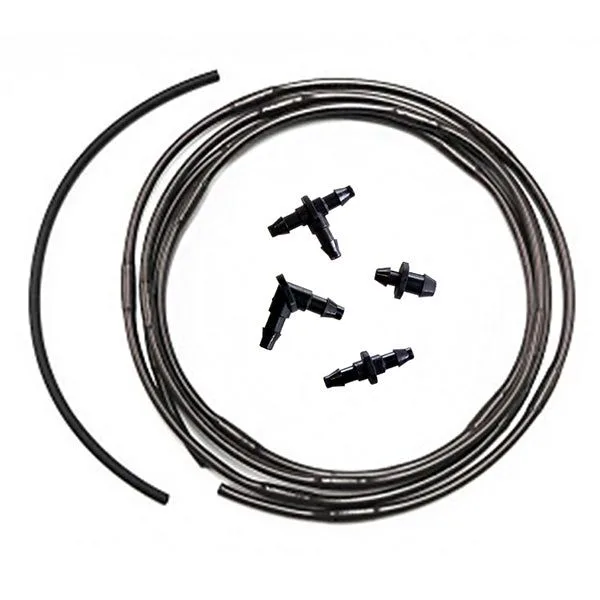
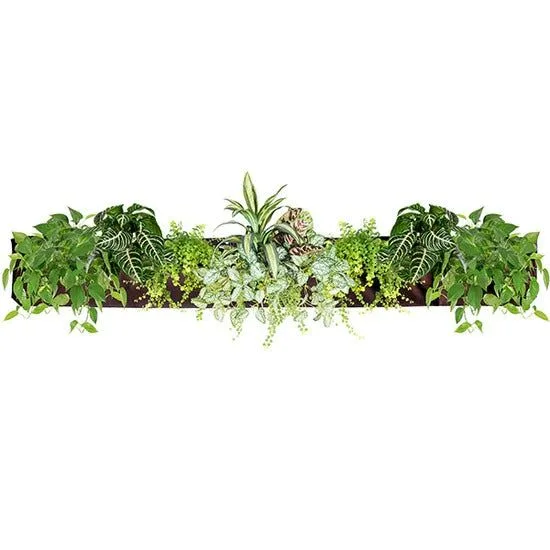
Pocket 5 Drip Kit
Another handy accessory is the Warm Tones 40 Pack Wholesale, which includes a variety of small plant care tools and pots that work well with wicking systems. These bundles often contain extra wicks, small watering cans, and moisture meters to help you fine-tune your setup. Pairing a DIY planter with such accessories gives you the best of both worlds: a custom look with professional-grade reliability.
- Drip kits allow precise control over water flow.
- Moisture meters help you know when to refill the reservoir.
- Wholesale bundles are cost-effective for multiple plants.
Best Plants for Self-Watering Planters
Not all plants thrive in consistently moist soil. Self-watering systems work best for plants that enjoy humidity and steady hydration. Great candidates include ferns, spider plants, pothos, philodendrons, peace lilies, and calatheas. Succulents and cacti, on the other hand, prefer dry periods and are not suited for this setup.
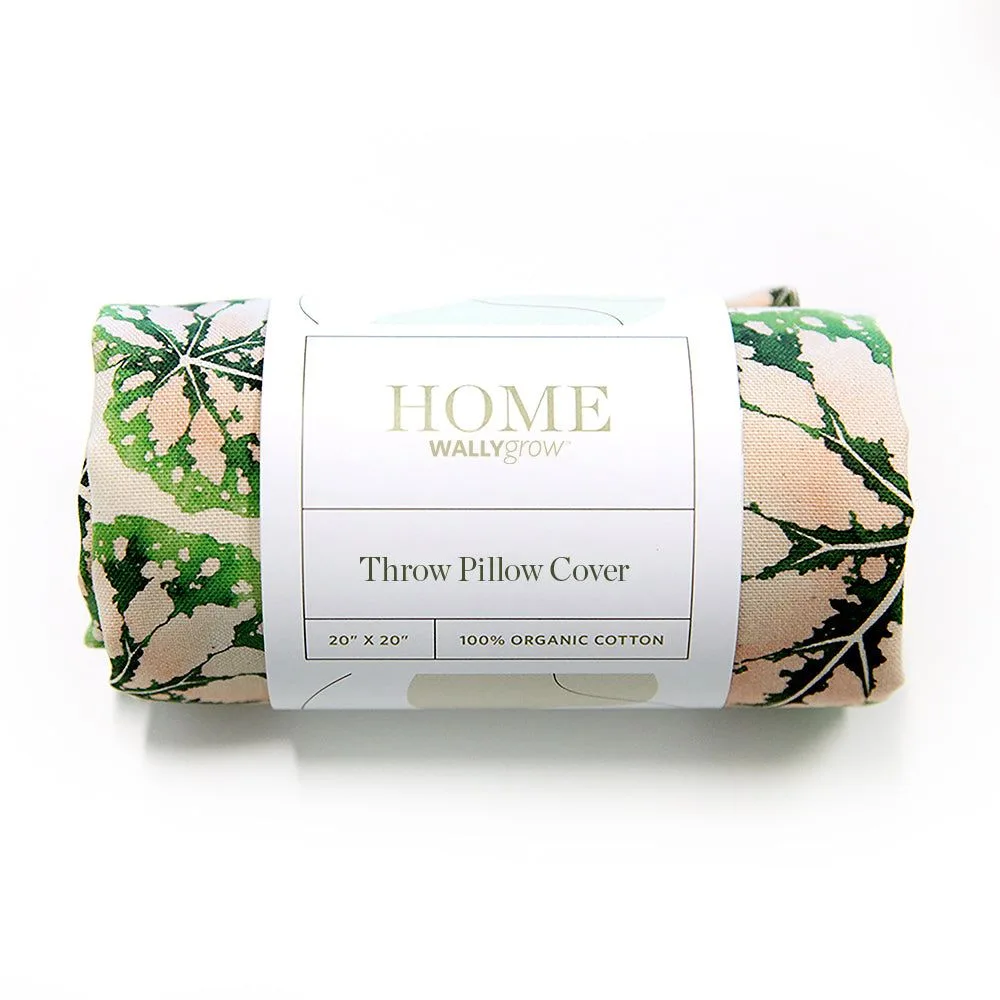
If you're using a decorative planter like the Loop Indigo Hanging Planter, consider trailing plants such as string of pearls or ivy. Their cascading vines will complement the boho aesthetic. For a pop of color, add a Begonia Throw Pillow Cover nearby to tie the room together while your plants thrive on autopilot.
- Tropical plants: love constant moisture.
- Avoid succulents and cacti in self-watering pots.
- Pair with plant-themed decor for a cohesive look.
Maintenance Tips for Long-Term Success
Even with a self-watering system, some maintenance is required. Check the reservoir every 5-7 days and refill when it's low. Use filtered or distilled water to prevent mineral buildup in the wick. Every few months, flush the system by pouring clean water through the soil and letting it drain out to remove excess salts.
Watch for signs of overwatering, such as yellowing leaves or mold on the soil surface. If this happens, reduce the water level in the reservoir or switch to a shorter wick. Clean the outer pot occasionally to prevent algae growth. With these simple habits, your DIY self-watering planter will keep your plants happy for years.
- Use a moisture meter to double-check soil moisture.
- Replace wicks every 6-12 months if they get clogged.
- Rotate plants occasionally for even growth.
A DIY self-watering planter setup is the ultimate hack for busy plant parents who want lush, healthy plants without the daily watering grind. Whether you build your own or use accessories like the Pocket 5 Drip Kit, you'll save time and reduce plant stress. Start with one plant and expand your system as you get comfortable—your green oasis will thank you.