Quick Answer
Build your sticker storage around three layers: a small working pouch for stickers in active use, a sticker binder or sheet protector system for full sheets and larger singles, and one archive box for overflow and seasonal designs. Sort by size and theme first, protect anything vinyl with a smooth backing, and label every container. The goal is not a perfect system — it is being able to find and actually use your sticker collection.
Most sticker collections do not fail because of too many stickers. They fail because everything lives in one chaotic pile: loose singles mixed with full sheets, a half-used sheet stuck to a receipt, and a favorite design you forgot you owned. Good sticker storage fixes that with a few cheap supplies and one honest sorting session.
This guide walks through a DIY sticker storage setup you can build in an afternoon. It works for small collections and for the person whose sticker drawer is now a sticker bin. You will sort, protect, store, and label — with a checkpoint at each step so the system stays usable instead of becoming another project.
Start With a Sort, Not a Shopping Trip
Before you buy a single container, empty everything onto a table and sort into four piles: full sheets, large singles, small singles, and duplicates or giveaways. This one step tells you what storage you actually need. Most people discover they have far more full sheets than they thought, which changes the plan from a small pouch to a binder system.
Sort by size first, then by theme. Size determines the storage format; theme determines where it sits inside that format. If you sort only by theme, you end up with sheets that do not fit any pocket and singles that slide out of oversized sleeves. Keep a trash pile too — stickers that have lost their backing or picked up lint will not stick well later.
- Checkpoint: every sticker belongs to exactly one pile before you move on.
- Common mistake: buying containers first, then forcing your collection to fit them.
Choose the Right Storage Format for Each Type
Full sticker sheets do best in a binder with sheet protectors or in a rigid folder, because bending is what creases and cracks them. Large singles can go into the same binder in pocket pages. Small singles and loose die-cuts work better in a small pouch, tin, or divided box where they will not get lost between pages.
If your collection is mostly singles, a binder is overkill. A compact box with dividers is faster to flip through and takes up less desk space. If your collection is mostly sheets, the opposite is true — a box forces you to dig, and digging is what damages corners. Match the format to the majority of your collection, then use a small secondary container for the rest.
- Checkpoint: you can see the edge of every sheet without removing it from storage.
- Common mistake: storing loose singles loose in a binder page, where they slide out and disappear.
Protect Vinyl and Holographic Stickers Properly
Vinyl stickers are durable on a laptop or water bottle, but they are not indestructible in storage. The enemy is friction: stickers rubbing against each other, against paper, or against a rough container surface. Smooth, non-shedding backings and individual sleeves prevent the scuffing that dulls a holographic finish over time.
Keep stickers away from direct sun and heat. A shelf near a window or above a radiator is the fastest way to warp sheets and weaken adhesive. If you live somewhere humid, add a small silica packet to the storage box and swap it every few months. This is a small habit, but it protects the adhesive on sheets you are saving for later.
- Checkpoint: no two unprotected sticker faces touch each other.
- Common mistake: storing holographic stickers face-to-face, which transfers texture and dulls the shift.
Build a Sticker Binder That You Will Actually Use
A sticker binder works when it is organized for retrieval, not just storage. Group pages by theme — books, quotes, seasonal, everyday — and put your most-used category at the front. Add a small index card inside the front cover listing what is on each page. That card is the difference between a binder you open and a binder you avoid.
Leave empty pockets at the end of each section. Sticker collections grow, and a binder with no room forces a full reorganization every time you add something. If you use a zip pouch inside the binder for a pen and a few loose singles, your binder becomes a portable sticker kit instead of a static archive.
- Checkpoint: you can find any specific sticker in under 30 seconds.
- Common mistake: filling every pocket, then having nowhere to put new stickers.
Label, Maintain, and Keep It Small
Label every container with a short category name, not a long description. A label that says "small singles" gets used; a label that says "miscellaneous stickers and things" gets ignored. If you keep a working pouch on your desk, refill it from the binder once a month and return anything you have not touched.
The maintenance rule that keeps this system alive is simple: one in, one out. When a new sheet arrives, decide immediately whether it goes into the binder, the archive box, or the giveaway pile. Stickers that sit in a mailer on the counter for a month are the ones that end up damaged or forgotten.
- Checkpoint: every container has a label and a defined purpose.
- Common mistake: letting new arrivals pile up outside the system.
Your Sticker Storage Setup, Step by Step
- Step 1: Empty and sort everything: Lay the whole collection out and sort into full sheets, large singles, small singles, and giveaways. Do this before buying any container. Checkpoint: nothing is left in the original pile.
- Step 2: Match format to the majority of your collection: Mostly sheets means a binder with sheet protectors. Mostly singles means a divided box or pouch. Use a small secondary container for the rest. Checkpoint: you can see every sheet edge without digging.
- Step 3: Protect vinyl and holographic finishes: Sleeve or separate anything with a special finish so faces never rub together. Keep storage out of direct sun and away from heat. Checkpoint: no two unprotected sticker faces touch.
- Step 4: Organize the binder by theme with room to grow: Group pages by theme, add an index card inside the cover, and leave empty pockets at the end of each section. Checkpoint: you can find a specific sticker in under 30 seconds.
- Step 5: Label containers and run one in, one out: Give every container a short category label. When a new sticker arrives, file it immediately or move one out. Checkpoint: no unopened mailers sitting outside the system.
Sticker Types and What They Mean for Storage
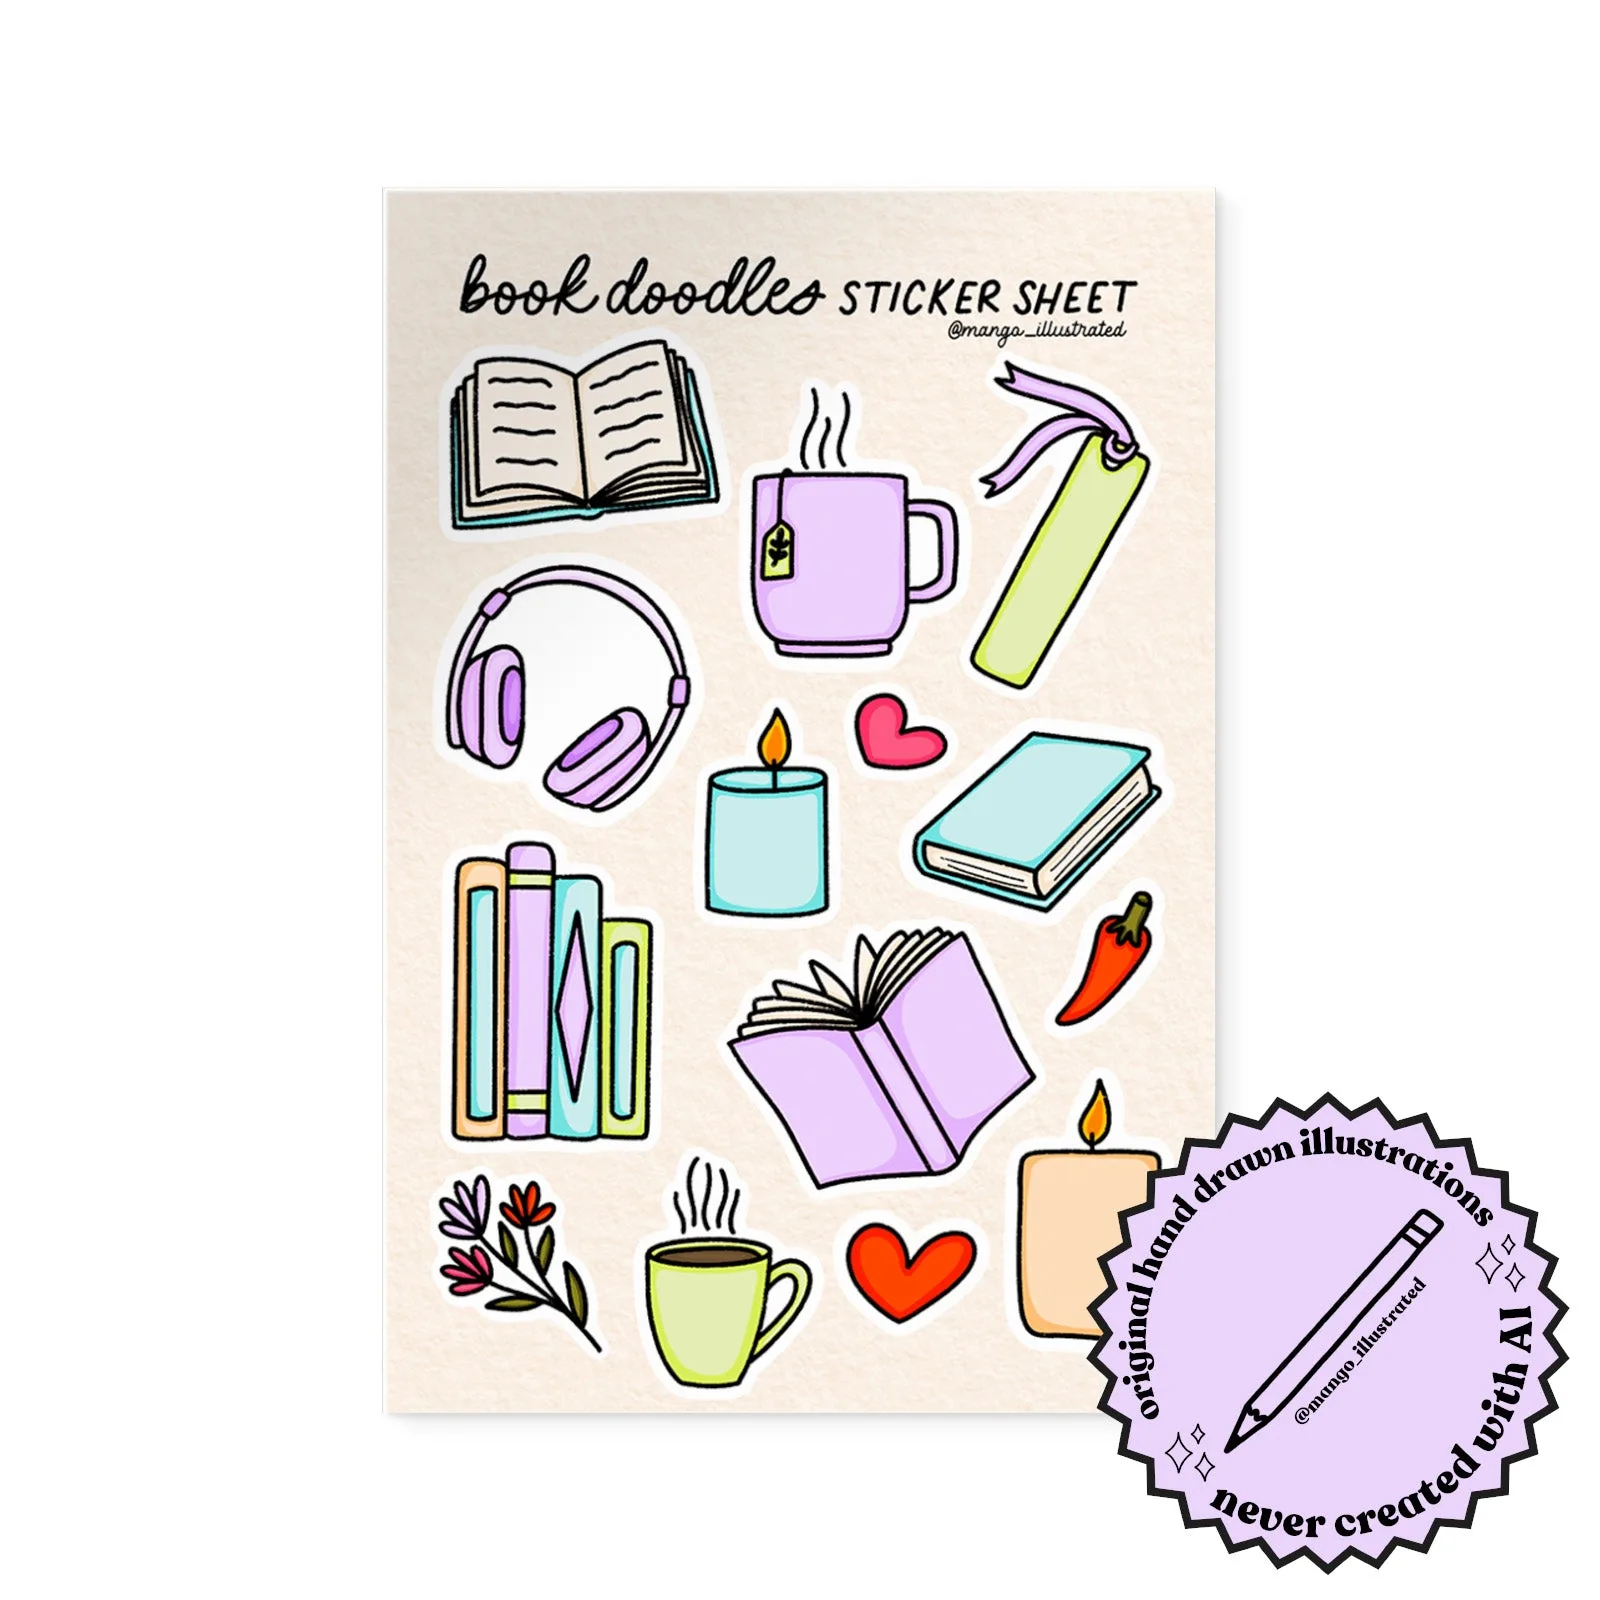
- Book Doodles Sticker Sheet: A 4 x 6 in sheet with 14 hand drawn book themed doodle stickers, each ranging from 1 to 1.5 in, printed on waterproof and weatherproof vinyl. Full sheets like this fit standard binder sheet protectors, so they store flat without trimming. Because each sticker is small, keep the sheet intact until you are ready to use one — once separated, the singles belong in a small pouch or pocket page.
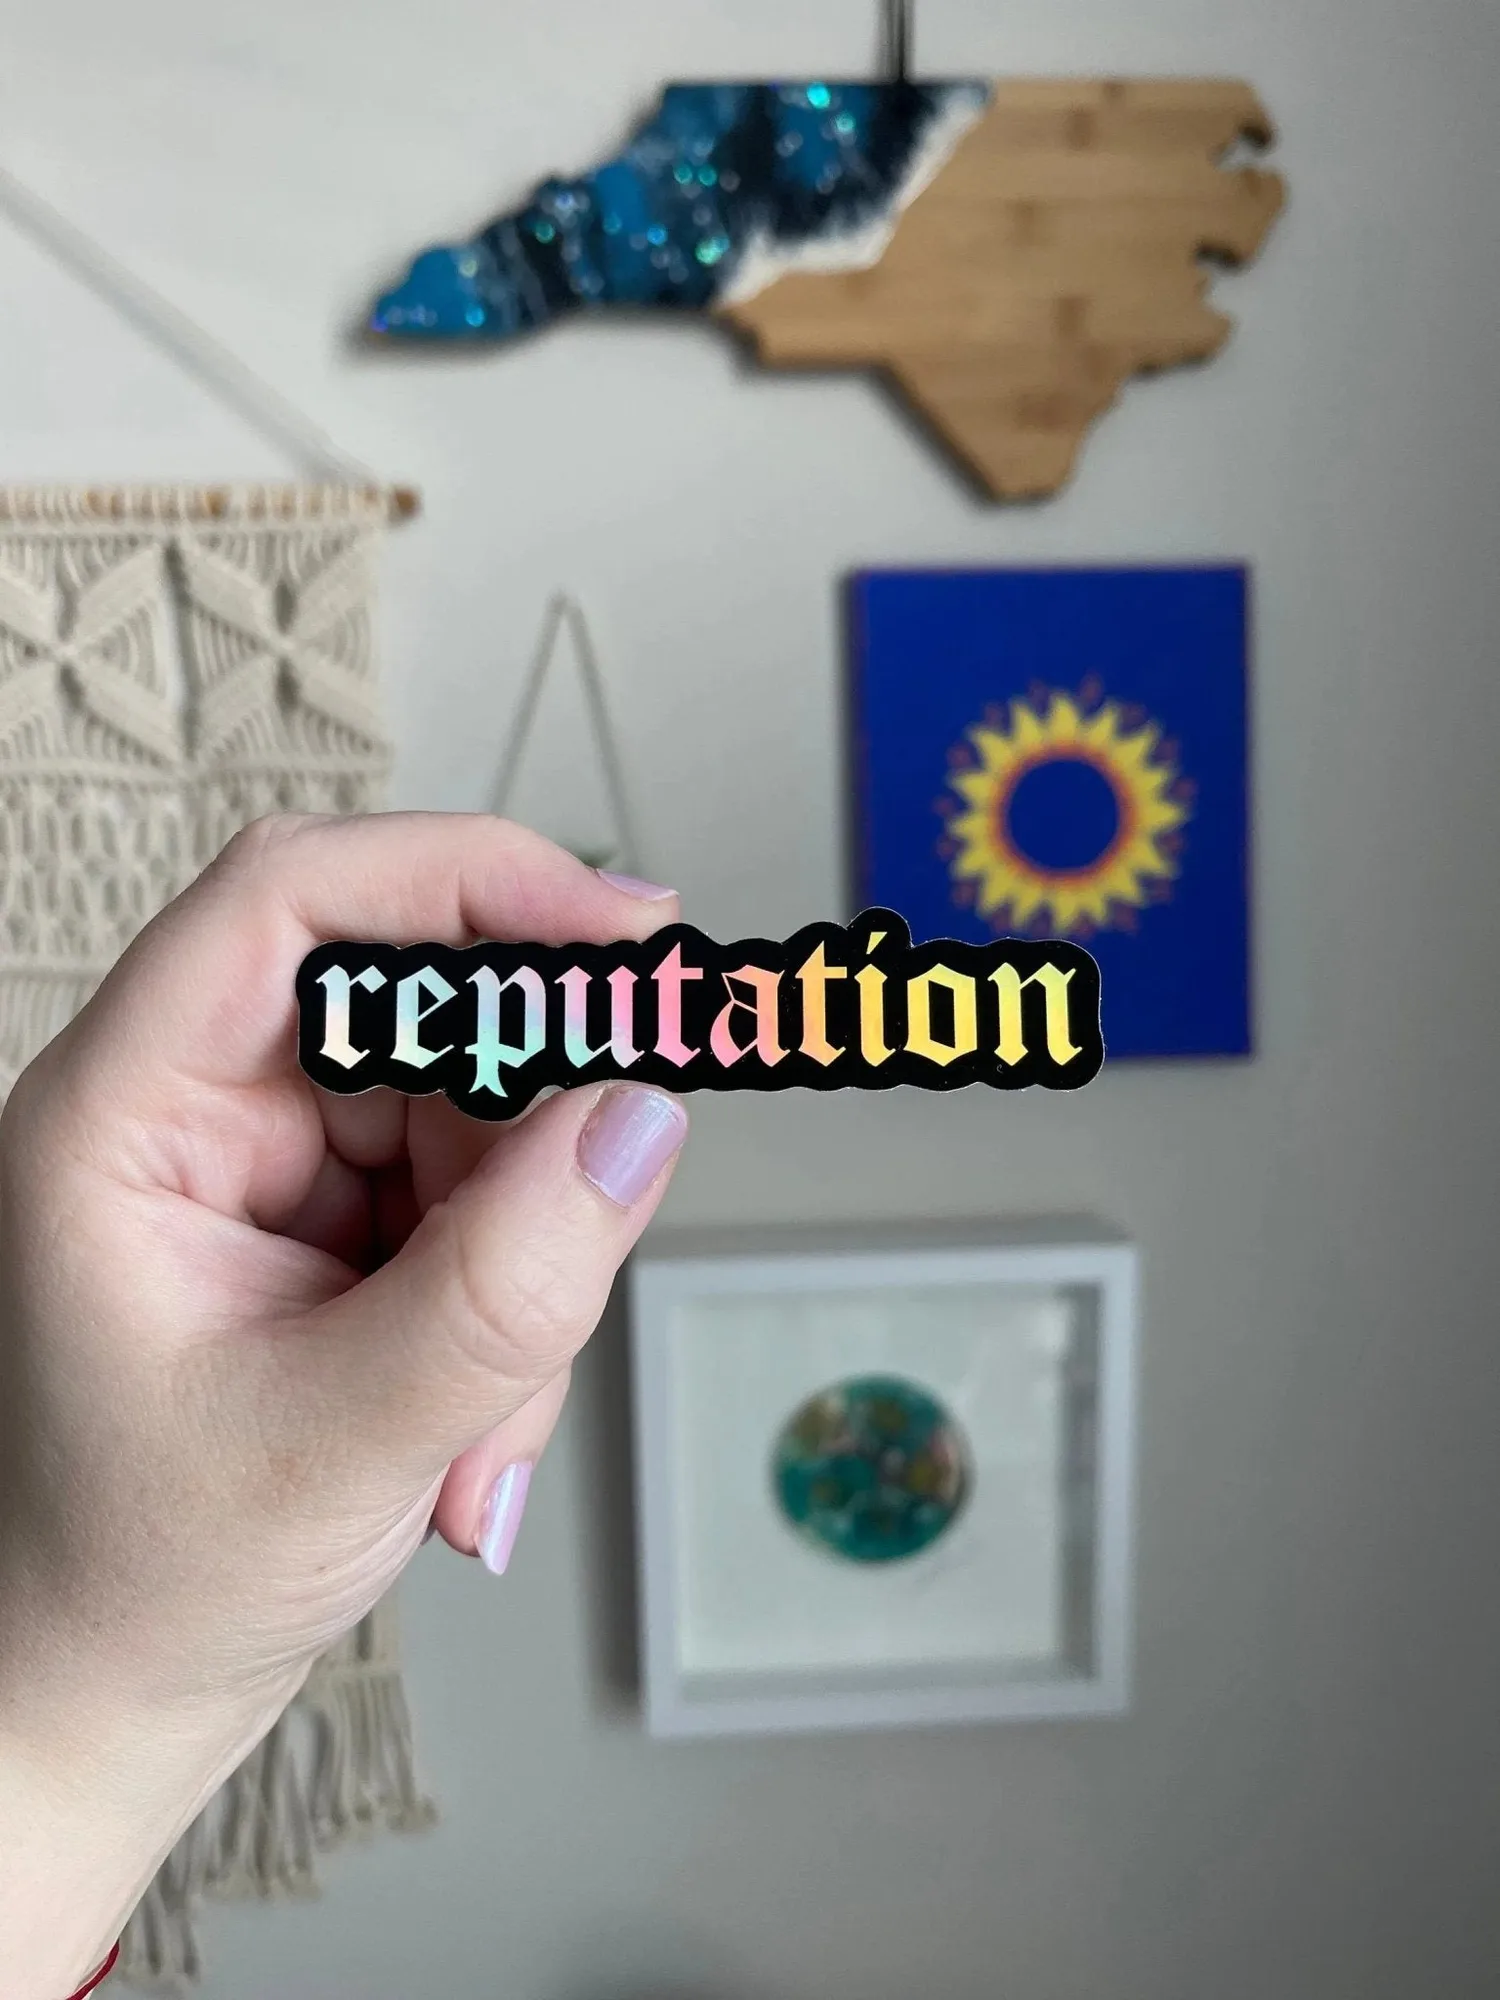
- Reputation holographic sticker: Approximately 3 in x 2.25 in, made from durable waterproof and weatherproof holographic vinyl that shifts color when moved. Holographic finishes show scuffs and surface texture more than matte vinyl. Store this one in its own sleeve or a pocket where it does not rub against other stickers, and keep it out of direct sun to preserve the color shift.
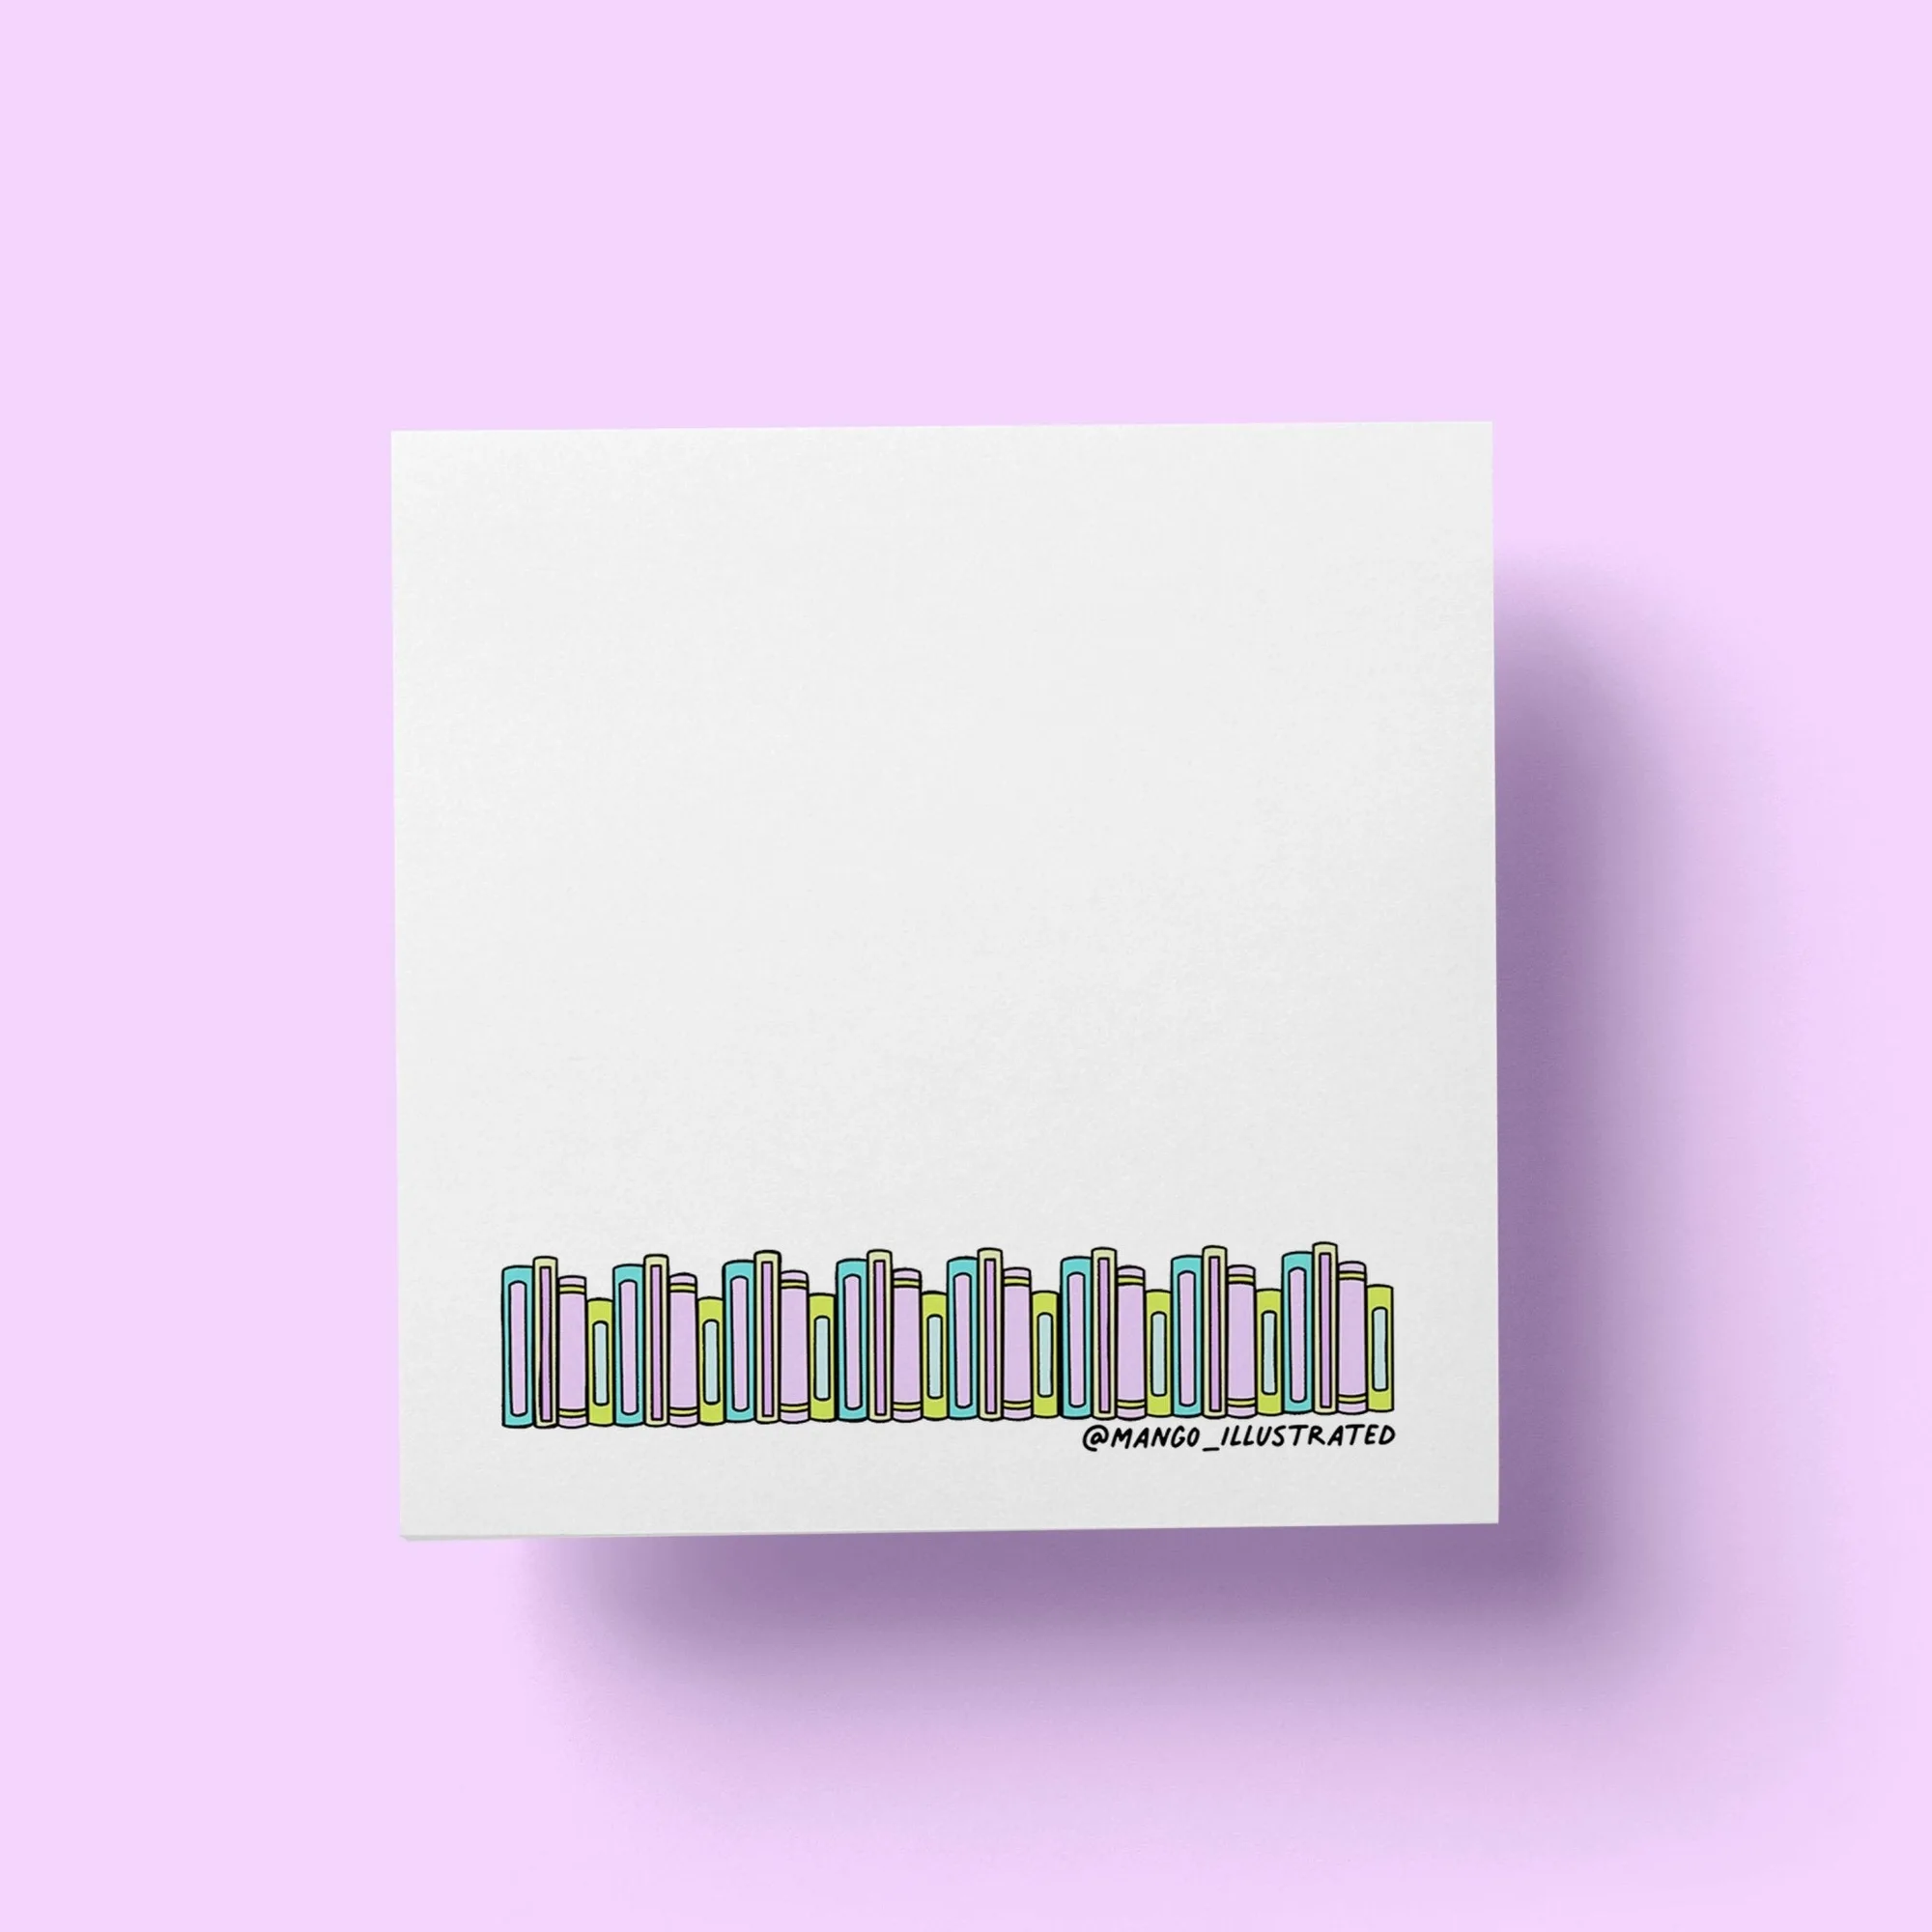
- Bookshelf Sticky Notes: A row of pastel illustrated books runs along the bottom of every sheet, leaving clean white space for page notes, reminders, and daily notes. These are sticky notes, not vinyl stickers, so they belong in a separate spot from your sticker collection. Keeping them in a shallow tray or a dedicated pocket prevents them from curling and keeps them accessible for TBR tracking and journaling.
A sticker collection stays usable when the storage matches how you actually use stickers. Sort first, choose a format that fits the majority of what you own, protect the finishes that scuff easily, and label everything so nothing becomes a mystery box. Do that once, and the monthly upkeep takes minutes instead of an afternoon.