Quick answer
Start by confirming what your hardware kit includes, then buy lumber to match its bracket and fastener requirements, lay out the frame with proper swing clearance, and anchor the legs before the first swing.
What a hardware kit does and does not solve
A DIY swing set hardware kit supplies the brackets, swing hangers, chains, and seats that hold the structure together. It does not supply the lumber, and it rarely supplies the anchors, concrete, or ground preparation you need for a stable frame. That split matters: the kit sets the geometry and load path, while your lumber choice and site work determine how solid the finished set feels.
Because lumber sizes and wood species vary, check the kit's bracket dimensions and fastener counts before you buy boards. If the kit lists a specific beam size or bolt length, follow it; substituting a thinner beam or shorter fastener can weaken the connection even if everything looks assembled.
Lumber requirements you need to settle first
Swing set frames typically use dimensional lumber for legs and top beams, but the exact sizes depend on the kit's brackets. Before ordering, measure the bracket openings and confirm the beam span the kit is designed for. A longer beam than the kit supports will sag; a shorter one may not fit the brackets at all.
Choose straight, dry boards with few knots, especially for the top beam that carries the swing load. Wet or warped lumber can shrink and loosen connections after assembly, so inspect boards in person when possible and reject ones with large knots along the edge or significant bowing.
Site, clearance, and anchoring trade-offs
Swing clearance is not just about the frame footprint. Leave enough open space in front of and behind the swings for a full arc, and keep the set away from fences, trees, and play structures. The exact clearance depends on swing chain length and seat height, so set those before finalizing the location.
Anchoring method is a real trade-off. Concrete footings hold best in firm soil but are permanent and hard to remove. Ground anchors or stakes are easier to relocate but may not suit loose or sandy soil. Decide before digging, because changing your mind after the legs are set is costly.
Step-by-step: plan and build your DIY swing set
- Inventory the hardware kit: Unpack every bracket, bolt, chain, and seat, and compare the count to the kit's parts list. Common mistake: assuming all fasteners are included when some kits expect you to supply lag screws or anchors. Checkpoint: set aside any missing pieces before you cut lumber. A missing bolt discovered mid-build is harder to fix than one found on day one.
- Confirm lumber sizes against the brackets: Measure the inside width of each bracket and match it to the nominal lumber size the kit specifies. Common mistake: buying the cheapest boards without checking bracket fit. Checkpoint: dry-fit one bracket on a scrap board before committing to a full lumber order. Bracket fit is the constraint; lumber price is secondary.
- Choose a level site with swing clearance: Mark the frame footprint, then add open space in front of and behind the swing positions for the full arc. Common mistake: placing the set too close to a fence or tree. Checkpoint: test the swing arc with a temporary rope before digging. Clearance is measured from the swing seat's path, not the frame's edge.
- Decide on anchoring before digging: Choose concrete footings for firm soil and a permanent set, or ground anchors for easier relocation. Common mistake: digging holes before confirming the anchor type. Checkpoint: verify your soil type and local frost depth if using concrete. Anchoring choice affects hole size and leg length, so settle it before cutting posts.
- Assemble the frame on the ground: Build the top beam and leg assemblies flat on the ground where you can square them easily. Common mistake: tightening bolts fully before the frame is square. Checkpoint: measure both diagonals; they should match before final tightening. A square frame swings straight; a racked frame wears the hardware unevenly.
- Install hangers, swings, and trapeze: Attach swing hangers at the spacing the kit specifies, then hang seats and the trapeze bar at equal heights. Common mistake: unequal chain lengths that make swings drift. Checkpoint: level each seat and test the trapeze bar height against the intended age group. Equal chain length matters more than exact seat height for smooth swinging.
- Anchor, inspect, and test: Set anchors or pour footings, then recheck every bolt and bracket after the frame settles. Common mistake: skipping a post-assembly inspection. Checkpoint: push and pull the frame firmly before letting children on, and re-tighten hardware after the first week of use. Hardware loosens as wood settles; a first-week recheck catches it early.
Product facts
-
Alpine Custom DIY Play Set Hardware Kit: The Alpine Custom DIY Play Set Hardware Kit includes 4 different DIY design brackets, 2 swing seats with dipped chain, and a trapeze bar, and is designed for up to 6 children. That gives you a single-tower layout with room for multiple activities, but you still need to supply the lumber and confirm the bracket sizes before building.
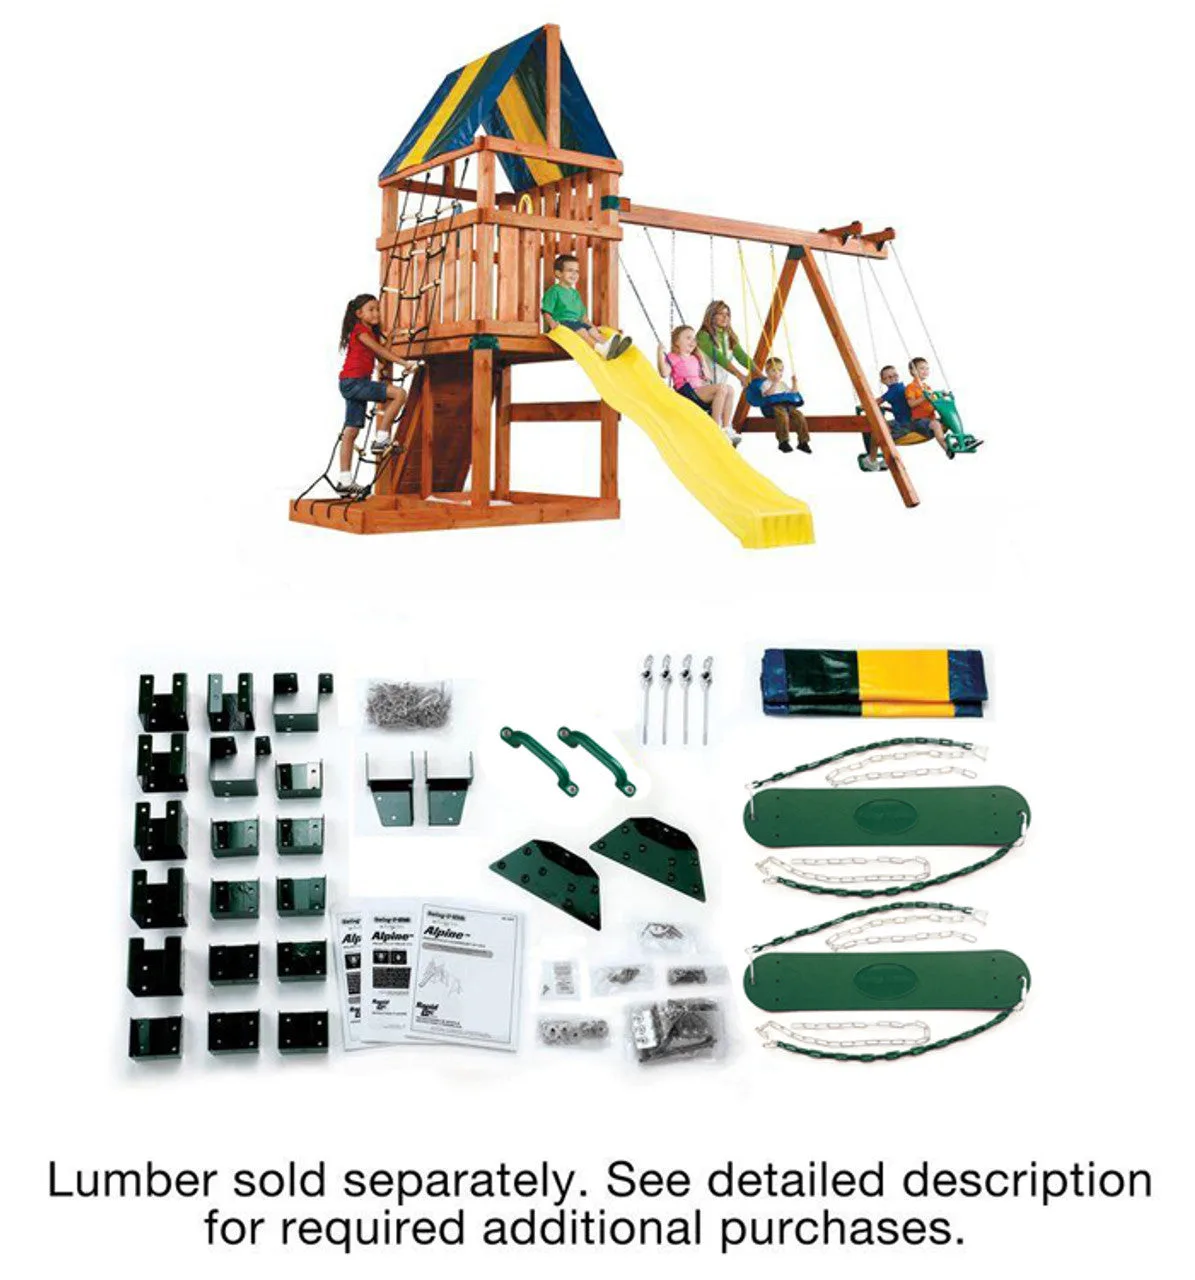
Alpine Custom DIY Play Set Hardware Kit