Quick answer
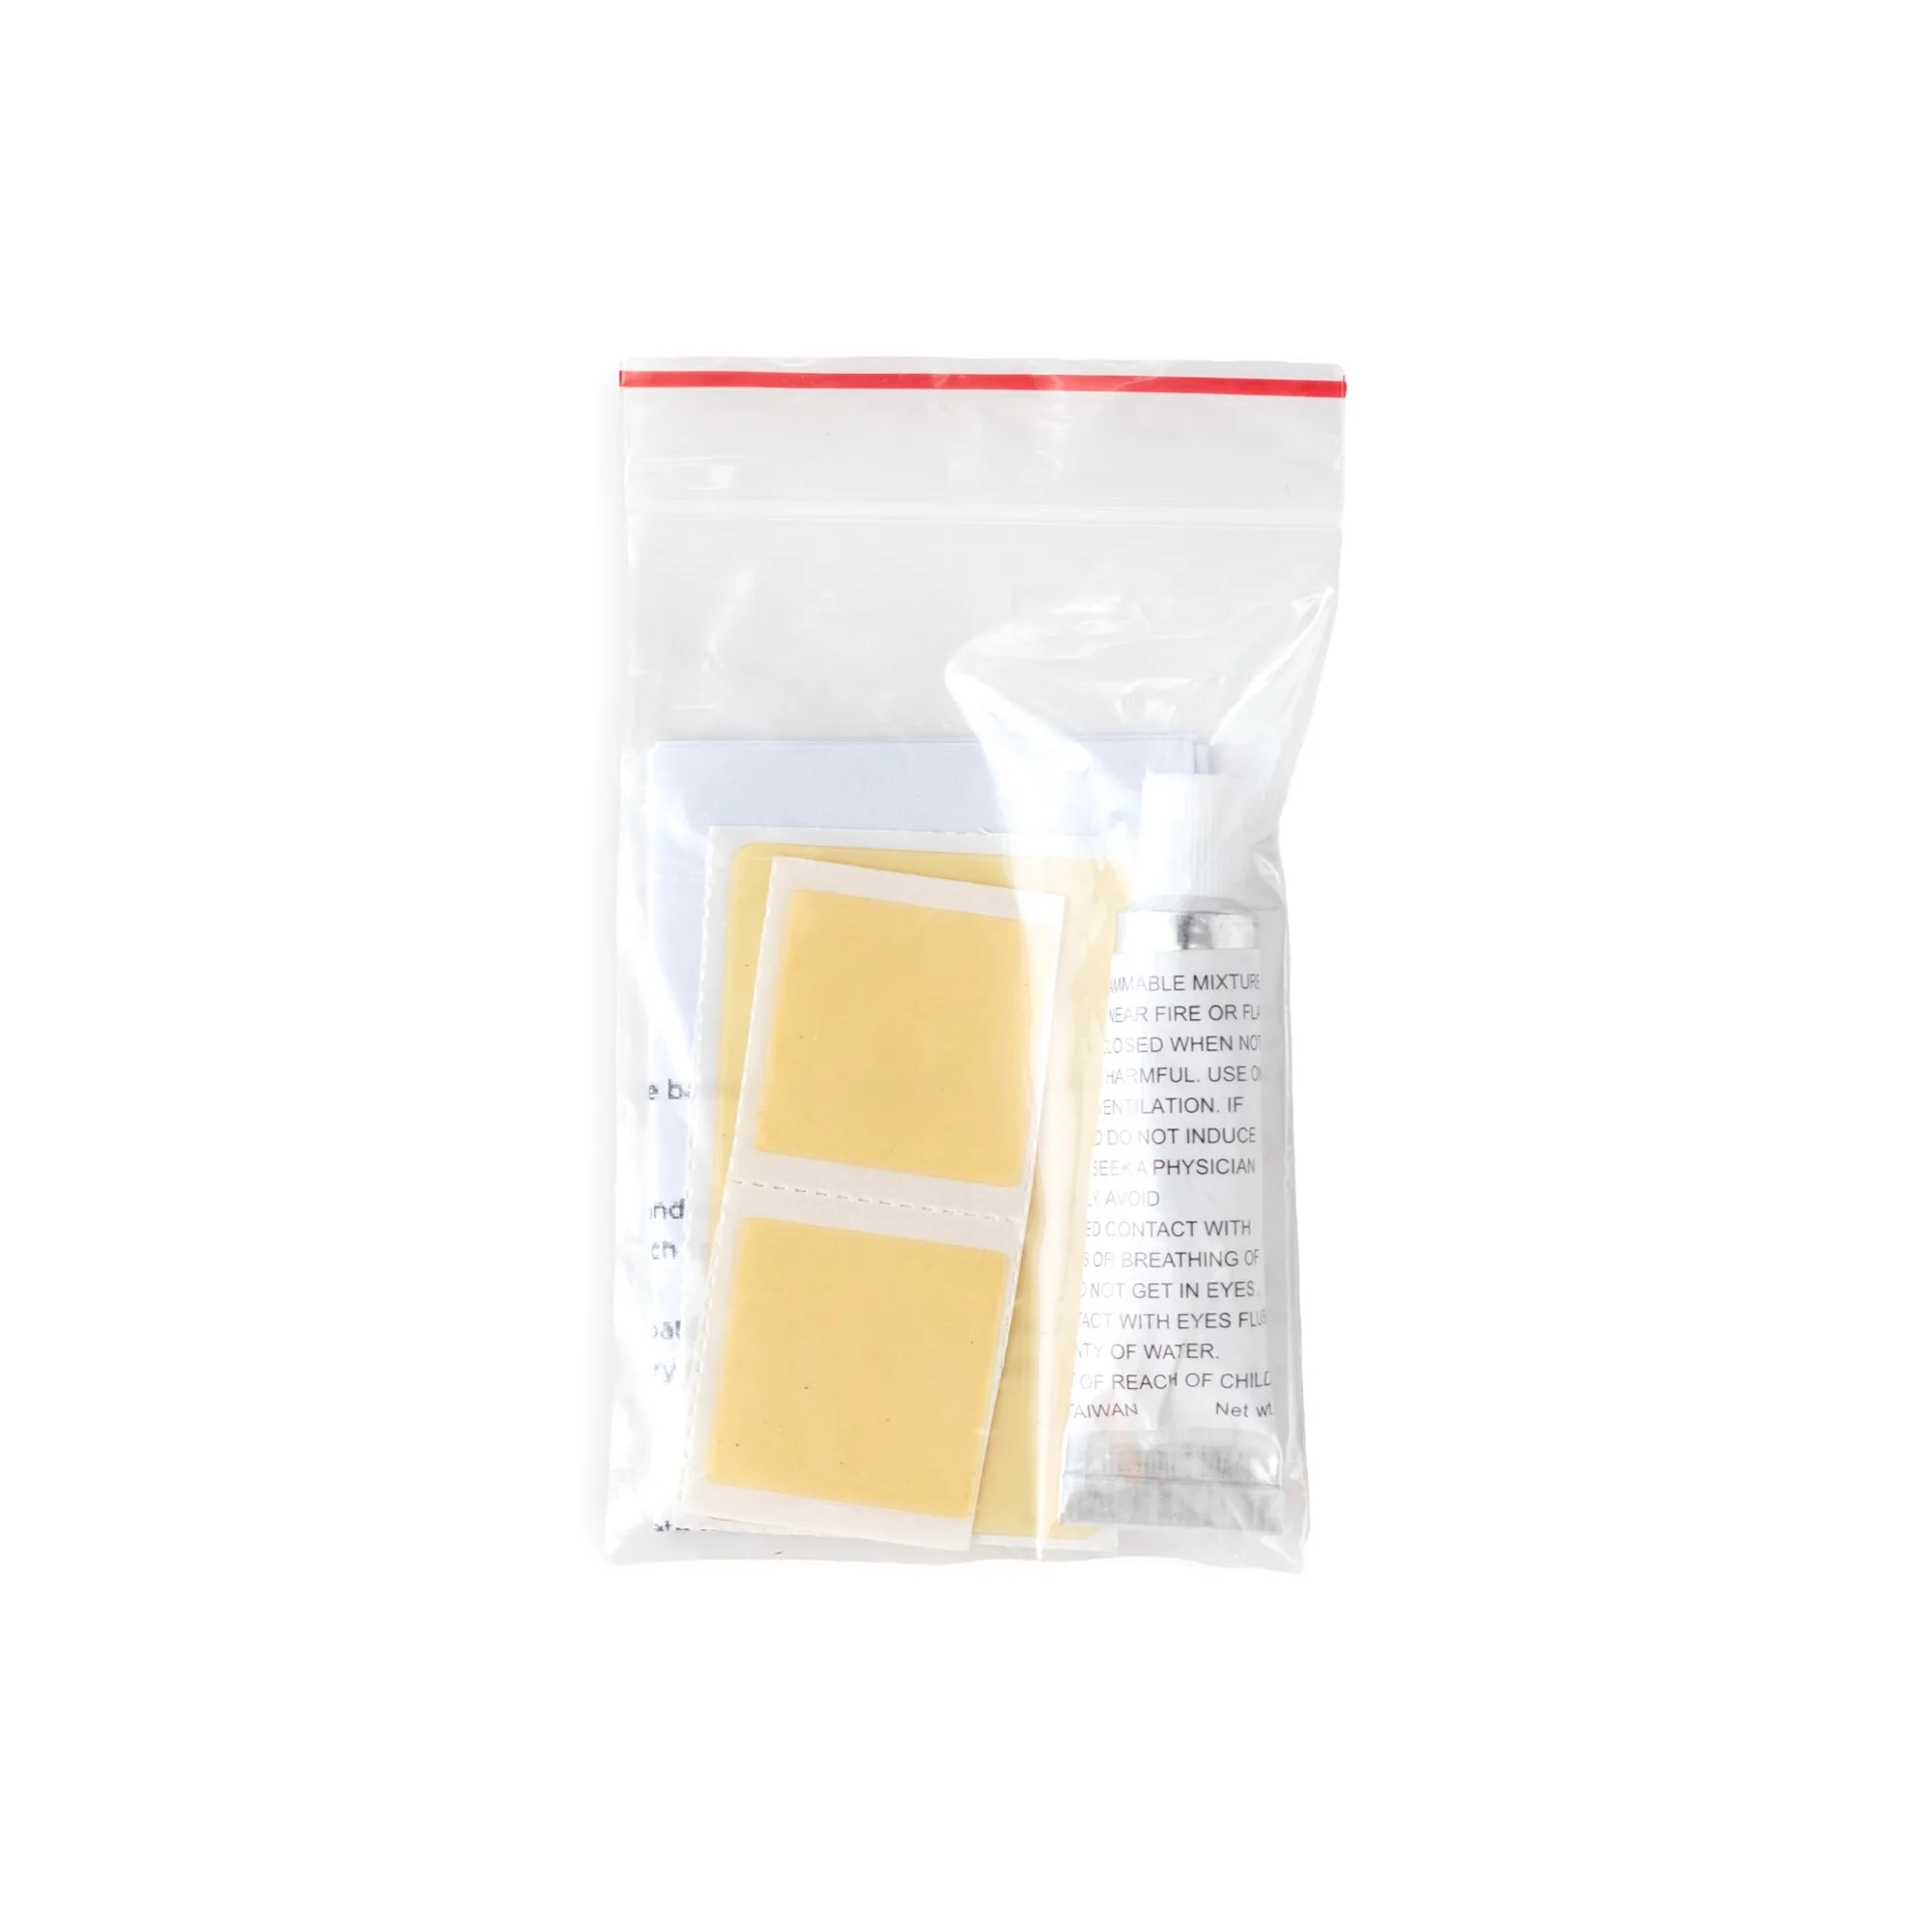
Yes, carry a small repair kit if you rely on inflatable pads, tents, or waterproof sacks. Pack a patch kit matched to your pad, a needle and strong thread, spare cord, and a few feet of repair tape. Keep it under a few ounces and store it with your sleep gear so it never gets left behind.
What belongs in a backpacking gear repair kit?
Build the kit around the failures that actually end trips: a pinhole in an inflatable pad, a torn stuff sack, a broken cord, or a failed seam. Start with a patch kit made for your pad's material, a small tube of seam sealant, a needle and heavy-duty thread, two feet of 2mm cord, and a few strips of tenacious tape. Add a tiny multi-tool and a spare valve cap if your pad uses one. Weigh the whole pouch; most useful kits land between 2 and 6 ounces.
Do I need a separate sleeping pad repair kit?
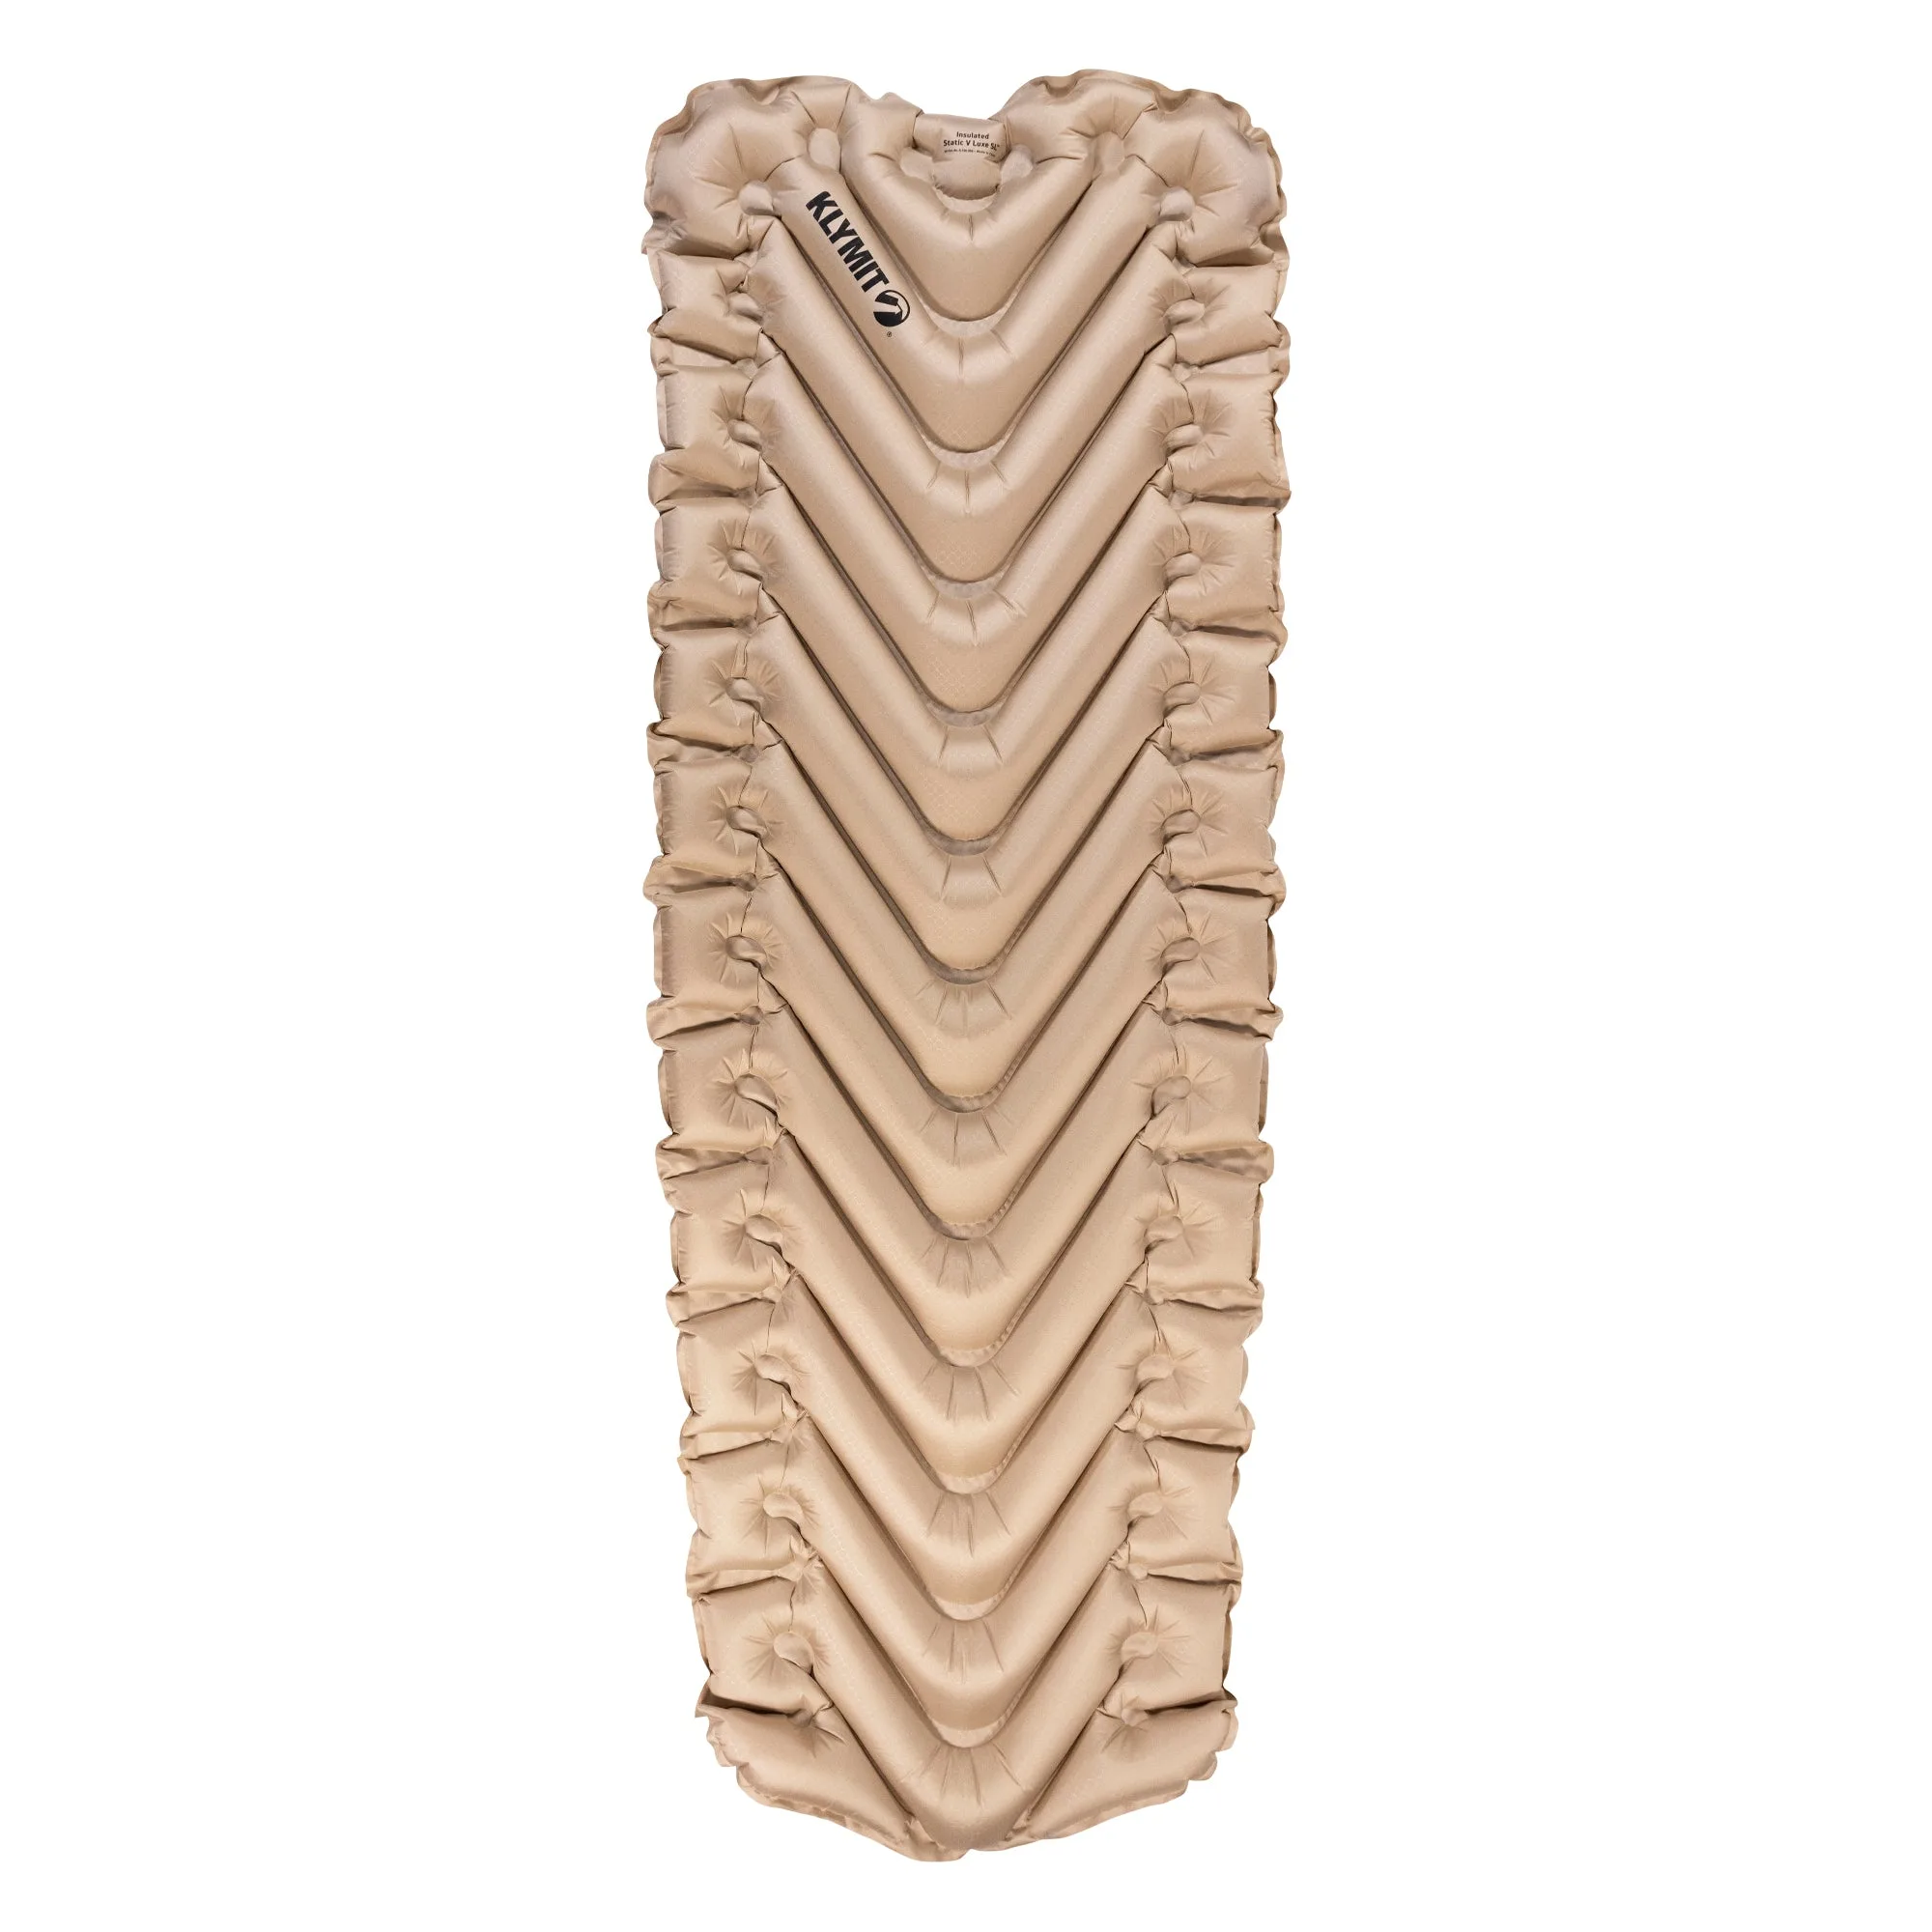
Only if your pad uses a material that generic patches won't bond to. Many pads ship with a small patch kit, and those are the patches most likely to hold. If yours didn't include one, buy patches from the pad maker or a kit labeled for the same fabric. A generic vinyl patch on a nylon pad can peel off by morning. If you can't confirm the material, test a patch at home before trusting it in the field.
How do dry sacks fit into a repair and care routine?
Dry sacks protect the gear you're trying to keep repairable. A wet sleeping bag loses loft, and a soaked pad is harder to patch because adhesives don't bond to damp surfaces. Lining your pack with a waterproof liner keeps your whole sleep system dry, so repairs stay rare and field patches actually stick. For smaller items, a set of dry sacks separates clean and dirty gear and keeps small repair parts from disappearing into the pack.
What can I leave out of a field repair kit?
Skip full-size tools, duct tape wrapped around a water bottle, and anything you don't know how to use. A 10-foot roll of duct tape is heavy and leaves residue; a few strips of repair tape do the same job. Leave out spare buckles unless your pack uses a proprietary one. And don't carry sealant you've never opened; it can dry out or leak inside the kit. Test every item once at home before it earns a permanent spot.
Where should the repair kit live?
Keep it with your sleep system, not in a separate tool bag. If your pad or bag fails at night, you want the kit within arm's reach, not buried at the bottom of your pack. A small dry sack or stuff sack dedicated to repair items makes the kit easy to find and keeps small parts contained. Check it before every trip: replace used patches, re-tape frayed cord ends, and confirm sealant hasn't dried out.
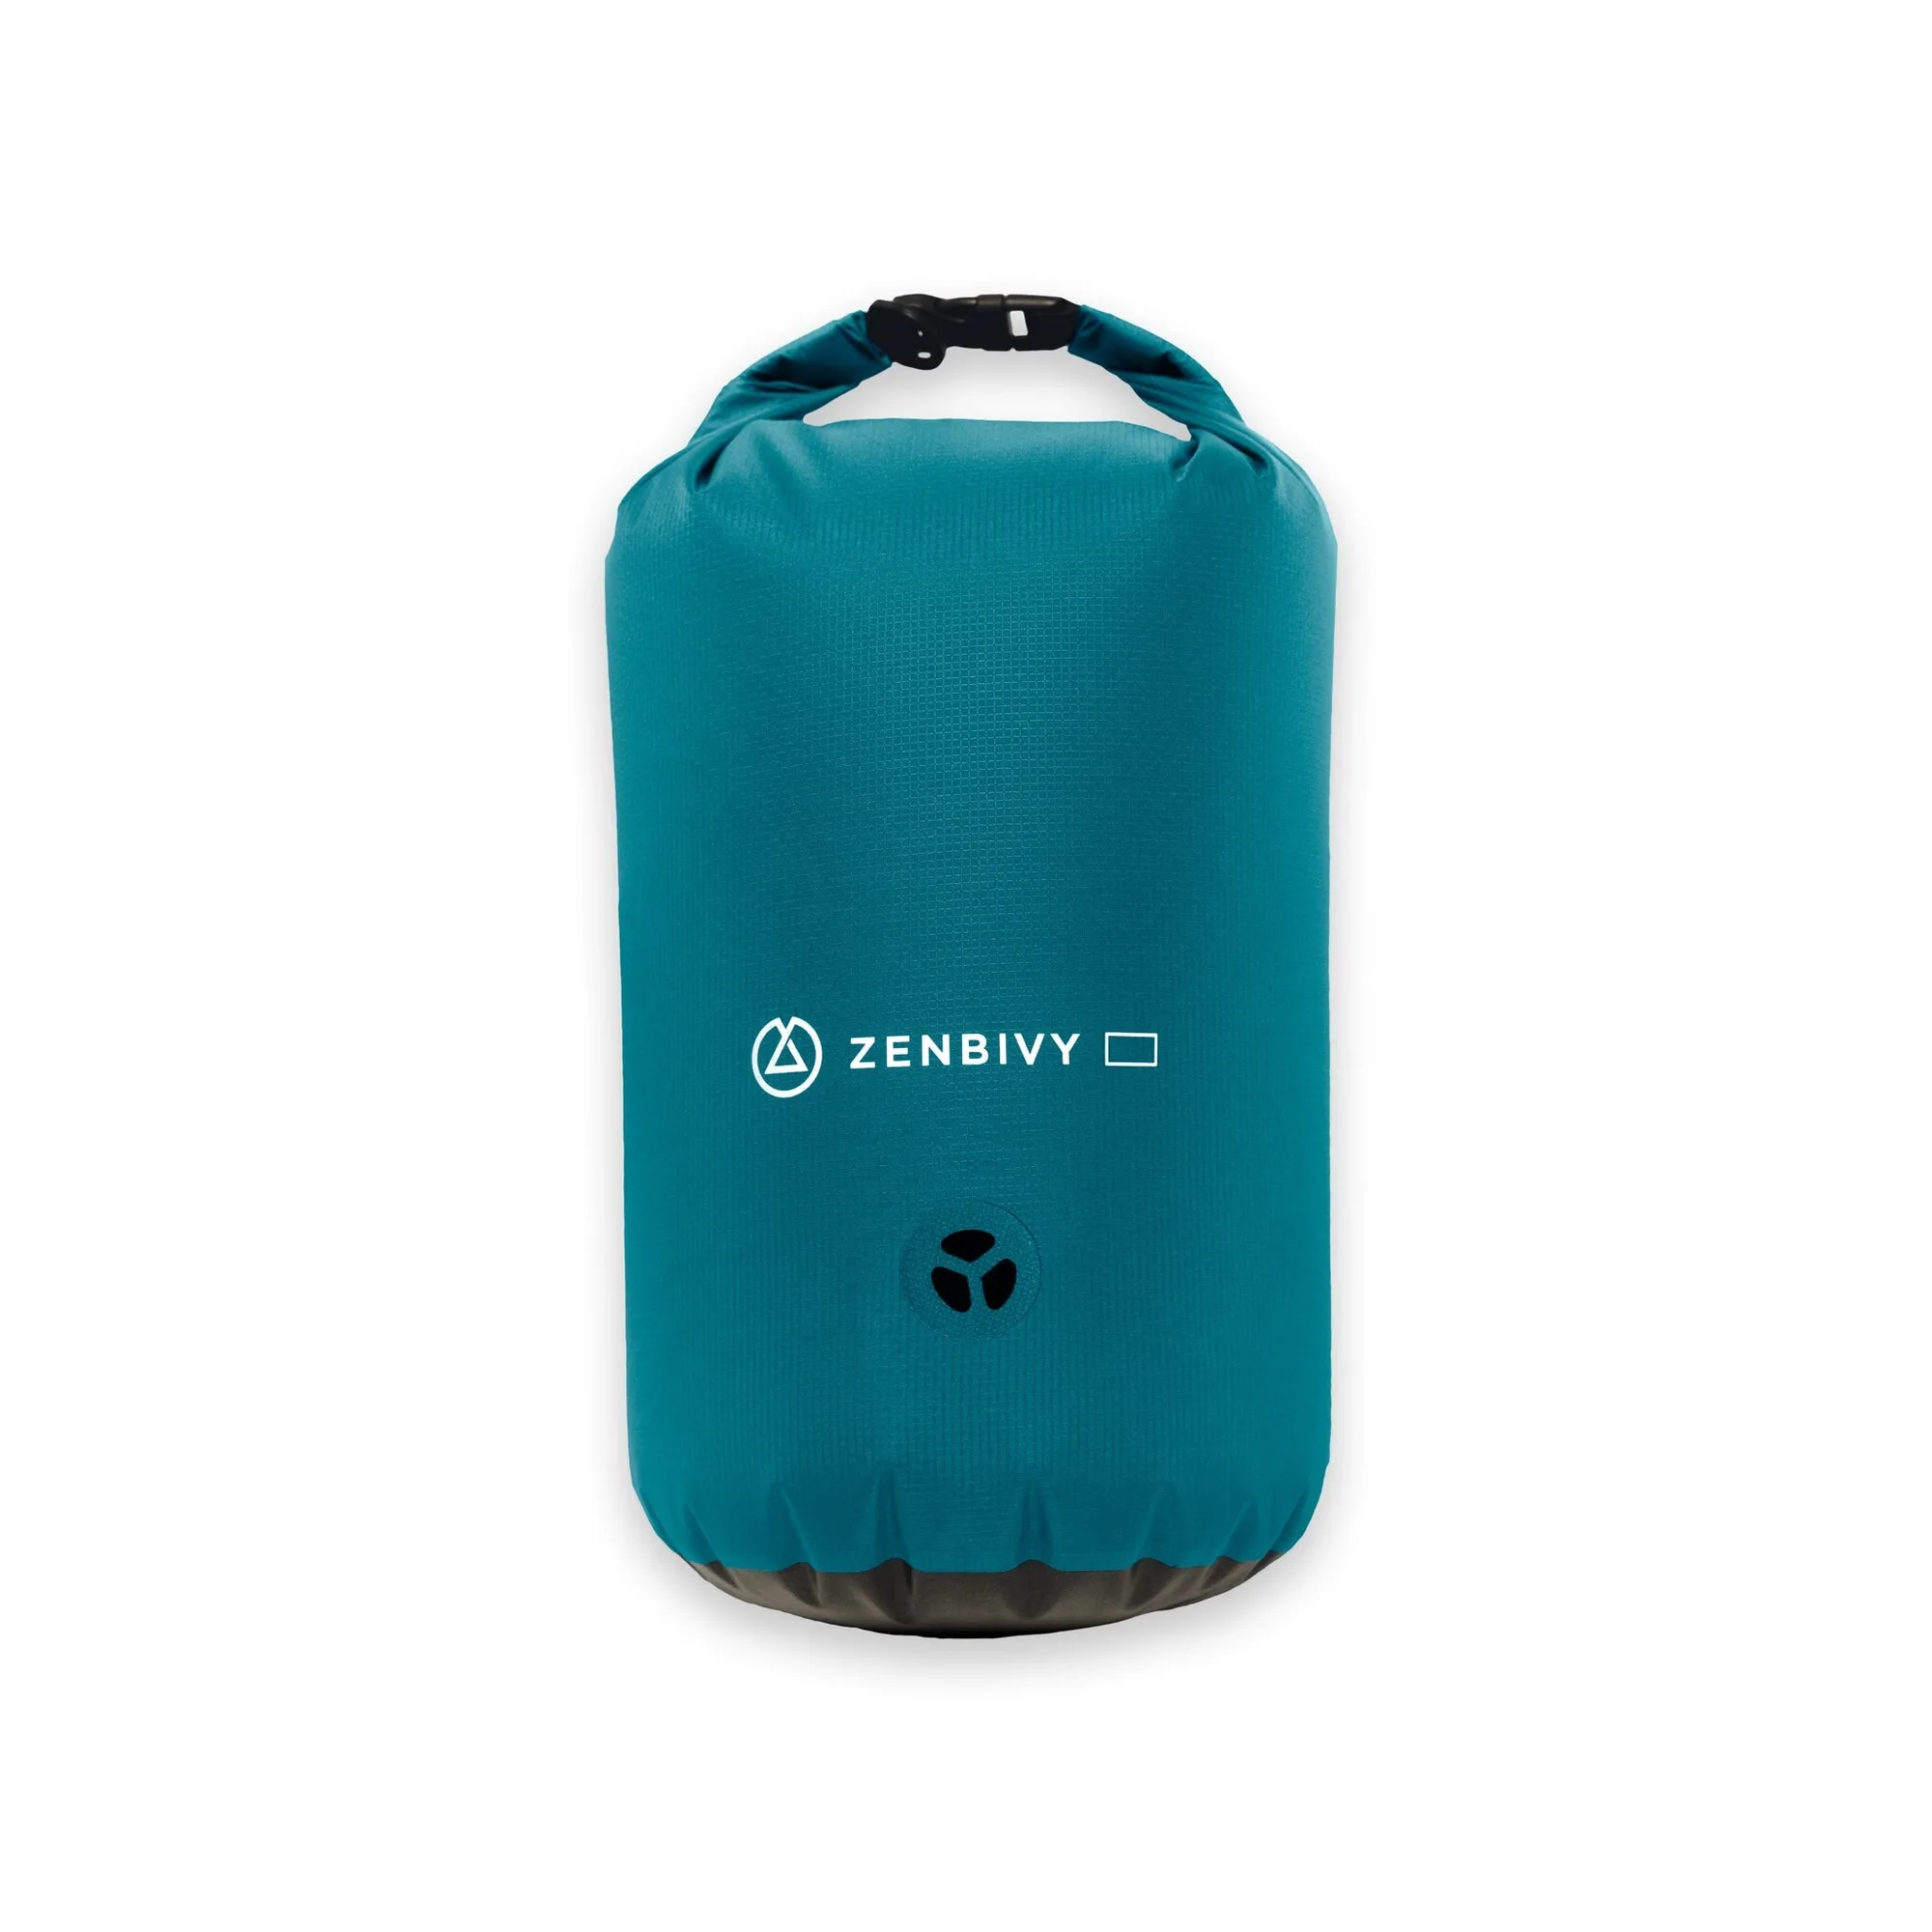
dry sack
Field repair kit checklist
Patch kit matched to your pad
Use patches made for your pad's material; generic vinyl patches may not bond to nylon. Test one patch at home before your trip.
Needle and heavy-duty thread
For torn stuff sacks, tent mesh, and pack straps. A curved needle helps in tight corners. Pre-thread the needle and tape it to a card so it's ready.
Two feet of 2mm cord
Replaces failed guy lines, drawcords, and zipper pulls. Melt the ends to stop fraying.
Repair tape strips
A few strips of tenacious tape patch tent fabric, pad shells, and dry sacks without the bulk of a full roll. Cut strips to length and stack them on a release liner.
Seam sealant
For tent seams and dry sack welds that start to leak. Check the tube each season; replace if dried out.
Small multi-tool
Scissors, a knife, and pliers cover most field repairs. Keep it in the kit so it doesn't wander off.
Gear that helps your repair kit work
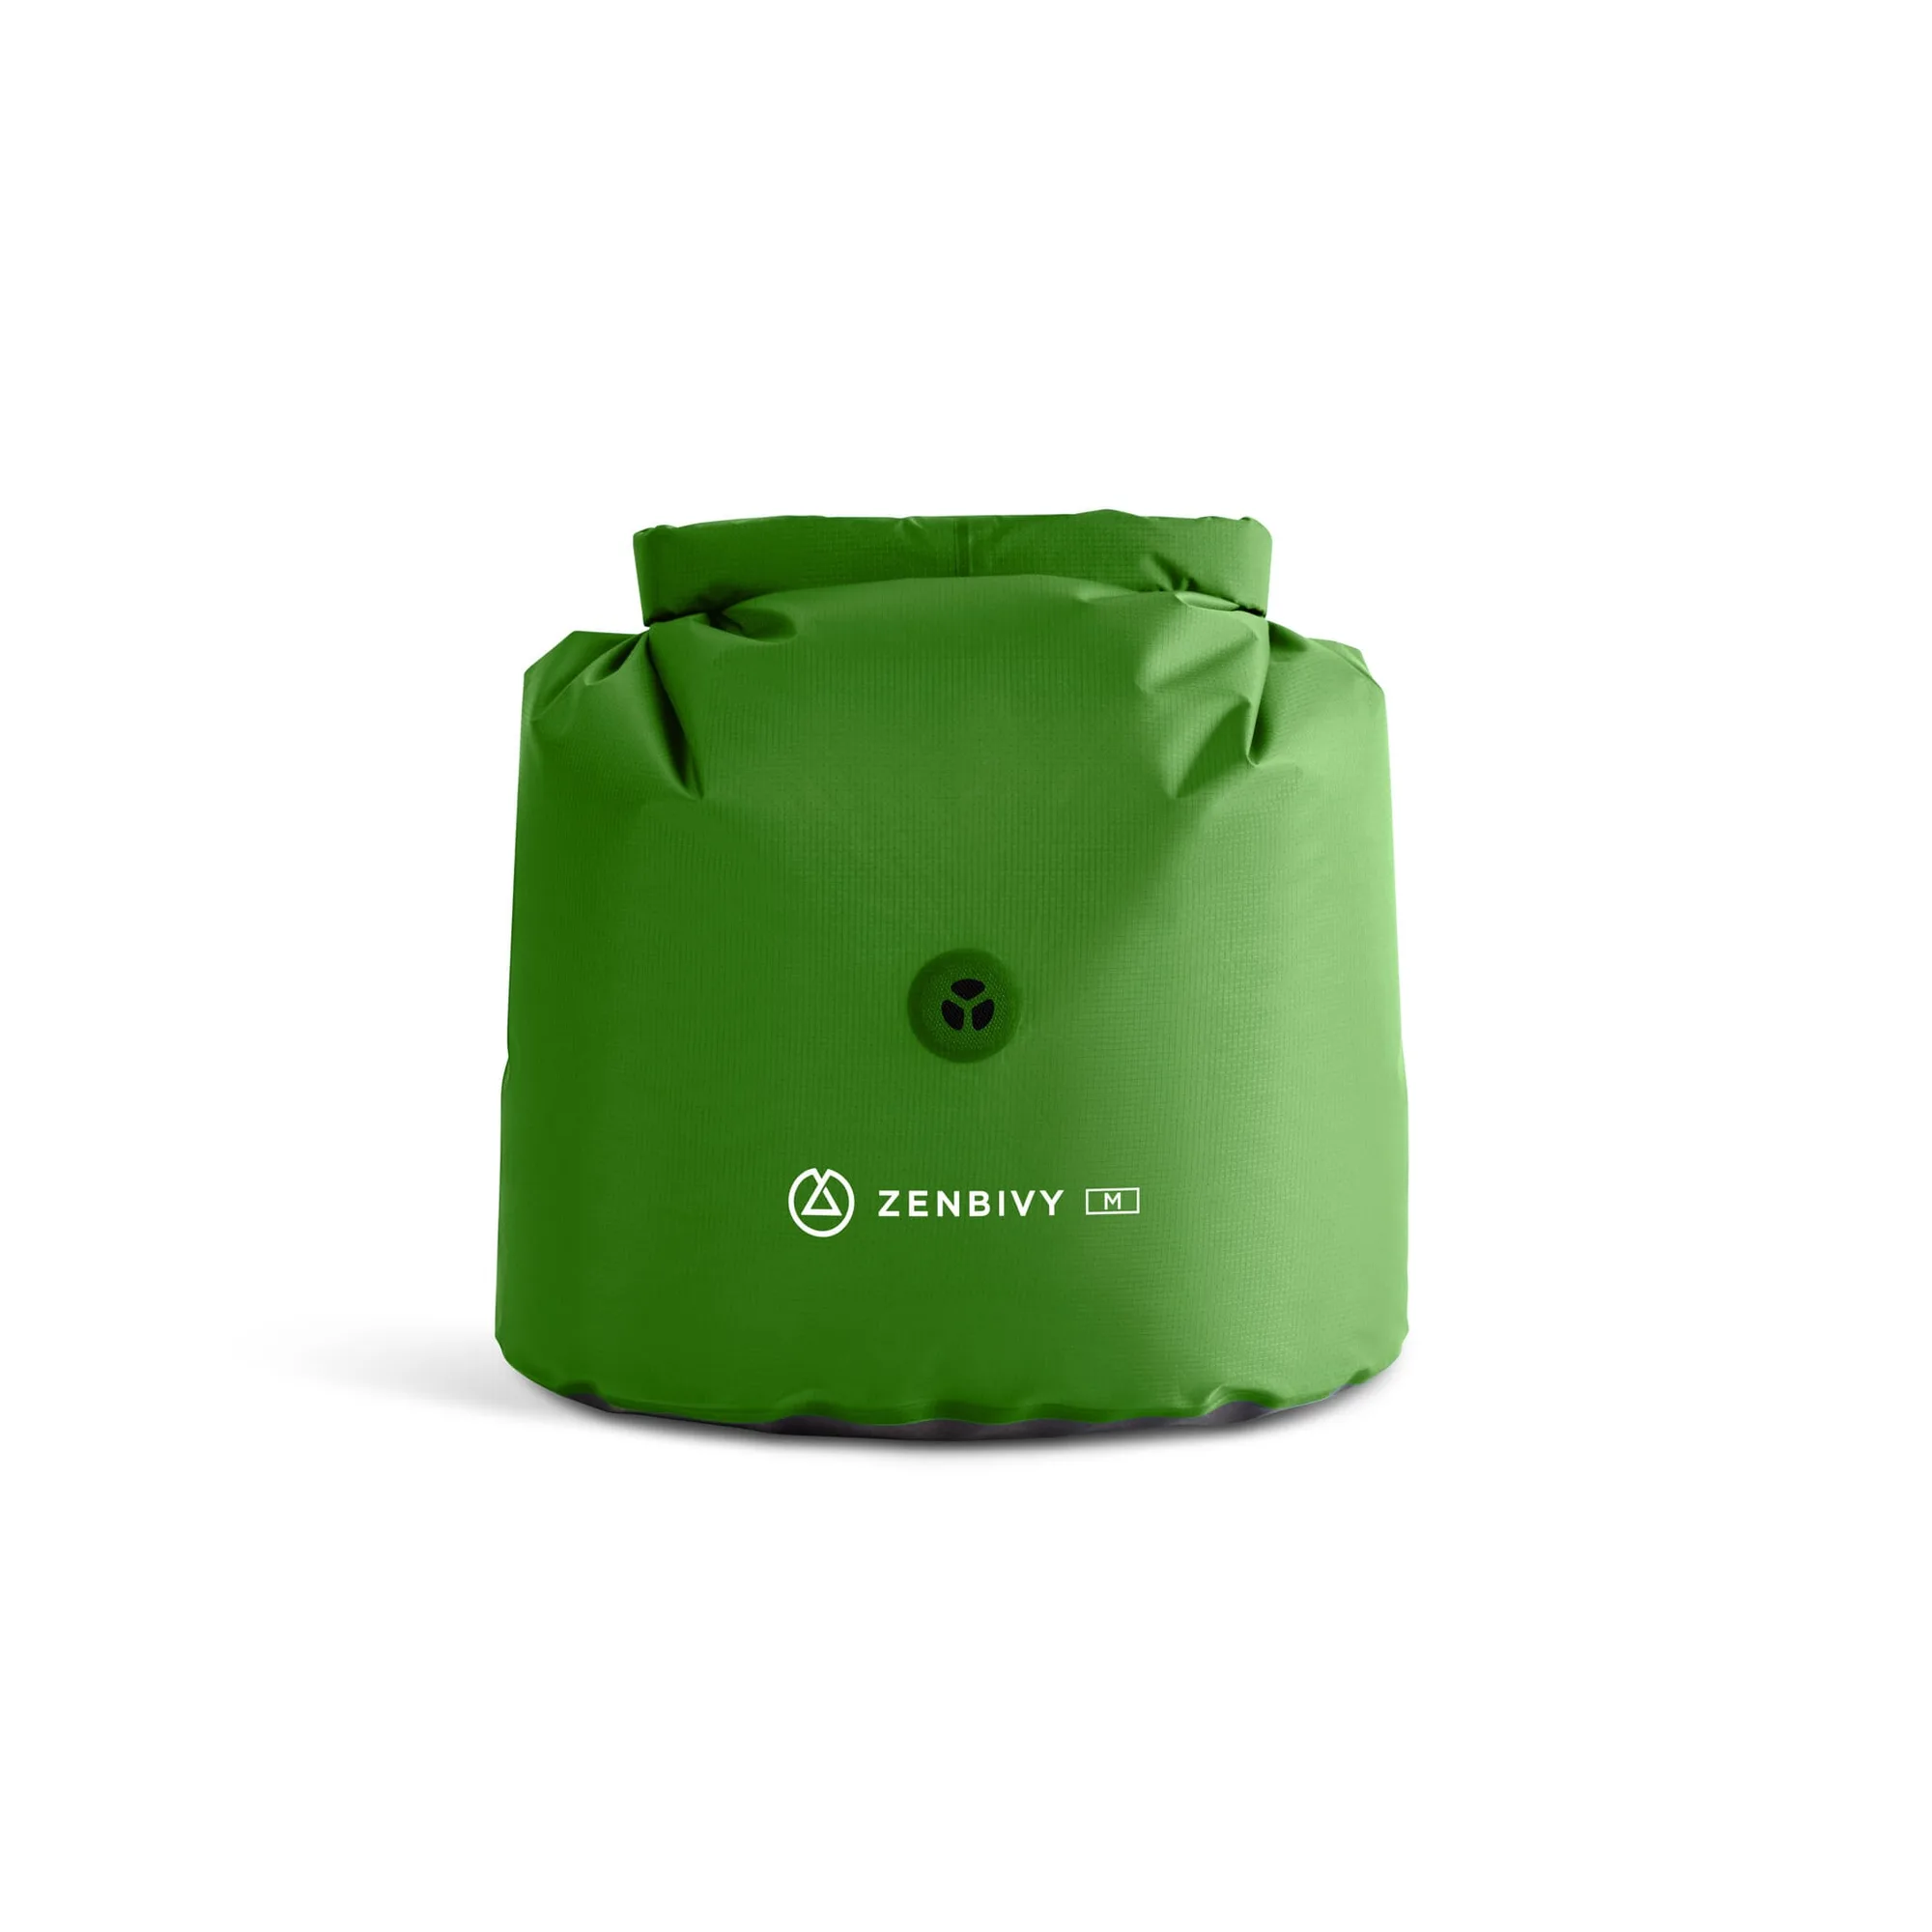
- Pack Liner: The Zenbivy Pack Liner is a fully waterproof, easy-to-compress dry sack that holds all your sleep gear in one compact layer at the base of your pack. Keeping your pad and bag dry means patches bond better and you're less likely to need a field repair in the first place.
- Ditty Dry Sack, Set of 3: The Ditty Dry Sack set includes one 2L, one 3L, and one 5L sack, each with a transparent panel, fully-welded seams, and a high-speed valve for quick compression. The transparent panel lets you see small repair parts without emptying the sack, and the sizes keep patches, cord, and tools separated.
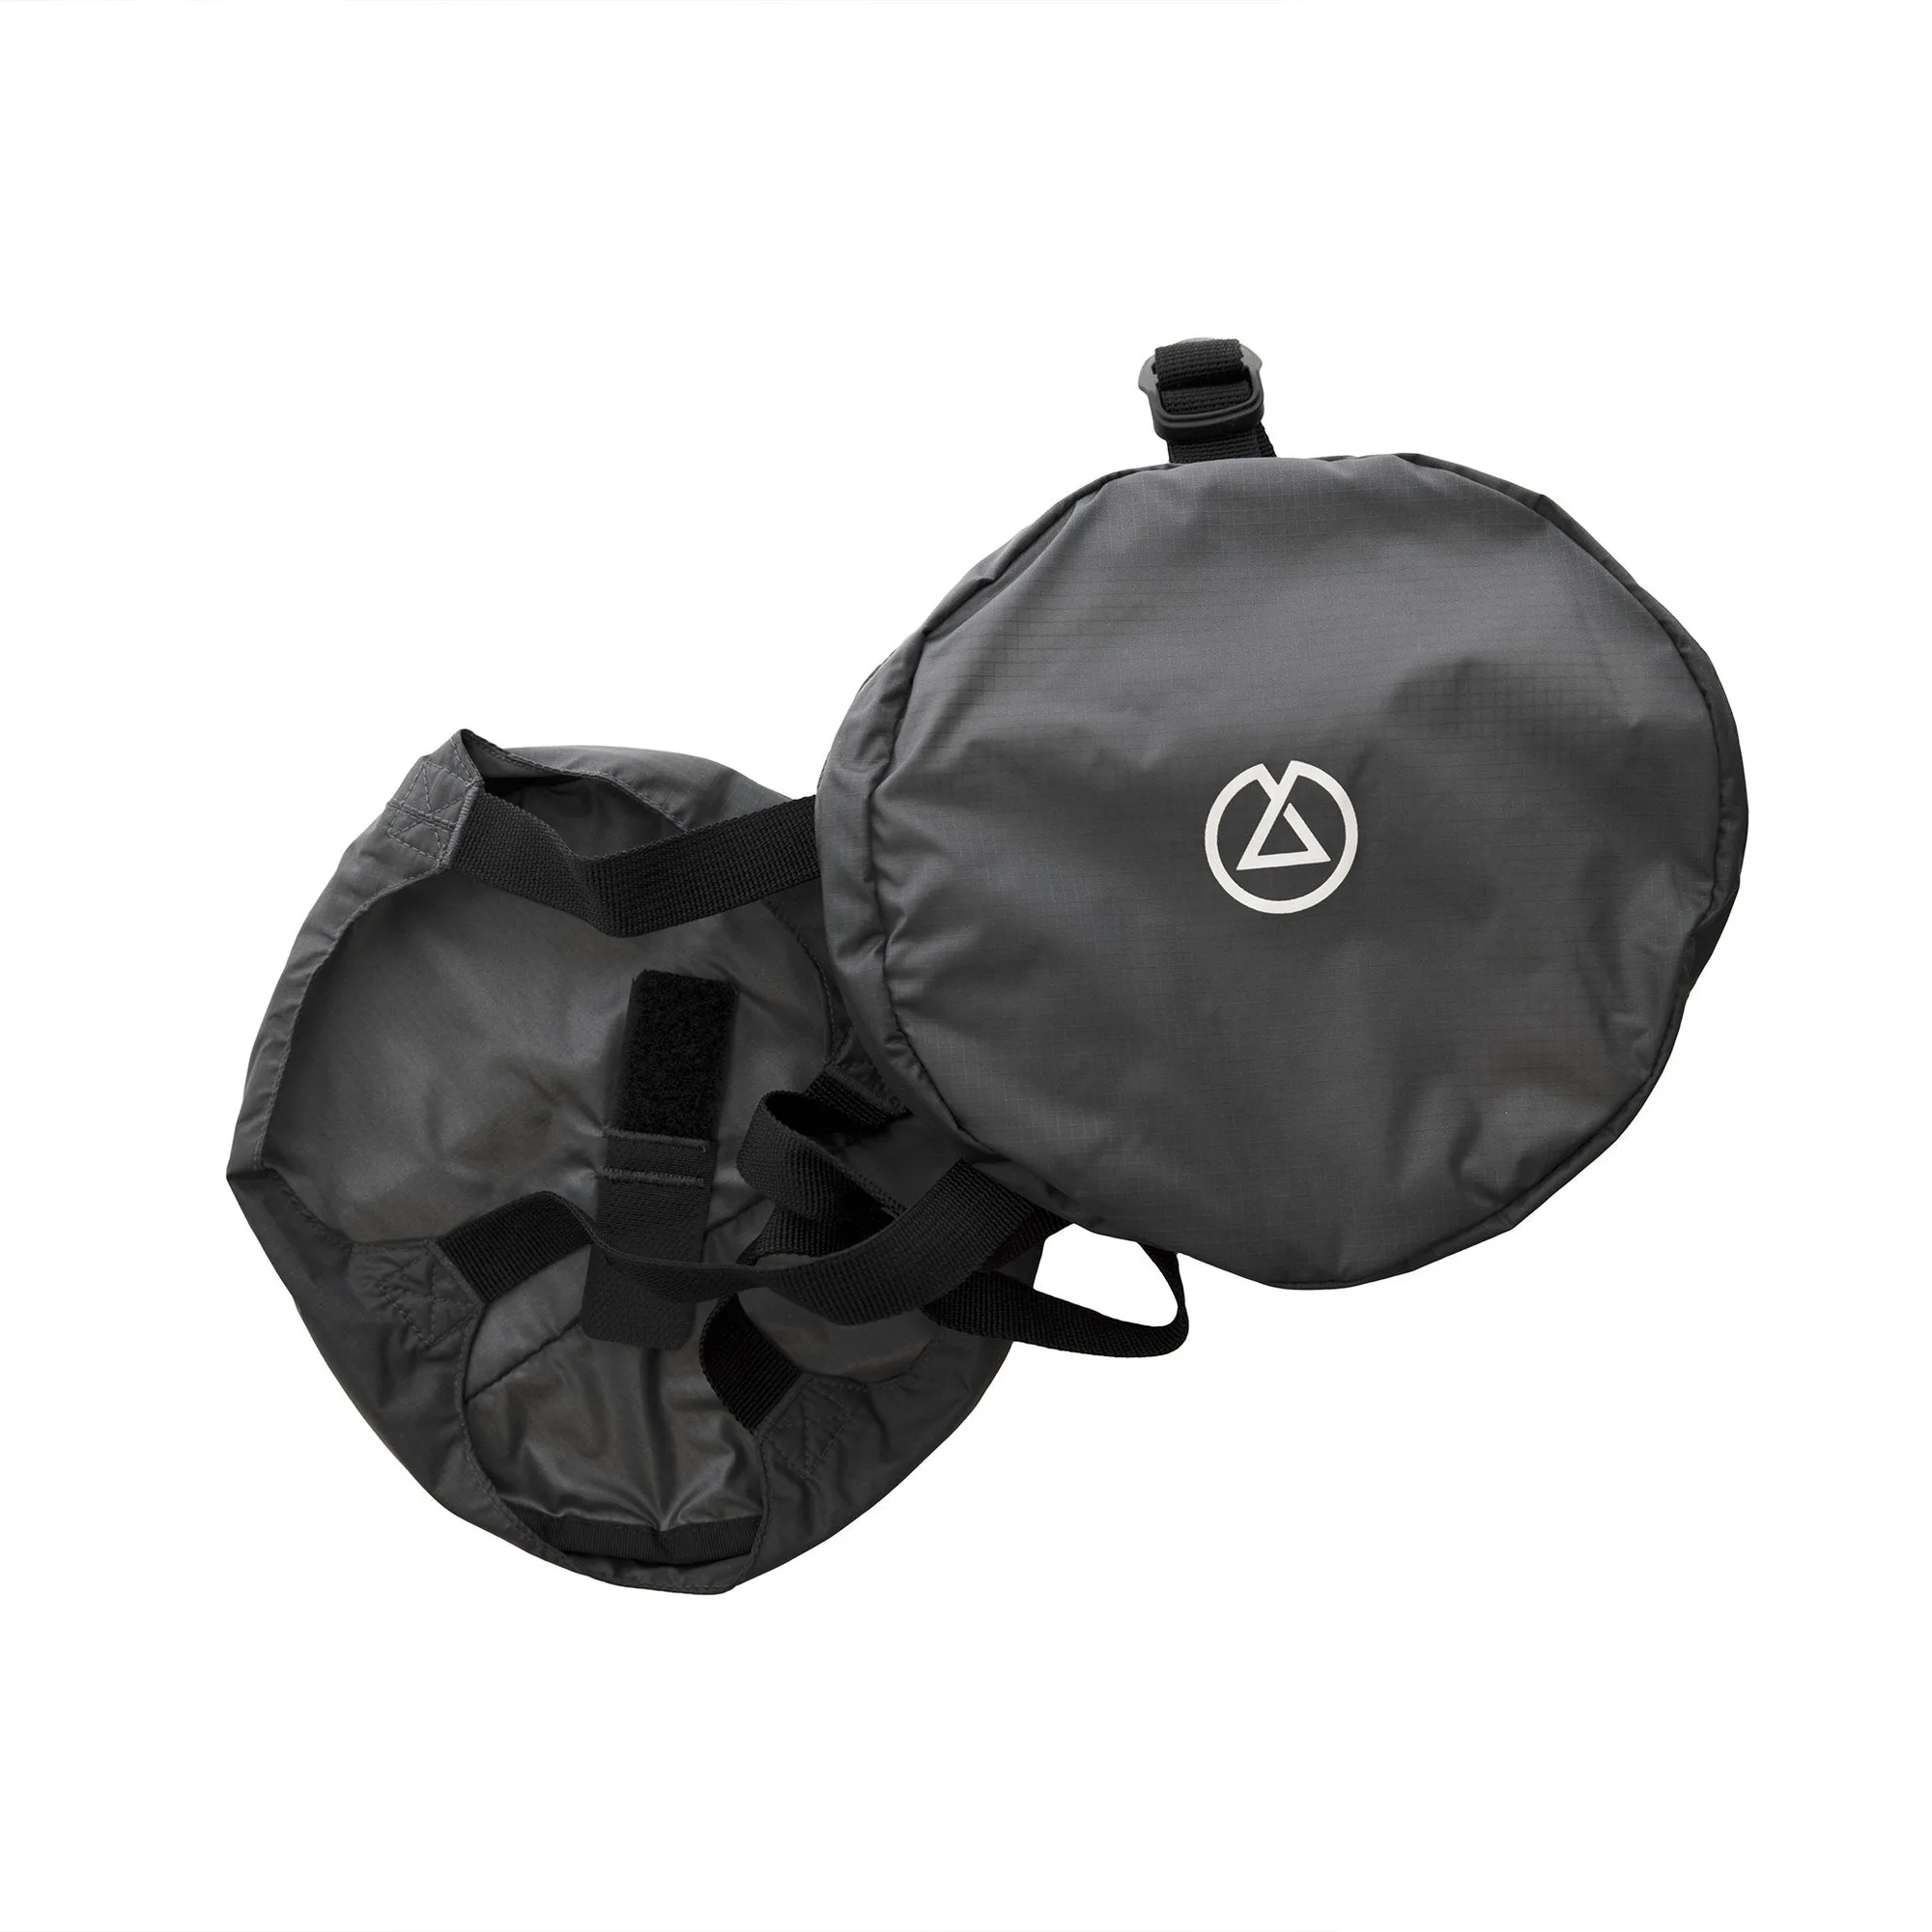
- Compression Caps: Compression Caps attach to an already-compressed dry sack to keep it fully compressed and as compact as possible. If you use a dry sack for bulky sleep gear, caps help shrink the load so your repair kit and other essentials still fit.