Quick answer
To fit the Dome Stand Wheels Set, work on a flat, clear surface, insert each castor into its stand leg until fully seated, and press the foot brakes on before moving the stand. Check the product manual for your specific stand model to confirm compatibility.
When replacement makes sense
The Dome Stand Wheels Set is a spare part, and Gozney includes a set with the original stand as standard. Buy a replacement only if a wheel is lost, damaged, or no longer rolls or brakes reliably. If your stand is new, check the box and manual first—you may already have the wheels you need.
Why the foot brakes matter more than you think
Each castor in the set has an easy-press foot brake. On a slightly sloped patio or uneven deck, an unbraked stand can creep while you open the Dome lid or move hot accessories. Pressing the brakes before every cook is a simple habit that keeps the stand stable.
Step-by-step fitting and rolling tips
- Clear and level the work area: Move the stand to a flat, hard surface and remove anything that could trip you. If the stand is already assembled, tip it carefully onto its side with a helper. A level surface prevents the stand from shifting while you press wheels into place.
- Confirm the part against your manual: Open your Dome Stand manual and compare the wheel design and fitting point with the spare castors. The set is intended for the Dome Stand; do not force a castor into a different stand model. If the manual shows a different fitting, stop and check with Gozney support before installing.
- Insert each castor fully: Push each castor into its leg until it seats firmly. You should not see a gap between the castor housing and the leg. Do not hammer the castor—hand pressure is enough when aligned correctly. A partially seated castor can wobble and damage the leg over time.
- Press the foot brakes on before standing upright: Engage the easy-press foot brake on every castor before you lift the stand back to vertical. This stops the stand from rolling as you raise it. Brakes on first, then lift—this is the simplest way to avoid a runaway stand.
- Test roll and brake on a safe stretch: With the stand upright and empty, release the brakes and roll it a short distance on a flat surface. Press each brake individually to confirm it stops the wheel. If a wheel drags or a brake does not hold, reseat the castor and test again. Test before you load the oven—an empty stand is easier to control if a wheel misbehaves.
- Care for the wheels between cooks: Wipe dust and debris from the castors and brake pedals with a damp cloth. Avoid hosing the wheels directly, and check that the brakes still click firmly into place. Replace the set if a wheel cracks or a brake no longer holds. Clean brakes engage more reliably than gritty ones.
Product facts
-
Dome Stand Wheels Set: Set of 4 spare castor wheels with easy-press foot brakes for the Dome Stand. A full set replaces all four wheels at once, so you avoid mismatched rolling or braking performance.
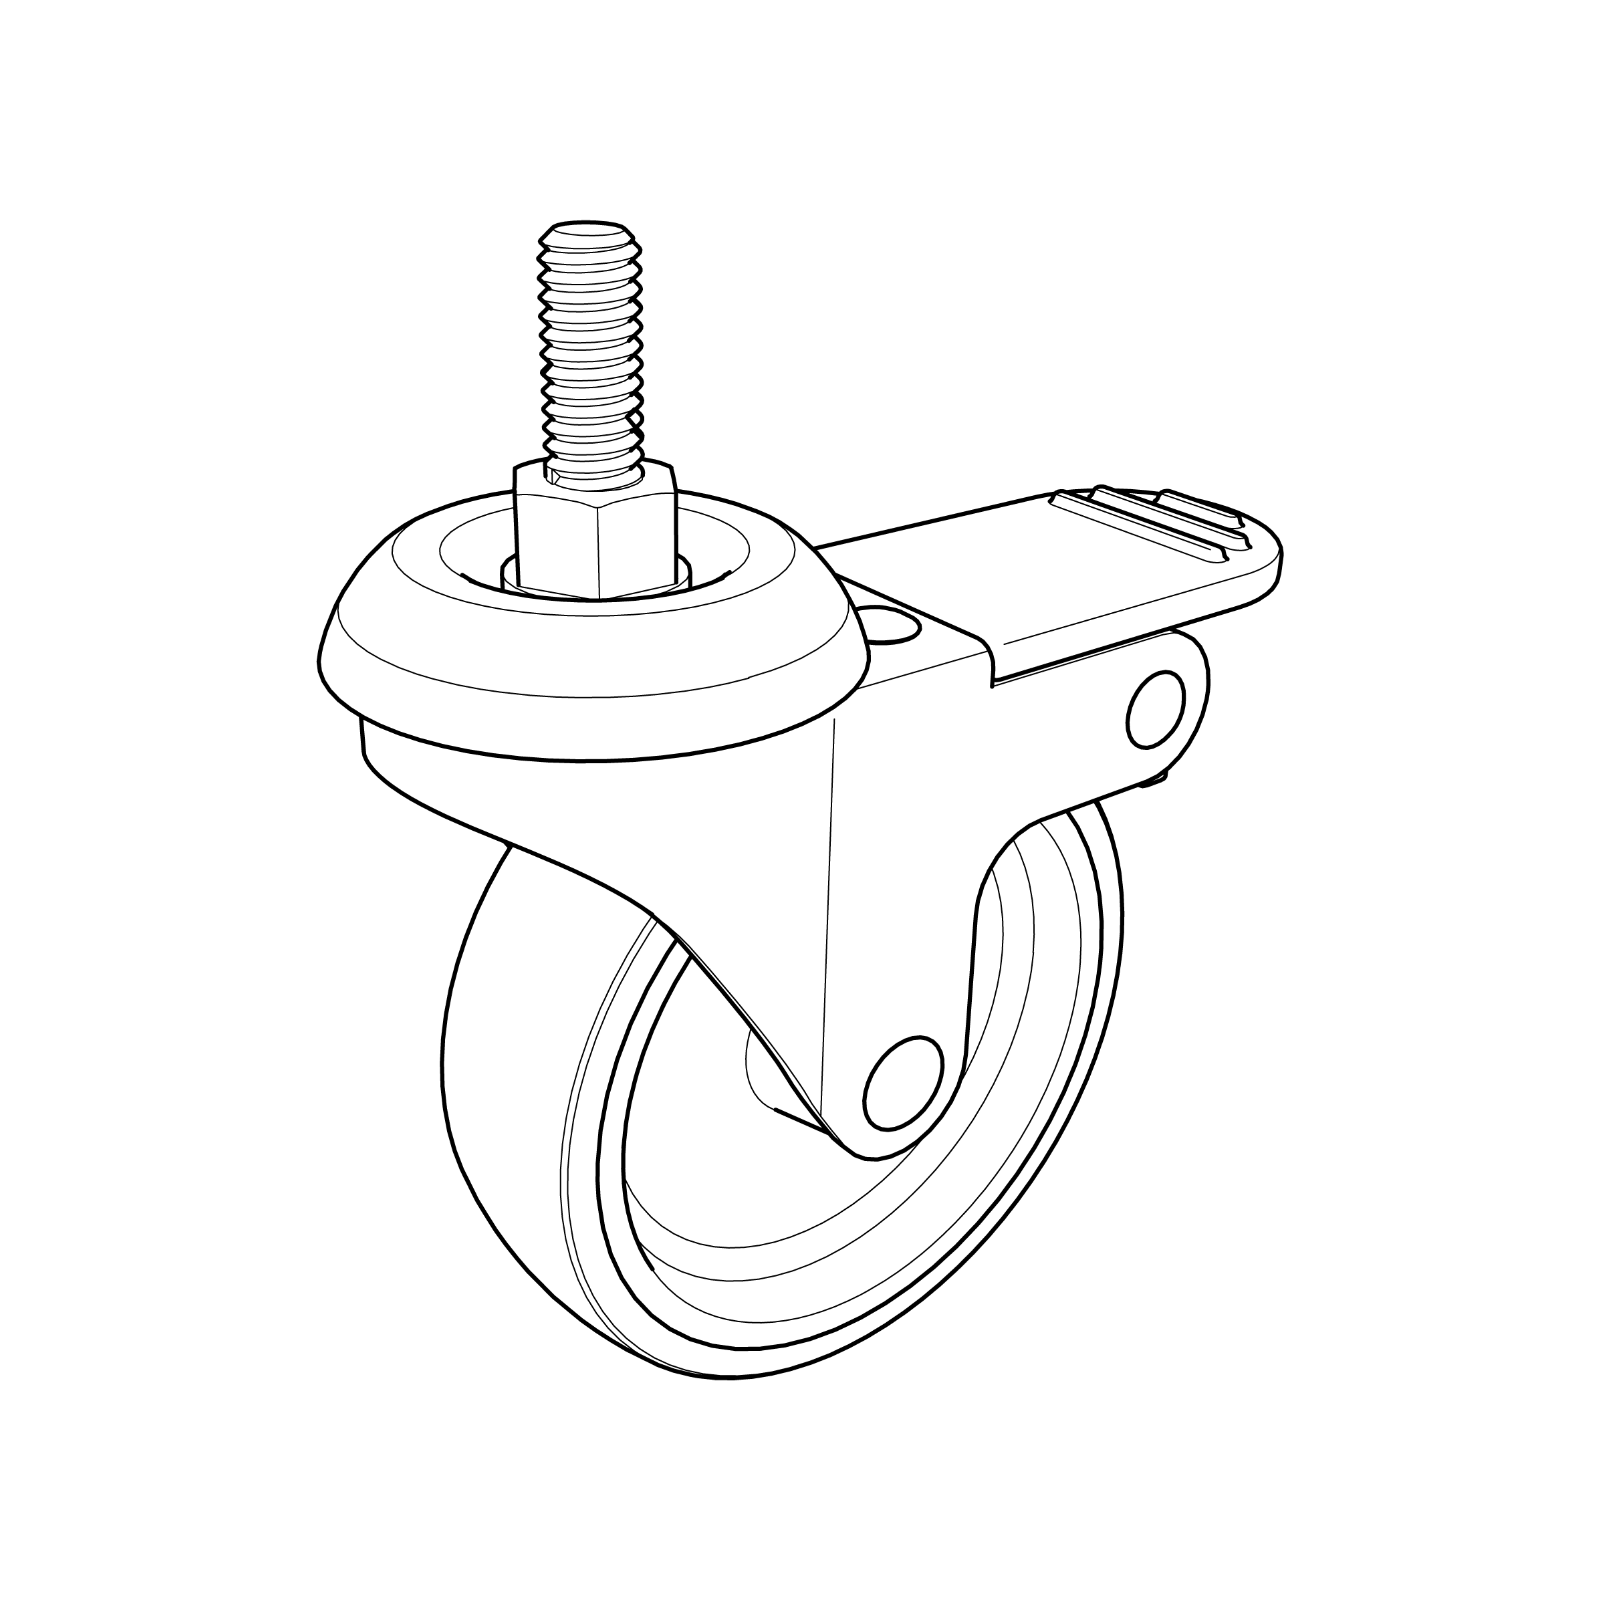
Dome Stand Wheels Set