Quick answer
Build a single coil on the dotPod Max RBA deck, center it over the airflow, and check resistance on a regulated mod before wicking. Thin the wick tails just enough to fill the ports without packing them, then prime and break in at low power.
Why the deck and airflow shape your build
The dotPod Max RBA is a single-coil platform with dual terminal posts and adjustable airflow, and it fits the dotPod Max device only. That matters because the deck is small: a coil that is too wide will sit close to the posts or the chamber walls, and a coil positioned off-center will get uneven airflow. Keep the build compact and aligned with the airflow path rather than chasing large exotic coils.
Adjustable airflow also changes how much wicking the deck can support. A tighter airflow setting rewards a slightly fuller wick because less air moves heat away; a more open setting tolerates thinner tails. Set airflow before you finalize wicking so you are not re-wicking after the first tank.
The ohm range question has no published number
The supplied catalog information for this RBA lists compatibility, a single-coil build deck, dual terminal posts, and adjustable airflow, but it does not publish a resistance range. Treat any specific ohm figure you see elsewhere as unverified for this deck. Instead, use your regulated device's own resistance reading and its safety protections as the checkpoint, and start conservative: a simple round-wire coil in a moderate resistance range is easier to position and wick in a small chamber than a low-resistance multi-core build.
If your device shows a resistance far from what you calculated, or the reading jumps when you wiggle the coil, stop and fix the connection before wicking. A stable reading is the real green light, not a number copied from a forum.
Build and wick the dotPod Max RBA in order
- Inspect and dry-fit the deck: Remove the deck, check that both post screws turn freely, and test-fit your coil leg spacing before installing anything. Common mistake: forcing a screw that is cross-threaded instead of backing it out and reseating it. If a post screw will not seat cleanly by hand, resolve that before building.
- Mount the coil centered over the airflow: Insert the legs into the dual terminal posts, snug the screws, and center the coil so it sits directly above the airflow opening without touching the posts or chamber walls. Common mistake: leaving the coil too high or too close to one side, which produces uneven heating. Check clearance on all sides before trimming legs.
- Dry-burn and strum at low power: Pulse the coil at low power and strum out hot spots until it glows evenly from the center outward. Common mistake: glowing the coil at high power, which can damage a thin wire and distort the coil shape. Even glow from the center is the checkpoint; stop if one leg glows brighter than the coil.
- Confirm a stable resistance reading: Read resistance on your regulated device, then gently wiggle the coil and re-read. Common mistake: skipping the wiggle test and wicking a coil with a loose leg. The two readings should match closely. A jumping reading means re-tighten the post screws before continuing.
- Thread and size the wick: Roll a wick that slides through the coil with light resistance, neither loose nor squeaking tight. Common mistake: over-rolling the cotton so it is dense in the center and starves the middle of the coil. The wick should fill the coil bore without deforming it.
- Trim and place the tails: Cut the tails so they reach the wicking ports without compressing into them, and fluff rather than pack. Common mistake: stuffing too much cotton into the ports, which chokes flow and causes dry hits. Tails should look full but still springy, not compressed.
- Prime, reassemble, and break in: Saturate the coil and wick fully, reassemble the dotPod Max, fill, and start at low power. Common mistake: firing immediately at high power on a dry-ish wick. Raise power gradually once flavor is clean. If flavor tastes dry or muted, lower power and check tail density before rebuilding.
Product facts
-
dotMod dotPod Max RBA - Rebuildable Atomizer for dotPod Max: Single-coil RBA deck with dual terminal posts, adjustable airflow, and compatibility with the dotPod Max device only. The dual posts make a centered single coil straightforward, and the device-specific fit means you should not expect it to work in other pod systems.
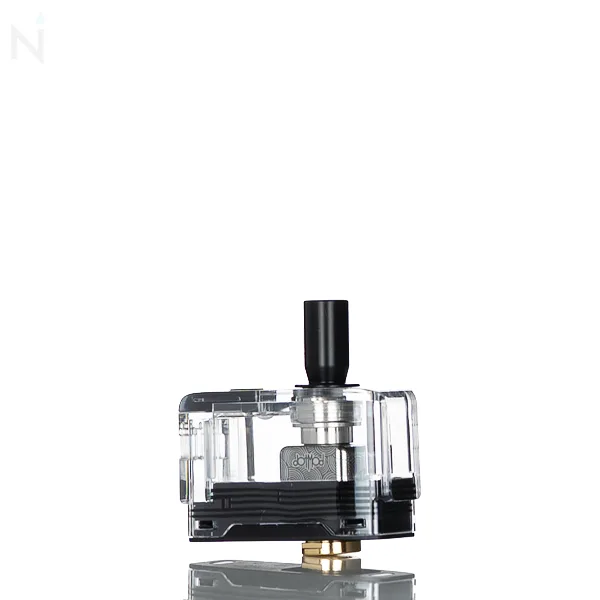
dotMod dotPod Max RBA - Rebuildable Atomizer for dotPod Max