Quick answer
Preheat the cast iron dutch oven with oil to 350°F, dredge seasoned chicken, fry in small batches using the fry basket, and rest on a wire rack. The set's heat retention keeps oil temperature stable for even cooking.
Why cast iron and a fry basket make a difference
Cast iron holds heat better than thin metal, so the oil recovers temperature faster when you add chicken. The included fry basket lets you lower and lift pieces safely and drain them without splashing. This set is designed for that job, pairing a 5-quart dutch oven with a commercial-grade fry basket.
However, cast iron is heavy and takes longer to heat than a dedicated fryer. Plan for a 10–15 minute preheat and use a thermometer rather than guessing. Also, the seasoned surface is not enameled, so avoid acidic marinades and clean promptly to protect the seasoning.
Oil choice and safety setup
Use an oil with a high smoke point, such as peanut, canola, or vegetable oil. Fill the dutch oven no more than halfway to leave room for displacement and bubbling. Set the pot on a stable burner, keep a lid and baking soda nearby for emergencies, and never leave hot oil unattended.
Step-by-step: crispy fried chicken in a dutch oven frying set
- Preheat the oil: Pour oil into the dutch oven to a depth of about 2 inches, attach a thermometer, and heat to 350°F over medium heat. This takes 10–15 minutes with cast iron. Checkpoint: if the oil smokes before reaching 350°F, reduce heat and wait.
- Prepare the chicken: Pat chicken pieces dry, season generously, and dredge in flour or batter. Shake off excess. Mistake to avoid: overcrowding the basket—fry in batches of 3–4 pieces so the oil temperature doesn't drop too much. Dry chicken and shaking off excess coating help the crust stay crisp.
- Fry in batches: Lower the basket into the oil slowly. Maintain 325–350°F. Fry until golden brown and cooked through (internal temperature 165°F), about 12–15 minutes for bone-in pieces. Checkpoint: if the oil temperature drops below 325°F, wait for it to recover before adding more chicken.
- Drain and rest: Lift the basket and let excess oil drip back into the pot. Transfer chicken to a wire rack set over a baking sheet—not paper towels, which steam the crust. Mistake to avoid: stacking pieces; keep them in a single layer. A wire rack keeps the underside crispy.
- Cool and clean the oil: Let oil cool completely, then strain through a fine-mesh sieve or cheesecloth and store in a sealed container in a cool, dark place. Wipe the dutch oven clean and re-oil lightly to maintain seasoning. Checkpoint: never pour hot oil down the drain.
Product facts
-
Seasoned Cast Iron Dutch Oven Frying Set: This duo features a 5-quart dutch oven and a commercial-grade fry basket. The 5-quart size holds enough oil for frying without crowding, and the basket makes it easy to lower and retrieve chicken safely.
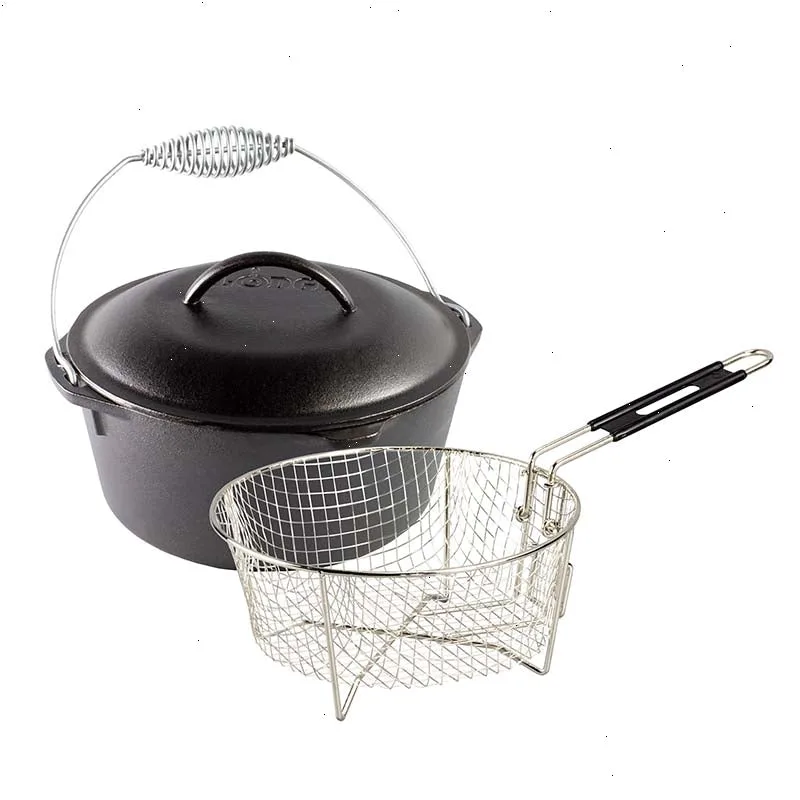
Seasoned Cast Iron Dutch Oven Frying Set