Quick answer
A well-fitted ear cuff rests on the cartilage with gentle, even pressure—snug enough that it does not slide when you shake your head, but loose enough to slide a fingernail under the opening. If it pinches or leaves a mark, it is too tight; if it rotates or falls off, it is too loose. Most ear cuffs are adjustable, so you can bend them gently to dial in the fit.
Find the right spot on your ear
Ear cuffs sit on the cartilage, not the lobe, and the exact position changes how the fit feels. The thinnest part of your ear—usually the mid-helix or upper helix—gives the most secure hold with the least pressure. If you have a thick or folded helix, choose a cuff with a wider opening or an open-ended design that you can shape. Try the cuff on bare skin first; hair, hats, and glasses can push it out of place and make you think the size is wrong when it is actually just shifting.
Measure before you buy
Wrap a soft measuring tape or a strip of paper around the part of your ear where the cuff will sit. Mark where the paper overlaps, then measure that length against a ruler. That number is the circumference you need the cuff opening to match. Most ear cuffs list an inner diameter or a range; if the brand only gives a size like small or large, compare its stated diameter to your measurement. When you are between sizes, size up—it is easier to gently squeeze a cuff tighter than to stretch one that is too small.
Adjust the cuff without damaging it
Open-ended cuffs are meant to be shaped by hand. Hold the cuff at both ends and apply slow, even pressure with your thumbs—never force it. Bend it a little, try it on, and repeat. Avoid bending the same spot back and forth, which weakens the metal and can cause it to snap. If your cuff has a decorative element like a stacked silhouette or gemstones, keep your bending pressure away from the stones and focus on the plain band. Closed cuffs cannot be adjusted; if one is too tight, stop wearing it and look for an open design instead.
Stop slipping without over-tightening
An ear cuff that slips off is usually too loose, but sometimes the problem is placement or surface texture. Clean the inside of the cuff and your ear with a dry cloth to remove oils—skin care products and hairspray make metal slide. If the cuff still moves, pinch the opening slightly closer together, a millimeter at a time. For very smooth cuffs on smooth cartilage, a tiny piece of clear medical tape on the inside of the cuff can add grip without being visible. Never crimp the cuff so tight that it pinches; that causes soreness and can cut off circulation.
Know when to take it off
Even a comfortable ear cuff should come off before bed, swimming, or intense workouts. Overnight pressure can leave your ear tender, and water and sweat can trap moisture under the metal. If you feel throbbing, numbness, or a hot spot, remove the cuff immediately and let your ear rest for a day. Persistent pain or redness means the fit is wrong—not that you need to tough it out. For daily wear, rotate between ears or positions to give the cartilage a break.
Step-by-step ear cuff fit check
- Clean your ear and the cuff: Wipe the inside of the cuff and your ear with a dry, lint-free cloth to remove oils, lotion, or hairspray. Checkpoint: the cuff should not slide around on clean, dry skin before you adjust it.
- Slide the cuff onto the thinnest part of your helix: Start at the edge of your ear and rotate the opening into place. Do not force it over a thick fold. Mistake to avoid: jamming it onto the thickest part of your ear, which makes any cuff feel too tight.
- Test the fit with a shake and a fingernail: Shake your head gently. The cuff should stay in place. Then try to slide a fingernail under the opening—it should fit without pushing hard. If your fingernail will not fit, the cuff is too tight. If it slides off during the shake, it is too loose.
- Adjust in small increments: If needed, hold the cuff at both ends and bend gently with your thumbs. Bend away from any stones or decorations. Mistake to avoid: bending the same spot repeatedly, which weakens the metal. Make one small change, then retest.
- Wear it for 20 minutes before deciding: Cartilage can feel fine for a minute and then ache. Keep the cuff on for a short trial at home before wearing it out. If you feel pressure, tingling, or a hot spot, remove it and loosen the fit. Comfort should be immediate, not something you wait out.
Product facts that help with fit
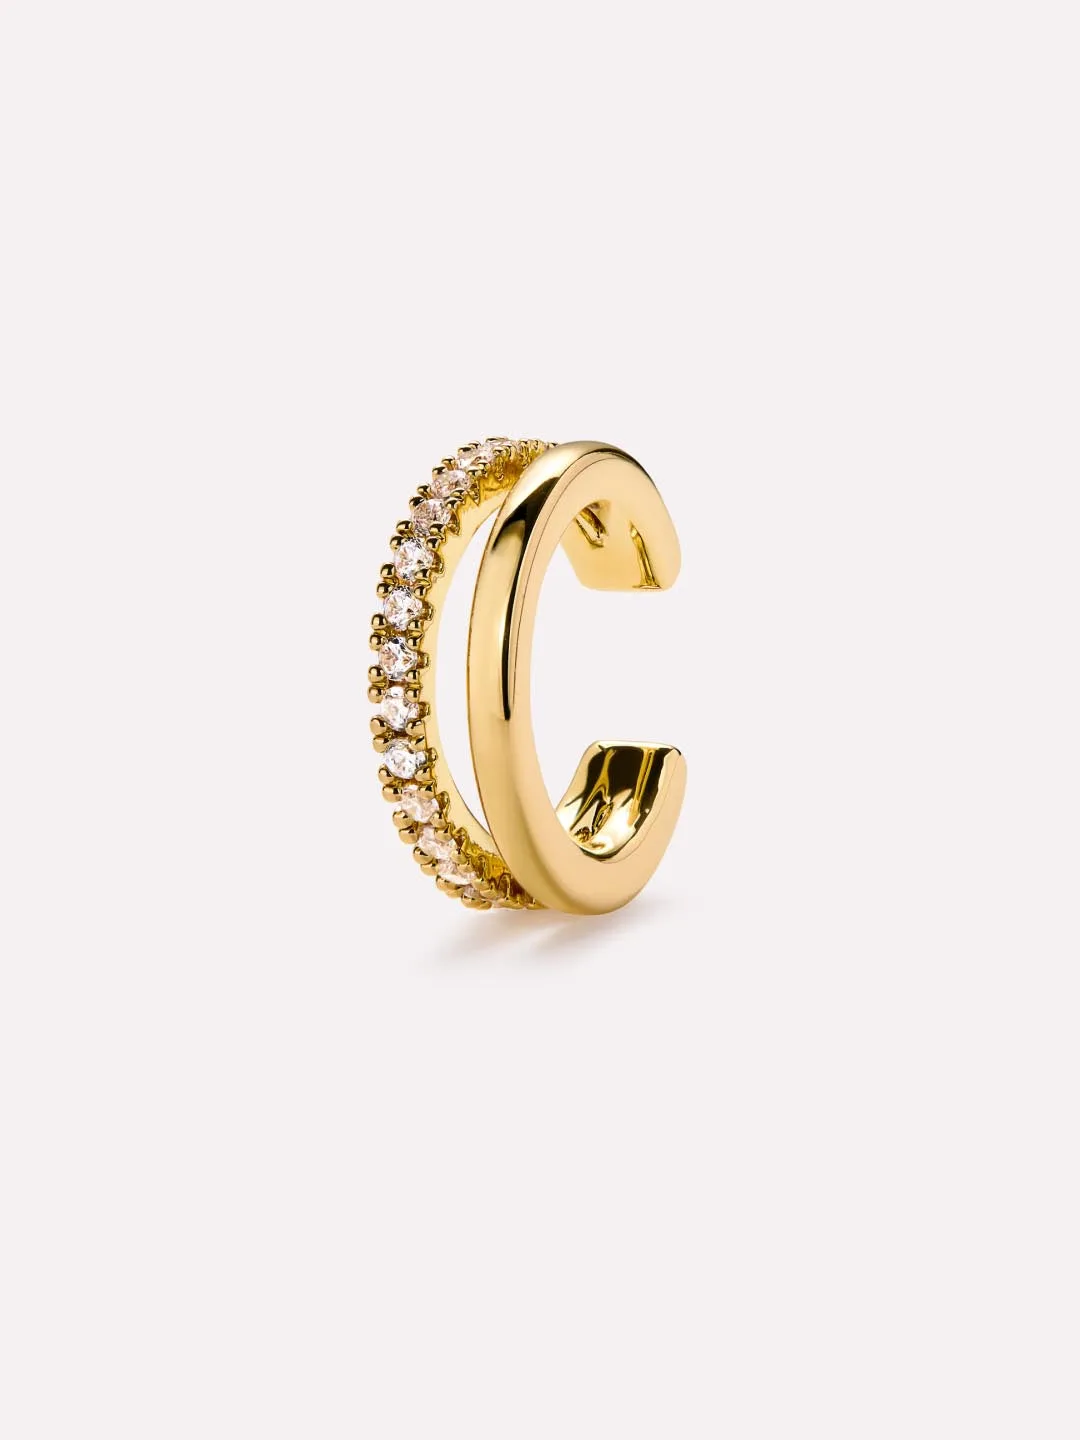
- Ear Cuff - Jordana | Ana Luisa Jewelry: Irresistibly cool ear cuff plated in 14k gold, featuring a stacked silhouette and cubic zirconia gemstones designed to add texture and sparkle to every look. The stacked silhouette means more surface area against your ear, so fit matters more—if it is too tight, the pressure spreads across a wider area and becomes uncomfortable faster. Adjust gently and avoid bending near the stones.
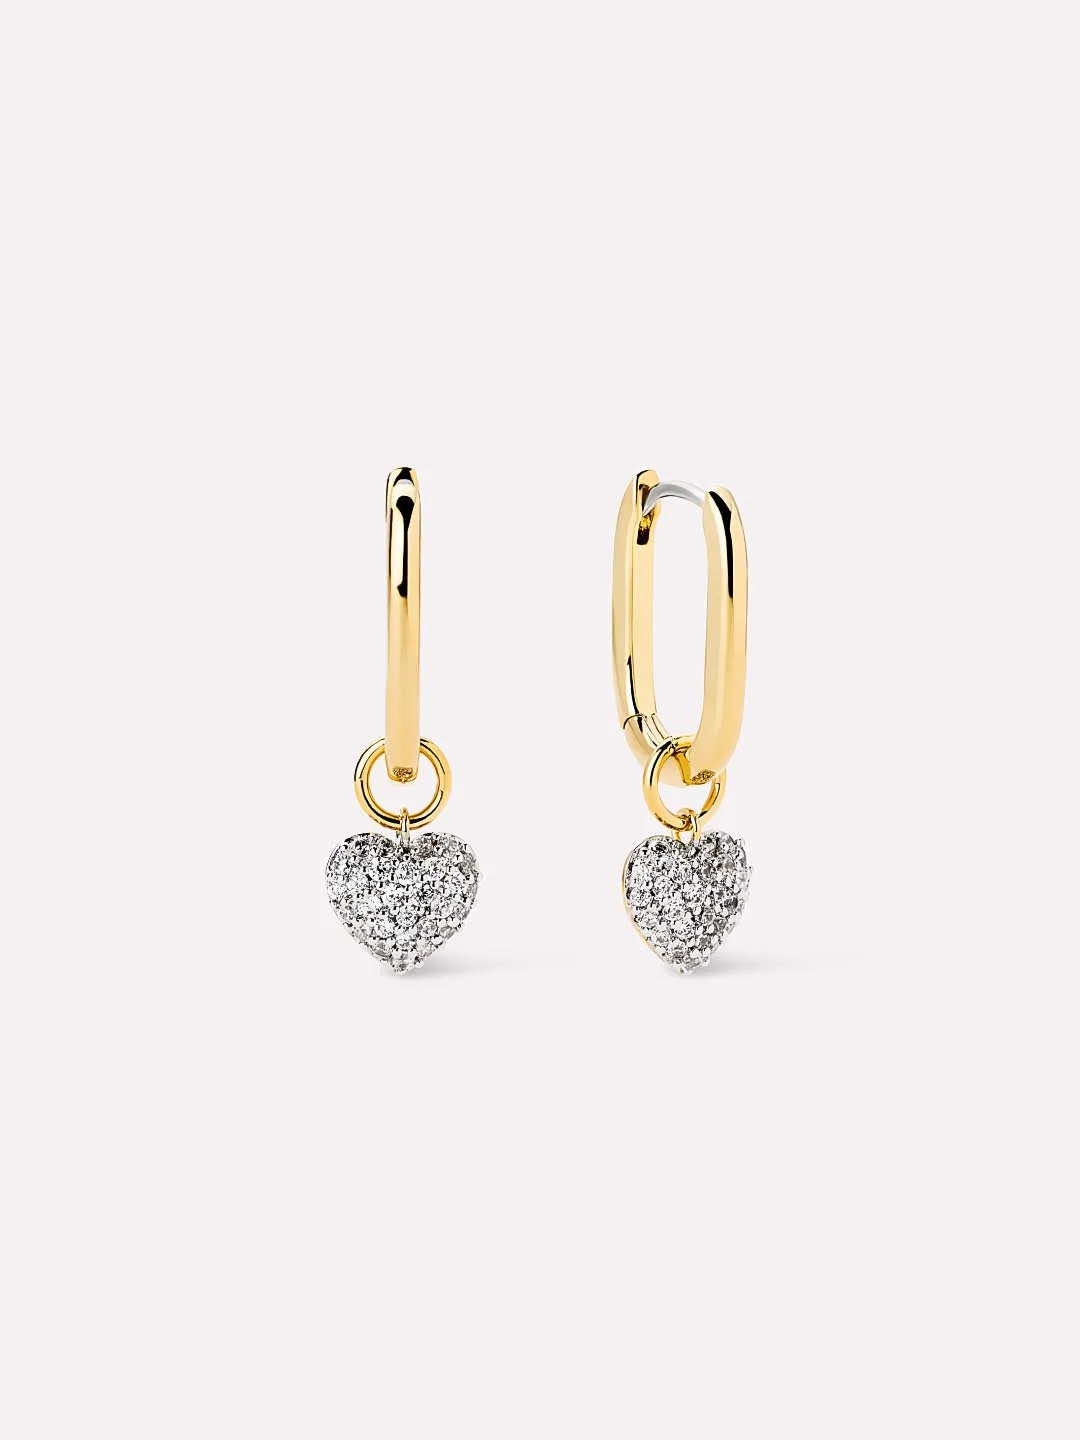
- Drop Earrings - Ellery Hoops | Ana Luisa Jewelry: Seriously chic, these drop earrings plated in 14k gold and rhodium features sleek hoops with dangling pavé hearts for a sparkly and statement-making touch. If you are new to ear cuffs, pair one with a familiar drop earring on the other ear. The hoop and heart design gives you a balanced look without needing a second cuff, and you can test your cuff fit on one ear at a time.
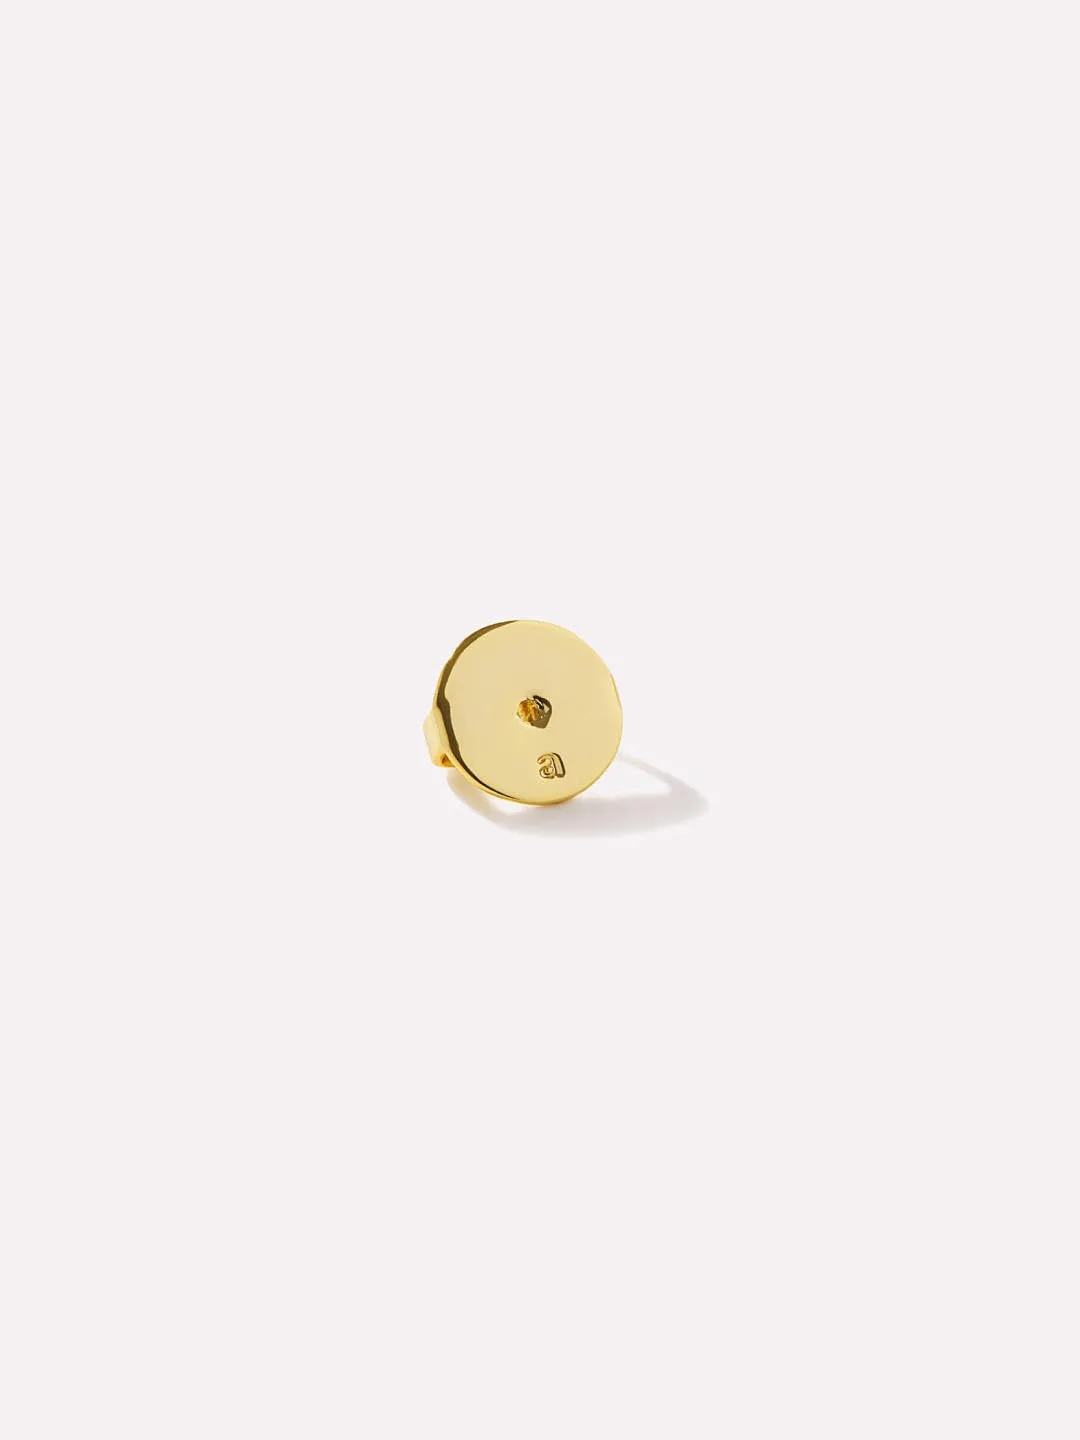
- Ana Luisa - Earrings Backs (2 pairs) | Ana Luisa Jewelry: These sleek earring backs from Ana Luisa are designed to be very comfortable and allow you to wear your favorite earrings all day long. If you wear studs or drop earrings alongside your cuff, fresh backs can keep those earrings from pressing against the cuff or adding bulk behind your ear. Comfortable backs reduce the urge to fidget with the whole ear, which helps your cuff stay put.