Quick answer
Match the back to the earring's weight and your daily routine: comfort push backs for light everyday studs, screwbacks for valuable or frequently lost earrings, and earring back lifters for heavy statement pairs that sag. If a back feels loose, slides down the post, or lets the earring tilt forward, replace it before you lose the earring.
The four back styles you will actually encounter
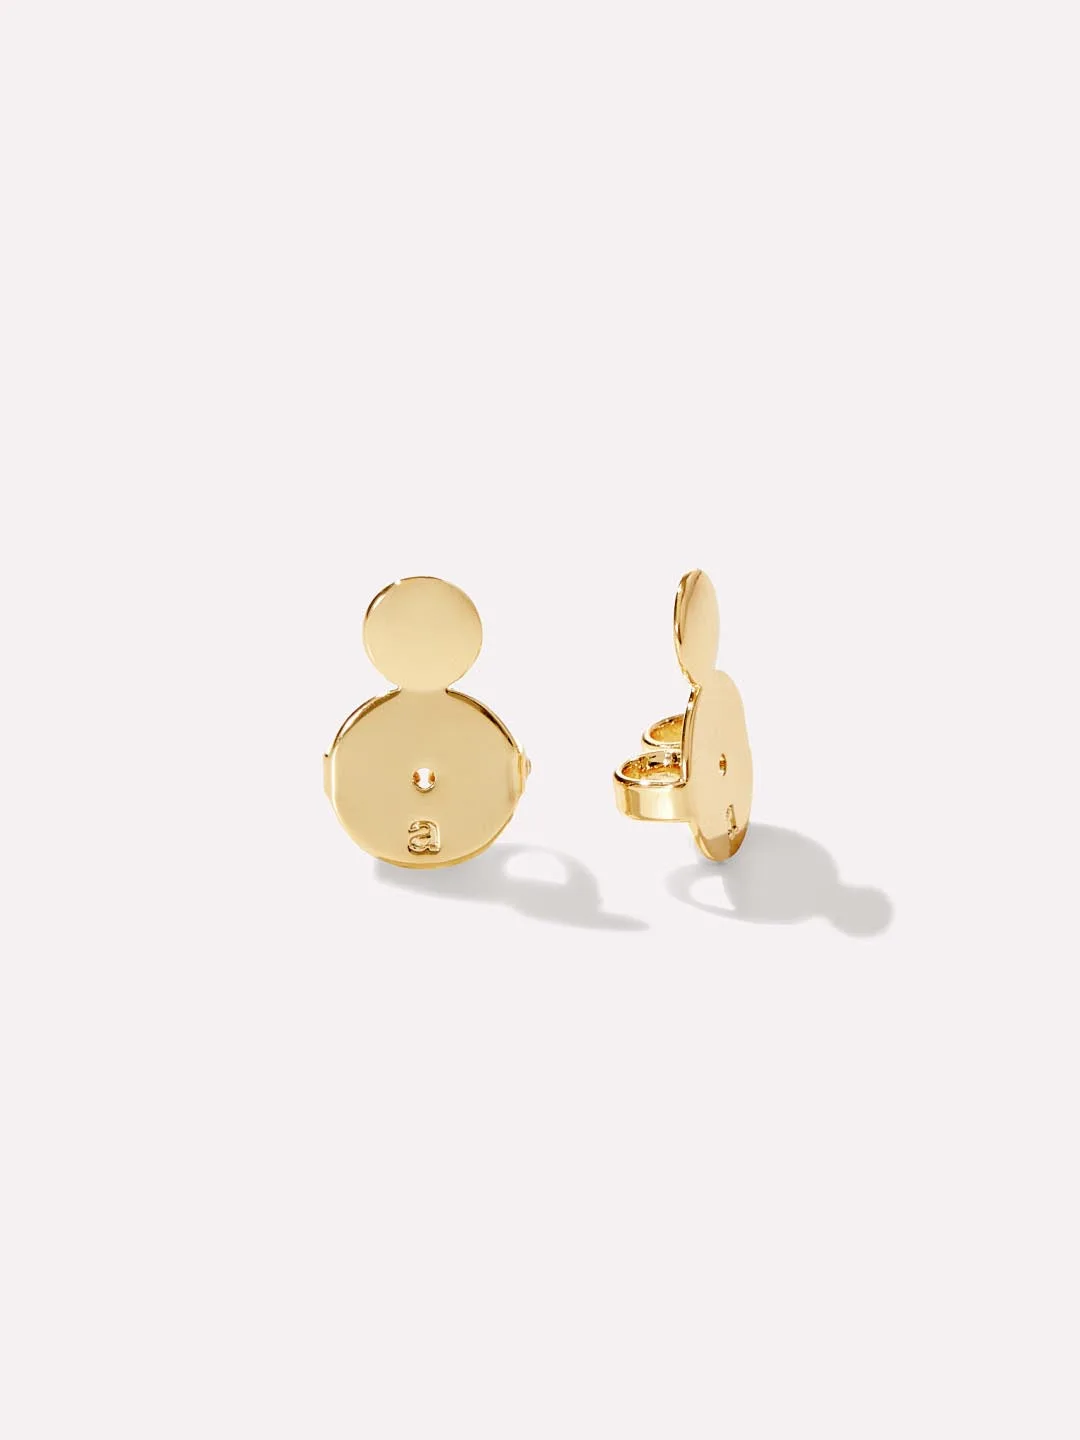
Most earrings arrive with one of four backs. Push backs (also called butterfly or friction backs) slide onto a grooved post and rely on friction; they are the fastest to put on and the easiest to lose. Screwbacks thread onto a ridged post and lock in place, which makes them the most secure option for earrings you rarely remove. Hinged or lever backs snap shut behind the lobe and suit dangles that need to swing without slipping off. Lifters are a support disc that sits behind the lobe and raises a heavy earring so the front does not droop.
The tradeoff is speed versus security. Push backs win on convenience, screwbacks win on retention, and lifters win on comfort for weight. None of them fix a post that is too short for your lobe, so check that the post clears your ear before blaming the back.
How to tell when a back needs replacing
Backs wear out quietly. A push back that once needed a firm push now slides on with no resistance, or it leaves a dark residue on the post. A screwback that takes three turns to tighten instead of one has stripped threads. A lifter that has gone soft no longer holds the earring upright. Any of these means the back is done, even if the earring itself is fine.
Replacing backs is far cheaper than replacing earrings, and it also solves a fit problem: a fresh, slightly tighter back can rescue a pair you had stopped wearing. Keep a small dish or pouch for spares so you are not hunting through a jewelry box when one goes missing.
Choosing between comfort and grip
Comfort backs are built with a wider, smoother surface against the lobe, which matters if you wear earrings for ten hours or sleep-adjacent. They distribute pressure instead of concentrating it on a small metal point. The tradeoff is that some comfort designs grip less aggressively, so they suit light to medium earrings rather than a heavy drop.
If you have sensitive or recently pierced lobes, prioritize a smooth finish and a back that does not pinch. If you have stretched piercings or wear heavy earrings, prioritize grip and consider a lifter to take the downward pull off the piercing itself.
A quick note on sizing
Backs are not one-size-fits-all. Post gauge (thickness) and post length vary between earrings, and a back made for a thin post will feel loose on a thicker one. When you buy replacement backs, check whether they are described for standard posts or heavy earrings, and test the fit on the earring before you commit to wearing it out.
If a back fits the post but still sits too far from your lobe, the post is too long for you; if it cannot reach the groove, the post is too short. In both cases, the back is not the problem, so no amount of swapping will fix it.
How to use and replace earring backs, step by step
- Identify the back type before you buy replacements: Look at the post: smooth with a groove means push back, ridged or threaded means screwback. Buy the matching type so the back actually locks. Checkpoint: if the new back spins freely instead of gripping or threading, it is the wrong type.
- Test the post length against your lobe: Put the earring in without a back and see how much post extends behind the lobe. You need enough room for the back to sit flat, not press into skin. Mistake to avoid: forcing a back onto a too-short post, which bends the post and loosens the fit permanently.
- Add a lifter to heavy earrings before the back: Slide the lifter onto the post first so it rests behind the lobe, then secure the back over it. The lifter carries the weight and keeps the front of the earring level. Checkpoint: the earring should sit upright, not tilt forward, once the back is on.
- Tighten screwbacks fully, then back off a quarter turn: Over-tightening flattens the threads and makes the back hard to remove later. A quarter turn back keeps it secure without seizing. Mistake to avoid: tightening until it stops hard, which is how screwbacks strip.
- Replace backs in pairs, not one at a time: Old and new backs grip differently, so a single replacement can make one earring sit higher or tighter than the other. Next step: keep the old backs as emergency spares in a travel pouch.
Products that solve common back problems
- Earring Backs - Earring Back Lifters (4 pcs) | Ana Luisa Jewelry: Earring Back Lifters (4 pcs) are designed to keep statement earrings in place and support heavier pairs. Useful when a heavy earring tilts forward or drags the lobe down, since the lifter adds support behind the lobe rather than just gripping the post.
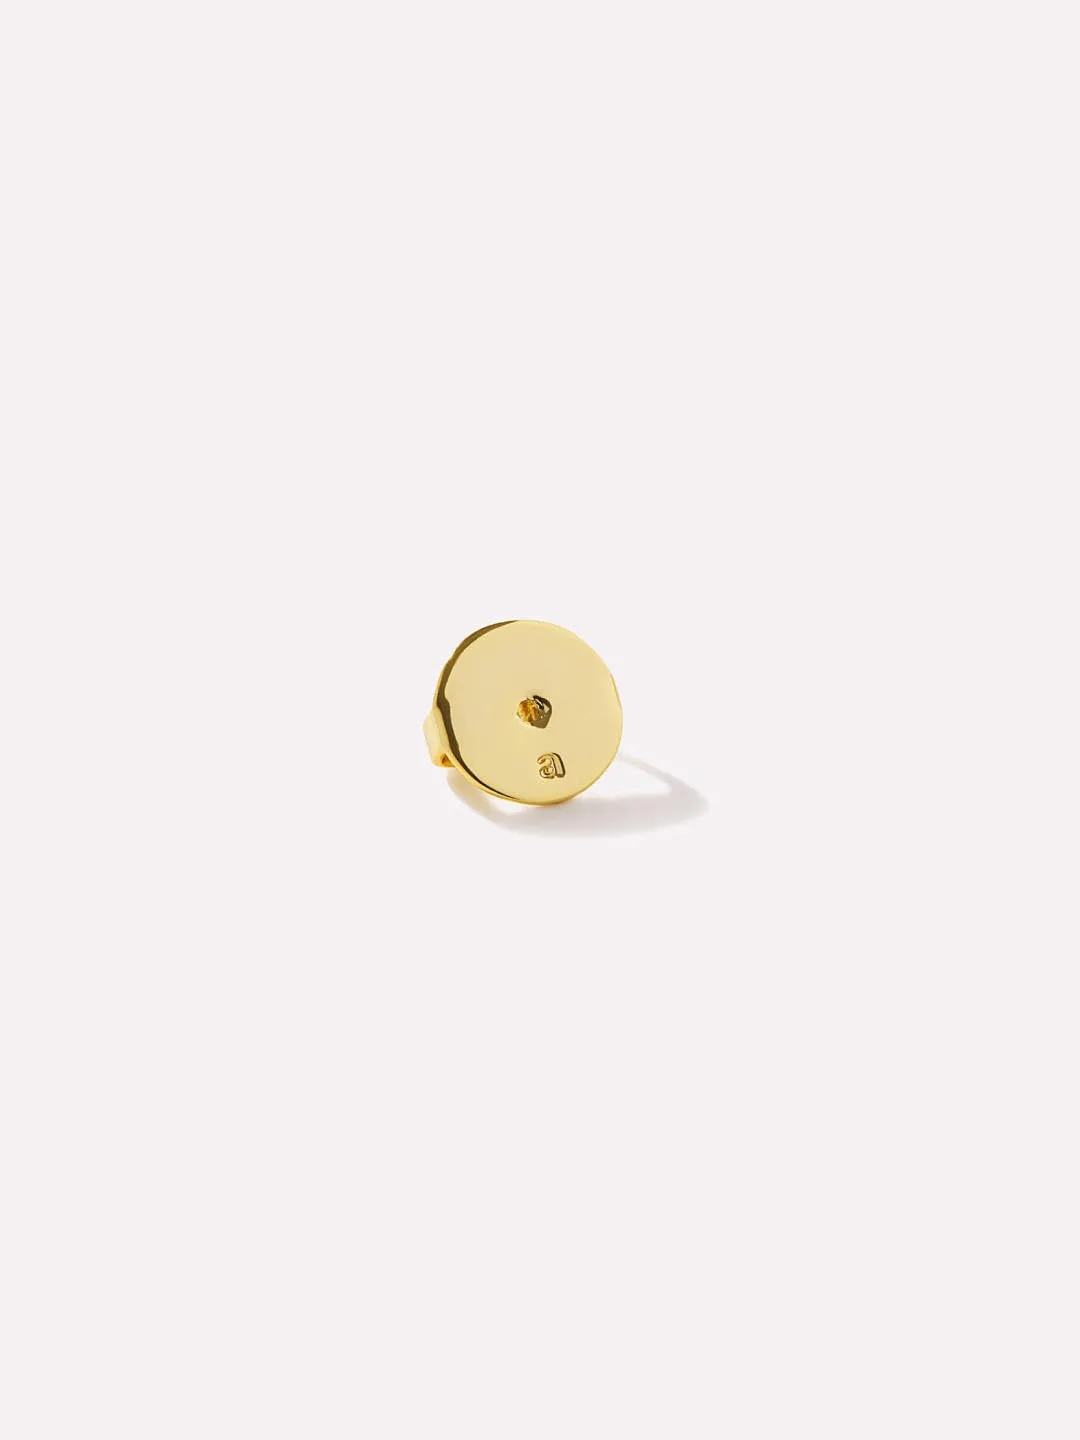
- Ana Luisa - Earrings Backs (2 pairs) | Ana Luisa Jewelry: These earring backs are described as sleek and very comfortable, intended for wearing your favorite earrings all day. A practical swap for anyone whose current backs pinch or irritate during long wear, especially on light everyday studs.
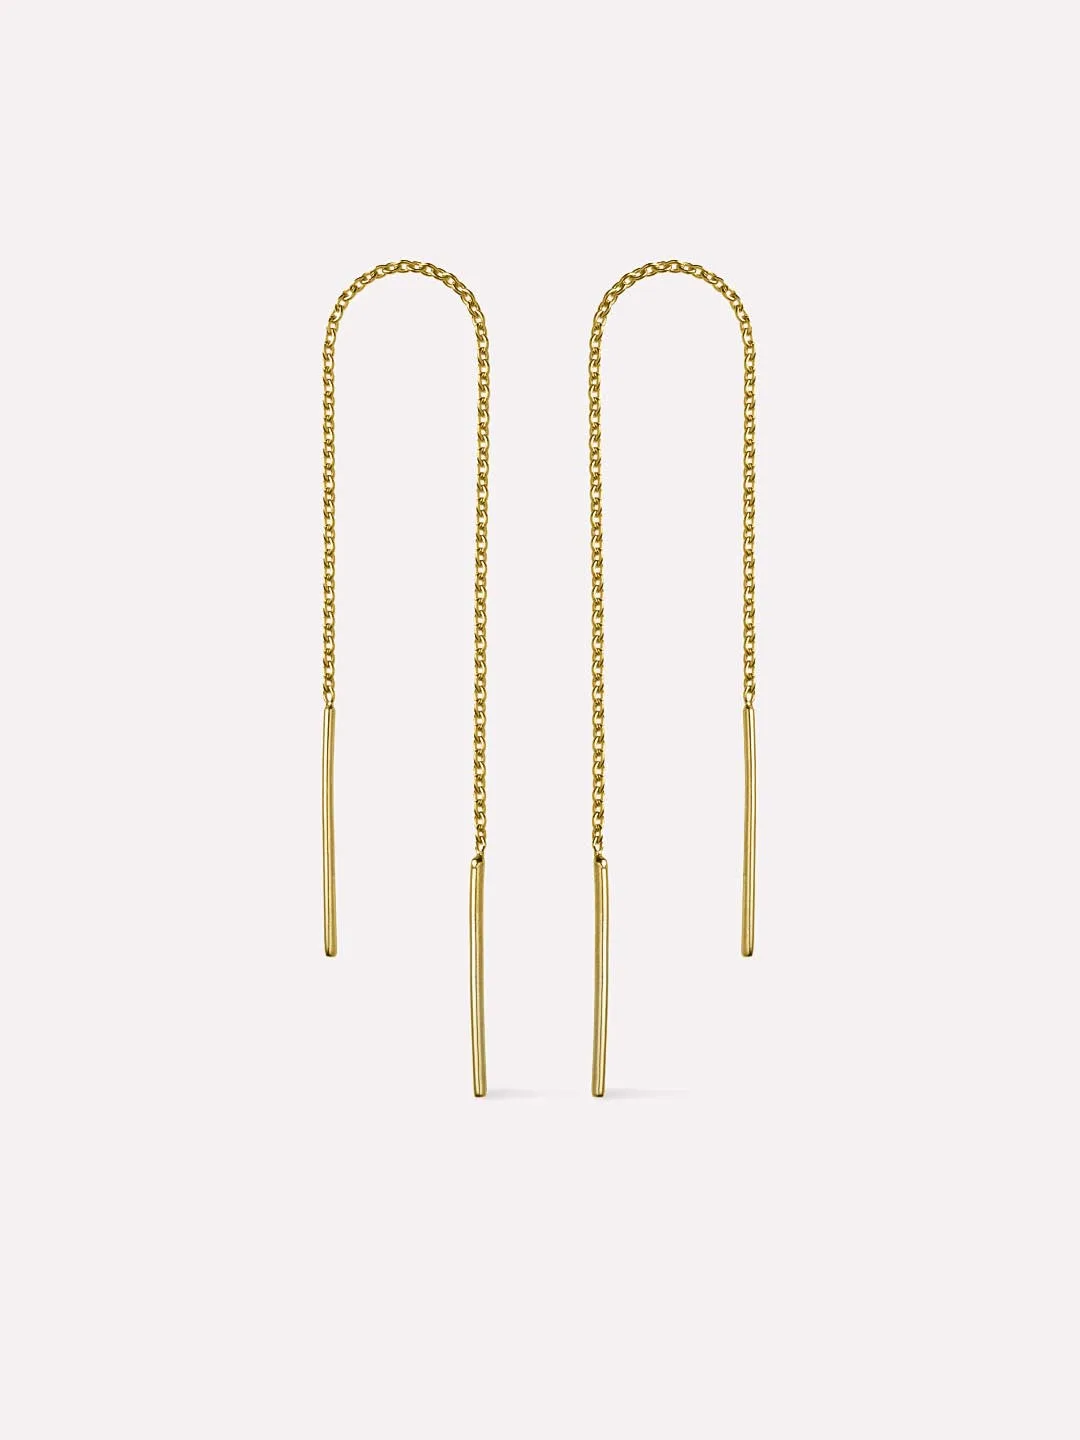
- Gold Threader Earrings - Gold Threaders | Ana Luisa Jewelry: Gold threader earrings are handcrafted with a gold finish and a modern, elegant style for everyday wear. Threaders rely on balance rather than a traditional back, so they pair well with a lifter or a secure back on the second hole if you layer them.