Quick answer
For most walls, start with the adhesive option on a clean, smooth surface for a no-drill install; switch to screws if your wall is textured, painted with low-VOC paint, or in a high-traffic area. Place the mount high and central to your coverage area for the best WiFi range.
Why placement matters more than mounting method
The height and location of your Eero 7 affect signal spread far more than whether you use adhesive or screws. Mounting higher reduces obstacles like furniture and improves line-of-sight to devices. Adhesive is faster and reversible, but it relies on a clean, flat surface; screws are more permanent and work on uneven or delicate walls. Choose based on your wall material and how often you might move the router.
Step-by-step installation and placement
- Choose the right spot: Pick a location high on a wall, central to your home, and away from metal objects or thick walls. Avoid corners and low spots behind furniture. Common mistake: placing it at table height, which limits range. Check that the spot has good line-of-sight to your devices.
- Prepare the wall surface: For adhesive mounting, clean the wall with a damp cloth and let it dry completely. For screw mounting, mark pilot holes and use wall anchors if needed. Common mistake: skipping cleaning, which weakens adhesive. Adhesive works best on smooth, non-porous surfaces; screws are better for textured or painted walls.
- Attach the mount: Peel the adhesive backing and press firmly for 30 seconds, or screw the bracket into the wall. For adhesive, wait 24 hours before mounting the router to ensure a strong bond. Common mistake: mounting the router immediately, which can cause the adhesive to fail. Follow the adhesive cure time; don't rush.
- Secure the router: Slide or clip the Eero 7 into the mount according to the holder design. Ensure it sits securely and cables are routed neatly. Common mistake: forcing the router, which can damage the mount or router. Test the hold by gently tugging; it should not wobble.
- Optimize and test: After installation, check WiFi signal strength in different areas. If coverage is poor, consider moving the mount higher or more central. Common mistake: not testing after placement, missing dead zones. Use a WiFi analyzer app to confirm improvement.
Product facts
-
Screwless Wall Mount for EERO 7 WiFi Router, Easy To Install Holder, Adhesive & Screw In: Screwless wall mount designed for Eero 7 WiFi routers, with both adhesive and screw-in options. Gives you flexibility to install without drilling or use screws for a more permanent hold.
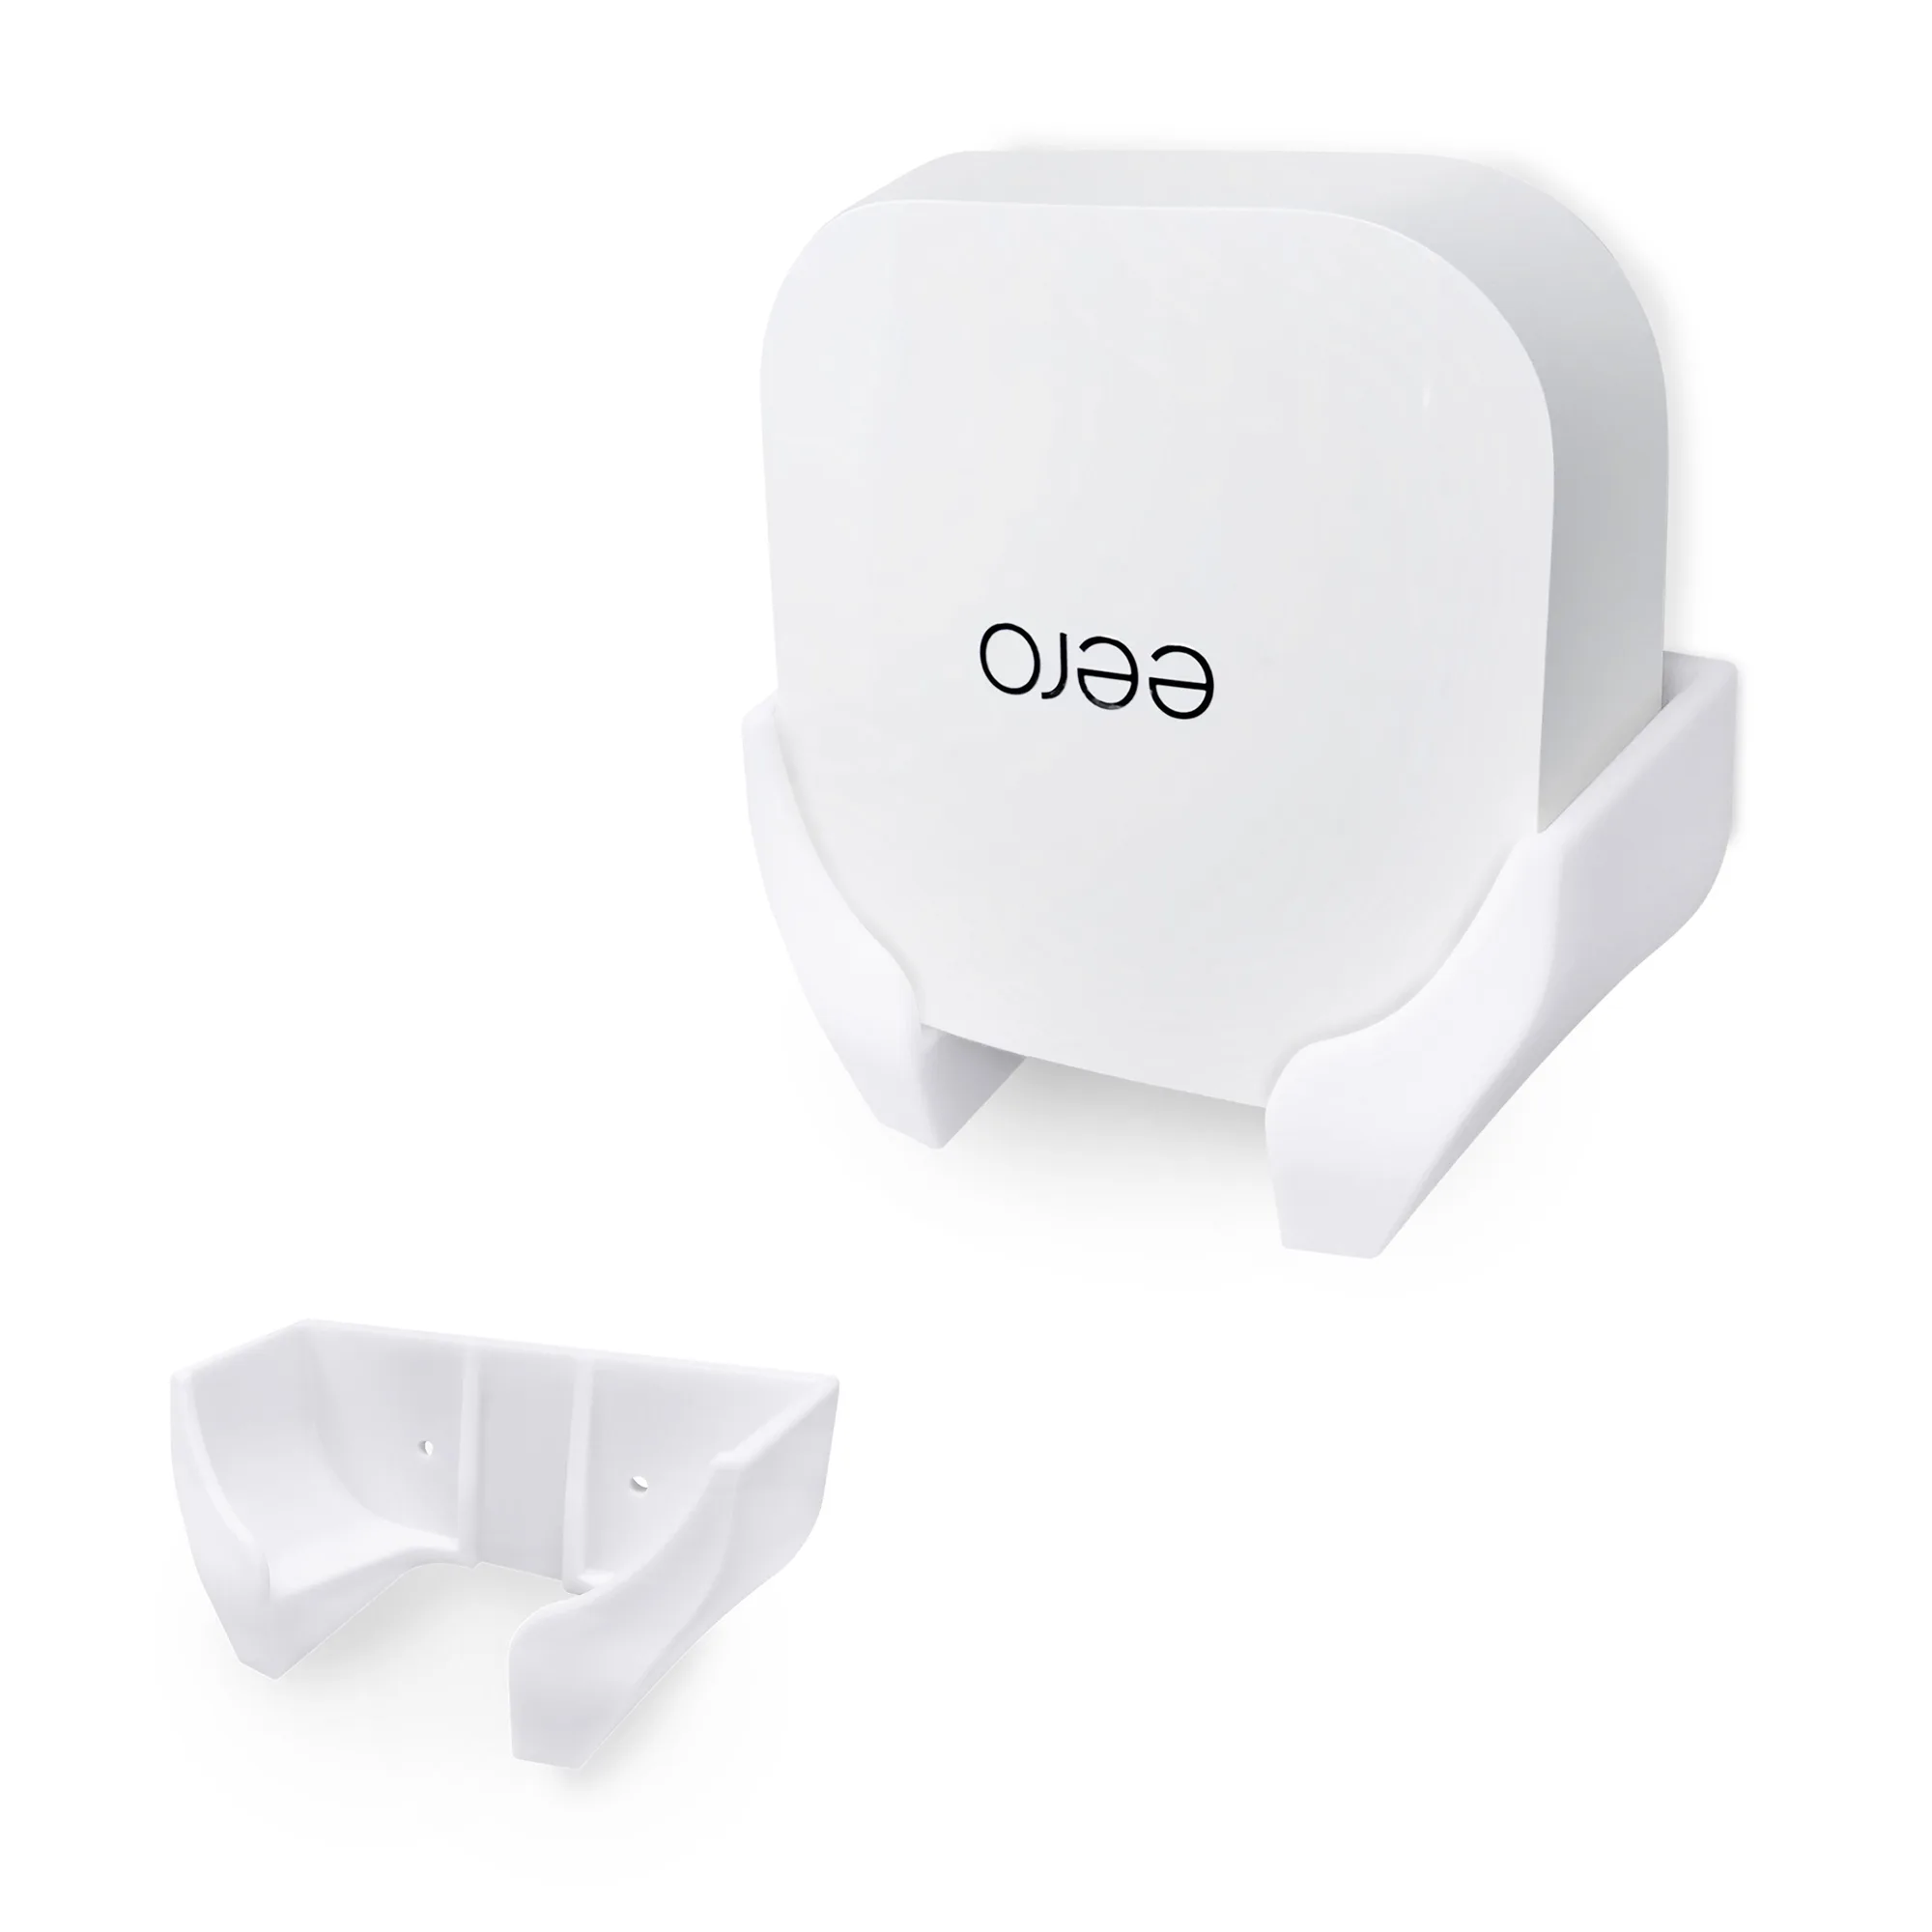
Screwless Wall Mount for EERO 7 WiFi Router, Easy To Install Holder, Adhesive & Screw In