Quick Answer
Build the eitech Eiffel Tower Deluxe by following a logical assembly sequence, using the right tools, and planning your display space for the finished 125 cm model.
Why the Assembly Order Matters
The Eiffel Tower Deluxe has over 2,300 parts, so starting with the base and working upward prevents structural issues. Jumping ahead often leads to loose connections that are hard to fix later.
Galvanized strip steel parts are sturdy but require careful alignment. If you force a connection, you risk bending the metal, which can throw off the tower's symmetry.
Display Considerations for a 125 cm Model
At 125 cm tall, this model needs a stable, level surface away from direct sunlight or moisture to prevent discoloration. A shelf or table with enough clearance above is ideal.
The tower's open lattice design makes it a striking decorative piece, but dust can settle inside the structure. Plan for occasional gentle dusting with a soft brush.
Step-by-Step Build and Display Guide
- 1. Sort and Organize Parts: Open the box and separate parts by type and size. Use small containers or trays to keep pieces from rolling away. Check the manual for a list of sub-assemblies. Common mistake: mixing similar-looking screws can cause alignment issues later. Label containers clearly.
- 2. Build the Base First: Follow the manual to construct the square base platform. Ensure all joints are tight and level. This foundation supports the entire tower, so take your time. Checkpoint: verify the base is square by measuring diagonals. If they differ, adjust before moving up.
- 3. Assemble the Lower Section: Attach the first tier of legs and cross braces. Work in a clockwise order to keep the structure balanced. Tighten screws firmly but avoid over-torquing the metal. Common mistake: skipping cross braces can make the tower wobble. Install every brace as shown.
- 4. Build the Middle and Upper Tiers: Stack the middle section on the lower tier, then add the upper section with its observation decks. Use a helper to hold the tower steady if needed. Checkpoint: test stability after each tier. If the tower leans, loosen and realign the connections.
- 5. Attach the Antenna and Final Details: Install the top antenna and any decorative elements. These are delicate, so handle them gently. Double-check all screws are snug. Common mistake: forcing the antenna can bend it. Align it carefully before tightening.
- 6. Place on a Stable Display Surface: Move the completed tower to a flat, sturdy surface. Position it away from edges to prevent accidental bumps. Consider a glass display case for dust protection. Checkpoint: ensure the surface can support the weight (model is heavy) and is out of direct sunlight to keep the galvanized steel looking new.
Product Facts
-
Eiffel Tower Deluxe: The largest structure in our Masterclass series with over 2,300 parts offers young engineers and adult hobbyists entertaining construction fun. The model reaches a height of approx. 125 cm. This means the build takes time and patience, but the final model is a showpiece that fits well in a living room or study.
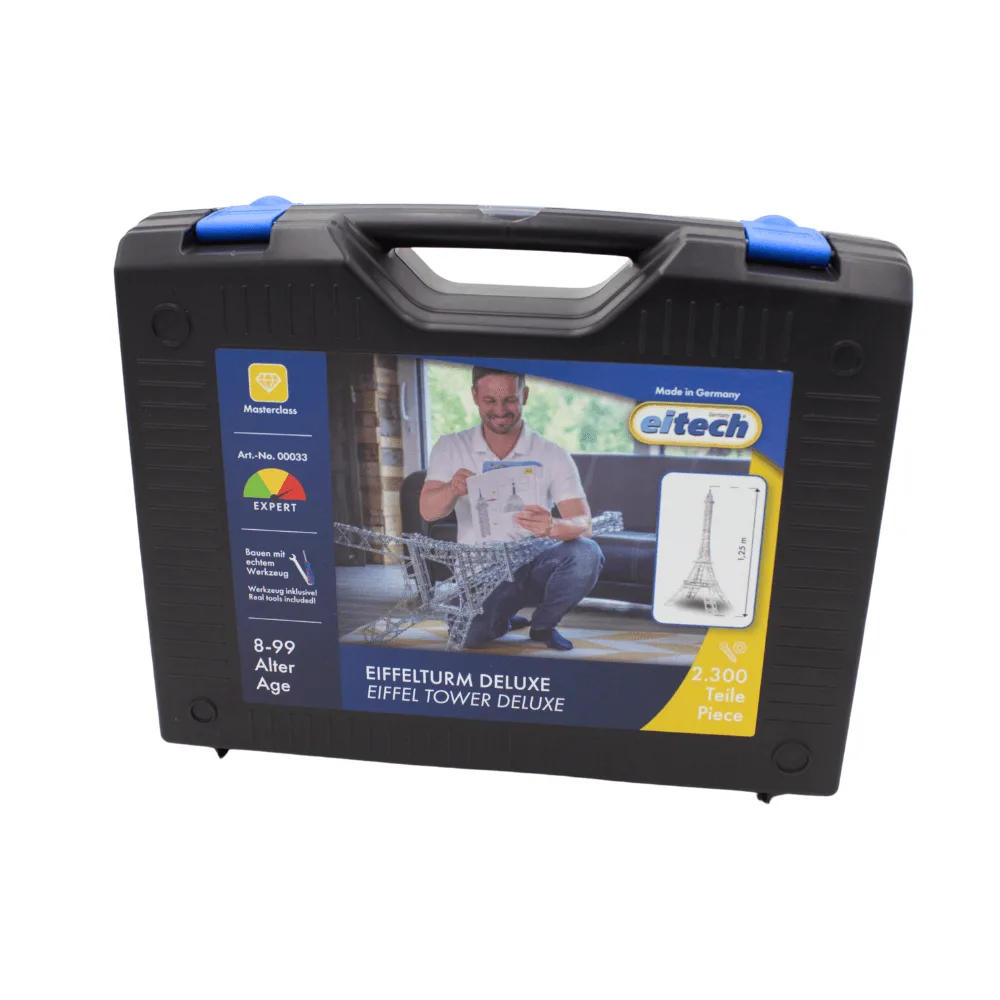
Eiffel Tower Deluxe