Quick answer
To install or remove emblems without damage, work on a clean, warm surface and use the right tools: heat, fishing line, and adhesive remover for removal; isopropyl alcohol and fresh double-sided tape for installation. Go slowly, keep heat low, and never pry with metal. If you're replacing a Tesla or Rivian badge, plan for 30–60 minutes and have touch-up paint on hand for surprises.
Changing or removing badges is one of the easiest visual upgrades you can make, but it's also easy to scratch paint or leave ghosting if you rush. Whether you're debadging a Tesla, swapping a Rivian emblem, or adding a new badge, the process is similar: soften the adhesive, separate the emblem from the panel, clean the residue, and reattach with fresh tape.
This guide walks through the full process with checkpoints to avoid common mistakes. You'll also find product notes on a few Abstract Ocean items that can help with protection and organization while you work.
Tools and materials you actually need
Gather these before you start: a heat gun or hair dryer, fishing line or dental floss, plastic razor blades or trim tools, adhesive remover (like 3M General Purpose Adhesive Cleaner), isopropyl alcohol, microfiber towels, and new double-sided emblem tape (3M VHB or equivalent). For installation, you may also want a small level or painter's tape to mark alignment.
Avoid metal scrapers, screwdrivers, or excessive heat. If you're working outdoors, park in the shade and let the panel cool slightly—too hot and the adhesive becomes stringy; too cold and it snaps.
- Test your heat source on a hidden area first to avoid blistering paint.
- Keep a plastic bag handy for discarded adhesive; it can stick to everything.
How to remove a Tesla or Rivian emblem safely
Start by warming the emblem for 20–30 seconds with a heat gun on low, keeping the nozzle moving. Slide fishing line behind the emblem with a sawing motion, working from one edge. Once the emblem is off, remove the bulk of the adhesive with your thumb, then apply adhesive remover and wipe with a microfiber towel. Repeat until the surface is clean.
For debadging a Tesla, the rear 'T' and model lettering are common targets. They're held with foam tape, so the same method applies. If you encounter resistance, add more heat—don't force it.
- Common mistake: pulling the emblem toward you instead of sawing sideways, which can bend the badge or chip paint.
- Checkpoint: after removal, the surface should feel smooth and look uniform. Any raised residue means more cleaning.
Prepping the surface for installation
Clean the area with isopropyl alcohol and let it dry completely. If you're reinstalling the same emblem, remove all old tape and replace it with fresh double-sided tape cut to fit. For new emblems, test-fit before peeling the backing.
Temperature matters: aim for 70–80°F (21–27°C). If it's colder, warm the panel and the emblem slightly with a hair dryer to help the adhesive bond.
- Don't touch the adhesive side of the tape with your fingers—oils reduce bond strength.
- Use painter's tape to mark a straight line or reference point for alignment.
Installing a new emblem or badge
Peel the backing and press the emblem firmly into place, holding for 30–60 seconds. Apply steady pressure across the entire surface. If you're installing a Rivian emblem, check alignment with the body lines before pressing—once it sticks, repositioning is difficult.
After installation, avoid washing the car for 48 hours and avoid high-pressure water directly at the edges for a week. This gives the adhesive time to cure.
- Common mistake: pressing only in the center. Work from the center outward to push out air bubbles.
- Checkpoint: the emblem should sit flush with no gaps. If it rocks, remove and re-tape.
Protecting paint during and after badge work
If you're concerned about scratches from removal tools, apply a layer of painter's tape around the emblem before you start. For long-term protection, consider a clear PPF film on high-contact areas. The SolarShift Headlight Protection (PPF) for Tesla Model 3 & Y is one option that guards front lights from rock chips—useful if you're already doing exterior work.
After any badge change, a ceramic coating can help keep the area slick and easier to clean. The [Premium Three-Coat] Premium Ceramic Coating SILAZANE50 Diamond Plus is a DIY-friendly three-layer system that adds gloss and durability, though it's not available for shipping to certain states.
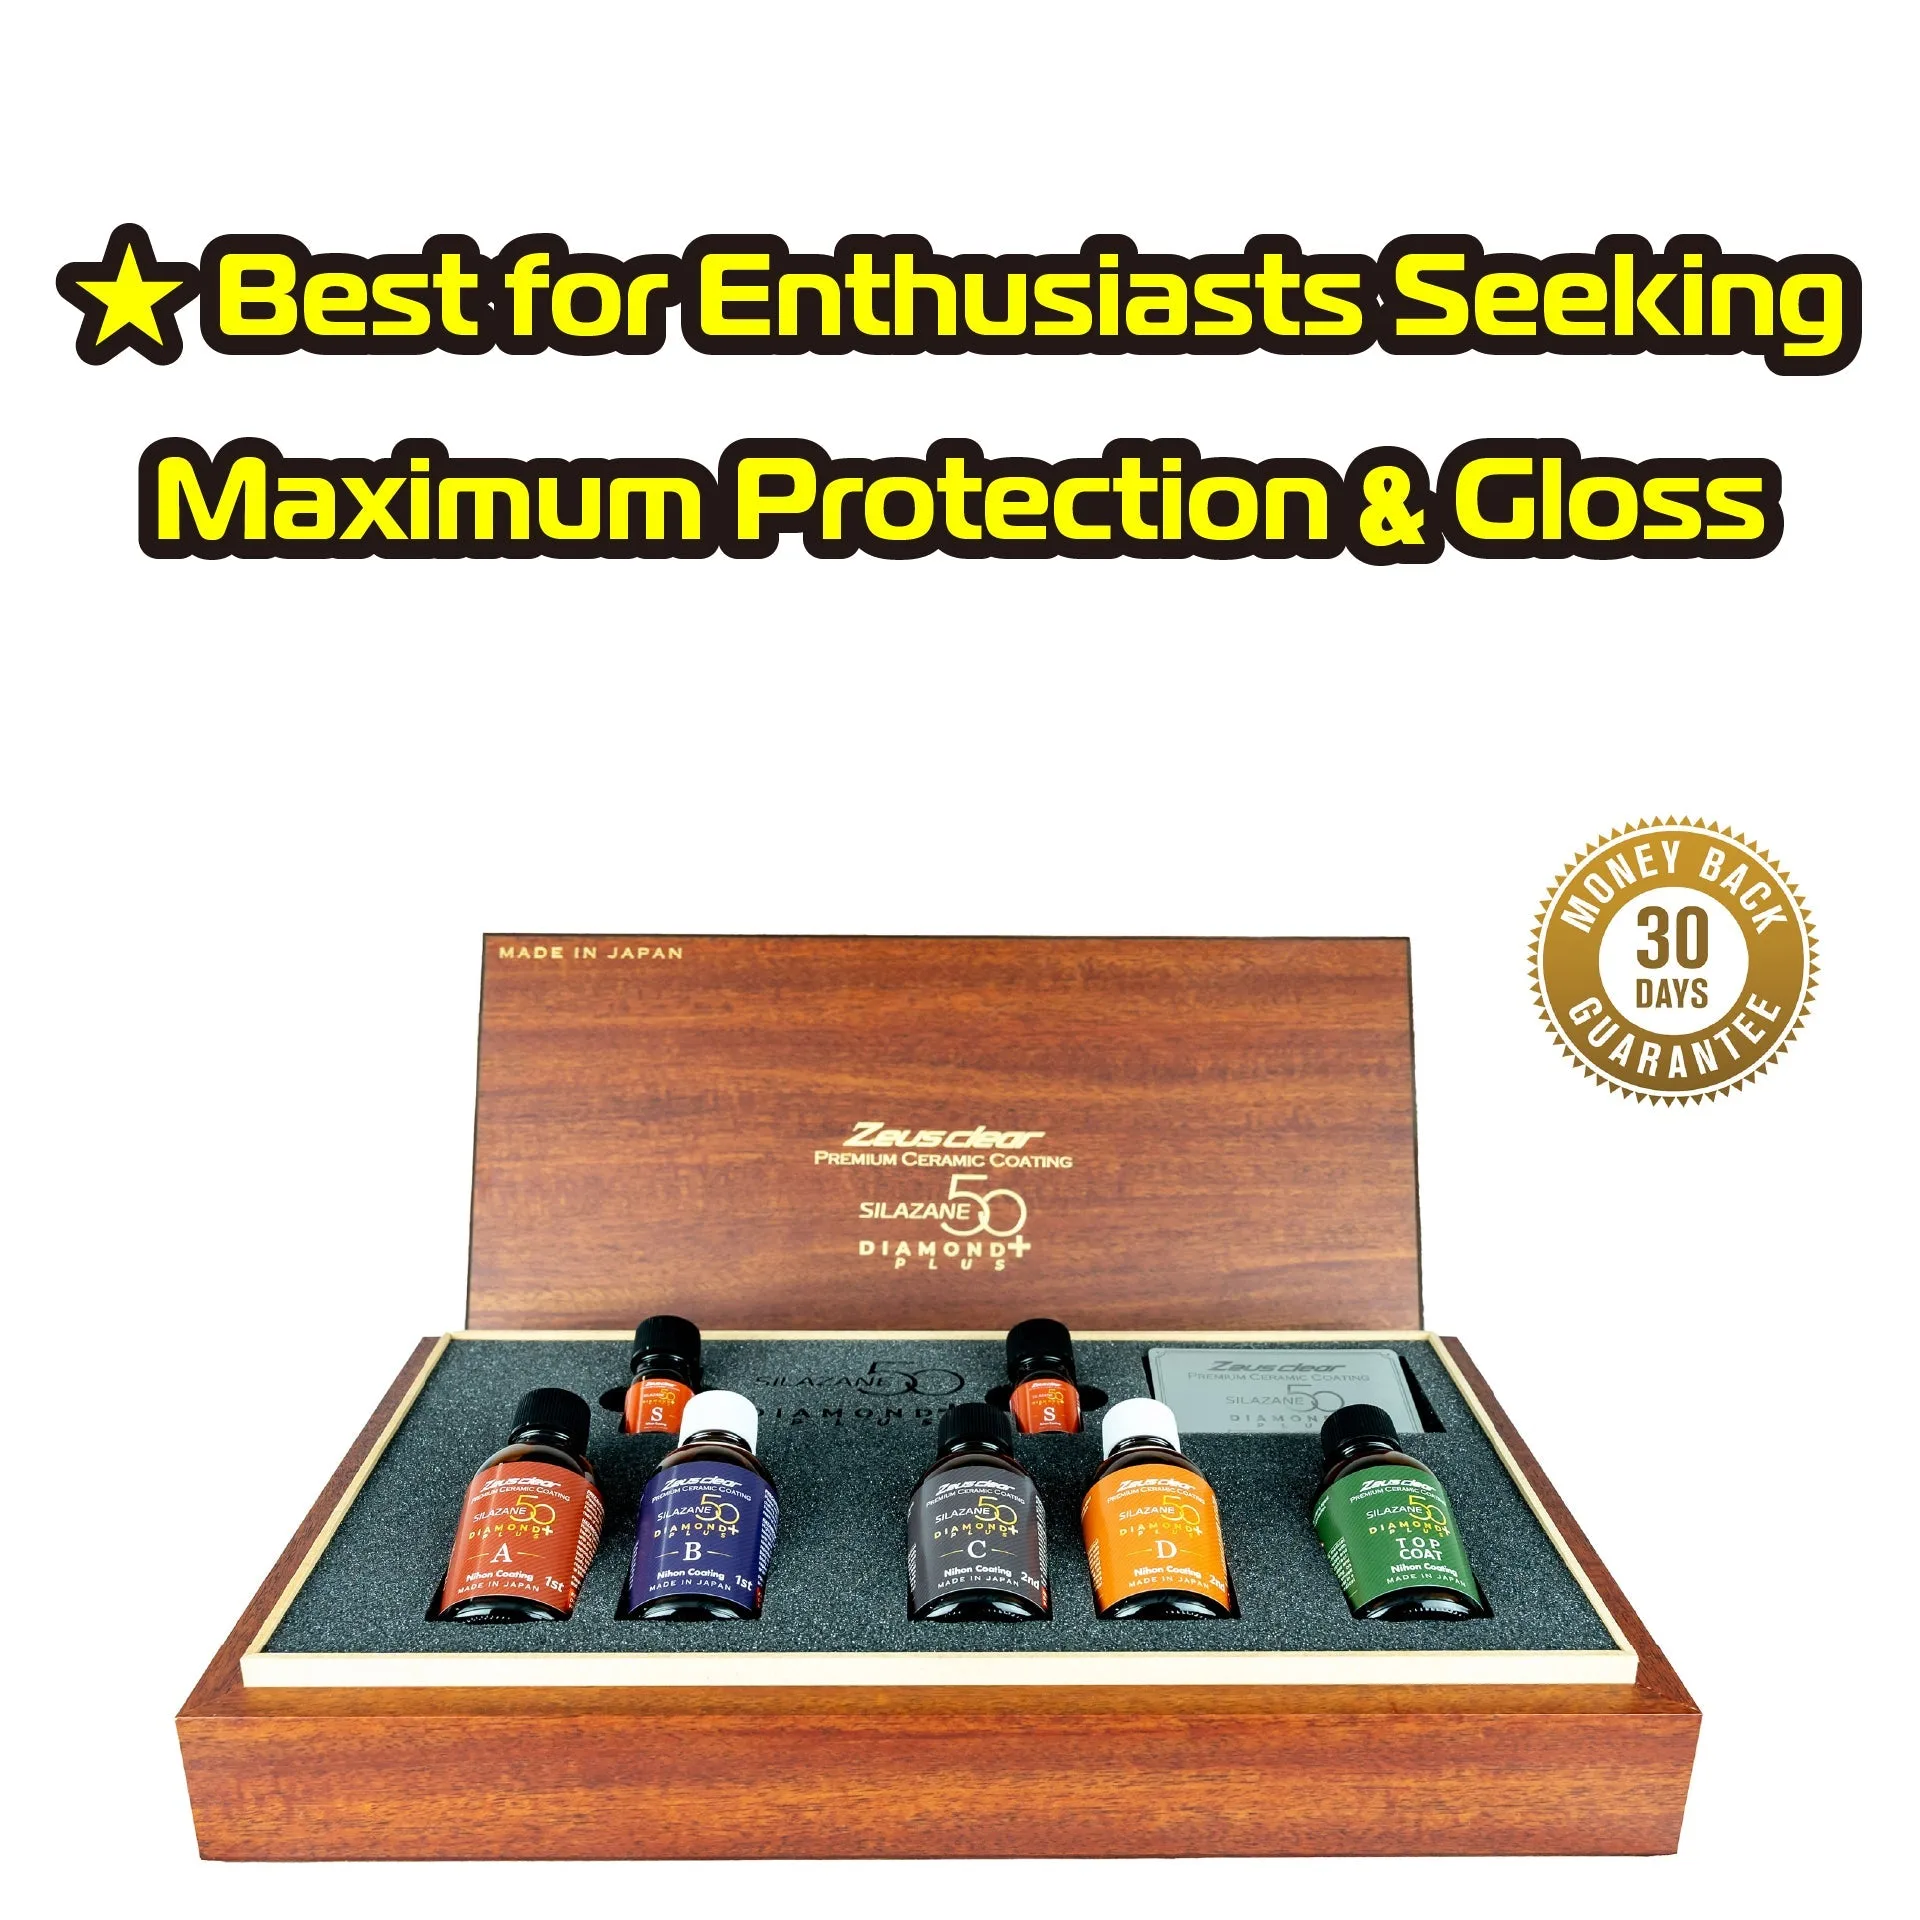
[Premium Three-Coat] Premium Ceramic Coating SILAZANE50 Diamond Plus
- Always test adhesive removers on an inconspicuous spot first.
- If you notice paint lifting, stop and consult a professional.
Step-by-step: install and remove emblems without damage
- Warm the emblem: Use a heat gun or hair dryer on low, moving constantly for 20–30 seconds. Don't overheat. Checkpoint: adhesive should feel soft, not bubbling.
- Separate with fishing line: Slide fishing line behind the emblem with a sawing motion, working from one edge to the other. Common mistake: pulling toward you instead of sawing sideways.
- Remove residue: Peel off bulk adhesive, then use adhesive remover and a microfiber towel. Repeat until clean. Checkpoint: surface should be smooth and free of sticky spots.
- Prep for installation: Clean with isopropyl alcohol. Apply fresh double-sided tape to the emblem or new badge. Don't touch the adhesive side with bare fingers.
- Align and press: Test-fit, then press firmly for 30–60 seconds, working from center outward. Checkpoint: emblem sits flush with no rocking.
- Let it cure: Avoid washing for 48 hours and high-pressure water at edges for a week. Next step: consider PPF or ceramic coating for added protection.
Products that help with badge and protection work
- SolarShift Headlight Protection (PPF) for Tesla Model 3 & Y: Protects the front lights on your Tesla Model 3 or Y with PPF, available in clear or UV-activated tint options. If you're already working on the front of your car, adding PPF to the headlights can prevent rock chips that are common on lowered or daily-driven Teslas.
- [Premium Three-Coat] Premium Ceramic Coating SILAZANE50 Diamond Plus: A premium three-layer DIY ceramic coating system delivering maximum gloss, extreme durability, and elite protection. Made in Japan. A ceramic coating can make paint slicker, which helps when removing adhesive residue and makes future badge changes less risky. Note: not shippable to AK, CA, CO, CT, DE, HI, ME, MD, MA, NJ, NY, OH, and RI.
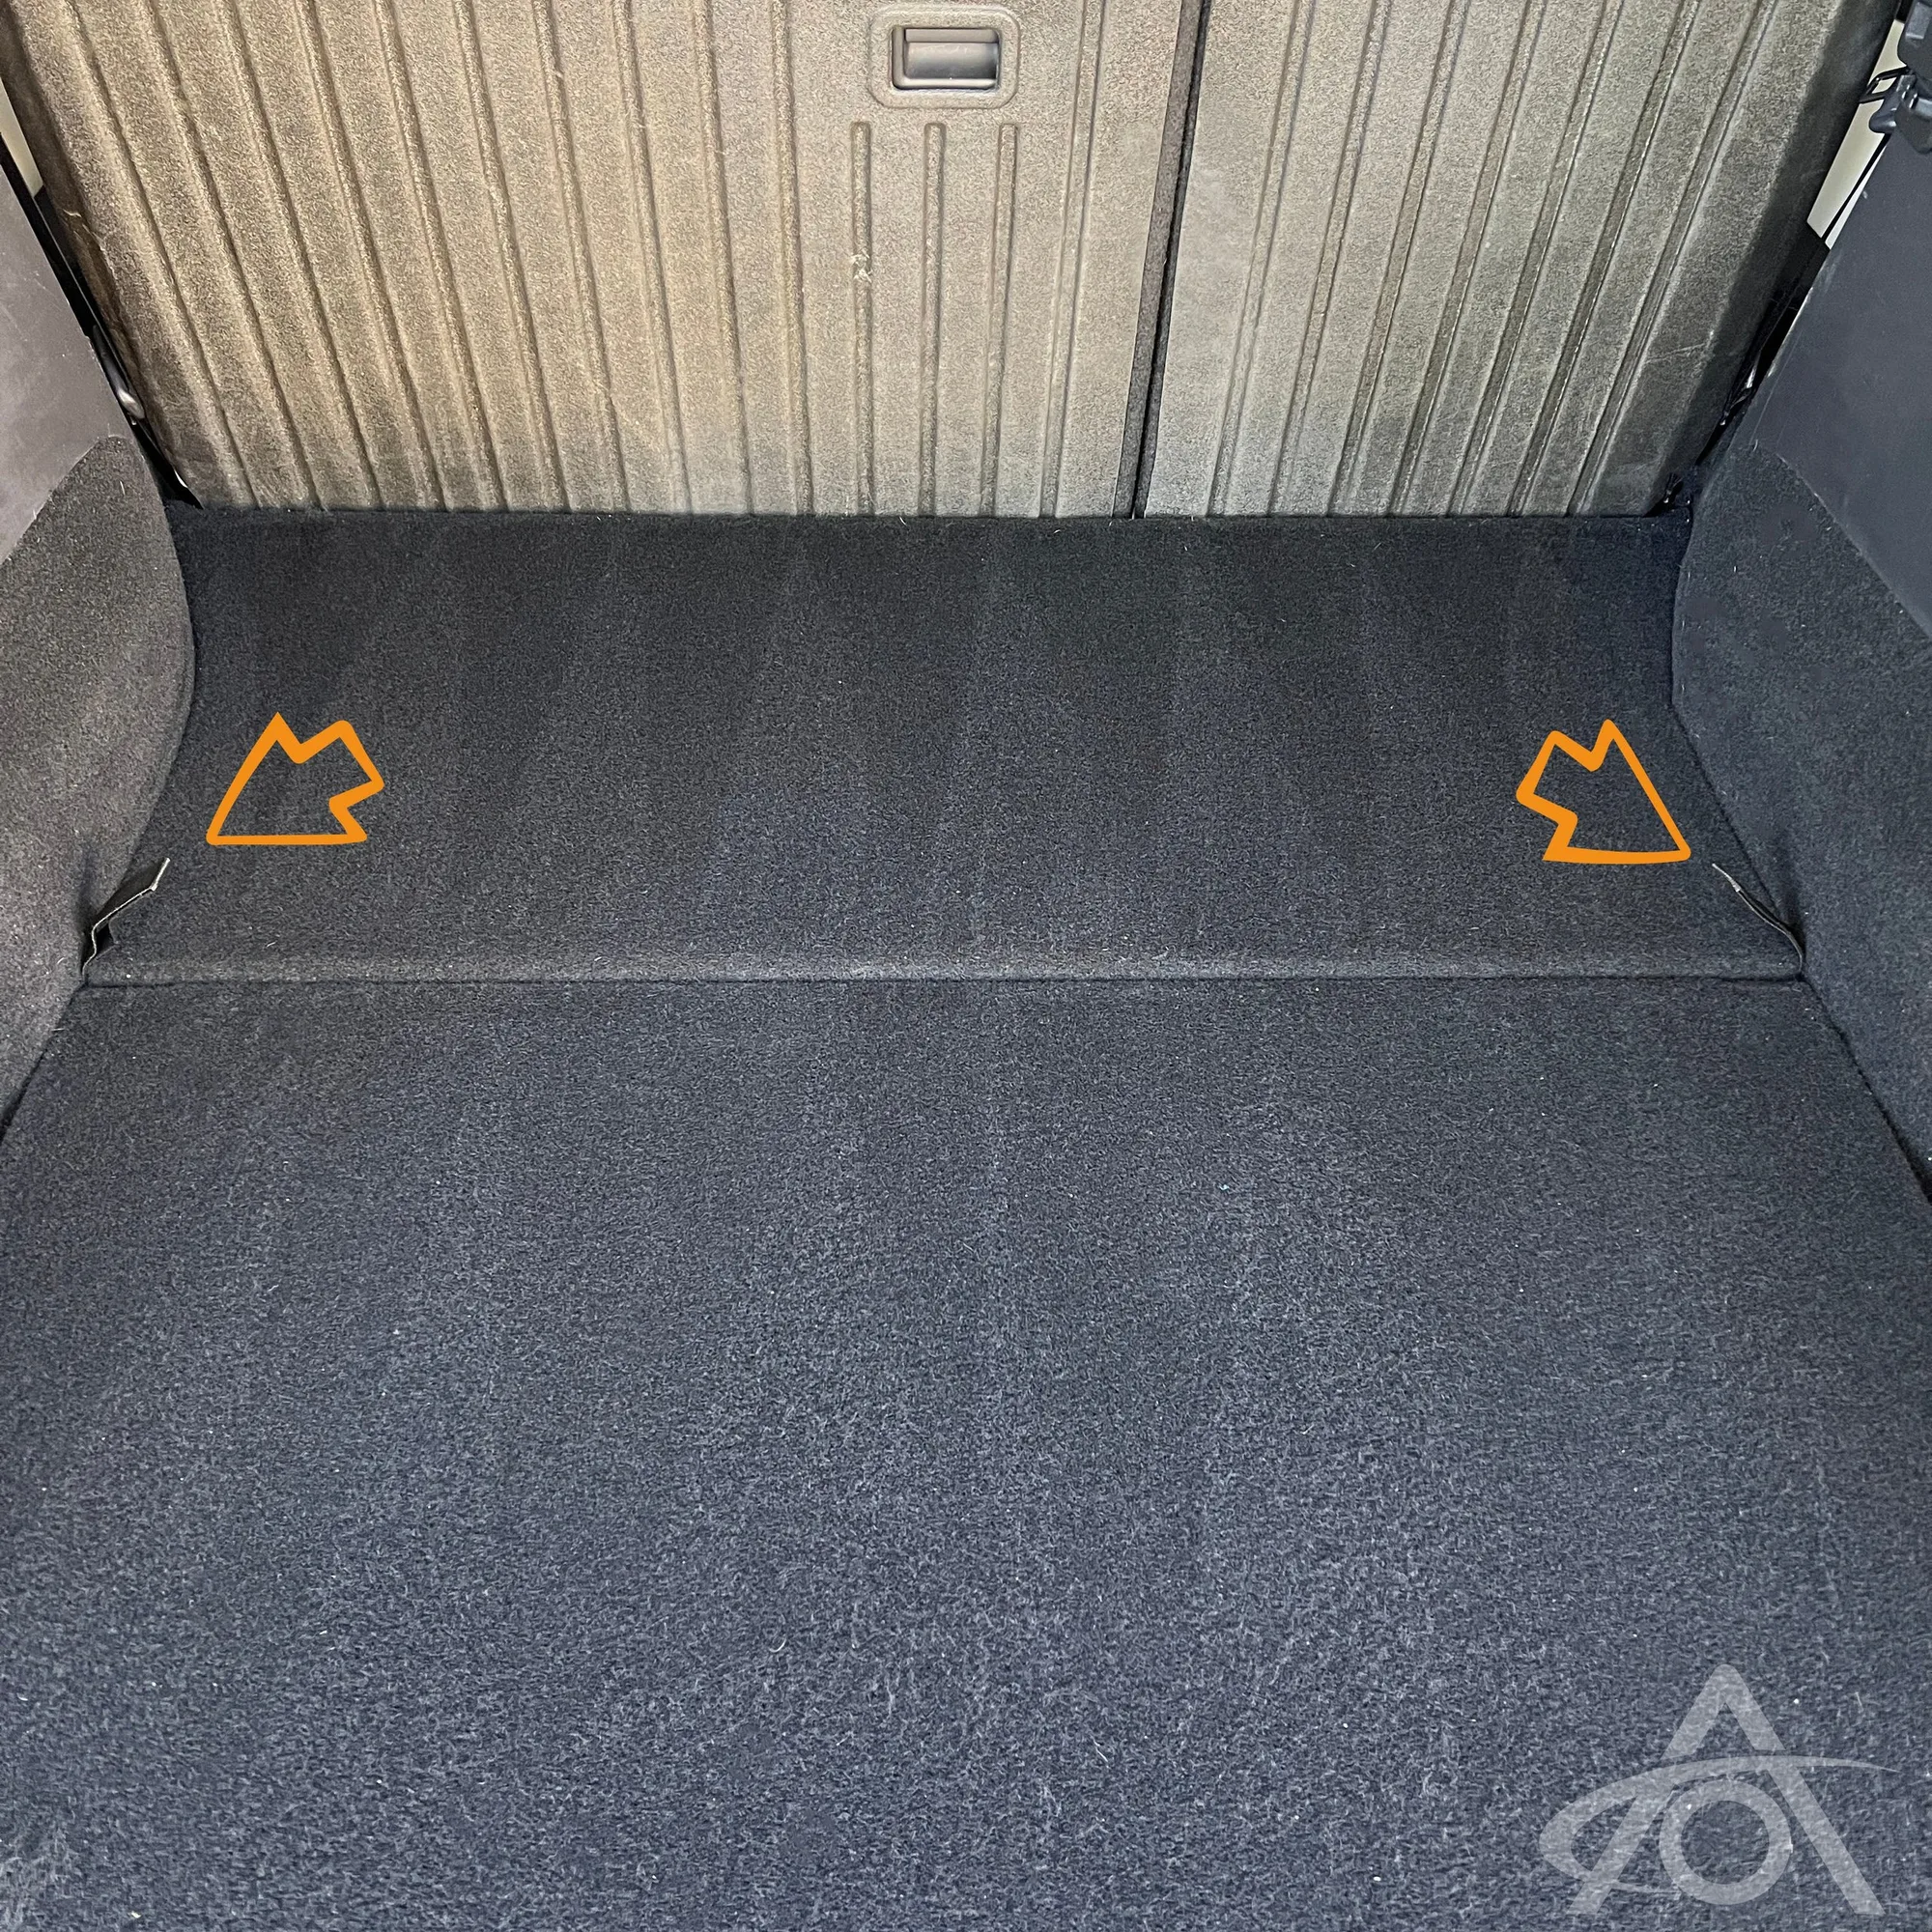
- Model Y Trunk Floor Handles: No-drill handles that attach with Velcro to the Model Y trunk floor cover, making it easier to lift and access extra storage. A simple upgrade that improves access to under-floor storage—handy for storing tools or supplies you use during badge work.
Badge changes are reversible and low-risk if you use heat, patience, and the right tools. Whether you're removing a Tesla emblem, installing a Rivian badge, or just refreshing old adhesive, the process is the same: soften, separate, clean, and press. Take your time, and your paint will thank you.