Quick answer
For a patch you want to attach in minutes with no needle, choose an embroidered patch with an iron-on backing like Heat-n-Bond ultra-hold. For a patch you plan to wash often, wear on a stretchy or curved garment, or keep for years, plan to add a few stitches even after ironing. The trade-off is speed versus long-term hold.
The phrase "embroidered patch vs. iron-on patch" is a little misleading, because iron-on is not a competing patch style. It is a backing method. An embroidered patch can be iron-on, sew-on, or both, and the choice that actually matters is how you attach it.
That distinction changes what you should compare. Instead of asking which patch type wins, ask which attachment method fits your garment, your washing habits, and how long you want the patch to stay put. Here is how the trade-offs break down, using a real hand-embroidered patch as the example.
What "iron-on" actually means
An iron-on patch has a heat-activated adhesive layer on the back. You remove the paper backing, place the patch on a flat article of clothing, and press with an iron. The adhesive bonds the patch to the fabric. That is the whole mechanism, and it is why iron-on patches are popular for quick fixes, costumes, and gifts.
The catch is that heat-activated adhesive is not permanent. It can loosen with repeated washing, heat, or flexing. Many makers, including T.F.D. Thread For Days, recommend adding a few stitches even when using an iron-on patch, because ultra-hold adhesive may degrade over time. So iron-on is best understood as a fast primary hold plus a stitch backup, not a lifetime bond.
- Iron-on works best on flat, stable fabric like cotton canvas or denim.
- Always test your iron temperature on a hidden area first.
Where embroidered patches differ
Embroidered patches are defined by how they are made, not how they attach. Hand-stitched embroidery gives texture, depth, and a one-of-a-kind look that printed or woven patches cannot match. The Oleander | Hand Embroidered Iron-on Patch, for example, is designed and hand stitched on off-white cotton fabric, so the surface has real thread dimension.
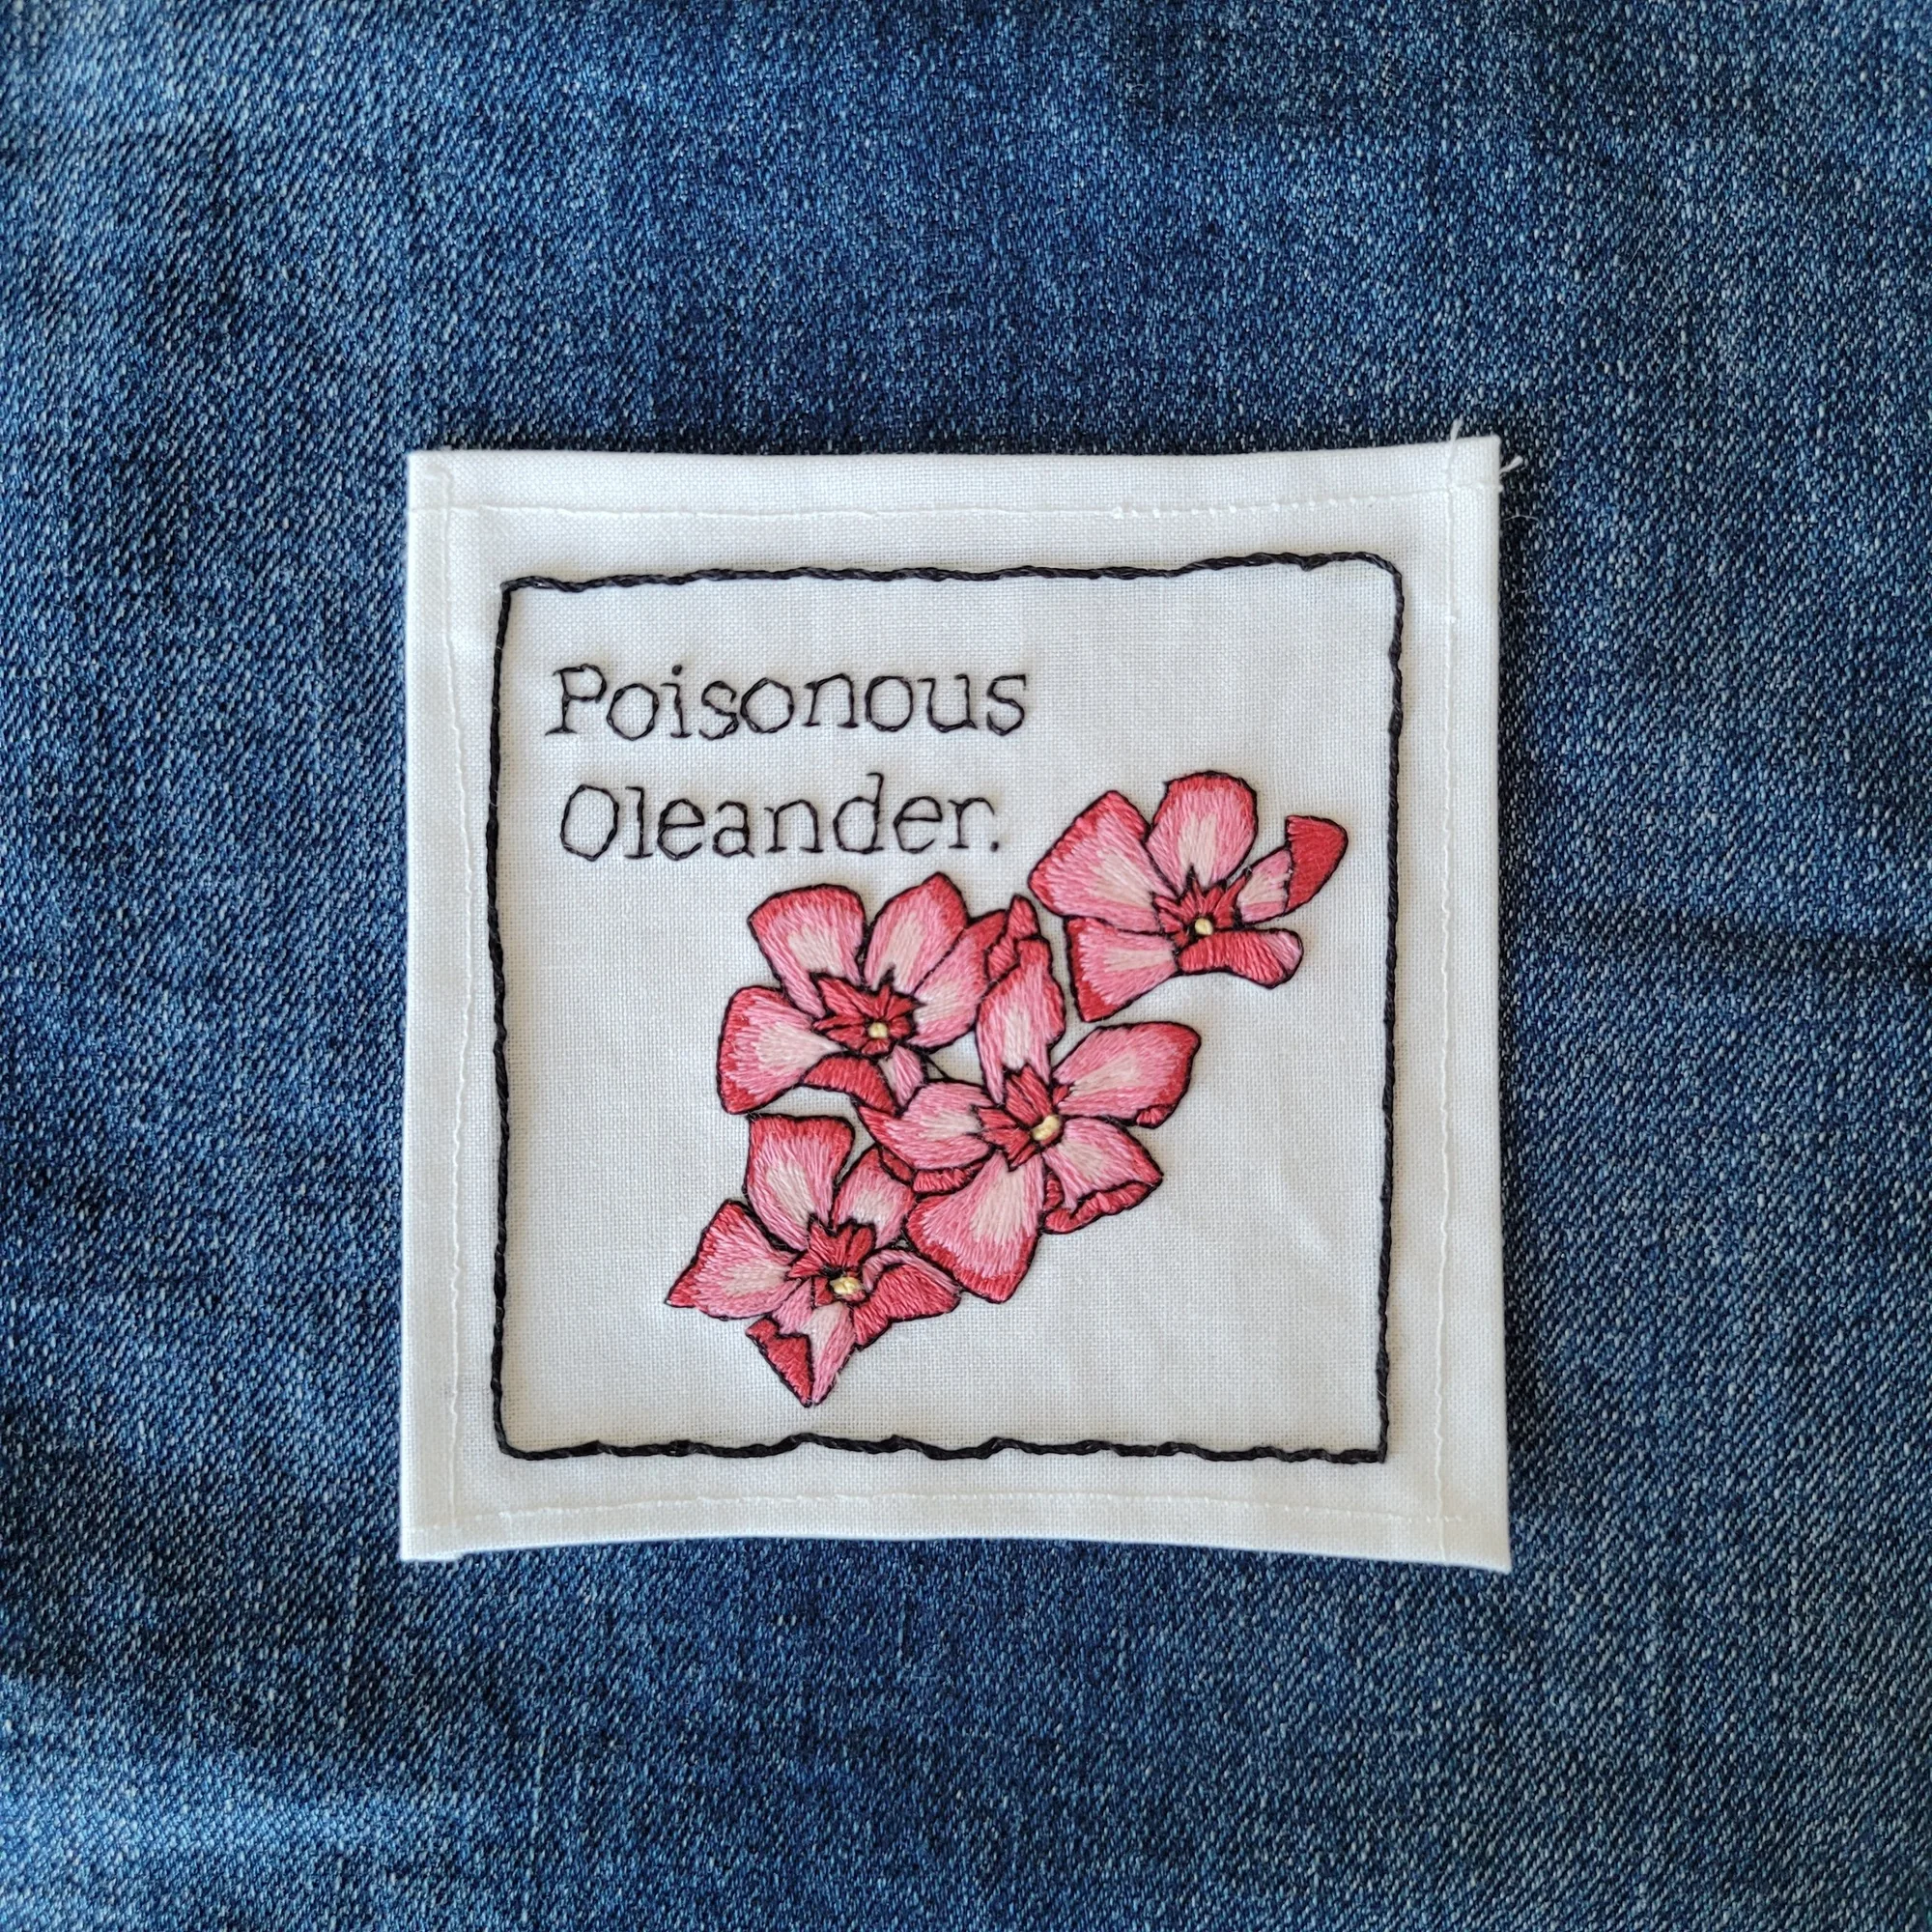
Oleander | Hand Embroidered Iron-on Patch
Because the embroidery is the product, you can usually choose your attachment. A hand-embroidered patch with an iron-on backing gives you the look of custom needlework with the convenience of heat application. If you want maximum security, you can still sew through the edges. The patch does not force you into one method.
- Check the backing before buying: some embroidered patches are sew-on only.
- Hand-embroidered patches are often limited runs, so colors may not restock.
Sew-on vs. iron-on: the real comparison
If you compare sew-on vs. iron-on patch attachment, the trade-off is time versus durability. Sewing takes longer and requires basic supplies, but stitches mechanically lock the patch to the fabric and survive repeated washing far better than adhesive alone. Iron-on takes a few minutes and no skill, but the bond is weaker over time.
A practical middle path is iron-on first, then stitch. Iron the patch to hold it in place, then add a few stitches around the perimeter. This is exactly the recommendation that comes with the Oleander patch, and it solves the most common failure: a corner lifting after several washes. You get speed and security without redoing the whole job.
- Use a matching or contrasting thread; both look intentional on hand-embroidered patches.
- Reinforce corners and any pointed edges first, since those lift earliest.
Fabric and wear decide more than patch type
A patch that holds perfectly on a denim jacket may peel off a stretchy knit or a curved sleeve. Adhesive needs flat, stable contact, so highly textured, stretchy, or curved surfaces are poor candidates for iron-on alone. On those garments, sewing is the more reliable choice from the start.
Washing habits matter just as much. If the garment goes through a hot wash and dryer regularly, adhesive will degrade faster. If the patch is on a bag, a wall piece, or a jacket you spot-clean, iron-on can last a long time. Match the attachment method to the wear cycle, not to the patch design.
- Turn garments inside out and avoid high heat when a patch is attached.
- For curved areas, stitch first and skip the iron entirely.
Trade-offs to weigh before you commit
- Speed vs. durability: Iron-on takes minutes and no tools; sewing takes longer but survives repeated washing far better. Combining both costs a little extra time. Choose iron-on plus stitches for anything that gets washed.
- Flat fabric vs. stretch or curve: Adhesive needs flat, stable contact. Knits, curved sleeves, and heavy texture reduce the bond and increase lifting. If the surface is not flat, sew from the start.
- Hand-embroidered vs. printed alternatives: Hand embroidery gives texture and a one-of-a-kind result, but limited runs and higher prices are part of that trade-off. Buy the embroidery for the look, not for a budget attachment fix.
Product facts that affect your choice
- Oleander | Hand Embroidered Iron-on Patch: Designed and hand stitched on off-white cotton fabric, with a Heat-n-Bond ultra-hold backing; the maker recommends adding a few stitches to keep the patch in place because ultra hold may degrade over time. This is a genuine iron-on embroidered patch, but the maker is explicit that stitching is the safer long-term plan. Treat iron-on as the first step, not the only one.
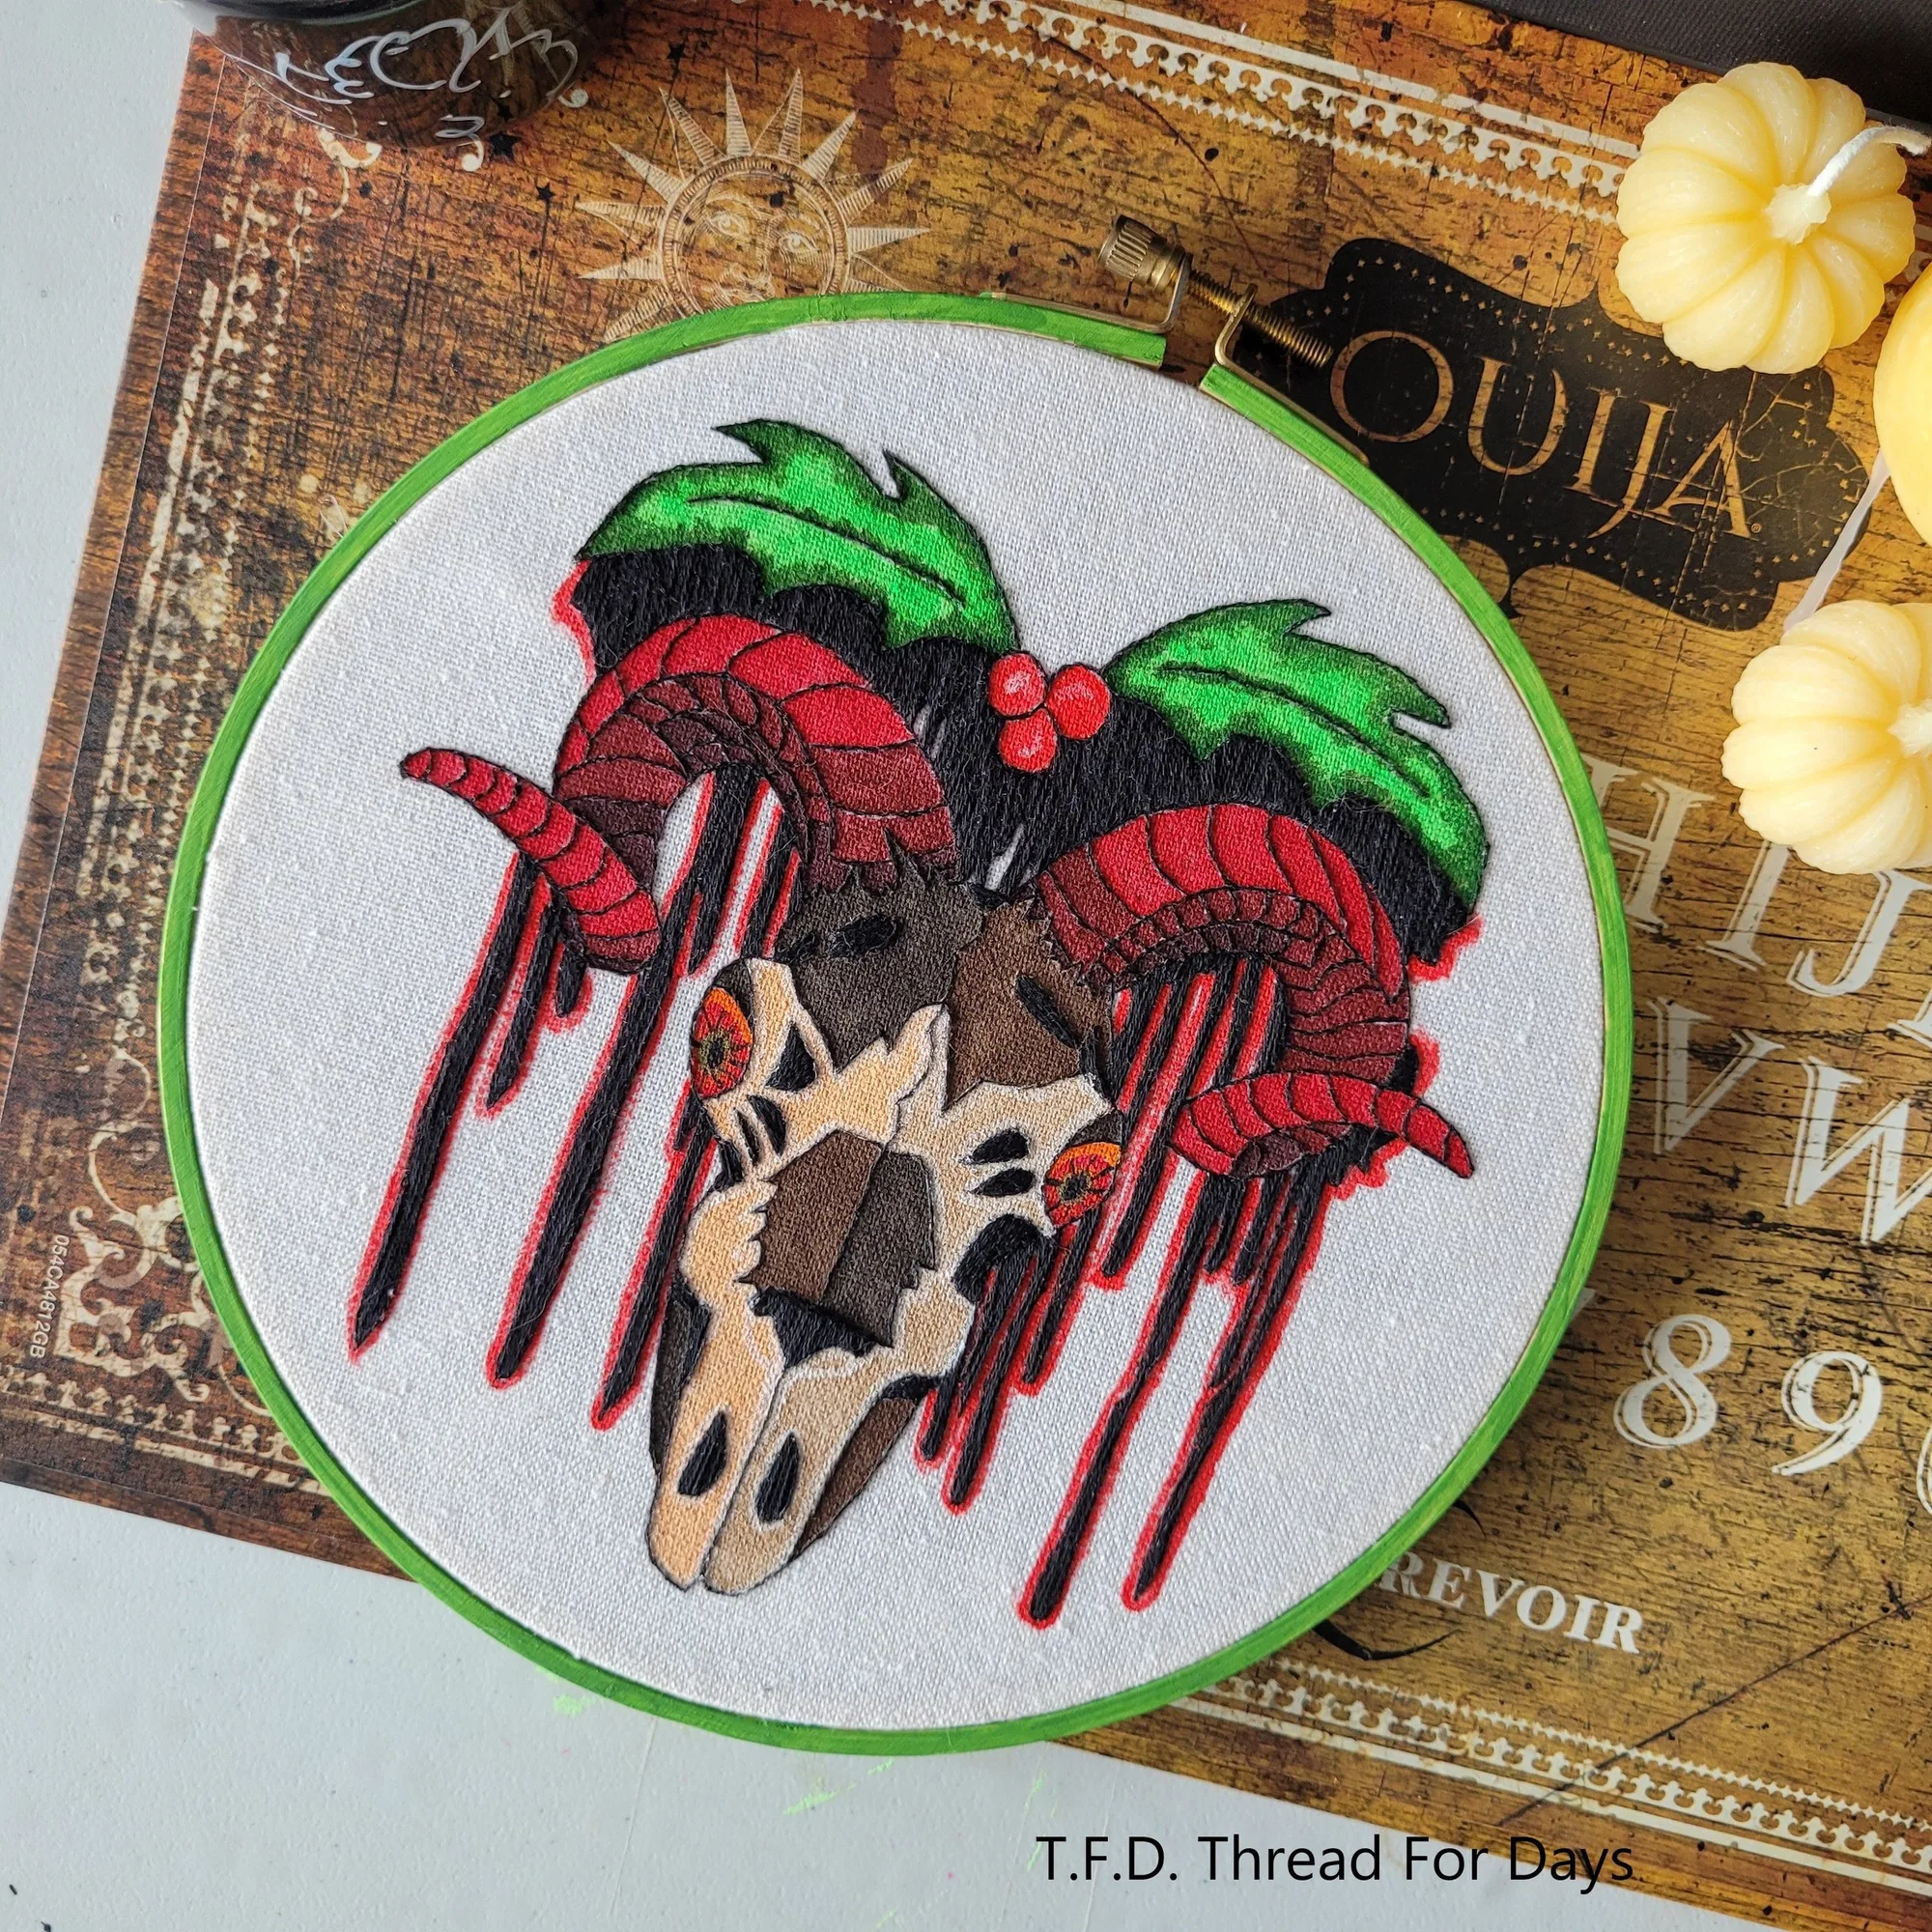
- Krampus | 8inch Embroidery Hoop: A one-of-a-kind hoop art piece, entirely designed, created, and stitched by hand, sitting in an 8 inch hoop, with about 22 hours of handiwork. If you want embroidered art but do not want to attach anything to clothing, hoop art avoids the iron-on versus sew-on question completely. It hangs instead of adhering.
Which should you choose?
Choose an embroidered patch with iron-on backing if
- You want a hand-stitched look and a fast, tool-free attachment
- The patch is going on flat, stable fabric like denim or canvas
- You are willing to add a few reinforcing stitches for long-term hold
Skip iron-on and sew instead if
- The garment is stretchy, highly textured, or sharply curved
- The item is washed and dried frequently on high heat
- You want a permanent attachment with no maintenance
Iron-on is a backing, not a rival to embroidery, so the smart choice is usually both: iron the patch down for placement, then stitch the edges for staying power. Pick the attachment method that matches the fabric and how often it gets washed, and the patch will stay where you put it.