Quick answer
Start with an embroidery floss set and practice four basic stitches: running stitch, backstitch, satin stitch, and French knot. These are easy to learn, require minimal supplies, and are perfect for kids and beginners.
Why start with an embroidery floss set?
An embroidery floss set gives you a variety of colors in one package, so you can experiment without buying multiple skeins. It's ideal for beginners because you can focus on learning stitches rather than sourcing materials.
Embroidery is a portable, low-mess craft that builds fine motor skills and patience. For kids, it's a great way to practice hand-eye coordination while creating something tangible.
Choosing the right fabric and hoop
Use a medium-weight cotton or linen fabric for your first projects. Aida cloth is also a good choice for beginners because its grid pattern makes stitch placement easier.
An embroidery hoop keeps fabric taut, which prevents puckering and makes stitching smoother. For kids, a 4- to 6-inch hoop is easier to handle.
Trade-offs: embroidery vs. cross-stitch
Embroidery offers more freedom for creative designs, while cross-stitch follows a grid and is more structured. If your child prefers clear patterns, cross-stitch might be a better starting point.
However, embroidery stitches like the running stitch and backstitch are simpler to master and can be used in many projects, from decorating clothes to making wall art.
Step-by-step: Learn your first stitches
- Prepare your materials: Gather your embroidery floss set, a piece of cotton fabric, an embroidery hoop, a needle, and scissors. Cut a length of floss about 18 inches long and thread the needle. Check that your floss isn't twisted; if it is, let the needle dangle to untwist it.
- Practice the running stitch: Bring the needle up through the fabric, then down a short distance away. Repeat this in a straight line, keeping stitches and spaces even. This is the simplest stitch and forms a dashed line. Keep your stitch length consistent to make the line look neat.
- Try the backstitch: Bring the needle up at point A, then down at point B. Next, come up at point C (ahead of B) and go down again at point B. This creates a solid, continuous line. Always go back into the previous stitch's end to avoid gaps.
- Fill shapes with the satin stitch: For small areas, bring the needle up at one edge and down at the opposite edge, placing stitches closely side by side. This fills the shape with smooth, parallel threads. Don't pull the thread too tight, or the fabric will pucker.
- Add texture with the French knot: Wrap the thread around the needle twice, then insert the needle close to where it came up. Pull gently to create a small knot on the surface. This adds dots and texture to your design. Hold the thread taut while pulling the needle through to prevent the knot from slipping.
- Finish your project: When you're done, weave the thread through the back of your stitches and trim the excess. Remove the hoop and press the fabric with a warm iron to flatten any creases. Always secure the thread with a few backstitches on the back to prevent unraveling.
Product spotlight
-
Embroidery Floss Set: This Embroidery Floss Set offers a hands-on creative experience for kids and curious crafters alike. With a variety of colorful threads, it's perfect for starting embroidery projects or adding decorative touches to fabric. Having assorted colors in one set means you can start your first project immediately without buying multiple skeins, and the variety keeps kids engaged.
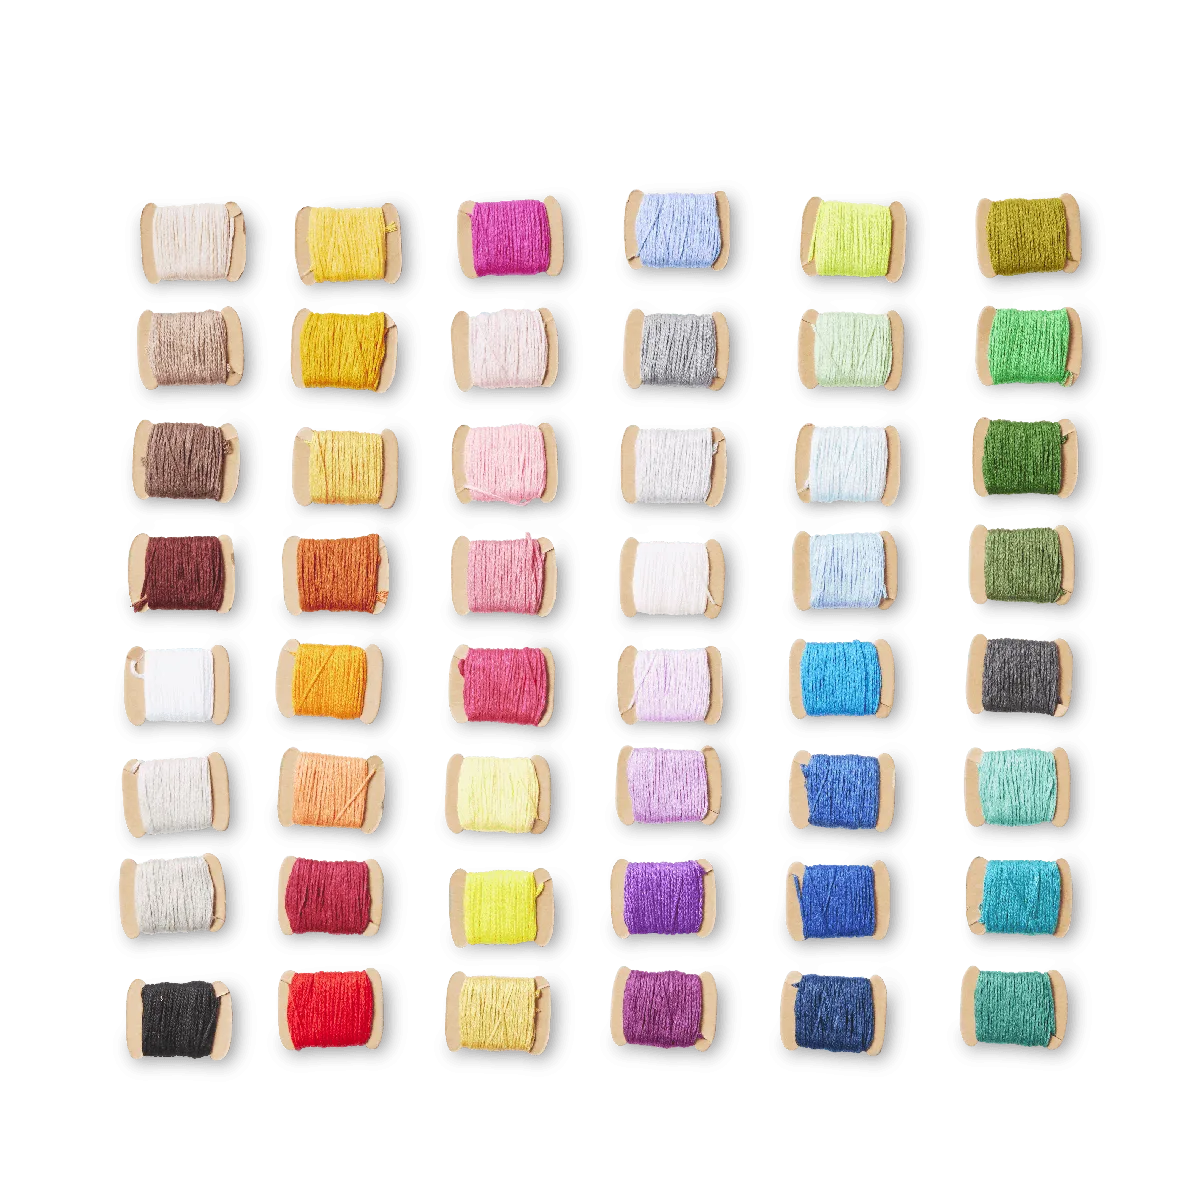
Embroidery Floss Set