Emergency shears are a vital tool in any first aid kit, tactical loadout, or everyday carry. Whether you use them to cut through clothing, seatbelts, or bandages, they inevitably come into contact with blood, dirt, and other contaminants. Proper cleaning and disinfection after each use not only extends the life of your shears but also prevents the spread of infection. In this guide, we’ll walk you through the best practices for cleaning and disinfecting emergency shears, ensuring they’re ready for the next emergency.
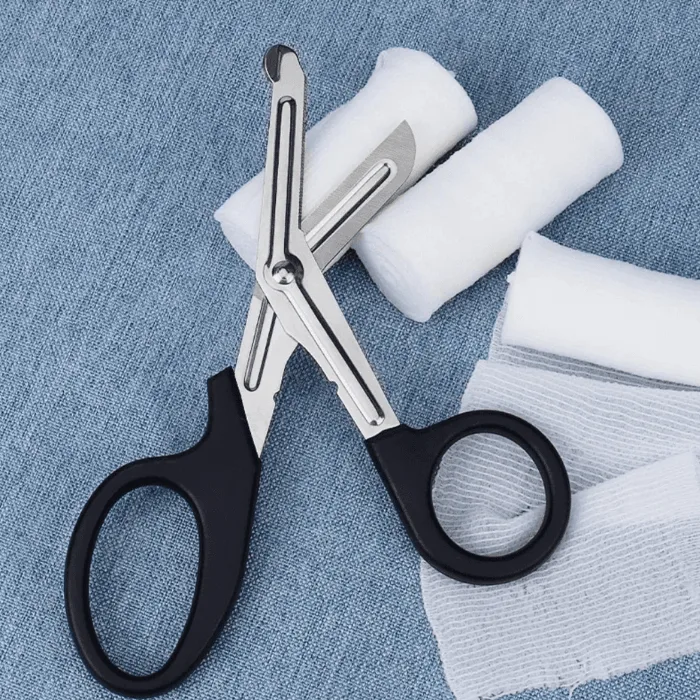
Emergency shears
Many people overlook the maintenance of their shears, assuming that a quick rinse under water is enough. However, bloodborne pathogens and bacteria can linger in the hinges and serrated edges, posing a serious health risk. By following a simple routine, you can keep your shears hygienic and functional for years. We’ll cover everything from basic cleaning to deep disinfection, plus tips for rust prevention and storage.
Why Cleaning Emergency Shears Matters
Emergency shears are often used in high-stress situations where they may be exposed to bodily fluids, sharp debris, and other contaminants. If not cleaned properly, these shears can become a vector for infections, especially if they are used on multiple patients or in a household setting. Additionally, dried blood and debris can dull the blades and cause the pivot joint to stiffen, reducing cutting efficiency when you need it most.
Regular cleaning also helps you spot signs of wear, such as loose screws or nicks in the blade, before they become a problem. By making shears sanitation a habit, you ensure that your tool is always ready for action, whether you're a medical professional, a first responder, or a prepared civilian.
- Prevents cross-contamination between uses
- Maintains blade sharpness and pivot smoothness
- Extends the lifespan of your shears
Step-by-Step Cleaning Process
Start by disassembling your shears if possible. Many models, including the Tactical Cross Body Bag Large and other gear, come with shears that have a screw or pin that can be removed for thorough cleaning. If your shears are not disassembled, you can still clean them effectively by opening them fully and focusing on the hinge area. Rinse the shears under warm running water to remove loose debris, then apply a small amount of mild dish soap or a medical-grade instrument cleaner to a soft cloth or brush.
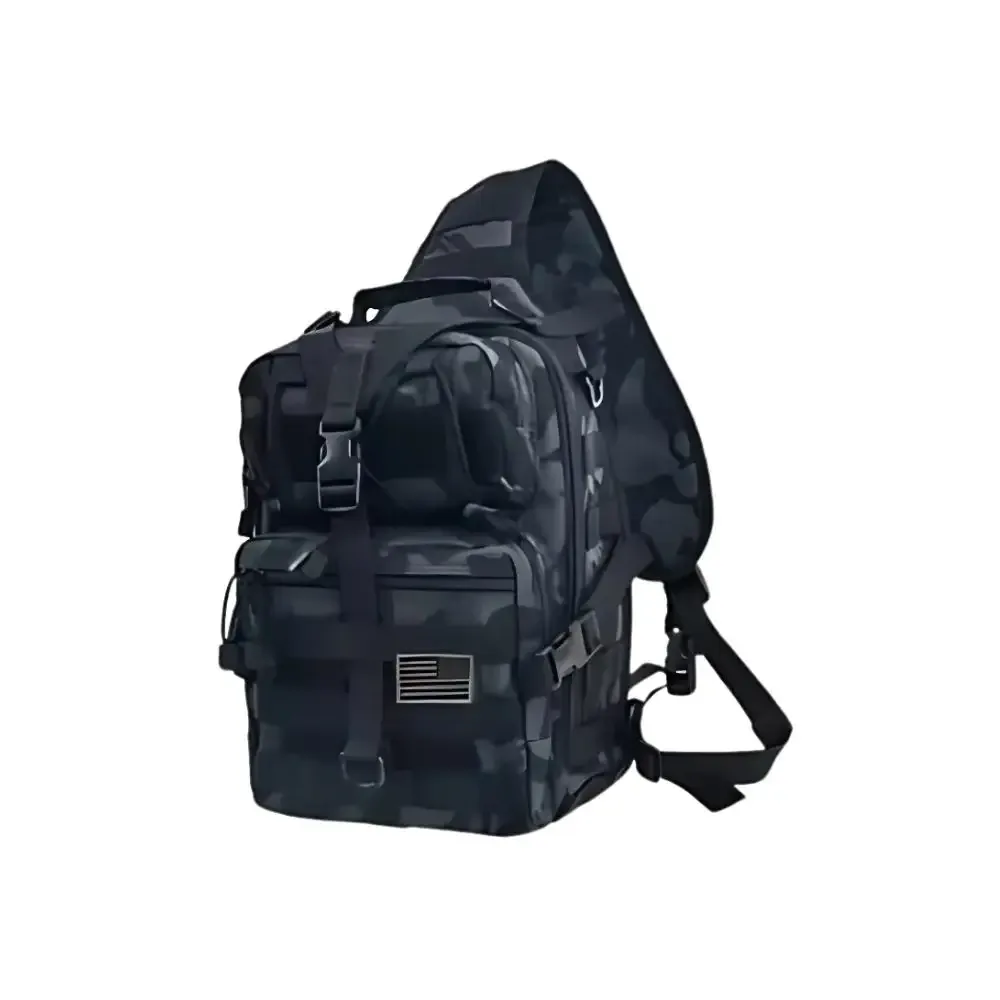
Tactical Cross Body Bag Large
Gently scrub all surfaces, paying special attention to the serrated edge and the hinge. Use an old toothbrush or a small nylon brush to work the soap into the crevices. For stubborn residue, you can soak the shears in warm soapy water for 10-15 minutes. After scrubbing, rinse thoroughly with clean water to remove all soap residue, as leftover soap can cause corrosion over time.
- Use a brush with soft bristles to avoid scratching the blade
- Avoid abrasive pads or steel wool that can damage the finish
- If your shears have a locking mechanism, clean around it carefully
Disinfecting Your Shears
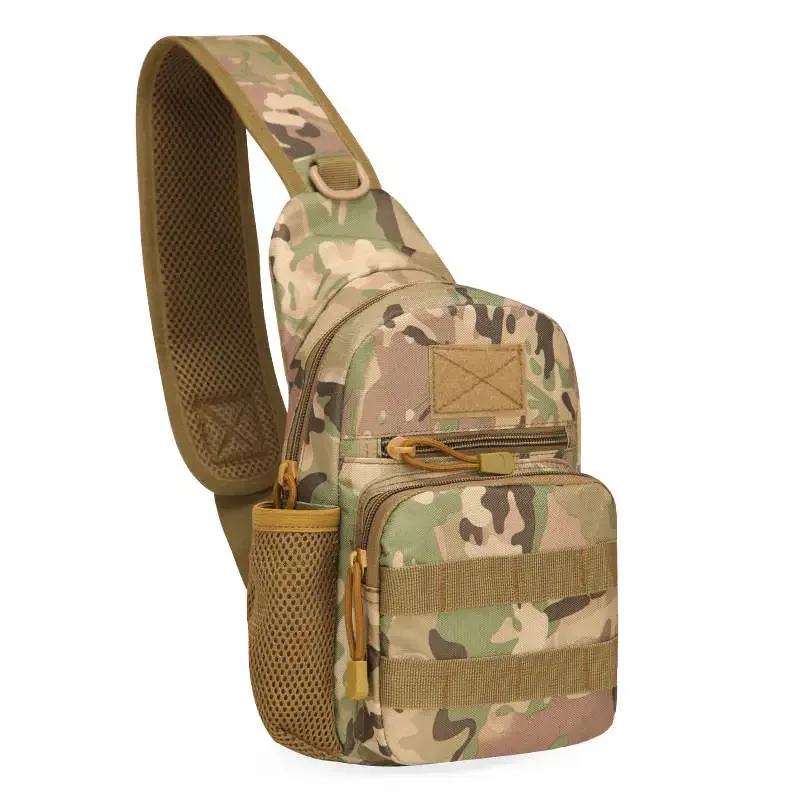
After cleaning, disinfection is essential to kill any remaining pathogens. The most effective method is to use a disinfectant solution that is EPA-approved for medical instruments. You can use isopropyl alcohol (70% or higher) or a diluted bleach solution (1 part bleach to 9 parts water). For a more convenient option, many tactical enthusiasts keep disinfecting wipes in their gear bag, such as those stored alongside a Tactical Cross Body Bags Small for quick access.
Apply the disinfectant to a clean cloth or directly onto the shears, ensuring all surfaces are covered. Allow the solution to sit for the manufacturer's recommended contact time (usually 1-3 minutes for alcohol, 10 minutes for bleach). After the contact time, rinse the shears with sterile water or allow them to air dry. If you used bleach, it's crucial to rinse thoroughly to prevent corrosion. Alternatively, you can use a UV-C light sanitizer designed for tools, but this is less common in field settings.
- Always wear gloves when handling contaminated shears
- Never boil your shears unless they are explicitly marked as autoclavable
- For field use, carry a small bottle of alcohol or disinfectant wipes in your kit
Drying, Lubricating, and Storing
Proper drying is just as important as cleaning. After rinsing, pat the shears dry with a clean, lint-free cloth to remove excess water. Then, allow them to air dry completely for at least 30 minutes. This prevents moisture from getting trapped in the hinge, which can lead to rust and stiffness. Once dry, apply a light coat of food-grade mineral oil or a specialized tool lubricant to the pivot joint and the blade surfaces. This not only protects against rust but also keeps the cutting action smooth.
When storing your shears, keep them in a dry, protective case or pouch. Many tactical bags, such as the Tactical Cross Body Bag Large, have dedicated pockets for medical gear, which are ideal for keeping your shears clean and accessible. Avoid storing them in damp environments like a bathroom or a car glovebox without a case. If you carry shears in a pocket or bag, consider using a blade cover to protect both the shears and your other gear.
- Use a silicone cloth for a rust-resistant finish
- Store shears in a breathable case to prevent moisture buildup
- Check the pivot screw periodically and tighten if loose
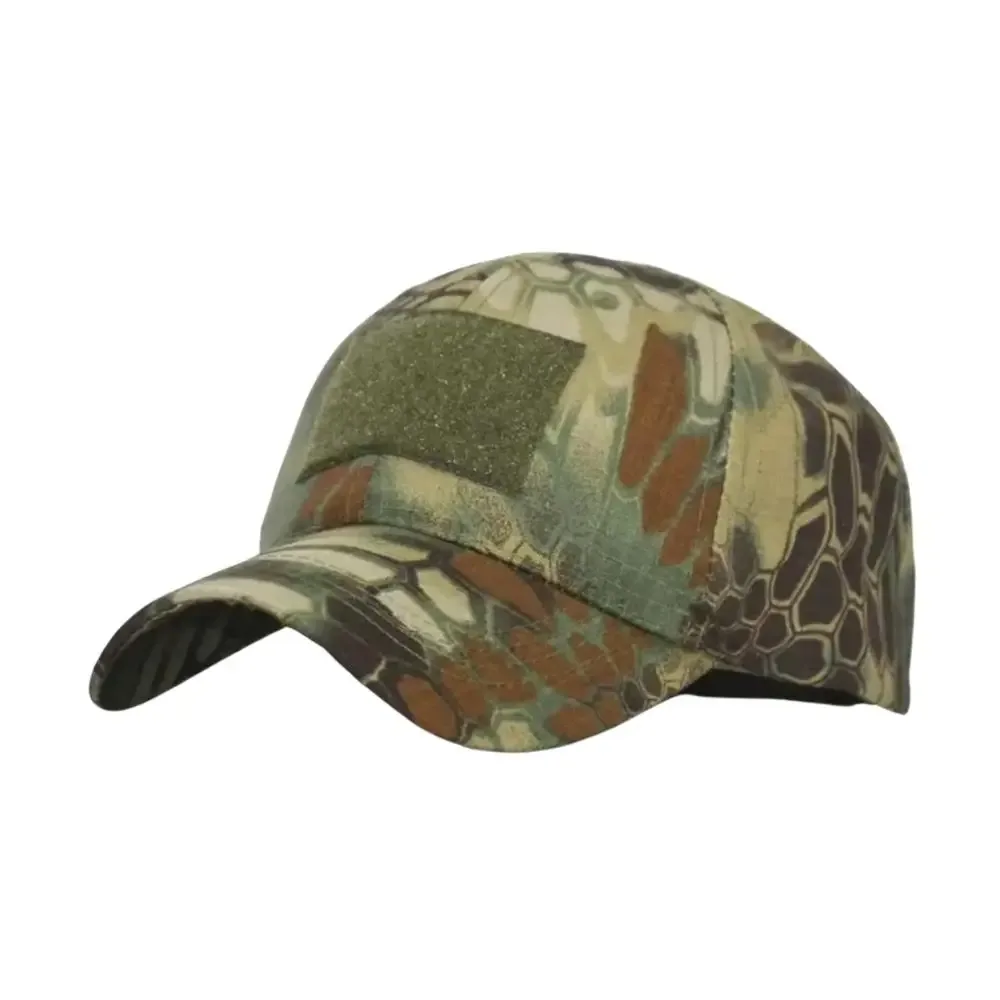
Regular cleaning and disinfection of your emergency shears is a simple yet critical practice for anyone who carries them. By following these steps, you ensure that your shears remain hygienic, sharp, and ready for any situation. Whether you’re a professional or a prepper, making shears sanitation a habit will prolong the life of your tool and protect your health. For more high-quality gear to complement your emergency kit, check out our selection of tactical accessories, including the Tactical Hat and Patriotic RFID Wallets, to stay prepared in style.