Endodontic irrigation is a critical step in successful root canal therapy. The primary goal is to remove debris, microorganisms, and the smear layer from the complex root canal system. Among the various irrigants available, sodium hypochlorite (NaOCl) remains the gold standard due to its broad-spectrum antimicrobial activity and unique tissue-dissolving capabilities.
However, sodium hypochlorite is a potent chemical that requires careful handling and precise application. Improper use can lead to complications such as tissue irritation, injection accidents, and even damage to the periodontal ligament. This guide will walk you through the essential protocols for using sodium hypochlorite safely and effectively in endodontic irrigation.
Understanding Sodium Hypochlorite in Root Canal Irrigation
Sodium hypochlorite is a halogen-based compound that effectively dissolves organic tissue and kills bacteria. In endodontics, it is typically used at concentrations ranging from 0.5% to 6%. Higher concentrations offer better tissue dissolution but also increase the risk of toxicity if accidentally extruded into the periapical tissues.
The ideal concentration depends on the clinical scenario. For routine cases, a concentration of 1% to 5.25% is commonly used. Lower concentrations (0.5% to 1%) may be sufficient for antimicrobial action with reduced tissue irritation, while higher concentrations are reserved for cases with heavy organic debris or persistent infection.
Always use sodium hypochlorite in a controlled manner, ensuring that the irrigant does not extend beyond the apical foramen. Using a well-fitted rubber dam and a suitable delivery system can significantly reduce the risk of accidental extrusion.
- Typical concentrations: 0.5% to 6%
- Higher concentration = faster tissue dissolution but higher risk
- Use rubber dam isolation to prevent soft tissue contact
Essential Safety Protocols for Sodium Hypochlorite
Patient safety is paramount when using sodium hypochlorite. Always isolate the tooth with a rubber dam to protect the oral mucosa and prevent the irrigant from coming into contact with soft tissues. Additionally, use a cheek retractor to improve visibility and access, such as the UmbrellaTM-Tongue, Lip, and Cheek Retractor, which helps maintain a dry field and clear access to the operative site.
Before irrigation, confirm that the needle is loose in the canal and never bind it into the canal walls. Use a side-venting needle to reduce the risk of apical extrusion. Always irrigate with a gentle, back-and-forth motion, allowing the solution to flow out freely.
In case of accidental extrusion, symptoms include severe pain, swelling, and tissue necrosis. Immediate management involves copious saline irrigation, cold packs, and appropriate analgesics. Refer to your local protocol for managing such emergencies.
- Always use rubber dam isolation
- Use side-venting needles to minimize extrusion risk
- Irrigate gently and never force the needle into the canal
Choosing the Right Irrigation Delivery System
The delivery system plays a crucial role in the safety and efficacy of sodium hypochlorite irrigation. Traditional syringe irrigation with a side-venting needle is the most common method. However, newer systems like the Endo-EzeTM Tip offer enhanced control and precise delivery, reducing the risk of over-instrumentation and extrusion.
The Endo-EzeTM Tip is designed to provide a controlled flow of irrigant with a flexible, thin tip that can navigate curved canals effectively. Its side-venting design ensures that the irrigant is directed laterally, minimizing apical pressure. This makes it an excellent choice for safe and effective root canal irrigation.
When using any irrigation tip, always ensure that it is properly fitted and that the flow rate is adjusted to a slow, steady stream. Avoid using excessive pressure, as this can force the solution beyond the apex.
- Side-venting needles reduce apical pressure
- Endo-EzeTM Tip offers controlled flow and flexibility
- Always check tip fit and adjust flow rate
Step-by-Step Irrigation Protocol
A standardized irrigation protocol ensures consistent results and safety. Begin by establishing working length and confirming patency. After each instrumentation step, irrigate with sodium hypochlorite using a gentle in-and-out motion. Use a total volume of at least 5-10 mL per canal, depending on the complexity of the case.
For optimal smear layer removal, consider a final rinse with a chelating agent such as EDTA, followed by a final flush with sodium hypochlorite. This sequence helps remove inorganic debris and ensures disinfection.
Remember to use fresh sodium hypochlorite for each case, as its efficacy diminishes over time and with exposure to light and heat. Store it in a cool, dark place and check the expiration date before use.
- Irrigate after each instrumentation step
- Use at least 5-10 mL per canal
- Final rinse with EDTA then NaOCl for smear layer removal
Managing Sodium Hypochlorite Accidents
Despite precautions, accidents can happen. If sodium hypochlorite is extruded into periapical tissues, immediate action is required. The patient will experience sudden, severe pain, followed by swelling and ecchymosis. Start by irrigating the area with copious amounts of saline or sterile water to dilute the chemical.
Apply cold compresses to reduce swelling and prescribe appropriate analgesics. In severe cases, antibiotics may be necessary to prevent secondary infection. Refer the patient to an oral surgeon if there is significant tissue damage or if the swelling does not subside.
Document the incident thoroughly and review your protocols to prevent future occurrences. Regular training and simulation can help dental teams respond effectively to such emergencies.
- Immediate saline irrigation to dilute
- Cold compresses and analgesics
- Refer for severe cases
Enhancing Irrigation Efficacy with Advanced Tools
While sodium hypochlorite is highly effective, its action can be enhanced with the use of advanced instruments. Ultrasonic activation, for example, improves the penetration and flow of the irrigant into lateral canals and isthmuses. This technique, known as passive ultrasonic irrigation (PUI), has been shown to improve debris removal and disinfection.
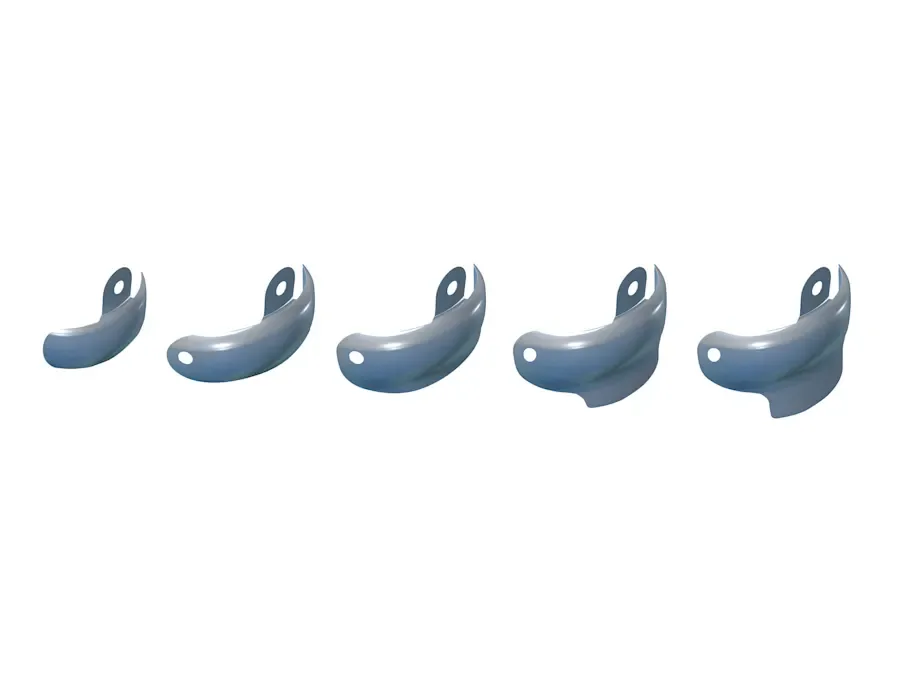
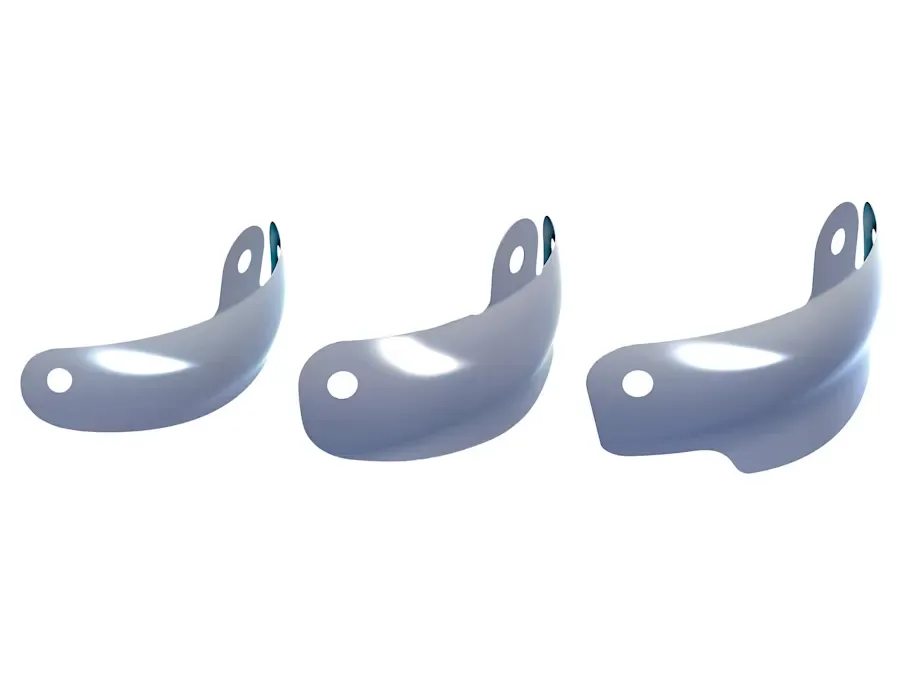
Additionally, using a sectional matrix system like the V3 Tab-Matrix-Sectional Matrix can help in cases where a tooth requires both endodontic and restorative treatment. While primarily used for composite restoration, it ensures proper isolation and matrix adaptation, which is crucial when working on endodontically treated teeth.
By combining safe sodium hypochlorite irrigation with modern tools, you can achieve predictable, successful outcomes in endodontic therapy.
- Ultrasonic activation improves irrigant flow
- Proper isolation is key for combined endo-restorative cases
Sodium hypochlorite remains an indispensable irrigant in endodontics, but its safe use requires a thorough understanding of its properties, proper delivery systems, and strict adherence to safety protocols. By following the guidelines outlined above, you can minimize risks and ensure effective root canal disinfection. For reliable irrigation delivery, consider using the Endo-EzeTM Tip, which offers controlled and safe irrigation. Always prioritize patient safety and stay updated with the latest techniques in endodontic irrigation.