Quick answer
Start with the simplest car or motorcycle model, sort the parts by type, and follow the Engino building instructions one step at a time. Build alongside your child for the first model, then let them lead the second.
Why the first model should be a simple vehicle
The Creative Builder 25 Multimodel Set is designed to grow with your child: simple cars and motorcycles come first, then advanced designs like helicopters, dragsters, and fighter jets. Starting with a vehicle gives your child a quick win and teaches the basic connection system before they tackle bigger builds.
Resist the urge to jump straight to the fighter jet. The advanced models use more parts and longer instruction sequences, which can frustrate a 6-year-old who is still learning how the pieces fit together.
Set up a build-friendly workspace
A clean, flat surface and a few small containers make a big difference. Sort the parts by shape and color before you begin, so your child can find each piece without digging through a pile. Keep the instructions flat and visible, and set aside the completed model on a shelf or tray so it does not get knocked over between sessions.
First build steps
- Sort the parts before you start: Open the box and tip all the pieces onto a tray or into a sorting box. Group them by type (beams, connectors, wheels) so your child can see what is available. Common mistake: leaving everything in the bag, which slows down the build and causes missing-piece frustration. A sorted tray saves time on every model, not just the first.
- Choose the simplest model in the instructions: Look through the Engino building instructions and pick the first car or motorcycle. Do not start with a helicopter or jet. Checkpoint: the model should use only a handful of parts and have a short step count. If your child is 6, let them point to the model they like, then guide them to the simplest one.
- Walk through the first three steps together: Read each instruction step aloud and help your child find the correct pieces. Show them how the connectors snap together. Common mistake: rushing ahead and forcing pieces that do not fit; if a part resists, check the orientation. Pause after step three to make sure the base is sturdy before continuing.
- Let your child take over the middle steps: Once the base is built, encourage your child to follow the pictures on their own. Stay nearby but resist grabbing the pieces. Checkpoint: if they get stuck, ask them to show you where the last step ended rather than taking over. Hands-off support builds confidence for the next model.
- Complete the model and test it: Finish the build and let your child play with it. Roll the car or spin the helicopter rotor to check that all connections are secure. Common mistake: skipping the final check, which can leave loose parts that fall off during play. A quick wiggle test on wheels and joints prevents mid-play collapses.
- Disassemble and store by type: When playtime is over, take the model apart and return pieces to the sorted tray or bags. Keep the instructions in a folder. Checkpoint: count any small parts back into the box so they are ready for the next build. Storing by type makes the second build faster and teaches organization.
Product facts
-
Engino Creative Builder: 25 Multimodel Set- STEM Engineering Toys for Kids Ages 6+ (25 Models to Build): The set includes 25 models to build, ranging from simple cars and motorcycles to advanced helicopters, dragsters, and fighter jets. This range lets your child start with an easy build and gradually take on more complex models as their skills grow.
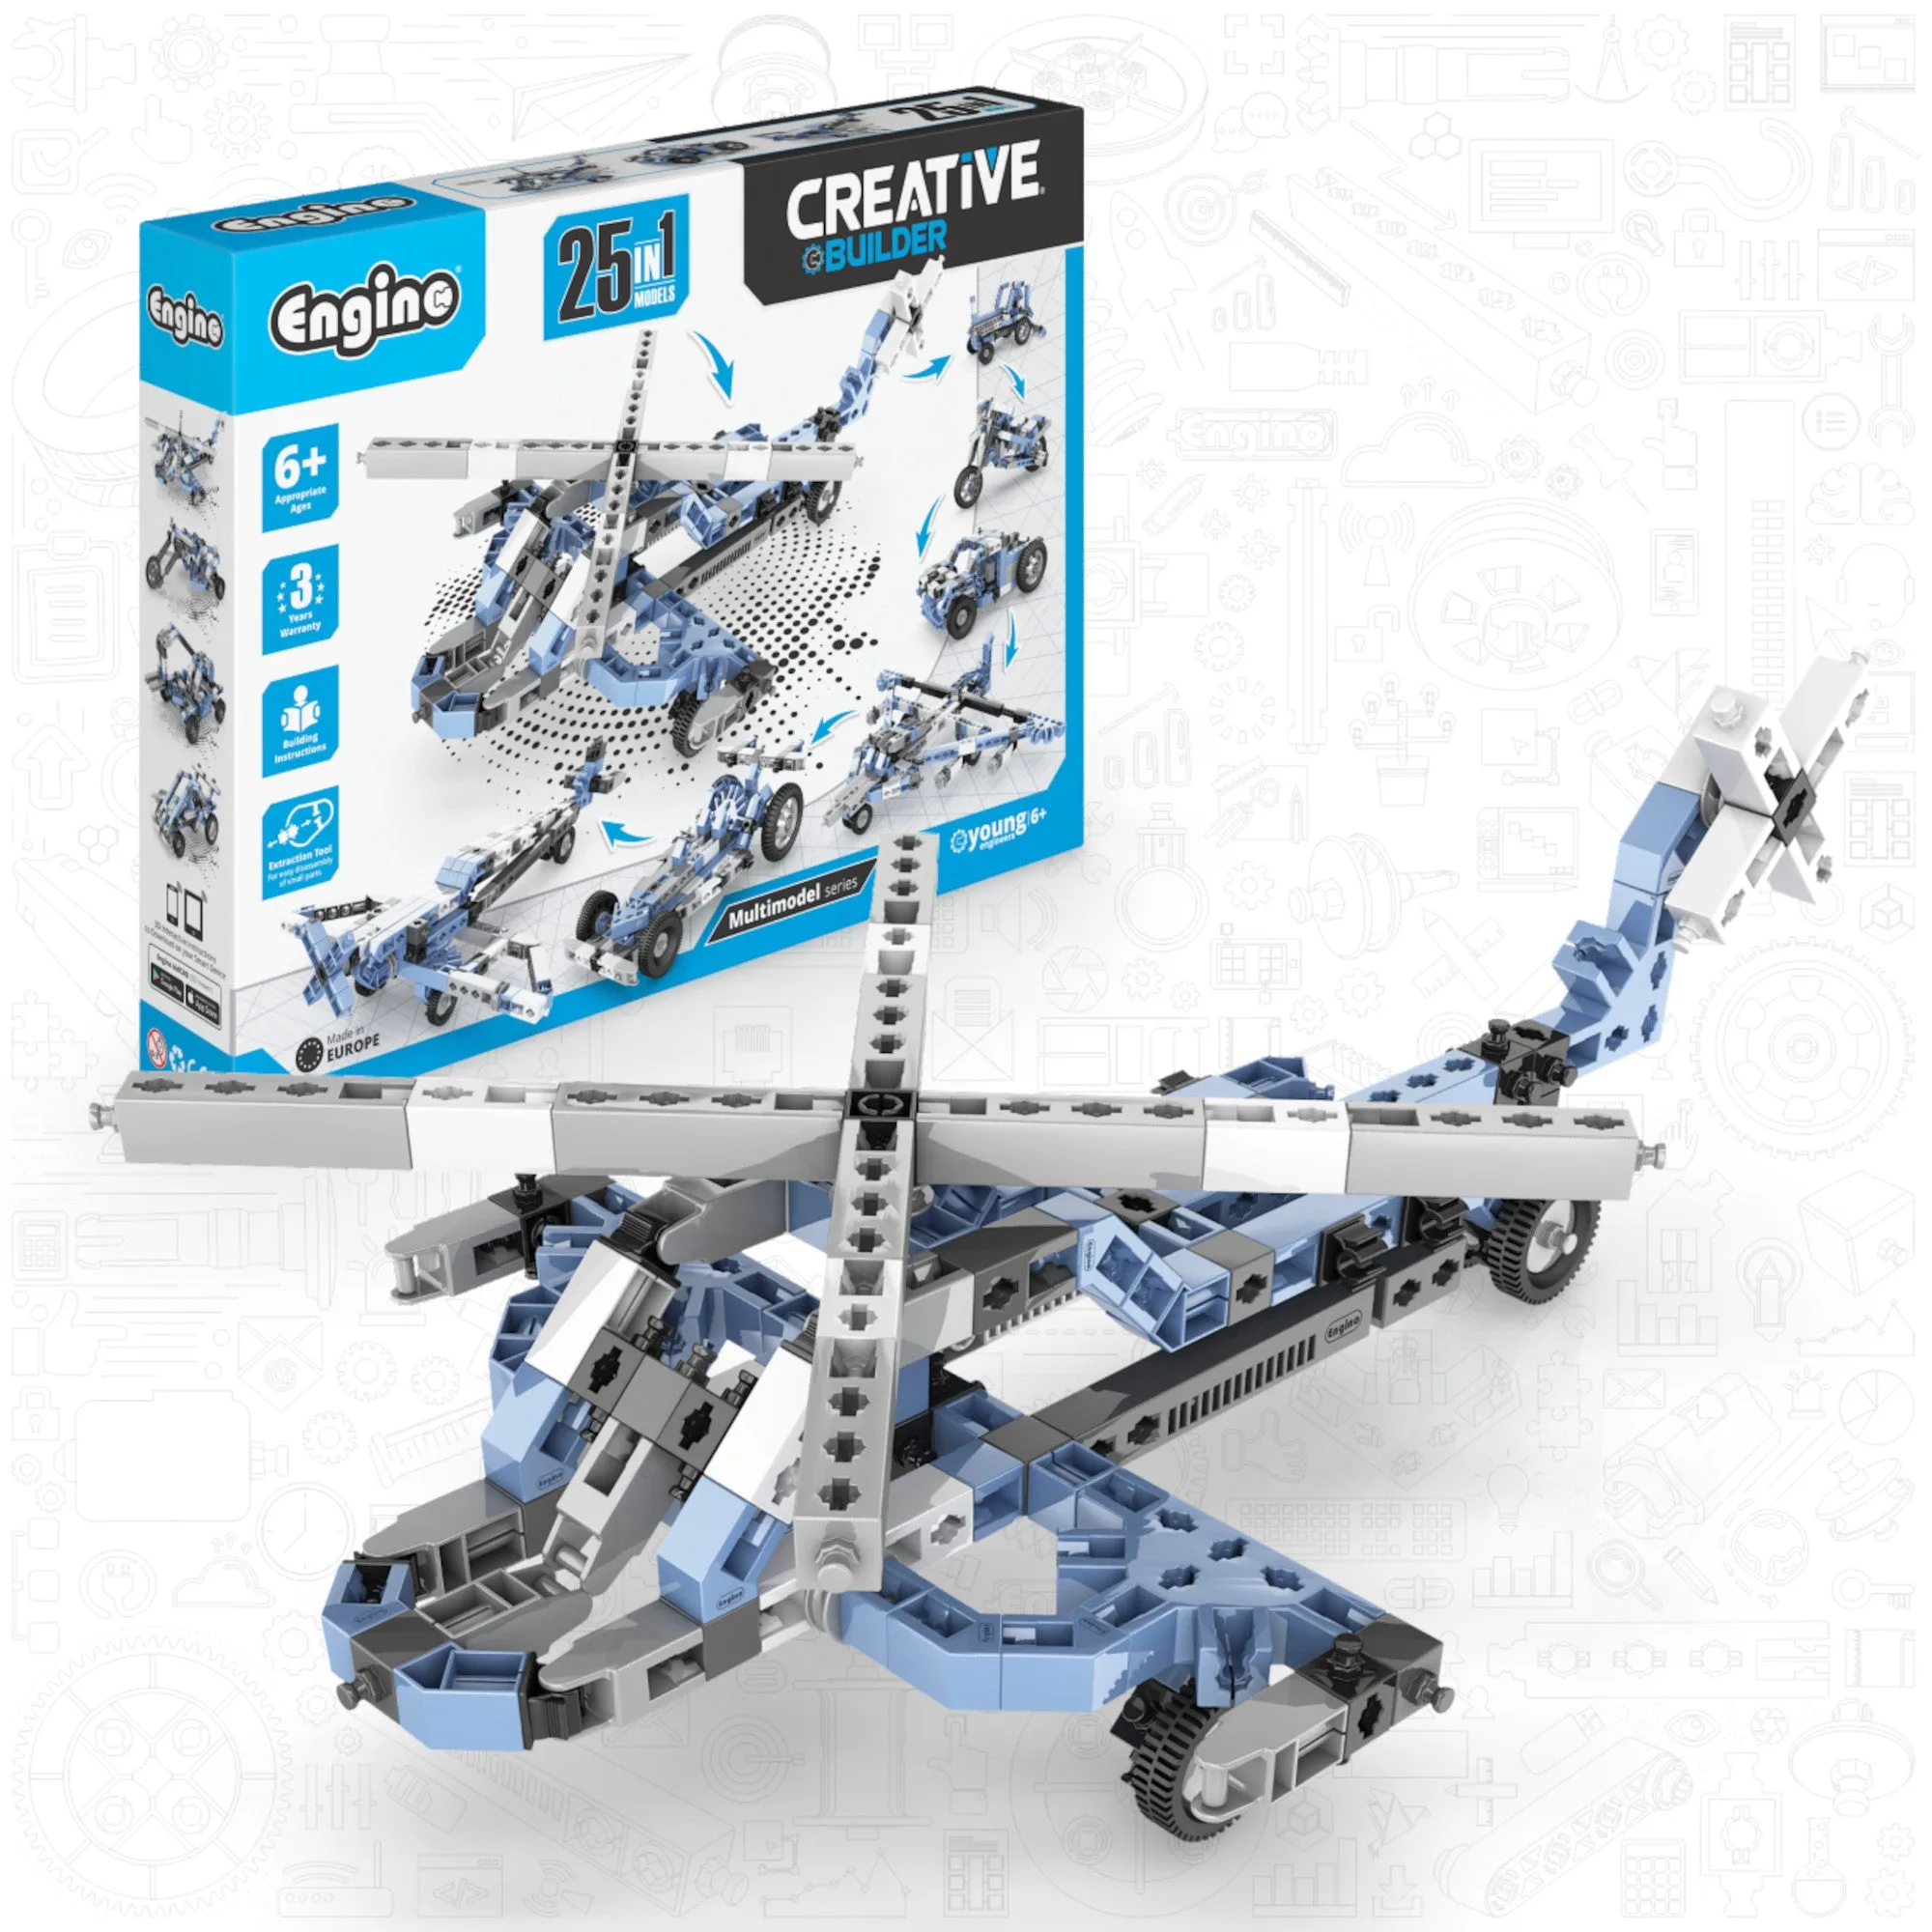
Engino Creative Builder: 25 Multimodel Set- STEM Engineering Toys for Kids Ages 6+ (25 Models to Build)