Quick Answer
The Engino Wheels, Axles & Inclined Planes set uses 14 buildable models to teach kids ages 9+ how wheels reduce friction, axles transfer force, and inclined planes multiply effort. Follow the structured experiments to see real mechanical principles in action.
Why This Set Stands Out for STEM Learning
Most building kits focus on following instructions to create a finished model. The Engino Discovering STEM Mechanics series goes further by including theory booklets and experiment prompts that explain the science behind each build. The Wheels, Axles & Inclined Planes set specifically targets three core simple machines that appear in everyday tools, vehicles, and playground equipment.
The set is designed for ages 9 and up, which means the concepts are challenging enough to engage older kids without being frustrating. Younger builders may need help reading the theory sections, but the building steps are clear and well-illustrated.
What You Can Build and Learn
The 14 models range from simple carts and ramps to more complex mechanisms like a winch and a wheelbarrow. Each model demonstrates a specific principle: big wheels vs. small wheels, thin axles vs. thick axles, gentle slopes vs. steep ramps. The booklet guides you through experiments that measure how these variables affect speed, force, and stability.
Because the set covers both wheels/axles and inclined planes, it also explains how wedges work as a special case of inclined planes. This gives a complete picture of how these simple machines relate to each other.
Limitations to Consider
The set does not include motors or batteries. All models are manually operated, which is intentional for learning mechanical advantage without electronic assistance. If your child prefers motorized builds, consider the Engino Fluid Dynamics or Produino sets instead.
The plastic parts are sturdy but not indestructible. Some smaller pieces (axles and connectors) can be lost easily, so storing the set in its original box or a compartmentalized container is recommended.
How to Get the Most Out of the 14 Models
- Start with the Theory Pages: Read the first few pages of the booklet together. Explain the terms (torque, friction, mechanical advantage) using simple examples like a door hinge or a playground slide. Skipping the theory makes the experiments less meaningful. Spend 10 minutes on the concepts first.
- Build the Simplest Model First: The booklet suggests a sequence. Start with the basic cart or ramp model to understand how wheels and axles fit together. Check that axles spin freely and wheels are aligned. A common mistake is forcing pieces together. If a part doesn't fit, check the orientation rather than pushing harder.
- Run the Suggested Experiments: After building a model, follow the experiment instructions. For example, compare a cart with big wheels vs. small wheels on the same ramp. Measure how far it travels or how fast it goes. Don't just build and dismantle. The experiments are where the learning happens. Record results in a notebook.
- Modify and Test Your Own Ideas: Once you understand the basic principles, try swapping parts between models. See what happens if you use a thicker axle or a steeper ramp. Encourage your child to predict the outcome before testing. There is no wrong answer in open-ended experimentation. If a model doesn't work as expected, discuss why and try again.
- Clean and Store Pieces After Each Session: Sort parts back into the box compartments or a small parts organizer. Count the axles and connectors to avoid losing them. Lost pieces are hard to replace individually. Keeping the set organized saves frustration for the next build.
Product Facts
-
Engino Discovering STEM Mechanics: Wheels, Axles & Inclined Planes Set for Kids Ages 9+ (14 Models to Build): The set includes a theory booklet covering wheel/axle types, lever classes, torque, friction, and inclined-plane geometry. Kids don't just build models; they read and apply real physics concepts, which deepens understanding beyond assembly.
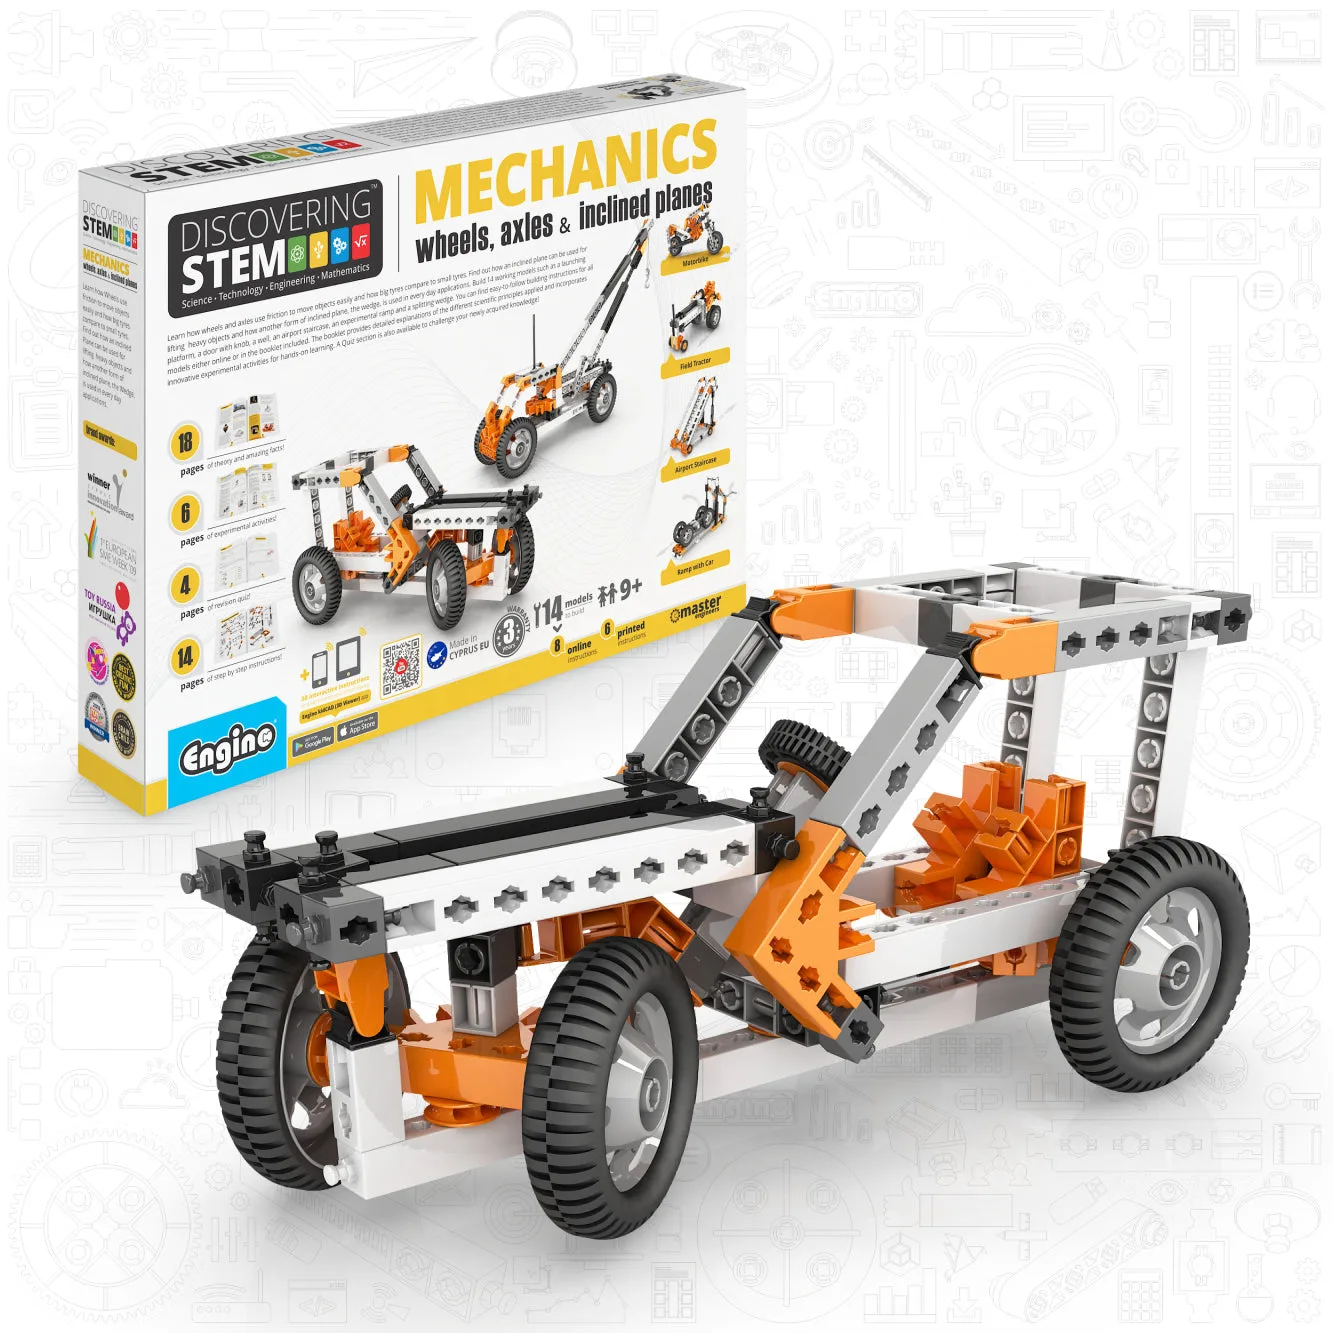
Engino Discovering STEM Mechanics: Wheels, Axles & Inclined Planes Set for Kids Ages 9+ (14 Models to Build)