Quick answer
Use the Esports Tiger Arc 2 set made for the SteelSeries Aerox 3 wired or wireless. Clean the original feet area, align the rounded edges before pressing, and expect a slightly faster, more consistent glide than stock feet after a short break-in.
Why Arc 2 thickness changes how the Aerox 3 sits
Arc 2 skates measure between 0.7 and 0.8 mm thick. That is thin enough to keep the Aerox 3's low profile, but it still adds a small amount of height compared with worn stock feet. If you use a very low-sitting mousepad or a tight mouse bungee, check that the sensor still tracks cleanly after installation.
The reinforced proprietary PTFE material is designed for improved glide over the original Arc. On the Aerox 3, that usually means less starting friction and a more even feel across the pad, especially on cloth surfaces. It is not a control skate, so players who rely on heavy stopping power may prefer a slower option.
Fit notes for wired vs wireless Aerox 3
The product listing covers both the wired and wireless Aerox 3, but the two versions can have slightly different foot layouts. Before peeling anything, compare the Arc 2 shapes to the original feet on your exact mouse. If a shape looks reversed or offset, stop and re-check rather than forcing it.
Because the set is a 1-pack, 1-set format, you get one set of skates. That is enough for one mouse, but it leaves no spare if you misalign a skate during install. Work slowly and keep the backing paper until each piece is placed.
Step-by-step Arc 2 install for Aerox 3
- Clean the foot recesses: Remove the old skates and wipe the recesses with isopropyl alcohol on a lint-free cloth. Let the surface dry completely before applying anything. Common mistake: leaving adhesive residue or dust, which prevents the new skate from sitting flat. Run a fingernail across the recess after drying; any bump means clean again.
- Test-fit before peeling: Place each Arc 2 skate into its recess without removing the backing paper. Confirm the rounded edges follow the recess shape and that no corner overhangs. For the wireless Aerox 3, double-check the sensor ring area if your set includes a ring piece. If a skate looks mirrored, swap it with the matching shape before peeling.
- Peel and place from one edge: Peel only a small corner of the backing, align that edge with the recess, then press the rest down while pulling the paper away. Use tweezers if your fingers are oily. Common mistake: pressing the center first, which traps air and makes the edges lift. Keep the backing paper until all skates are placed in case you need to reposition.
- Press firmly and check seating: Apply steady pressure across each skate for a few seconds, especially the rounded edges. Flip the mouse over and look for any lifted corner or gap. A skate that sits proud will feel scratchy and may catch on the pad. If a corner lifts, lift the skate slowly and re-seat it rather than pressing harder.
- Break in and adjust sensitivity: Use the mouse normally for a short session and compare the glide to your old feet. Arc 2 is designed for improved glide over Arc, so you may need to lower in-game sensitivity slightly to keep the same control. Common mistake: judging glide in the first minute before the PTFE has settled. Give it a few hours of play before deciding whether the faster glide suits you.
Product facts
-
Esports Tiger Arc 2 - Steelseries Aerox 3 Wired / Wireless: Esports Tiger Arc 2 for SteelSeries Aerox 3 wired/wireless, 1 pack 1 set, thickness 0.7–0.8 mm. The thin profile keeps the Aerox 3 close to its original height while adding a fresh PTFE surface.
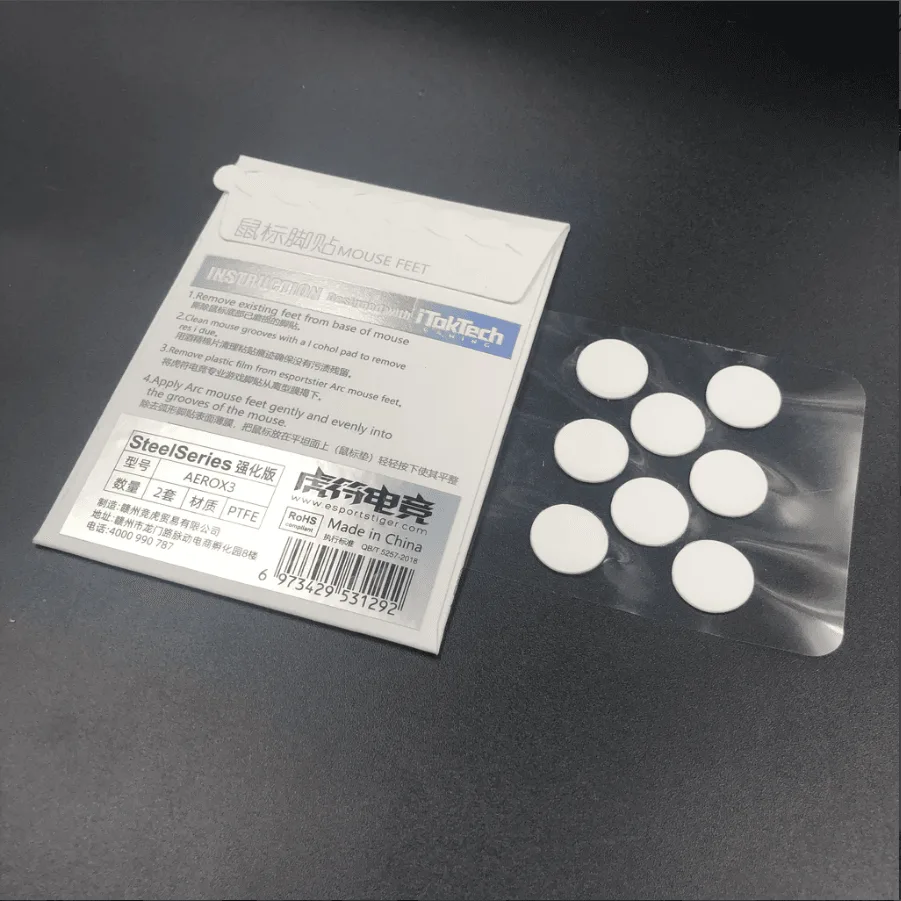
Esports Tiger Arc 2 - Steelseries Aerox 3 Wired / Wireless
-
Esports Tiger Arc 2 - Steelseries Aerox 3 Wired / Wireless: Reinforced Arc 2 proprietary PTFE material for improved glide over Arc. Expect a faster, more consistent glide than the original Arc, which suits tracking-heavy play but reduces stopping friction.
-
Esports Tiger Arc 2 - Steelseries Aerox 3 Wired / Wireless: Rounded edges on each skate. Rounded edges reduce the chance of catching on cloth pads during fast swipes, but they still need careful alignment.