Quick answer
Replace exhaust flange gaskets, locking nuts and bolts, and any cracked or stretched rubber hangers every time you install a catback or axleback. Reusing old gaskets and fasteners is the top cause of leaks, rattles, and loosening after a few heat cycles. Buy new hardware matched to your flange type and pipe diameter before you start the job.
You have the new catback or axleback on the way, but the install will only go smoothly if the small parts are sorted first. Gaskets, bolts, and hangers are not glamorous, yet they decide whether your new exhaust seals, stays tight, and sounds the way it should.
This guide walks through the hardware you should replace during an exhaust install and gives you an ordered process with checkpoints, using real REMARK systems as examples so you know what to expect at each flange.
Why exhaust install hardware matters more than most people think
Old gaskets crush and harden with heat cycles, so they rarely seal twice. Reusing them is a common shortcut that leads to exhaust leaks, which show up as ticking, rasp, or a check engine light from an oxygen sensor reading outside its expected range. New gaskets compress evenly and seal the first time.
Bolts and nuts on exhaust flanges are usually locking or deformed-thread designs, and they lose their grip after removal. Reusing them risks a loose connection that backs out after a few hot and cold cycles. Hangers matter too: worn rubber lets the system sag or knock against the chassis, which is annoying and can damage nearby components.
- Replace gaskets, locking nuts, and damaged hangers at every joint you open.
- Inspect hangers for cracks, stretching, or missing isolators before reusing them.
What to replace at each connection point
At the front overpipe or downpipe flange, use a new gasket sized to the flange. If your catback necks down to mate to an OEM front overpipe, the gasket must match that mating surface, not the larger pipe diameter. A gasket that is too large or too small will not seal, no matter how tight you torque it.
At the midpipe and muffler joints, replace any crush gaskets or graphite seals. For slip joints, a new clamp is often the right call because old clamps lose tension. If your system uses band clamps, inspect for distortion and replace if the band no longer sits flat. Finally, replace rubber hangers that show age, and add polyurethane hangers only if you accept a little more cabin noise.
- Match gasket material and size to the flange, not to the pipe you wish you had.
- Replace clamps that have been over-tightened or bent during removal.
How to choose the right gaskets and bolts
For most street exhausts, a multi-layer steel or graphite composite gasket works well. Multi-layer steel handles high heat and repeated torque better, while graphite can conform to slightly imperfect flanges. If you are unsure of the flange size, measure the bolt-hole spacing and the inner opening before ordering. Guessing here is the fastest way to a second trip to the parts store.
For bolts, choose the correct grade and thread pitch for your flange. Many factory exhaust fasteners are studs with nuts, and replacing them with a bolt-and-nut pair is fine if the flange allows it. Use anti-seize on the threads to make future removal easier, but keep it off the gasket surface. Locking nuts or nylon-insert nuts help prevent loosening, though high heat can degrade nylon over time, so deformed-thread metal nuts are often the safer choice.
- Measure bolt-hole spacing and opening diameter before ordering gaskets.
- Apply anti-seize to threads, not to gasket faces.
Tools and parts to have on hand
You will need penetrating oil, a breaker bar, a torque wrench, and the correct socket sizes for your flange bolts. A wire brush and sandpaper help clean mating surfaces. New gaskets, bolts, nuts, and hangers should be laid out before you start. A jack and stands or ramps are essential, and a second person helps when aligning tips and checking clearance.
If your new system includes tip options, decide on the tip style before final tightening so you are not fighting the hardware twice. For systems with a resonated midpipe, confirm whether it mates to the OEM front overpipe and whether a gasket is included. If not, source the correct gasket ahead of time.
- Lay out all new hardware before lifting the car.
- Confirm included gaskets and clamps against the product description.
Step-by-step hardware replacement process
Start by spraying penetrating oil on all flange bolts and hanger mounts, then wait a few minutes. Support the old exhaust with a stand before removing bolts so it does not drop. Remove the old system from the rear forward, keeping the hangers attached until the pipes are free. Inspect each hanger and note which ones need replacement.
Clean the mating surfaces on the front overpipe and any reused flanges with a wire brush. Install new gaskets dry, then hand-thread new bolts and nuts. Snug them in a star pattern, then torque to the manufacturer specification if available. If no spec is given, tighten in stages and check for leaks after the first heat cycle. Recheck torque after 50 to 100 miles.
- Never fully tighten one bolt before the others are snug.
- Re-torque after the first few heat cycles to catch settling.
Install hardware checklist: steps and checkpoints
- 1. Gather new gaskets, bolts, and hangers before lifting the car: Match gasket size to the flange, not the pipe diameter. Buy locking nuts and replacement hangers if any rubber shows cracks or stretching. Checkpoint: if you cannot confirm flange size, measure bolt-hole spacing and opening diameter first.
- 2. Spray penetrating oil and support the old exhaust: Apply oil to all flange bolts and hanger mounts, wait a few minutes, and place a stand under the system before removing anything. Common mistake: skipping support and letting the exhaust hang by one bolt, which can bend a flange.
- 3. Remove old hardware and inspect hangers: Work from the rear forward, keeping hangers attached until pipes are free. Note which hangers need replacement and check for missing isolators. Checkpoint: any hanger that is cracked, stretched, or missing an isolator should be replaced, not reused.
- 4. Clean mating surfaces and install new gaskets dry: Use a wire brush or sandpaper on the front overpipe and any reused flanges. Seat new gaskets without anti-seize on the faces. Common mistake: reusing a hardened gasket because it looks intact. It will not seal twice.
- 5. Hand-thread new bolts and snug in a star pattern: Thread all bolts by hand first to avoid cross-threading, then snug them in a star pattern before final torque. Checkpoint: if a bolt will not thread by hand, stop and chase the threads rather than forcing it.
- 6. Torque to spec and recheck after heat cycles: Use the manufacturer torque spec if available. If not, tighten in stages and recheck after the first heat cycle and again after 50 to 100 miles. Common mistake: final torque on one bolt before the others are snug, which distorts the flange and causes leaks.
Hardware notes from real REMARK systems
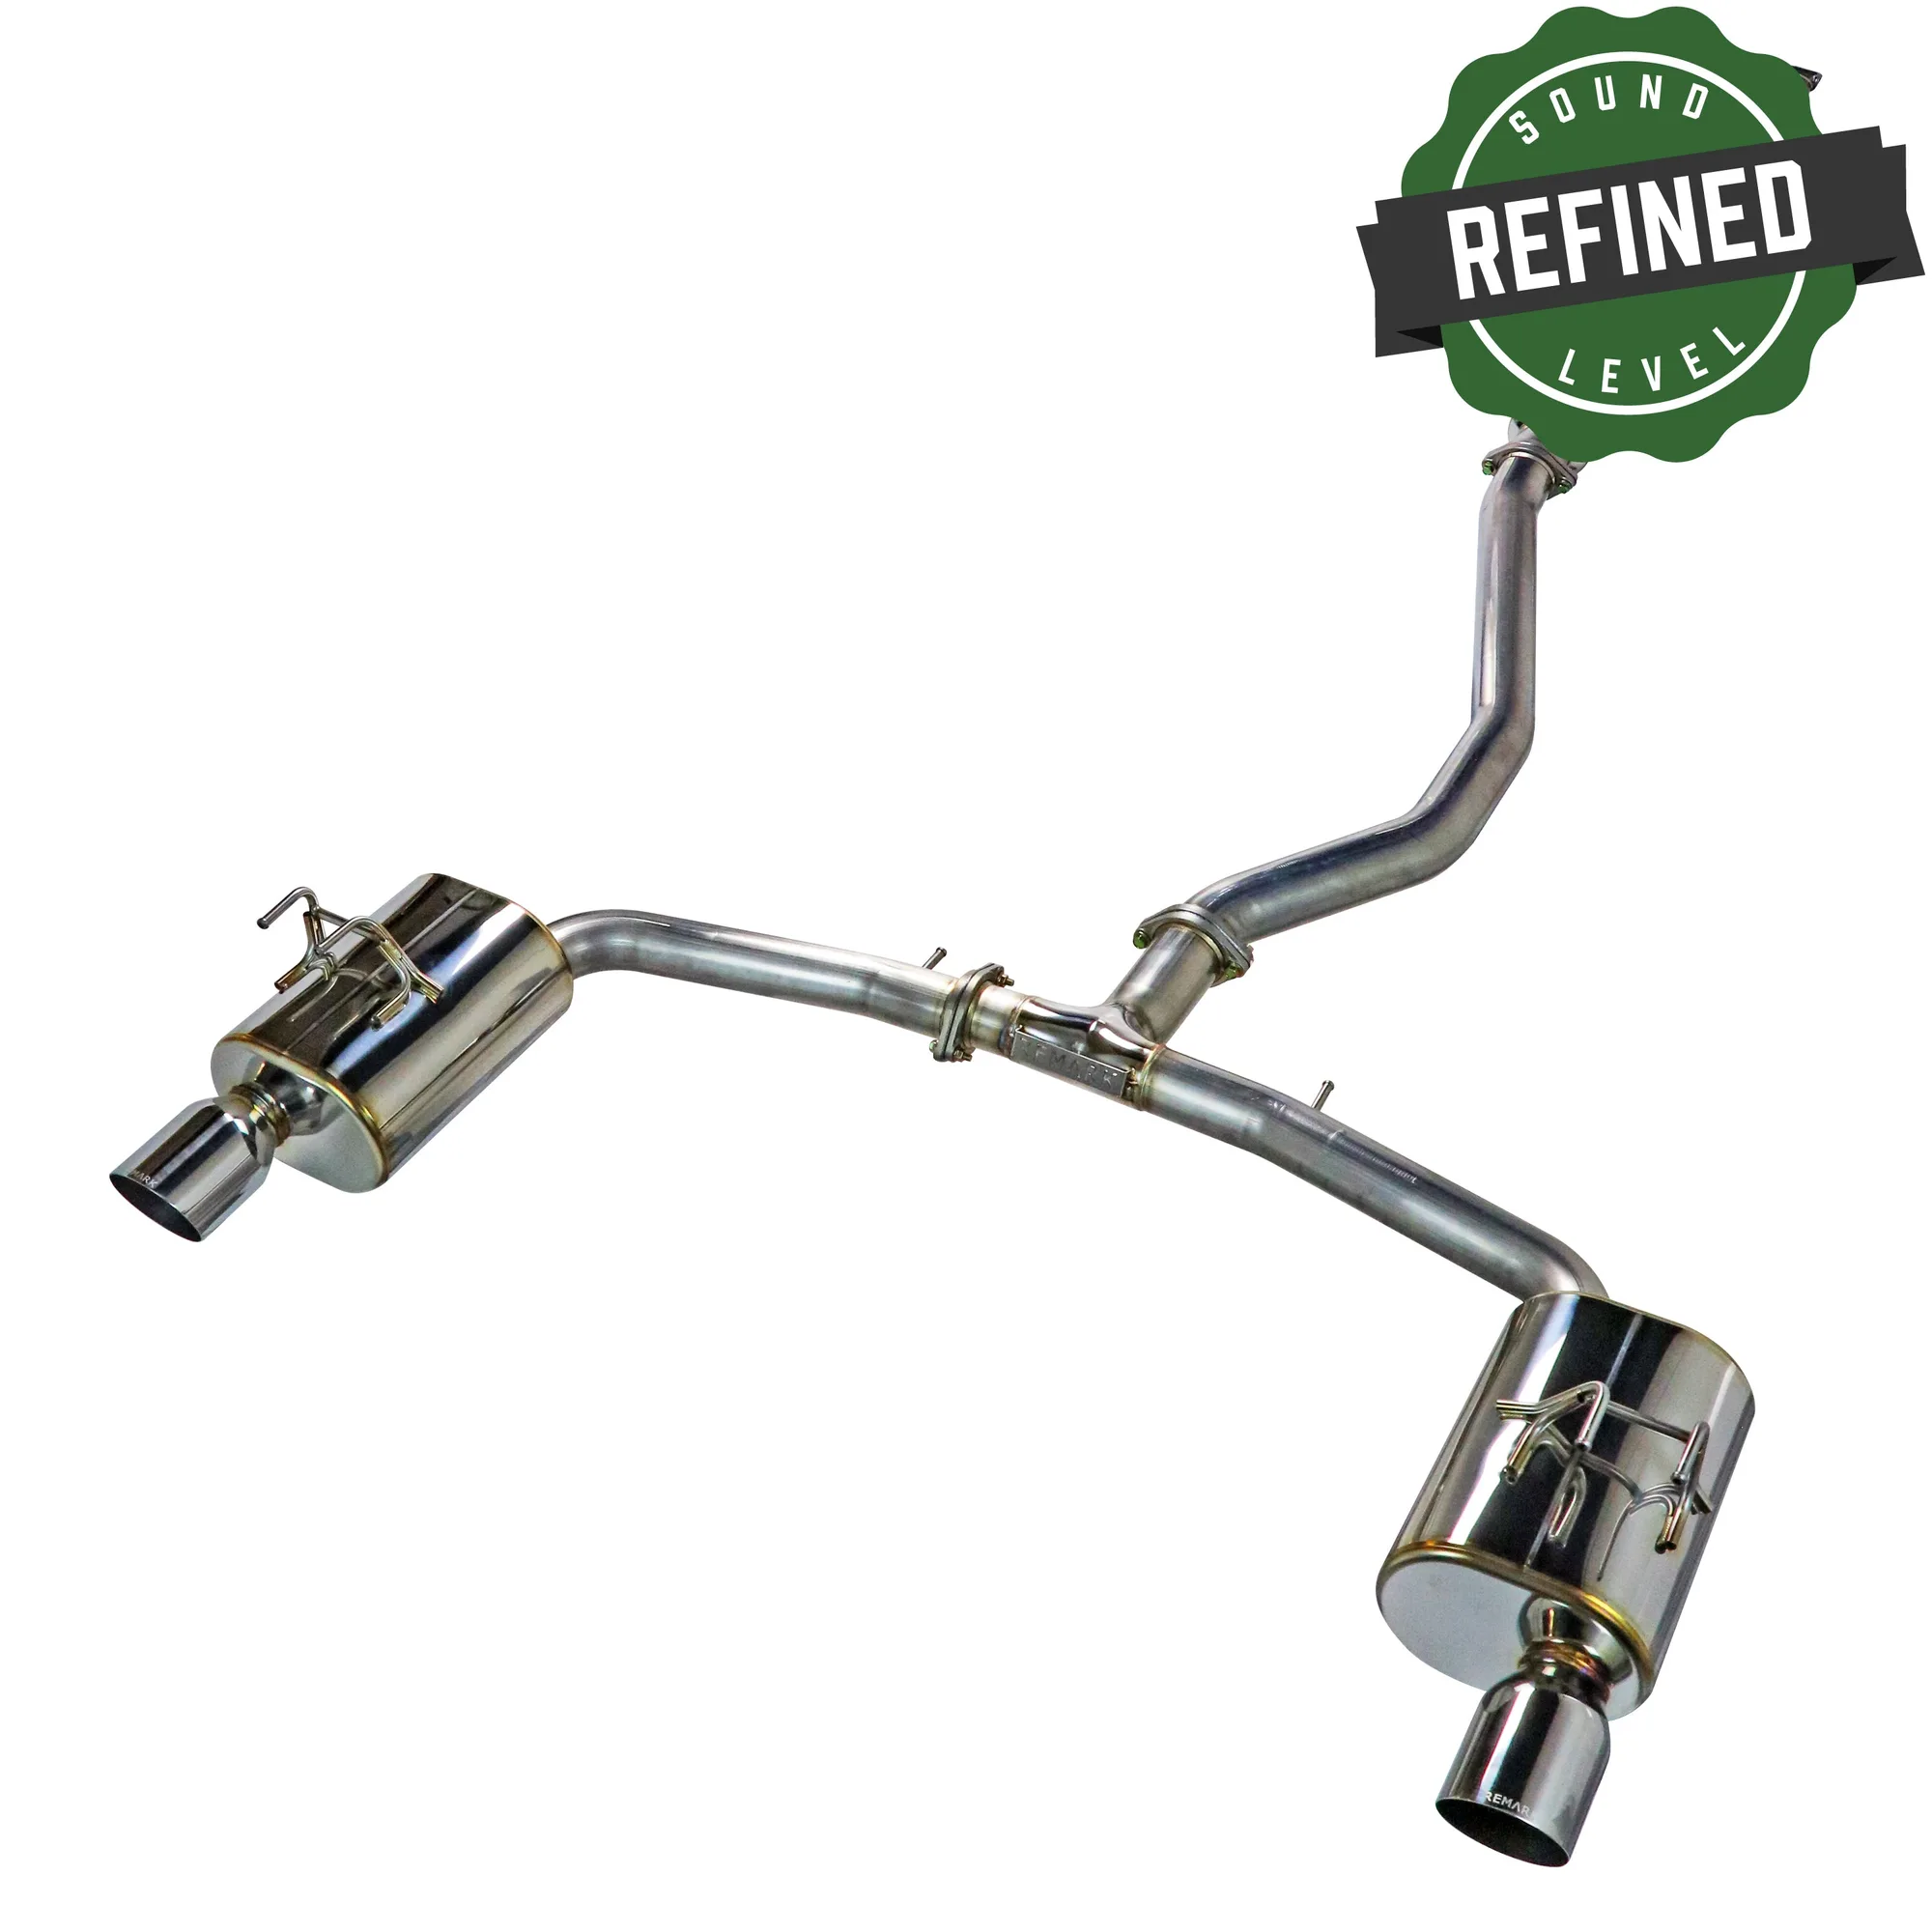
- Sports Touring Catback Exhaust - Honda Civic EX / Touring FE1 [2022+]: The 3" resonated midpipe bolts directly to the OEM front overpipe, and the midpipe necks down to mate to the OEM front overpipe flange. You need a gasket sized to that necked-down flange, not to the 3" pipe, or the joint will leak. Confirm the mating surface before ordering hardware.
- Link Loop Catback Exhaust - Honda Civic Hatchback EX-L (2022-2024): The system uses REMARK's LINK LOOP design with a 1.5L turbocharged engine and includes tip options. Decide on tip style before final tightening so you do not have to loosen hardware again. The loop design also means more joints to seal, so new gaskets at each connection matter.
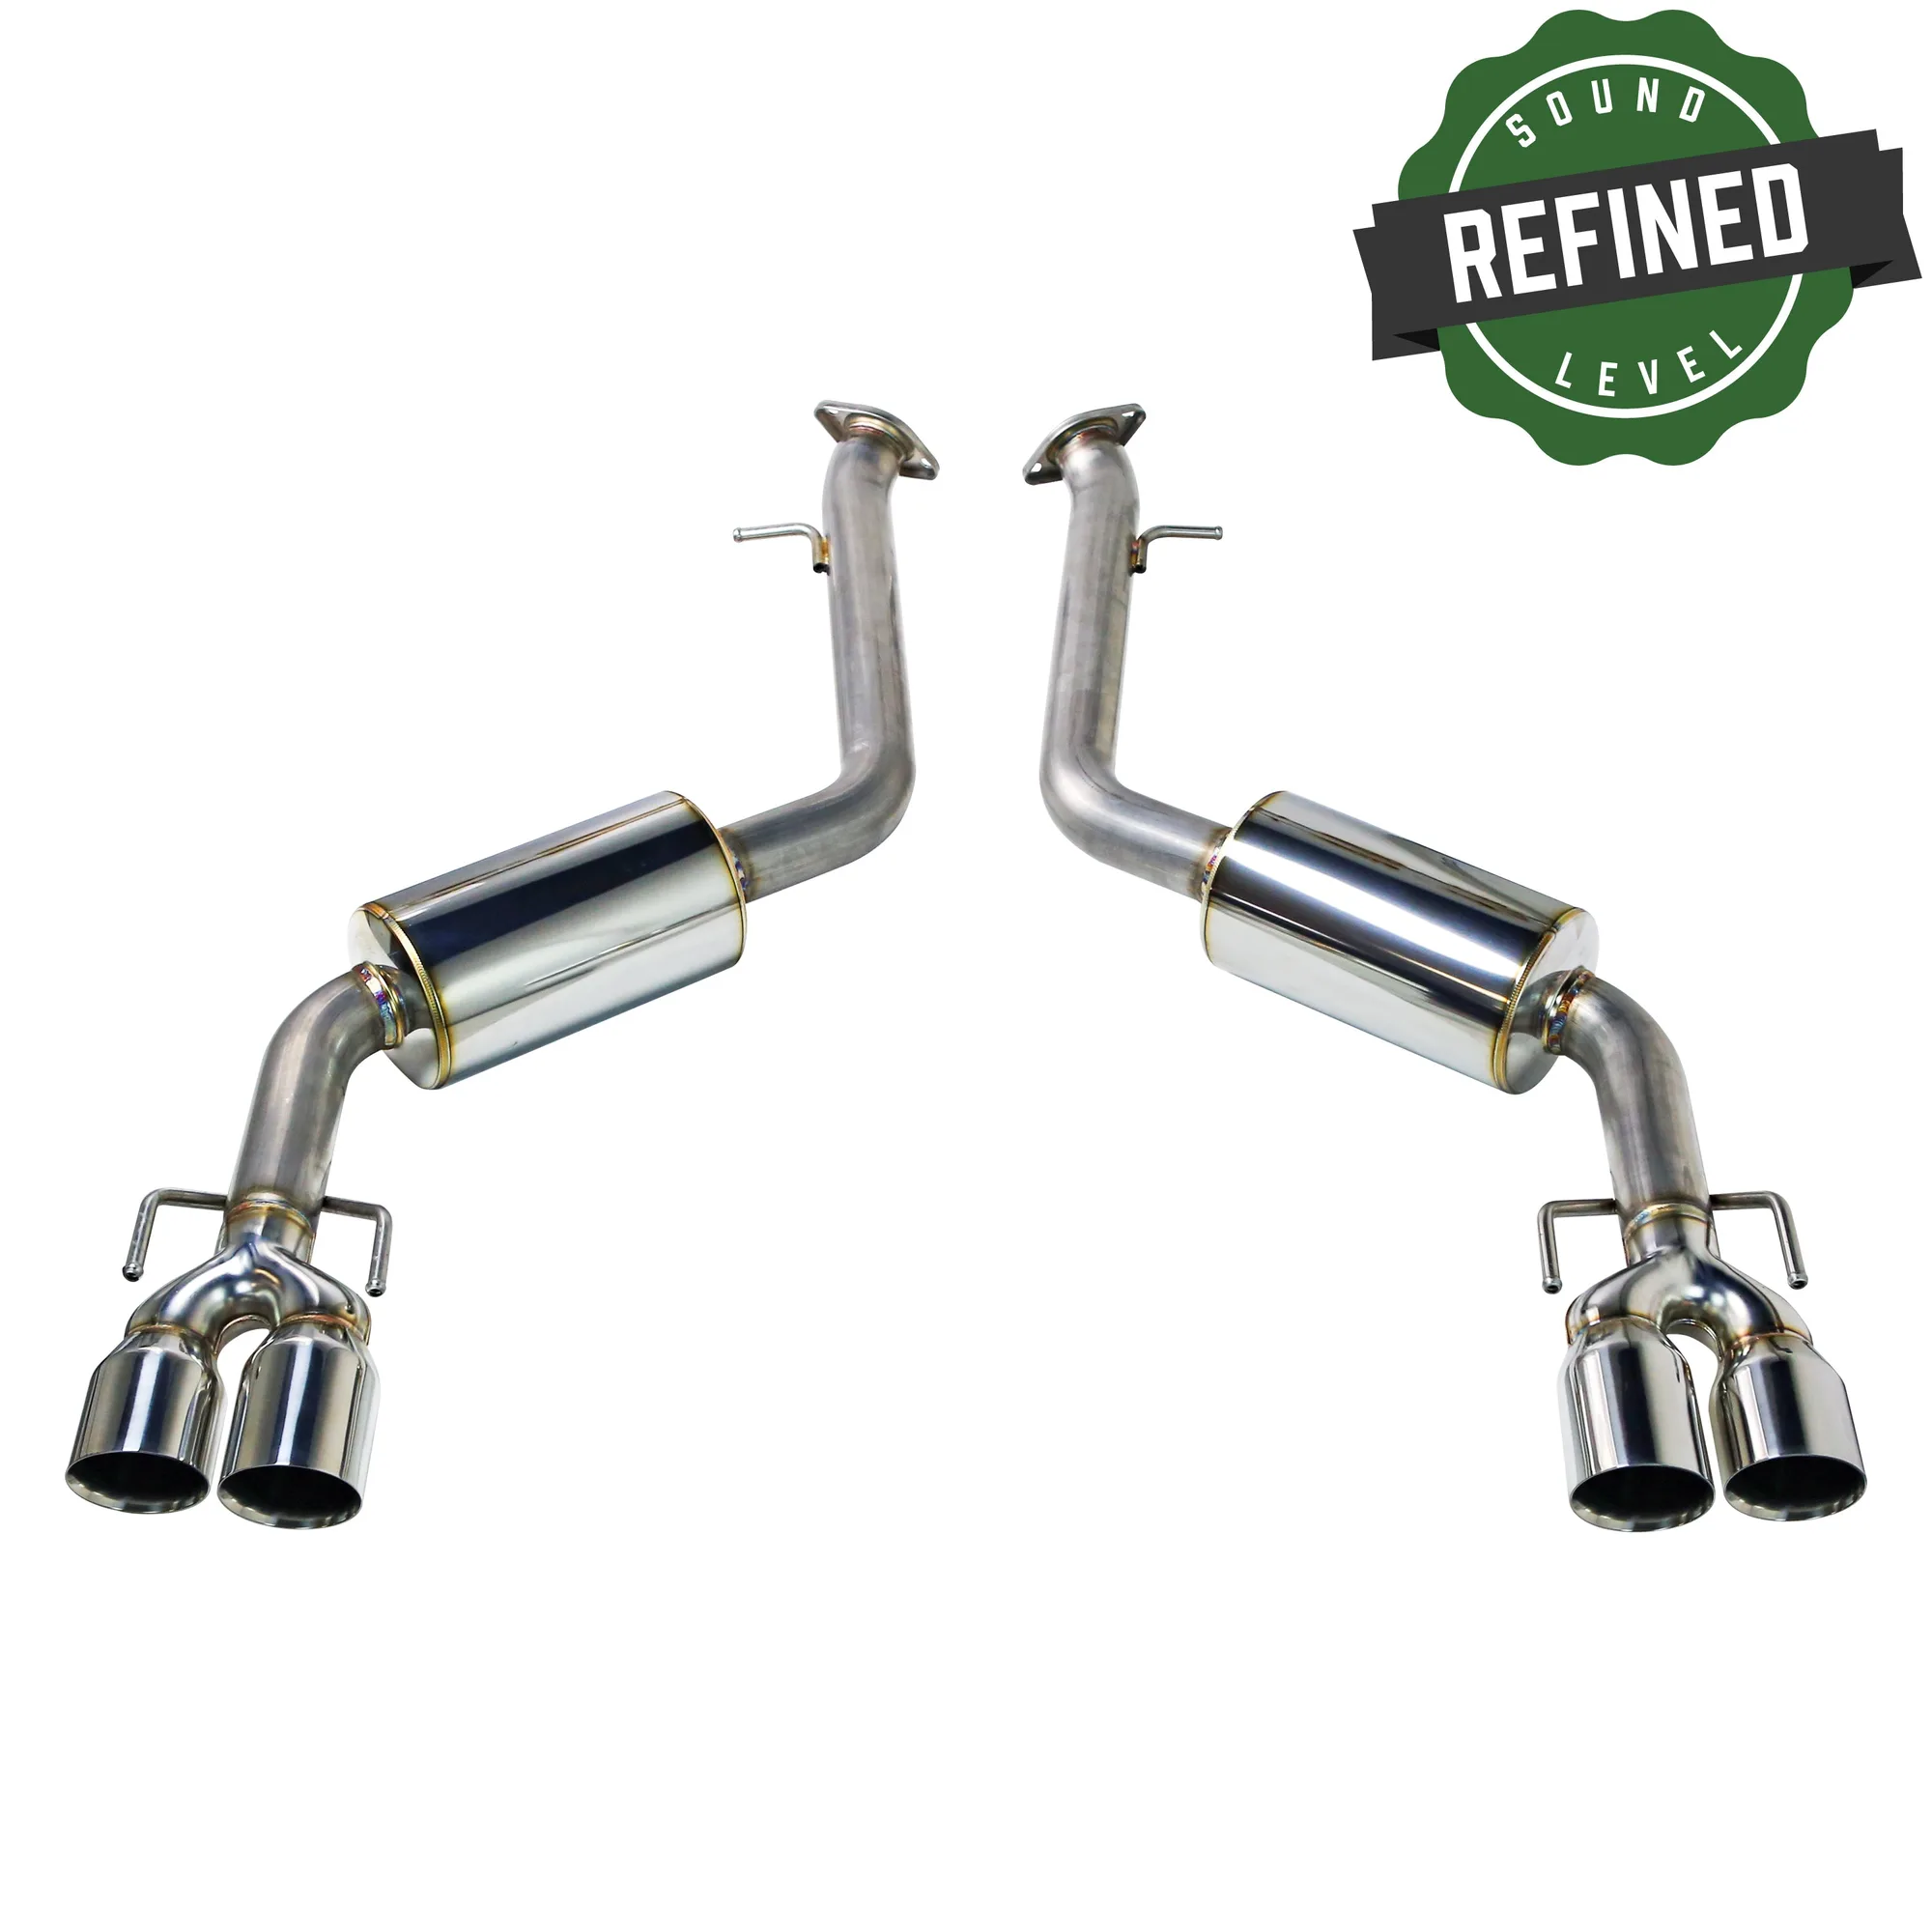
- Axleback (Muffler Version) - Lexus RC200t/ 300/ 350 [2015-2025]: This axleback includes two high flow, straight through design muffler canisters and offers tip style options. Axleback installs still use flange gaskets and hangers at the muffler inlet. Replace those even though the job is smaller than a full catback.
New gaskets, bolts, and hangers are cheap insurance for a quiet, leak-free exhaust. Replace them at every joint you open, torque in stages, and recheck after a few heat cycles. That routine keeps your catback or axleback sounding right for years.