Quick answer
Most exhaust leaks start at flanges and joints, not in the pipe itself. Replace the gasket and hardware together, torque in a star pattern, and re-check after the first heat cycle. If you hear a tick or smell exhaust in the cabin, stop driving and inspect the flange before tightening anything.
A persistent exhaust tick, a check engine light, or a faint exhaust smell in the cabin usually points to one thing: a failed flange gasket or stretched hardware. Catching it early saves you from warped flanges and repeat repairs.
This guide walks through the exact steps to diagnose, remove, and reinstall exhaust gaskets and hardware so the repair holds. You will also see how specific parts like a Honda Exhaust Gasket and a silicone intake hose kit fit into the bigger picture of keeping a turbo Honda sealed and reliable.
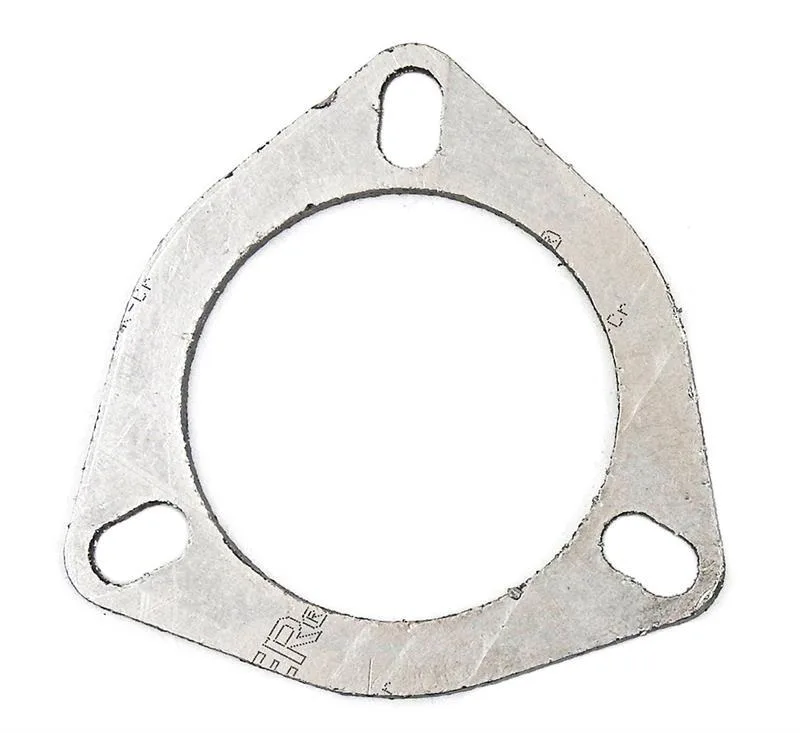
Honda Exhaust Gasket
Why exhaust leaks start at the flange
Exhaust flanges live in a brutal environment: constant heat cycling, vibration, and road debris. The gasket material compresses over time, and the bolts stretch. Once clamping force drops, hot gas escapes and the leak grows. A small tick at idle can become a loud drone under load within a few weeks.
Most leaks begin at the downpipe-to-catback joint or the front pipe connection. On 2006-2015 Civic Si 3-inch downpipes, that joint sits right behind the engine where heat is highest. On 2016-2021 Civic applications, including the 2017-2021 FK8 Type-R, the front pipe-to-catback flange is the usual suspect. Knowing your chassis layout tells you where to look first.
- Check flanges before replacing entire sections of pipe.
- A leak that appears only when cold often means a gasket that has lost its crush.
Exhaust leak symptoms you should not ignore
The earliest sign is usually sound: a rhythmic tick at idle that fades as the metal expands. As the leak worsens, you may hear a rasp or drone at cruising speed. Inside the cabin, a sweet or acrid smell can enter through the HVAC intake, which is a health concern, not just an annoyance.
Performance symptoms follow. A pre-sensor leak can skew fuel trims and trigger a P0171 or P0420 code. Boost response may feel lazy because backpressure and sensor readings are inconsistent. If you notice any of these, inspect the nearest flange before assuming a sensor has failed.
- Cold-start tick that disappears when warm: early gasket failure.
- Exhaust smell in cabin: stop driving and inspect immediately.
Exhaust gasket types and how to choose
Not all gaskets are the same. Composite fiber gaskets seal well on slightly imperfect flanges and are common on factory joints. Multi-layer steel (MLS) gaskets handle higher heat and pressure, making them a good fit for turbo applications. Graphite laminate gaskets, like the material used in the Honda Exhaust Gasket, combine expanded graphite layers with a thin steel core. They conform to minor flange irregularities and resist blowout.
The Honda Exhaust Gasket is a 3-inch inner diameter replacement designed for the joint between the downpipe and catback on 2006-2015 Civic Si 3-inch downpipes, and between the front pipe and catback on 2016-2021 Civic applications including the 2017-2021 FK8 Type-R. Its KLINGER graphite laminate construction is intended to seal under heat cycling. Match the gasket to your flange size and material; a gasket that is too soft may crush and leak, while one that is too hard may not conform.
- Measure flange inner diameter before ordering.
- For turbo cars, lean toward graphite or MLS over basic fiber.
Hardware matters as much as the gasket
Reusing old bolts and nuts is a common mistake. Exhaust hardware stretches and corrodes; even if it looks fine, it may not hold torque. A proper exhaust bolt and nut kit uses graded steel or stainless hardware with the correct thread pitch and length. Using generic hardware from a bin can strip flanges or bottom out before clamping.
Springs and lock washers are not optional on many factory joints. They maintain tension as the exhaust expands and contracts. If your kit did not include them, source the correct springs. When you pair a new gasket with fresh hardware, you give the joint its best chance of staying sealed.
- Never reuse locking nuts; replace them.
- Anti-seize on threads helps future removal but use it sparingly.
Step-by-step: exhaust gasket replacement and leak fix
Set aside an hour for a simple flange gasket. Work on a cold engine. Soak the bolts with penetrating oil 15 minutes before you start. Support the exhaust with a jack stand so the pipes do not drop when you remove the hardware.
Remove the old bolts and nuts, then separate the flanges just enough to slide out the old gasket. Clean both flange faces with a wire brush or abrasive pad. Any leftover gasket material will create a leak path. Inspect for cracks or warping; if a flange is warped, a new gasket alone will not fix it.
Install the new gasket dry unless the manufacturer specifies a sealant. Align the flanges and hand-thread the new hardware. Tighten in a star pattern to draw the flanges down evenly. Torque to the manufacturer spec; if none is available, use a conservative value for the bolt size and re-check after a heat cycle.
Start the engine and let it idle to operating temperature, then cool completely. Re-torque the hardware. This step catches the initial compression of the gasket. Skipping it is the most common reason a leak returns within a week.
- Star pattern prevents cocked flanges.
- Re-torque after the first heat cycle.
When to replace more than the gasket
If the flange is pitted or warped, resurfacing or replacing the pipe section is the only reliable fix. On turbo cars, a leaking flange near the turbo can also mean a cracked weld or a failing flex section. Look for soot trails: they show exactly where gas is escaping.
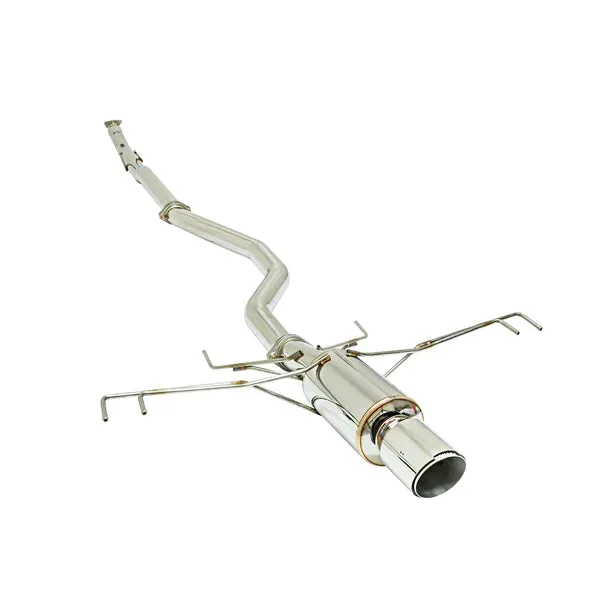
If you are already upgrading the exhaust, such as moving to a Remark 2017-2021 Honda Civic Type-R FK8 Spec-I Exhaust System, use new gaskets and hardware at every joint. The Spec-I system is a catback designed for racing and performance, and it uses REMARK design muffler for a comfortable ride without compromising the FK8's potential. Reusing old gaskets on a new system invites leaks.
- Soot trails are your leak map.
- New exhaust system? New gaskets and hardware everywhere.
Your exhaust leak repair checklist
- 1. Confirm the leak location: With the engine cold, look for soot trails at flanges and joints. Start at the downpipe and front pipe connections. A cold-start tick that fades when warm points to a gasket losing crush. Checkpoint: if you see soot, the leak is at that joint.
- 2. Order the right gasket and hardware: Match the gasket to your flange inner diameter and material. For 3-inch Honda joints, the Honda Exhaust Gasket is a direct fit. Add a fresh exhaust bolt and nut kit with correct thread pitch and length. Checkpoint: never reuse locking nuts or stretched bolts.
- 3. Disassemble and clean: Support the exhaust, remove old hardware, and separate the flanges. Scrape both faces clean with a wire brush. Inspect for warping or cracks. Checkpoint: a warped flange needs resurfacing or replacement.
- 4. Install the new gasket and hardware: Slide the new gasket into place, align flanges, and hand-thread hardware. Tighten in a star pattern to draw the flanges down evenly. Torque to spec. Checkpoint: star pattern prevents cocked flanges and leaks.
- 5. Heat cycle and re-torque: Run the engine to operating temperature, then let it cool completely. Re-torque all hardware. This compensates for initial gasket compression. Checkpoint: skipping re-torque is the top cause of repeat leaks.
- 6. Test and verify: Start the engine and listen for ticks. Check for soot around the joint after a short drive. If the leak persists, inspect for a warped flange or a cracked weld. Checkpoint: no tick, no smell, no soot means the fix held.
Parts that solve the problem
- Honda Exhaust Gasket: 3-inch ID replacement gasket made from KLINGER graphite laminate, designed for the downpipe-to-catback joint on 2006-2015 Civic Si 3-inch downpipes and the front pipe-to-catback joint on 2016-2021 Civic applications including 2017-2021 FK8 Type-R. Graphite laminate conforms to minor flange imperfections and resists blowout under heat cycling, making it a reliable choice for turbo Hondas.
- Remark 2017 - 2021 Honda Civic Type-R FK8 Spec-I Exhaust System: Catback exhaust system for 2017-2021 Civic Type-R FK8, designed for racing and performance with a REMARK design muffler. Does not require ECU calibration. When installing a new catback, always use fresh gaskets and hardware at the connection points to avoid leaks and repeat labor.
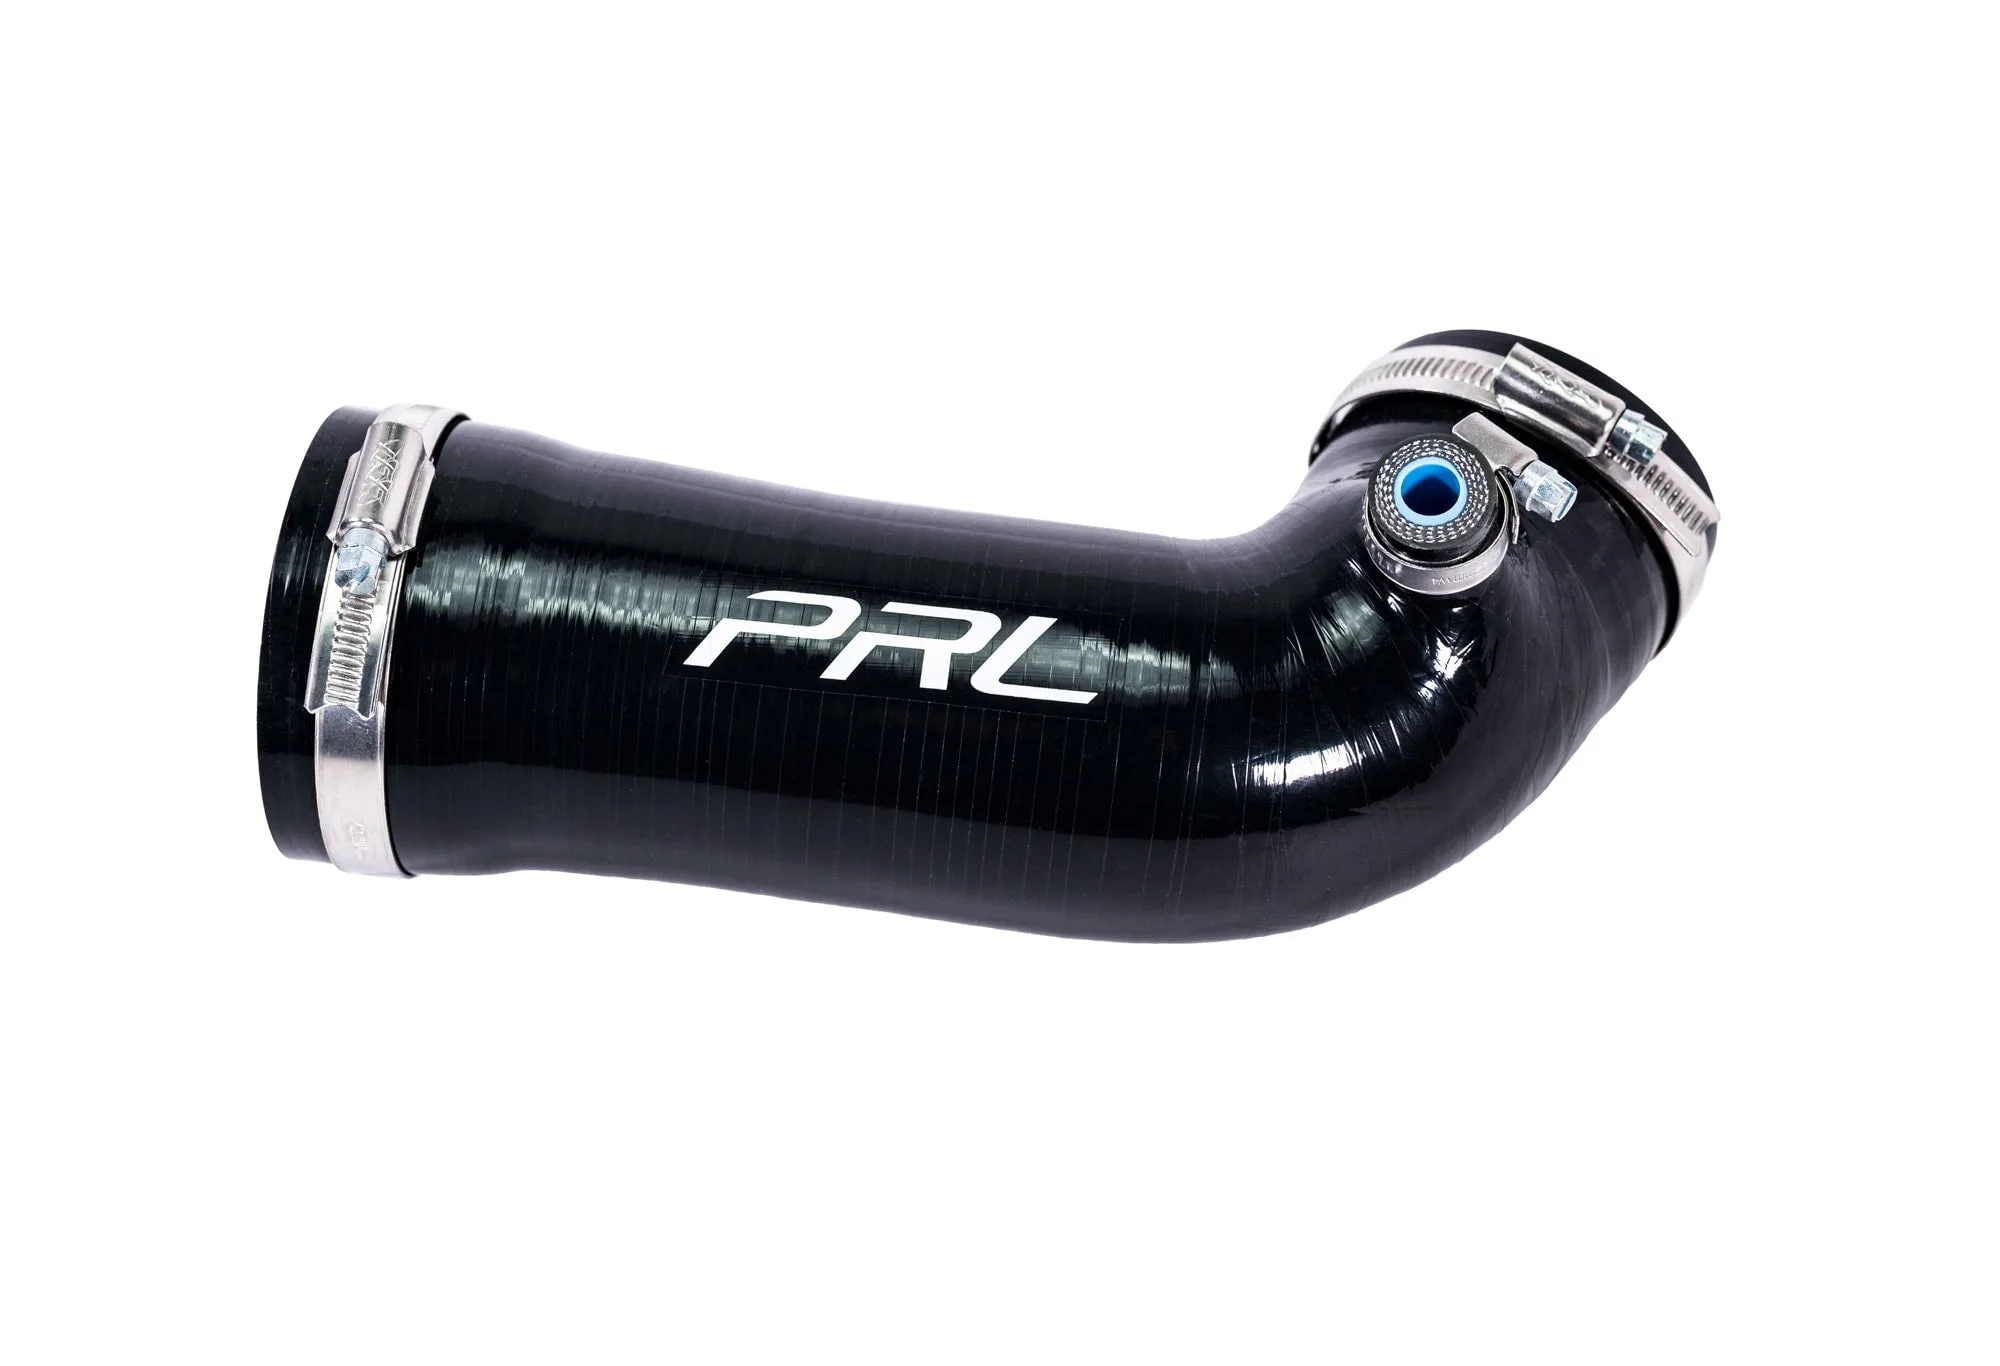
- 2016-2021 Honda Civic 2.0L Silicone Intake Hose Upgrade Kit: Replaces the corrugated factory inlet hose with a smoother-flowing 4-ply silicone hose. Fits 2016-2021 and 2022+ Honda Civic 2.0L, including Si, CVT, 6MT, RHD, and international models. No ECU calibration required. A smooth intake path reduces turbulence and complements exhaust upgrades, but it is not a substitute for fixing exhaust leaks first.
Exhaust leaks rarely fix themselves, but they are straightforward to repair when you replace the gasket and hardware together and re-torque after the first heat cycle. Keep a spare Honda Exhaust Gasket and a hardware kit on the shelf, and you will spend less time chasing ticks and more time driving.