Quick Answer
Most exhaust rattles and vibrations after installation come from one of three things: a pipe or tip touching the body, a heat shield or hanger contacting the new pipe, or hardware that was tightened before the system settled into place. Re-torque every joint and hanger with the car on the ground, then push and pull each section by hand to find the contact point. If the noise only happens on cold start, it is usually thermal expansion against a tight clearance rather than a loose bolt.
A new catback or axleback should change how the car sounds, not how it feels through the floor pan. When a rattle or vibration shows up in the first few hundred miles, it is almost always a clearance issue rather than a defective part. The system is bigger, heavier, or shaped differently than the OEM piece it replaced, and something is now touching where nothing touched before.
This guide walks through the symptom first, then the likely cause, then the corrective action, and finally the point where you should stop and consider a different part or a shop visit. You do not need a lift for most of it, but you do need to be honest about what you hear and when you hear it.
Start With the Symptom, Not the Part
The timing of the noise tells you more than the noise itself. A rattle that appears only in the first 30 to 90 seconds after a cold start points to thermal expansion: metal grows as it heats, and a gap that is fine when cold can close up when hot, or the reverse. A rattle that shows up at a specific rpm, usually 1,800 to 2,500, is often a resonance issue where a pipe is vibrating against a shield or the chassis at its natural frequency. A constant buzz at idle that disappears when you rev is usually a loose hanger or a clamp that was not fully seated.
Get under the car safely with jack stands or ramps and have a helper hold the rpm where the noise happens. Wear gloves and keep hands clear of hot pipes. Use a rubber mallet to tap along the system from the downpipe back. A metallic ring or a dull thud that changes when you press on a section tells you where the contact is. Do not skip this step; guessing at parts is how people spend money on a fix they did not need.
- Cold-start-only noise: suspect thermal clearance, not loose hardware.
- Rpm-specific buzz: suspect resonance against a heat shield or chassis brace.
- Idle-only vibration: suspect a hanger or clamp.
- Noise that changes when you press on the pipe: confirm the contact point before buying anything.
Exhaust Hitting the Heat Shield
Heat shields are thin stamped metal, and they are the most common source of a high-pitched rattle after an install. A new pipe with a slightly different bend radius can sit a few millimeters closer to a shield than the OEM pipe did. The fix is not to remove the shield. Heat shields protect the floor pan, fuel lines, and wiring from exhaust temperatures, and deleting one trades a rattle for a real risk.
Instead, find the contact point and create clearance. You can bend a shield slightly with your hands or a pry bar if it is not touching anything critical, add a stainless hose clamp or a small washer as a standoff, or adjust the pipe position at the nearest joint. If the shield is cracked or missing fasteners, replace the hardware rather than bending around a broken mount. Clearance of roughly a finger's width at the tightest point is a reasonable target, but check it hot and cold because the gap changes with temperature.
- Never remove a heat shield to silence a rattle.
- A stainless clamp or washer can act as a standoff if the shield is otherwise sound.
- Recheck clearance after a heat cycle, not just when the car is cold.
Hangers, Clamps, and the Order You Tighten Them
Exhaust vibration after install often traces back to tightening sequence. If you torque every clamp and hanger while the car is still on jack stands with the suspension hanging, the system is locked into a position it will not hold once the car is on the ground. The result is a preloaded pipe that transmits vibration into the body instead of isolating it through the rubber hangers.
Loosen every clamp and hanger, let the system settle with the car on the ground, then tighten from the front of the car to the rear. Use new gaskets and hardware where the kit provides them, and do not overtighten clamps to the point where they crush the pipe. Rubber hangers should be inspected for cracks or stretching; a worn hanger lets the pipe move more than the design allows. Polyurethane hangers reduce movement but can transmit more noise, so they are a tradeoff, not a free upgrade.
- Tighten front to rear with the car at ride height.
- Replace cracked or stretched rubber hangers rather than adding zip ties.
- Poly hangers reduce movement but can increase cabin noise.
When the Noise Is a Buzz, Not a Rattle
A buzz is a different animal from a rattle. Rattles are impacts; buzzes are continuous vibrations, often from a thin-wall pipe or a tip that is close to a bumper cutout. If the buzz appears only at certain speeds or under light throttle, check the tip-to-bumper gap first. A tip that is centered in the cutout when cold can shift as the system heats and touch the plastic, which produces a buzzing that sounds like it is coming from inside the cabin.
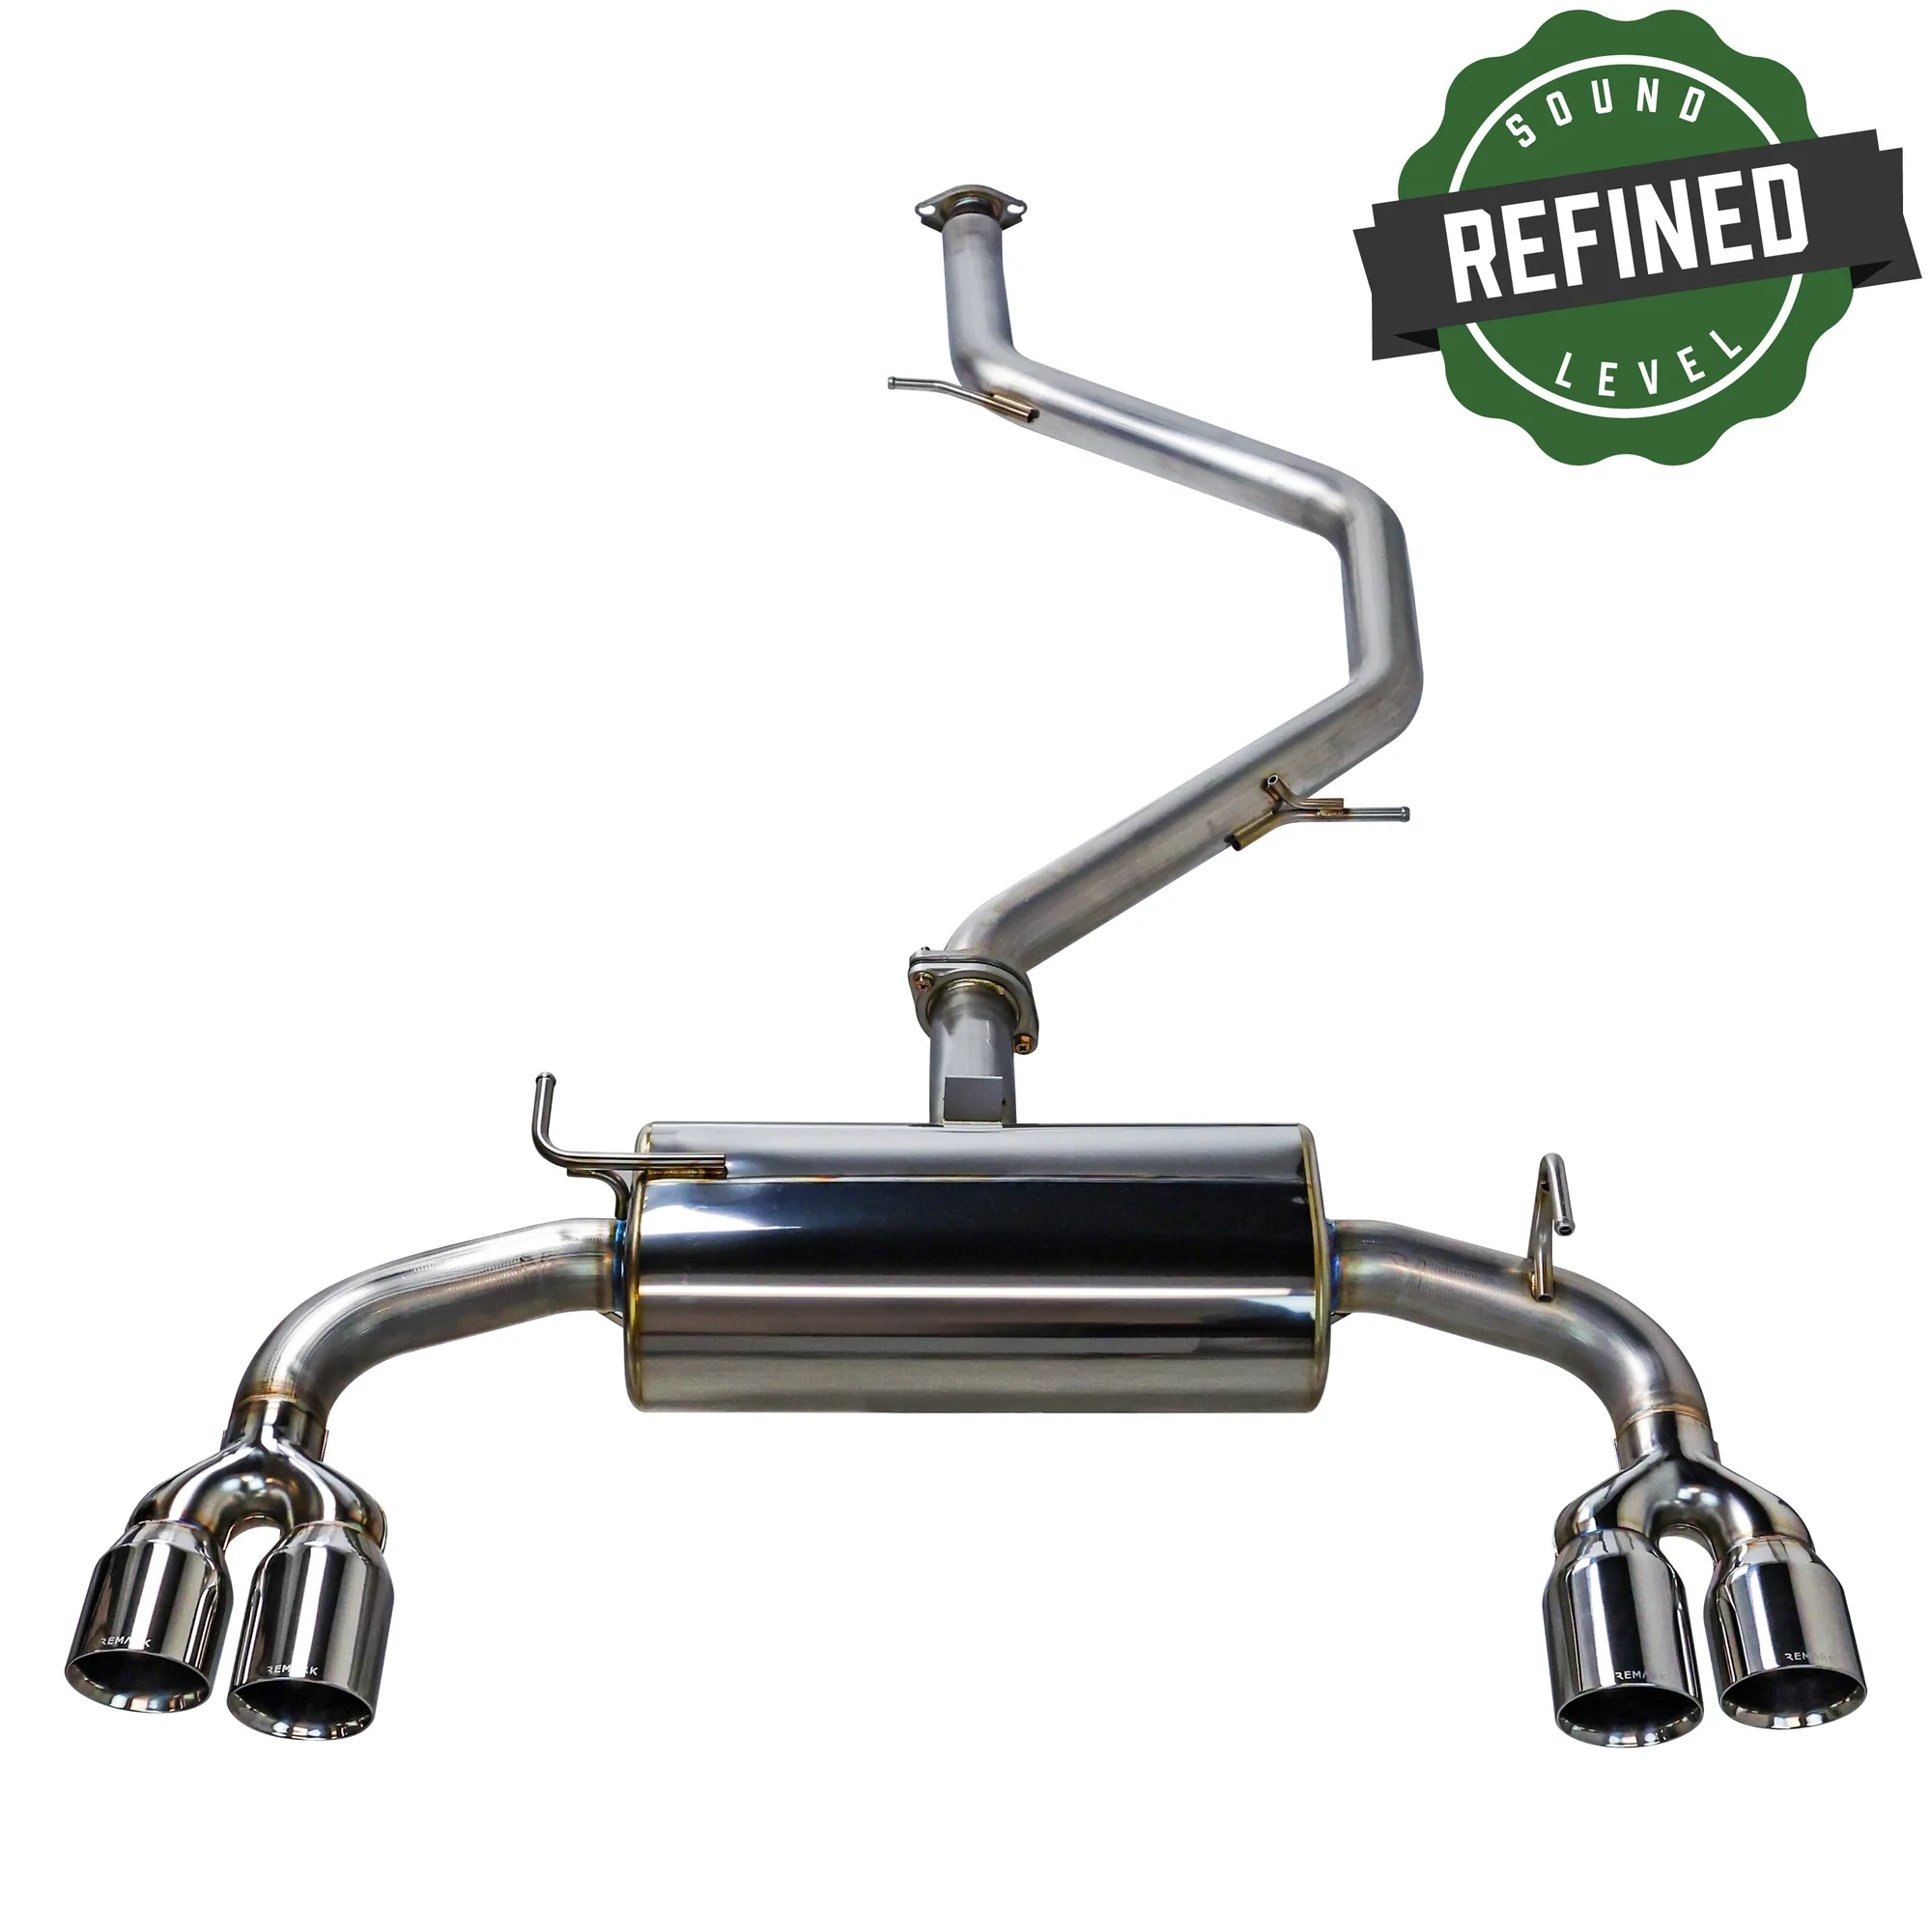
Tip design matters here. A quad-tip setup with double-wall tips, like the ones used on the Sports Touring Exhaust QUIET-Spec for the Toyota Corolla Hatchback, is less prone to the tinny ring you get from thin single-wall tips because the double wall adds mass and dampens vibration. That does not make it immune to contact, but it does mean a buzz on a double-wall tip is more likely a clearance problem than a tip-quality problem.
- Check tip-to-bumper clearance hot and cold.
- Double-wall tips dampen ring but still need clearance.
- A buzz that follows engine speed is usually resonance, not impact.
Hardware and Joints You Should Recheck
New exhaust hardware settles. Bolts that felt tight at install can lose preload after the first few heat cycles, especially at flange joints and where a midpipe connects to a catback. Recheck every fastener after 100 to 200 miles, then again after another few hundred. If a joint uses a gasket, a reused or crushed gasket can cause a leak that sounds like a tick or a rasp rather than a rattle, so do not confuse the two.
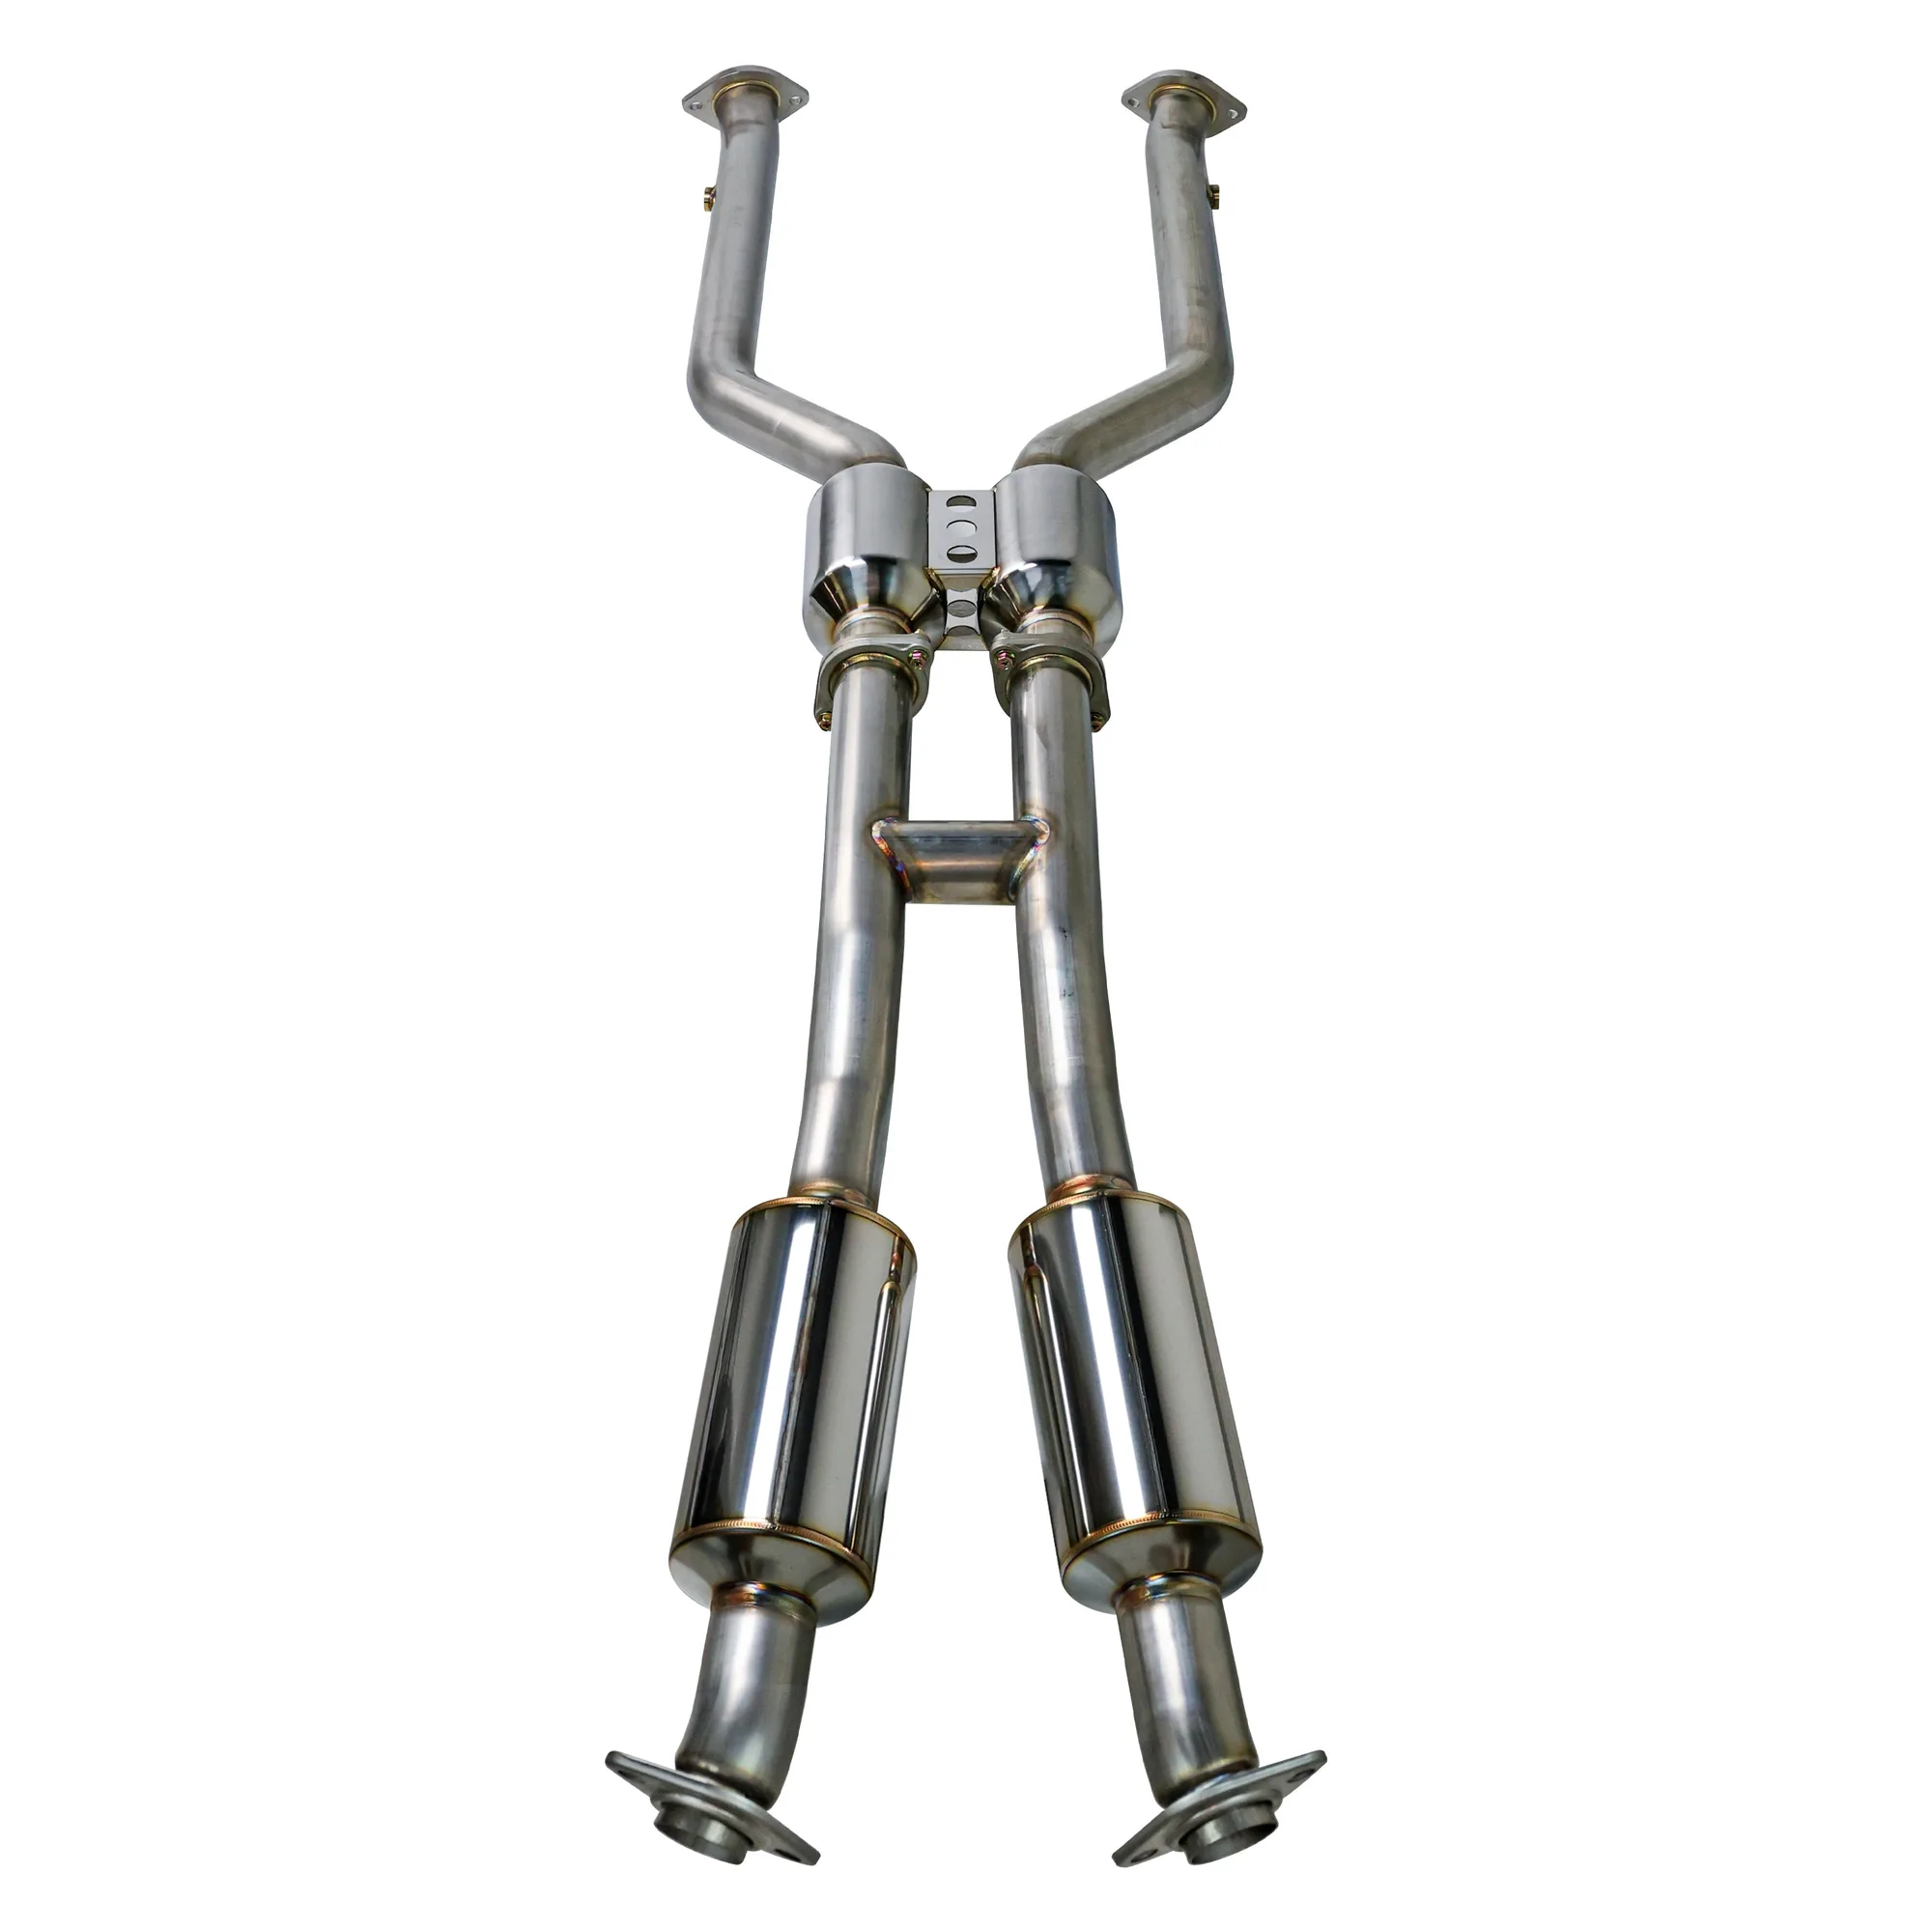
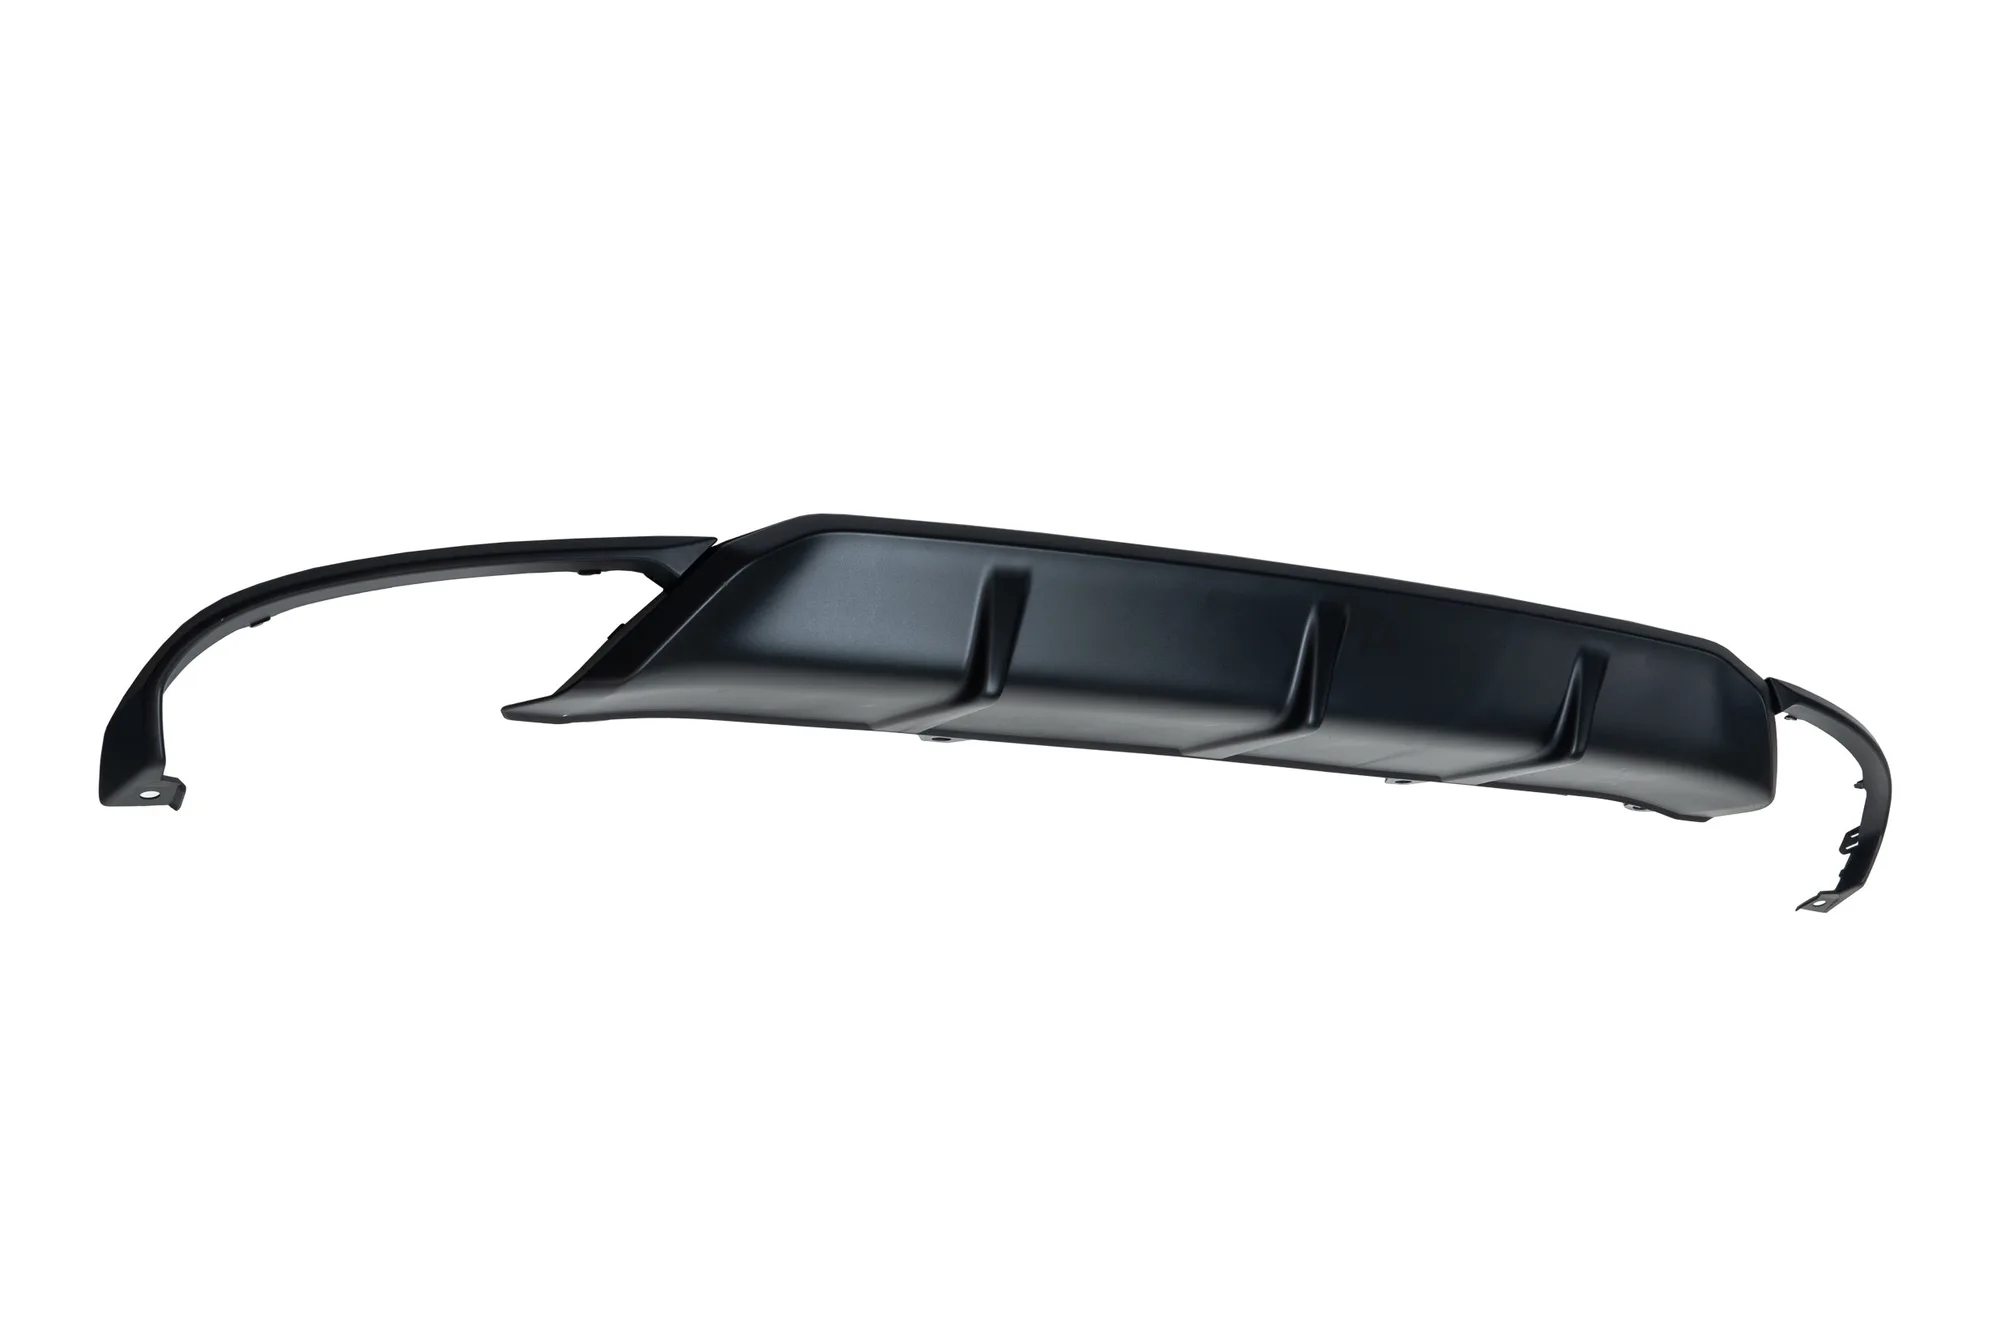
If your setup includes a midpipe with high-flow catalytic converters, the extra weight and the different pipe routing can change how the system hangs compared to the OEM piece. That is not a defect; it is a reason to spend extra time on hanger alignment. Similarly, a conversion part like a rear bumper diffuser that adds an exhaust cutout changes the tip clearance envelope, so check tip position after that install as well.
- Re-torque after the first 100 to 200 miles.
- A tick or rasp is often a gasket leak, not a rattle.
- Heavier midpipe sections need more attention to hanger alignment.
When to Stop and Choose Another Option
Stop chasing the noise if you have confirmed clearance, replaced worn hangers, re-torqued everything at ride height, and the vibration is still there. At that point the issue may be a design characteristic of the system, such as a drone frequency that matches your cabin, or a pipe diameter that resonates at your typical cruising rpm. No amount of bending will fix a resonance that is built into the geometry.
Your options then are to add a resonator or Helmholtz-style chamber if the system supports it, switch to a quieter or differently designed system, or accept the tradeoff. If the noise is accompanied by a check engine light, a strong exhaust smell, or a visible leak, stop driving and have the system inspected. Do not keep tightening clamps past their spec or bending pipes repeatedly; you can crack a weld or distort a flange and create a bigger problem than the rattle you started with.
- If clearance and hardware are correct, the noise may be resonance, not a fault.
- A resonator or a different system design is the next step, not more bending.
- Stop immediately for a check engine light, exhaust smell, or visible leak.
Rattle Diagnosis by Symptom
- Rattle only on cold start: Thermal expansion is closing a gap that is fine when cold. Check the tightest clearance point between pipe and heat shield or chassis, and recheck it after the car is fully warm. If the gap disappears hot, adjust the shield or pipe position rather than replacing hardware.
- Buzz at a specific rpm: Resonance against a heat shield, chassis brace, or bumper cutout. Have a helper hold that rpm and press on sections to find the contact point. If pressing on a section changes the noise, you have found the contact area.
- Vibration through the floor at idle: A hanger or clamp is loose, or the system was tightened with the suspension unloaded. Loosen everything, set the car on the ground, and re-torque front to rear. If the vibration persists after a proper re-torque, inspect hangers for cracks or stretching.
- Tick or rasp instead of a rattle: This is usually a gasket leak at a flange or slip joint, not a contact rattle. Check for soot tracks around joints and replace the gasket if needed. Stop and fix the leak before chasing noise elsewhere.
- Noise continues after clearance and hardware are correct: The system may resonate at your typical cruising rpm by design. Adding a resonator or choosing a different system design is the realistic next step. Stop bending pipes; repeated adjustment can crack welds or distort flanges.
Parts That Affect Rattle and Vibration
- Sports Touring Exhaust QUIET-Spec [Quad-Exit] - Toyota Corolla Hatchback (2019-2022): Features quad 3.5-inch double-wall tips and 2.5-inch mandrel-bent piping to a large single muffler canister. Double-wall tips add mass that dampens tip ring, and the single-canister layout means most vibration complaints trace to tip-to-bumper clearance or hanger alignment rather than the muffler itself.
- Midpipe with High Flow Catalytic Converters - Lexus IS500 2022-2025: Uses 2.5-inch mandrel-bent piping with an H-pipe design and a bolt-on fit with no cutting or modification. Bolt-on fit means you can loosen and reposition the midpipe at its joints to create clearance, which is often the fastest fix for a rattle that appears after a midpipe install.
- HONDA Factory Genuine OE Sport Touring Rear Bumper Diffuser - Honda Civic Hatchback (2022+): Converts a 2022+ Civic Hatchback EX-L rear to the Sport Touring look with an exhaust cutout to run the REMARK Sports Touring Catback exhaust system. Adding a cutout changes the tip clearance envelope, so a buzz after this install is usually tip-to-diffuser contact rather than an exhaust defect.
- Axleback (4" Stealth Edition)- Subaru WRX VB [2022+]: The entire axleback system is finished in a CERAKOTE hi-temp matte black coating and starts as a 4-inch single-wall quad-tip axleback. Single-wall tips are lighter and can ring more than double-wall designs, so a buzz at a specific rpm on this system is more likely resonance than a loose part.
Most exhaust rattles and vibrations after installation are clearance or tightening-order problems, not bad parts. Work from the symptom, confirm the contact point by hand, and re-torque at ride height before you spend money on a fix. When the noise survives a proper diagnosis, treat it as a design tradeoff and choose a resonator or a different system rather than forcing the one you have.