Quick answer
Adjusting the extendable leg on the original bed lets you tilt your reformer for different exercises. Loosen the locking knob, slide the leg to the desired length, and retighten. This changes the bed angle, targeting muscles differently.

the original
The extendable leg under your reformer's original bed is a simple but powerful adjustment. By changing its length, you can tilt the bed a few degrees—giving your practice a fresh challenge without swapping equipment. Whether you want a slight incline for footwork or a decline for abdominal work, this one adjustment reshapes how your muscles engage.
Many home practitioners overlook this feature because they assume the bed stays flat. But a small angle change can shift your center of gravity, increase range of motion, or reduce pressure on your spine. This guide walks you through the process step by step, with checkpoints to avoid the most common mistakes.
Understanding the Extendable Leg
The extendable leg is usually located at one end of the reformer's frame, near the headrest or footbar. It works by lengthening or shortening the contact point with the floor, which tilts the entire bed. Most models use a locking pin or threaded knob to hold the leg in place once you've set the height.
headrest
Because the angle is small—typically one to four degrees—you won't feel a dramatic shift, but you will notice the difference in your exercise. For example, a slight decline (head lower than feet) engages your core more during planks, while a slight incline (head higher) can make footwork feel more stable. Always start with a very small adjustment and test it before adding more.
- Check your reformer's manual to confirm the leg mechanism type before adjusting.
Safety Checkpoints Before Adjusting
Before touching the leg, make sure your reformer is on a level, non-slip surface. If the floor is uneven, the bed may wobble after adjustment. Also, remove any accessories (like jumpboard or box) that could interfere with the leg's movement.
Inspect the leg mechanism for dust or debris that could clog the lock. A quick wipe with a dry cloth keeps the threads clean and the lock secure. Never force the leg if it feels stuck—check for obstacles first.
- Do not adjust the leg while someone is lying on the reformer.
How to adjust the extendable leg
- Locate the locking mechanism: Find the knob or pin at the base of the leg. On most reformers, it's at the footbar end. Remove any nearby accessories for clear access. Common mistake: trying to turn the knob while the leg is bearing weight. Always ensure the reformer is unloaded.
- Loosen the lock: Turn the knob counterclockwise (or pull the pin) to release the leg. If it's threaded, loosen enough to slide the leg freely but don't remove it entirely. Checkpoint: if the knob feels dry or gritty, apply a small drop of lubricant to the threads.
- Adjust the leg to the desired length: Slide the leg in or out evenly. For a slight incline (head higher), extend the leg; for a decline, shorten it. Do not twist the leg—keep the flat face aligned with the floor. Common mistake: extending only one leg if your reformer has two. Adjust both sides equally to avoid warping the frame.
- Retighten the lock: Turn the knob clockwise (or reinsert the pin) until snug. Avoid overtightening—the leg should hold firm without stripping the threads. Checkpoint: after tightening, give the leg a gentle push to confirm it doesn't shift.
- Test the new angle: Lie or sit on the reformer in a neutral position. The bed should feel stable with no wobble. Perform one or two repetitions of a basic exercise like footwork to assess comfort. Common mistake: skipping the test and starting a full workout, only to find the angle feels unstable. Always test first.
Related product
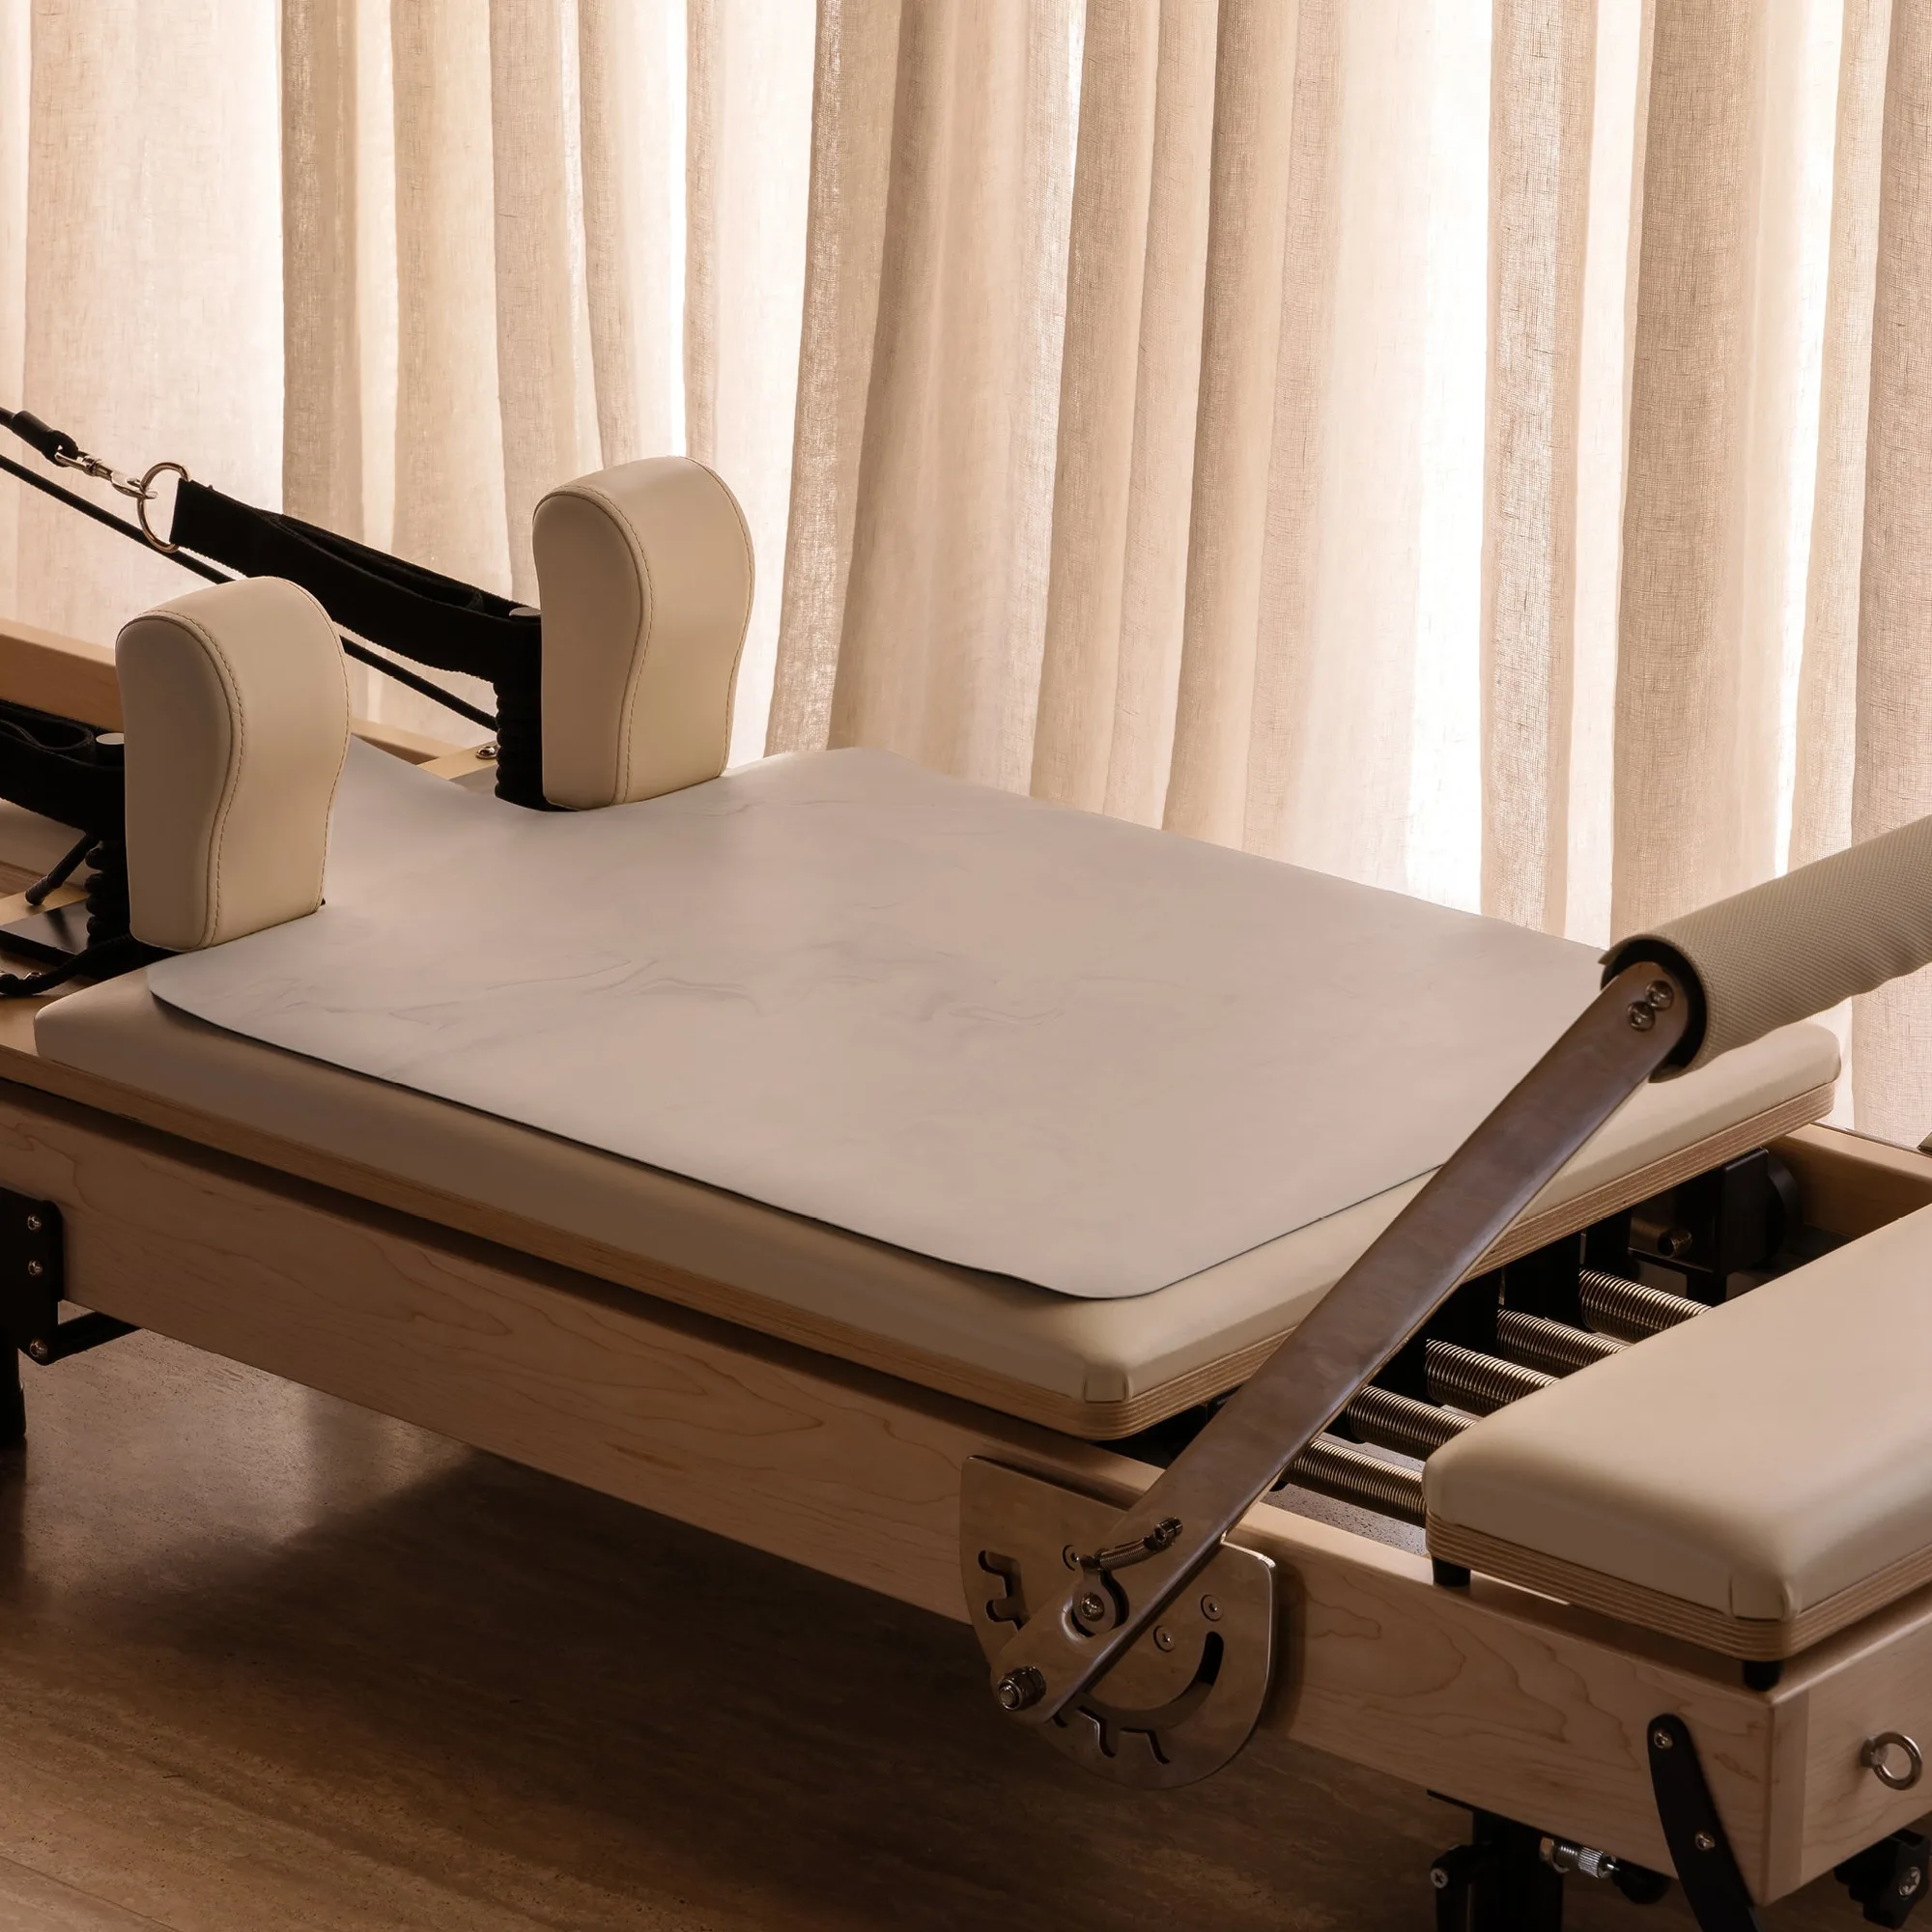
- Reformer Mat: The Reformer Mat from Your Reformer USA is a practical accessory designed for use with Pilates reformers. It provides a comfortable surface and is available in several colors. After you adjust the bed angle, placing a reformer mat on the bed adds cushioning and grip, making the new angle more comfortable for hands, feet, and back during practice.
Once the extendable leg is set to your preferred length, you've customized your reformer's angle with minimal effort. Return the leg to its neutral (flat) position between different exercise types to maintain balance in your practice. Over time, you'll learn which angles best complement specific movements.