Quick answer
Use an extension tube when you want to focus closer for macro-style shots without adding glass, and use a teleconverter when you need more reach from a compatible telephoto lens. They solve opposite problems, so match the accessory to the shot you keep missing.
Why these two adapters get confused
Both sit between the lens and the camera body, so they look like the same kind of accessory. But an extension tube is a hollow spacer that moves the lens farther from the sensor, which shortens the minimum focus distance. A teleconverter contains optical elements that multiply the focal length, which magnifies distant subjects.
That difference drives every practical trade-off. Extension tubes cost little and preserve your lens's optics because they add no glass, but they also reduce light and can limit focus range at the far end. Teleconverters extend reach, yet they concentrate light into a smaller area and typically cost more because of the optics inside.
When an extension tube is the better buy
Choose an extension tube for close-up work such as flowers, product details, or documents when you already own a lens you like. Because the tube is empty, your lens keeps its own rendering and you are not stacking another set of optical elements in the path. The main cost is light: the farther the lens sits from the sensor, the more exposure you need, so plan on a tripod or extra light for steady close-ups.
Automatic tubes are worth the small premium over plain metal rings because they keep communication between lens and body. A set with two tubes gives you more flexibility than a single ring, since you can use one tube for mild magnification or combine them for greater magnification. Check the mount version carefully: a set made for Fuji X mount will not fit a Nikon F body, and Nikon F extension tubes close-up work needs the Nikon F version.
When a teleconverter makes more sense
A teleconverter is the tool for wildlife, sports, or distant subjects when you need more focal length than your longest lens provides. It is not a universal accessory: compatibility is limited to select lenses, and the multiplier affects the effective aperture. A 1.4x converter gives a moderate reach increase with less light loss than a 2x, which is why many photographers start there.
The catch is that a teleconverter only works well on lenses designed to accept it. If your lens is not on the compatibility list, do not assume it will mount or autofocus correctly. Also expect a narrower maximum aperture, which can push autofocus to its limits in dim light.
Budget reality check
Macro photography on a budget usually points to extension tubes first. A two-tube automatic set costs a fraction of a teleconverter and can turn an ordinary lens into a close-focusing tool. A teleconverter is a larger investment that only pays off if you already own a compatible telephoto lens and genuinely need more reach.
Do not buy both at once. Start with the problem you hit most often: if your lens will not focus close enough, buy tubes; if your subject is too far away, consider a teleconverter only after confirming lens compatibility.
How to choose and use the right adapter
- Name the shot you cannot get: Write down whether your lens will not focus close enough or your subject is too far away. If you keep backing up to fit a flower in frame, you need close focus; if the bird is a speck, you need reach. If you cannot decide, review your last twenty favorite shots and count how many were limited by distance rather than closeness.
- Match the mount and lens compatibility: For an extension tube, confirm the mount version matches your camera, such as a Fuji X set for a Fuji X body. For a teleconverter, check the manufacturer's compatibility list for your exact lens before ordering. A teleconverter that is not listed for your lens may mount but will not guarantee autofocus or image quality.
- Choose tube count or multiplier strength: With a two-tube set, start with the thinner tube and add the second only if you need more magnification. With a teleconverter, prefer 1.4x over 2x when you want to keep more light and autofocus reliability. More magnification is not automatically better; extra magnification often costs light and focus speed.
- Test focus range before the shoot: Mount the accessory and check both near and far focus. An extension tube can prevent your lens from focusing at infinity, and a teleconverter can narrow the effective aperture enough to slow autofocus. Bring a tripod or plan for more light if your test shows slower focus or darker framing.
- Adjust exposure and stability: Add light or time for the light loss each accessory introduces, and steady the camera for close-up work. For macro, focus by moving the camera slightly rather than only turning the focus ring. Check your first frames at 100 percent before trusting the setup for a whole session.
Products that match these jobs
-
Promaster 8651 Extension Tube Set-Fuji X: The ProMaster 8651 Automatic Extension Tube Set for Fuji X mount includes two tubes that can be used individually or combined. You can start with mild close focusing and stack both tubes when you need greater magnification, while automatic communication keeps the lens and body talking.
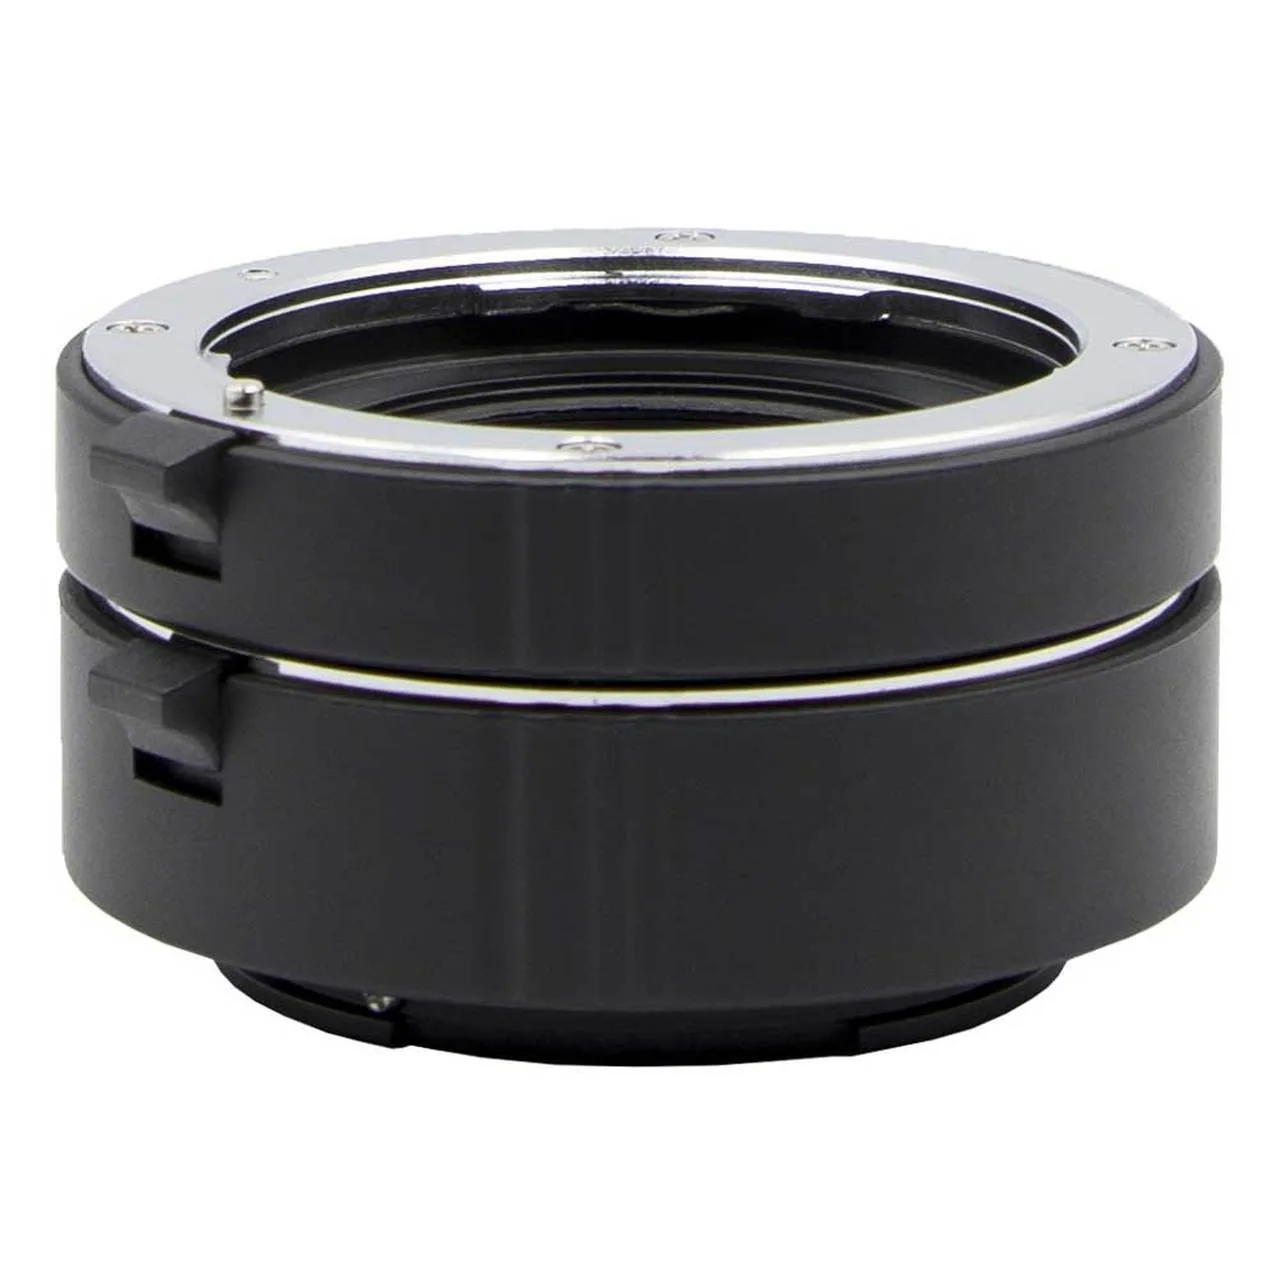
Promaster 8651 Extension Tube Set-Fuji X
-
Sigma 1.4X TC-1401 Teleconverter for Canon EF: The Sigma 1.4X TC-1401 Teleconverter is optimized for select Canon EF-mount Global Vision lenses and allows autofocus operation up to f/8. It adds 1.4x reach with full lens-to-camera communication, but only if your lens is on the compatible list, so verify that before buying.
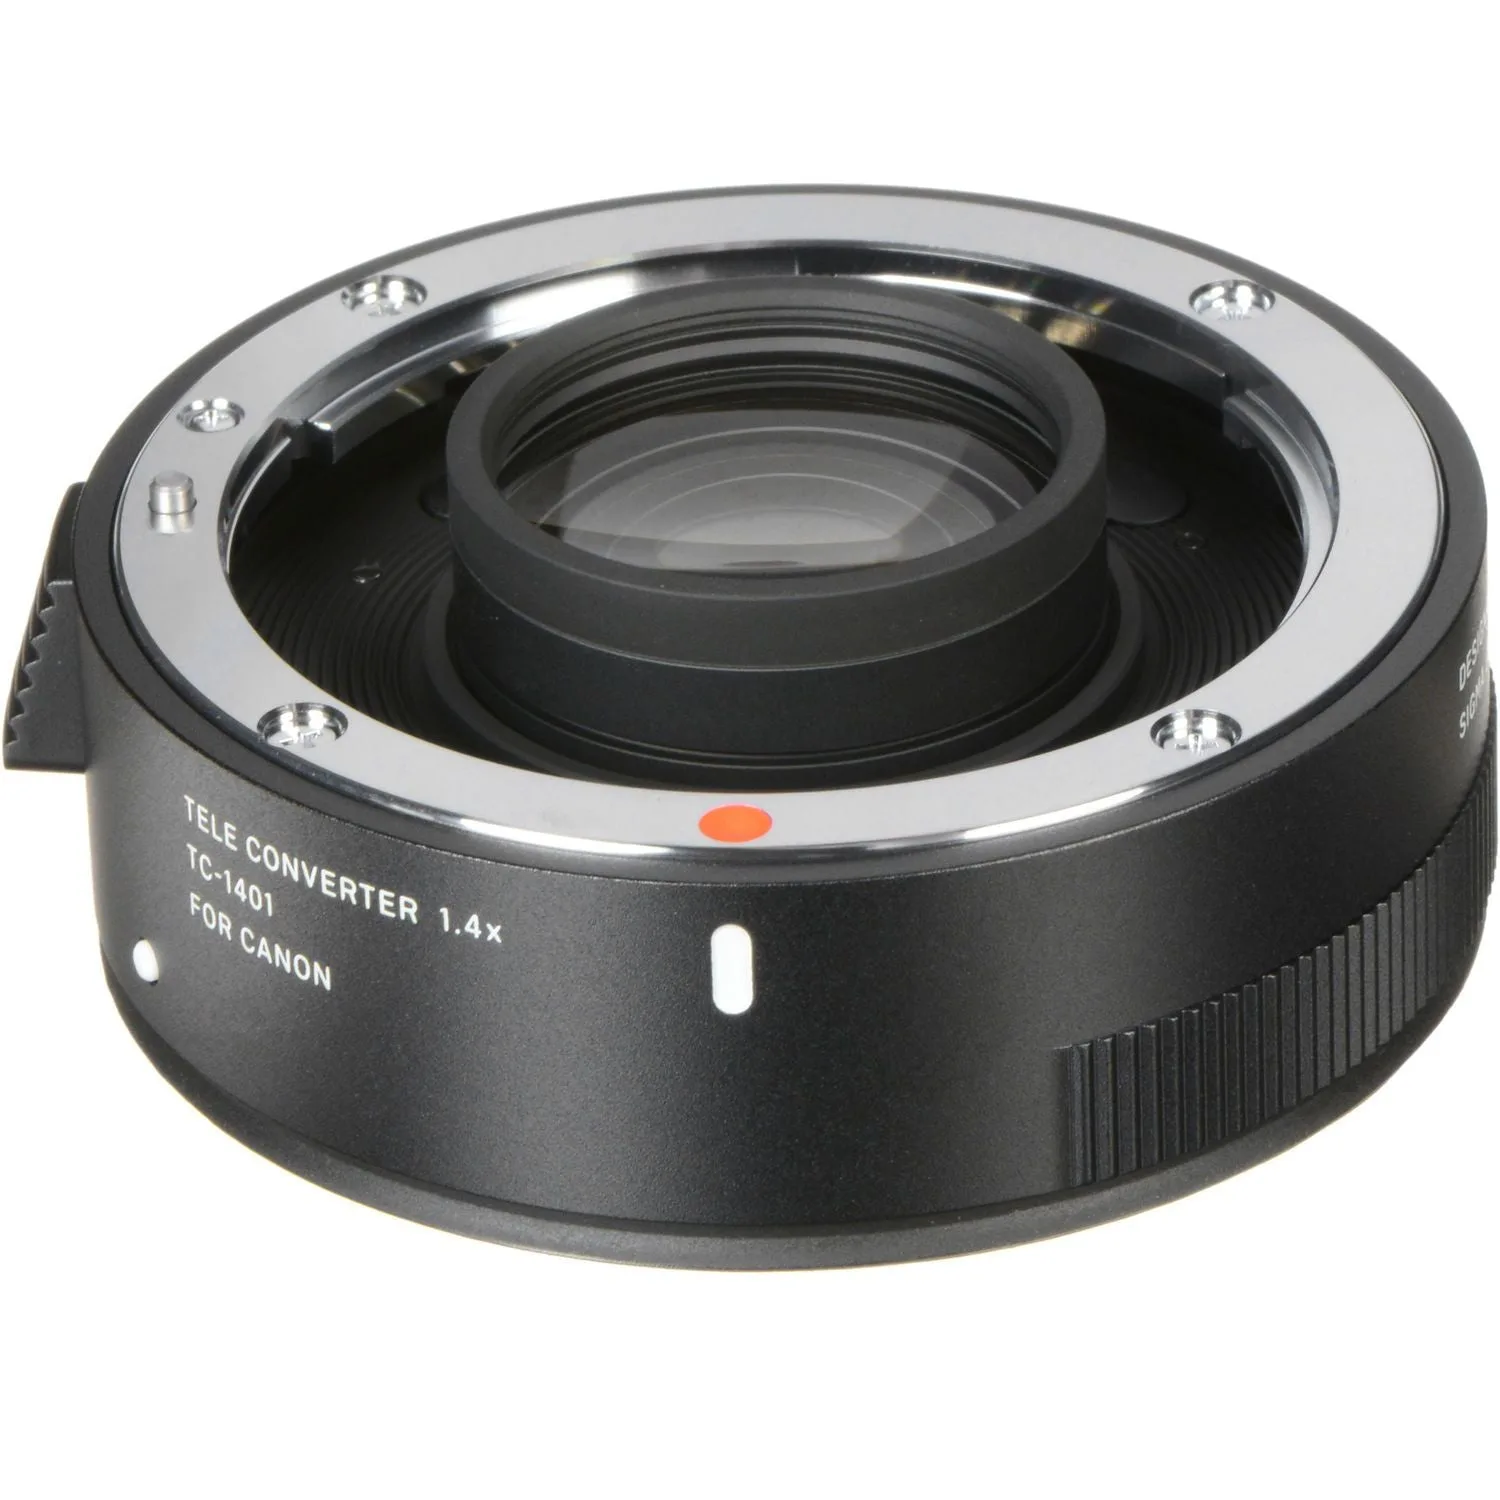
Sigma 1.4X TC-1401 Teleconverter for Canon EF