Why at-home dermaplaning irritates skin
Most irritation after facial dermaplaning doesn't come from the blade itself. It comes from what happened before and after: skin that wasn't clean and dry, a razor held at the wrong angle, too much pressure, or a blade that wasn't sanitised between uses.
The Dermaplaning - Eyebrow Razor Set gives you two razor sizes and Swedish stainless steel blades that are rust-resistant. That durability matters, but it doesn't replace technique. The supplied instructions are specific: cleanse and dry your face thoroughly, hold the razor at 30 degrees, use light downward strokes, and sanitise the blade with soap and warm water afterwards before covering it with the protective cap.
A low-irritation dermaplaning routine
Follow the product's own instructions rather than improvising a longer or more aggressive session. The steps below reflect the supplied guidance.
- 1. Cleanse and dry: Wash your face and pat it completely dry. Working on damp or product-coated skin is one of the easiest ways to create drag and nicks.
- 2. Hold the razor at 30 degrees: The supplied instructions specify a slight angle of about 30 degrees. A steeper angle scrapes rather than glides.
- 3. Use light, downward strokes: Target unwanted hair or areas needing exfoliation, including the brow line and cheeks. Light pressure is the instruction; pressing harder does not remove more hair, it just irritates skin.
- 4. Sanitise and cap: After use, clean the blade with soap and warm water, then cover it with the protective cap. A clean blade is part of preventing razor burn after dermaplaning.
Where irritation is most likely to start
The product's care note is blunt: avoid using it on sensitive or irritated areas. That single line rules out a lot of common mistakes. If your skin is already red, tight, sunburned or reacting to a new product, dermaplaning is not the step to add.
The set is designed for facial grooming and brow shaping, and the ergonomic shape is intended to help you control the razor and minimise nicks. Control is the point. Short, deliberate strokes along the brow line and cheeks are easier to manage than long sweeps across the whole face.
Frequency is where many people overdo it. The supplied tips suggest using the razor once or twice a week for smooth skin. More frequent use is not described in the product information, so treat that range as the intended cadence rather than a minimum to beat.
What the Dermaplaning - Eyebrow Razor Set actually provides
-
Dermaplaning - Eyebrow Razor Set: Two razor sizes for brow definition and facial grooming. A smaller razor gives you more control around the brow line, which is where nicks are most common.
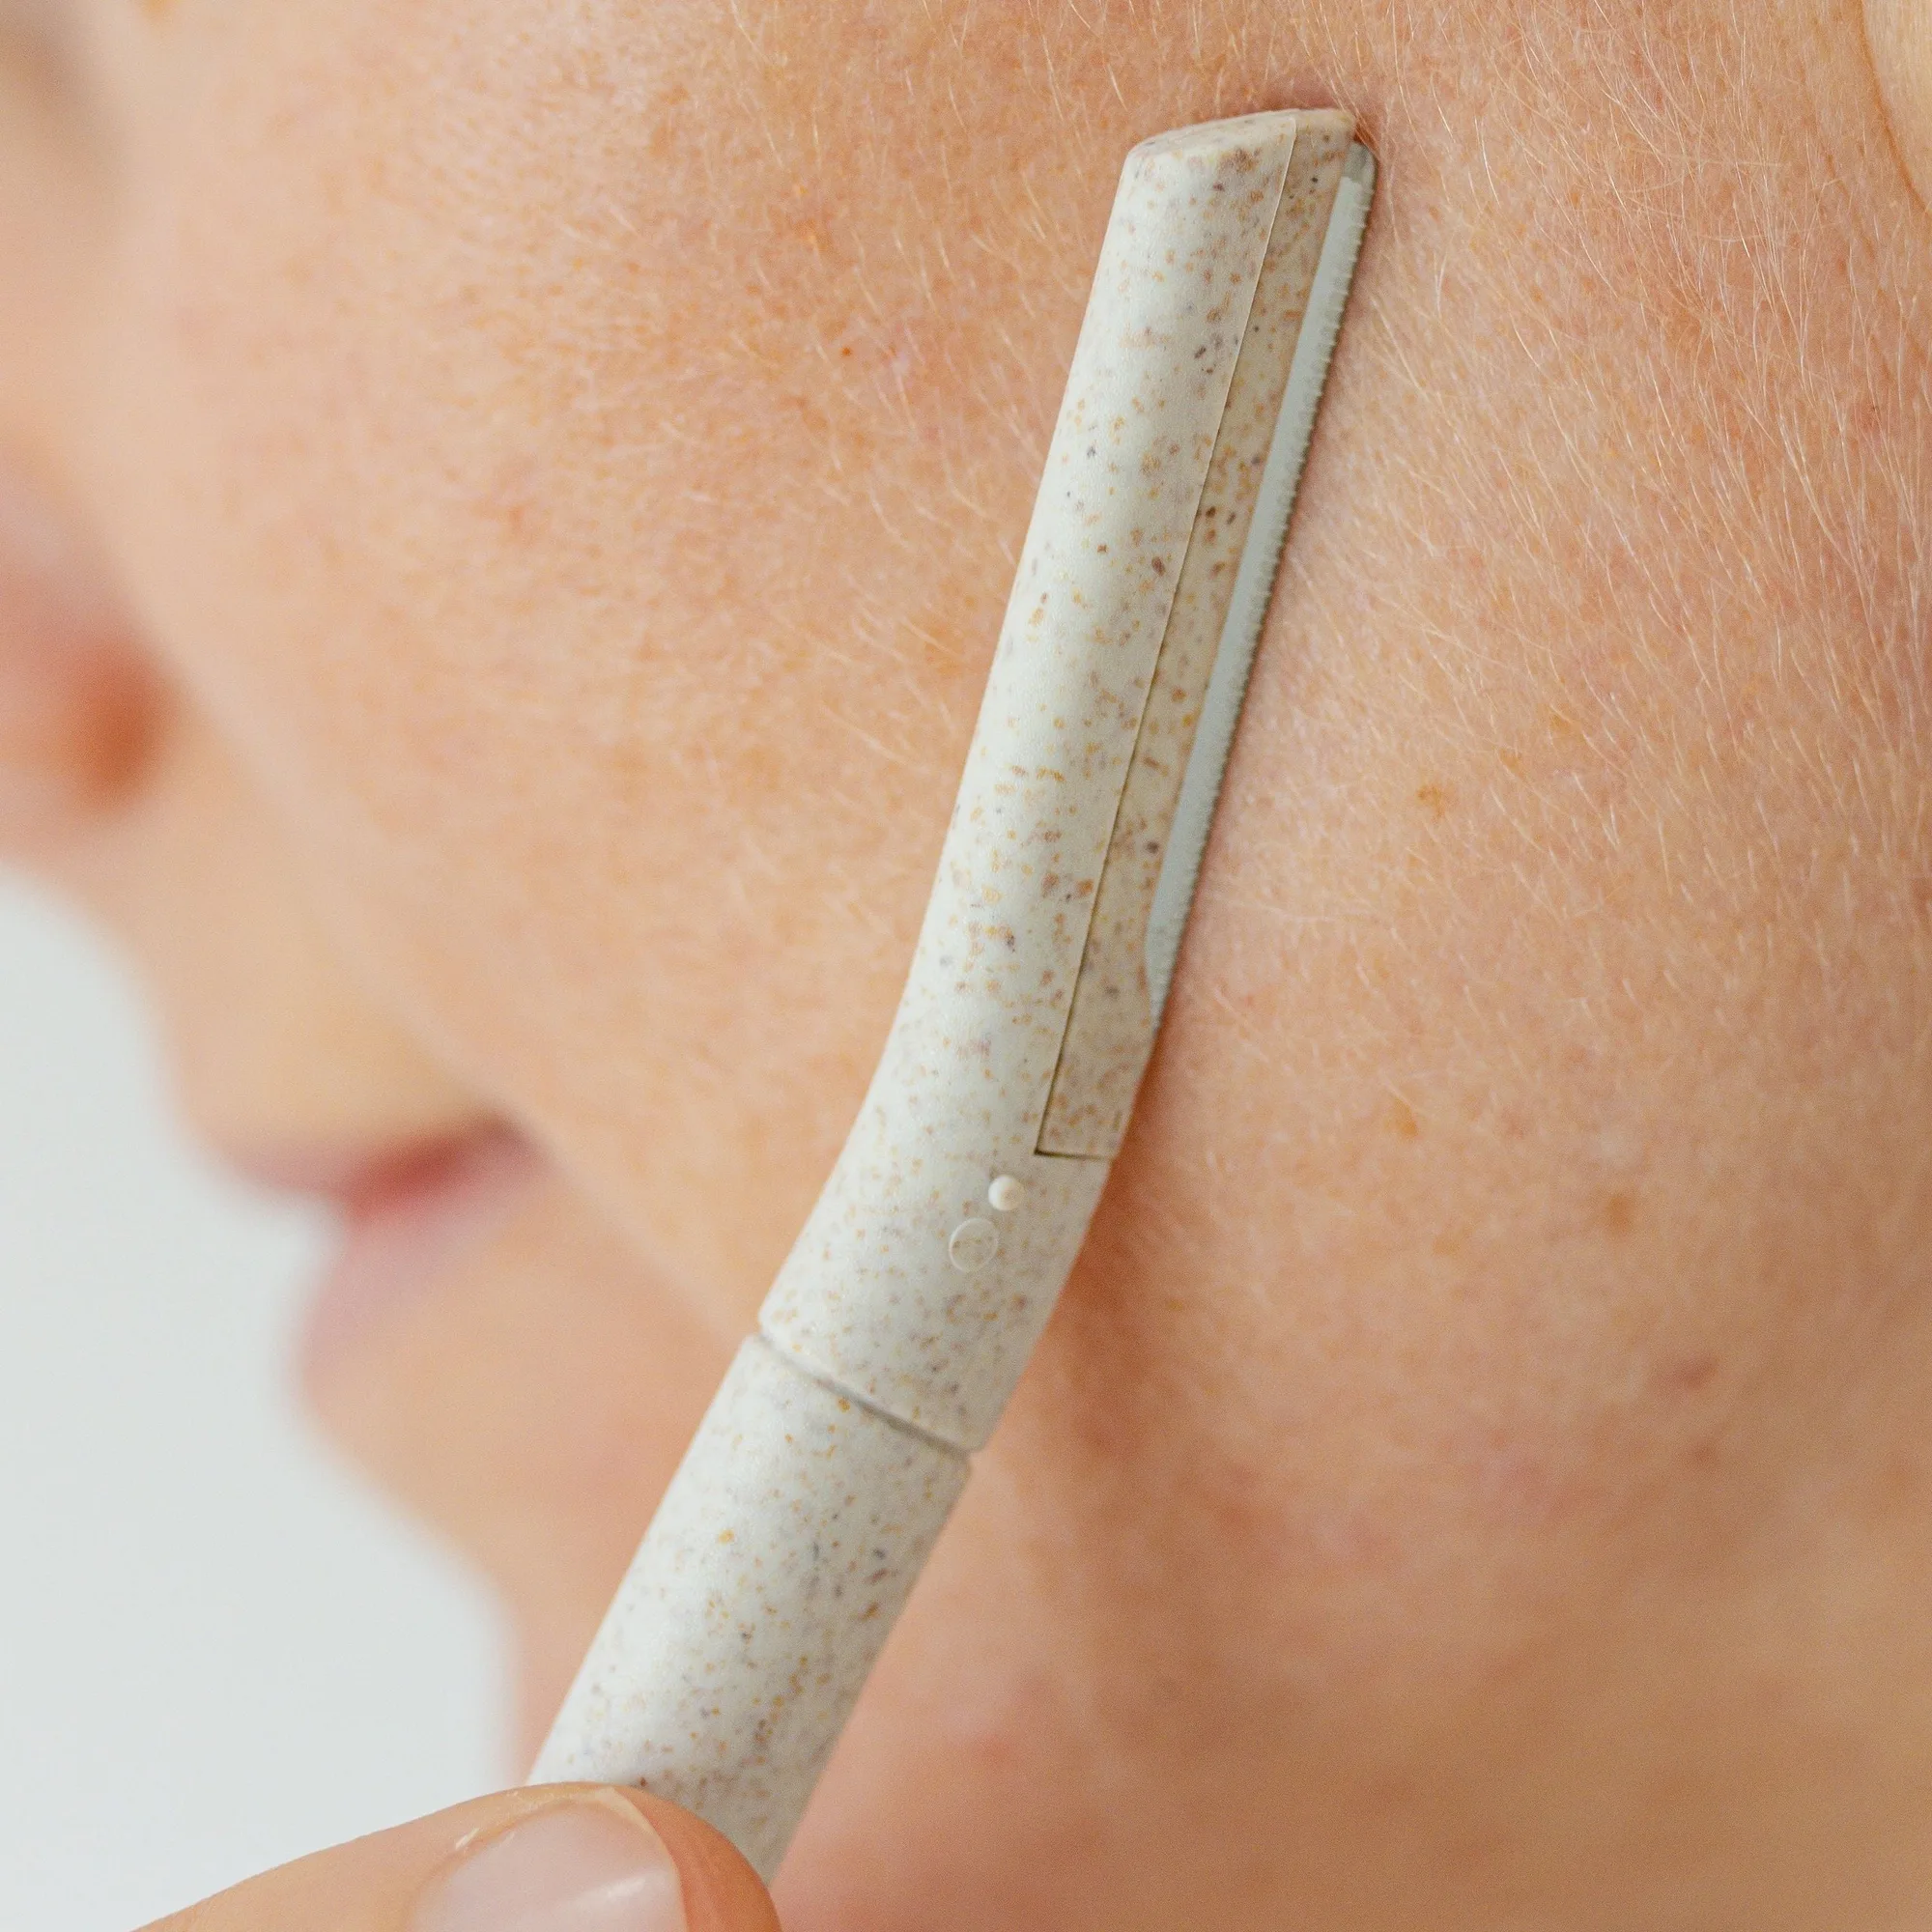
Dermaplaning - Eyebrow Razor Set
-
Dermaplaning - Eyebrow Razor Set: Swedish stainless steel blades described as rust-resistant and long-lasting. Rust resistance supports the sanitise-and-cap routine; a blade stored wet is harder to keep clean.
-
Dermaplaning - Eyebrow Razor Set: Handles made from biodegradable wheat straw. A lighter environmental footprint without changing how you hold or angle the razor.
-
Dermaplaning - Eyebrow Razor Set: Supplied care instruction: avoid sensitive or irritated areas. This is the clearest guardrail in the product information and the first thing to check if your skin is already reactive.
Razor burn after dermaplaning: what to check first
If you finish and your skin stings, look back at the session rather than reaching for a new product. Did you cleanse and dry first? Was the razor at 30 degrees, or did it flatten out and scrape? Were your strokes light and downward? Was the blade sanitised from the previous use?
The product information does not describe a treatment protocol for irritation, and it shouldn't be treated as one. If irritation persists or worsens, stop using the razor and seek advice from a healthcare professional. That is not a product limitation; it is the sensible boundary for any at-home facial tool.
Facial razor aftercare that protects the blade and your skin
- Sanitise after every use: Soap and warm water, as supplied, then cap the blade. Don't leave it loose in a bathroom drawer where it can pick up moisture and dust.
- Keep the cap on between sessions: The protective cap is part of the supplied aftercare, not an optional extra.
- Skip already-irritated areas: The care note is explicit. If a patch of skin is sensitive or irritated, leave it alone until it settles.
- Stick to once or twice a week: The supplied tips describe this cadence for glowing, smooth skin. It is a guide, not a target to exceed.
The honest trade-off
An at-home eyebrow razor set is convenient and inexpensive, but it puts technique in your hands. The Dermaplaning - Eyebrow Razor Set supplies the blade sizes, the angle guidance and the aftercare steps; it cannot tell whether your skin is ready on a given day. If you want a routine with no judgement calls, this isn't it. If you're willing to prep properly, use light strokes and clean the blade every time, it's a practical way to manage peach fuzz and brow shaping between professional appointments.