What Are FD3S JDM Hand Steps?
If you own a Mazda RX-7 FD3S, you may have noticed the habit of 'rolling' out of the low seat rather than stepping out gracefully. That's where JDM hand steps come in. They were a rare Mazda option in Japan, long since discontinued, and provide a dedicated place to plant your hand when exiting the vehicle.
The OEM hand steps from Mazda were made from a cut and finished piece of rubber-like material, attached with strips of body molding tape. The version available today is cut from waterproof neoprene with stitched edges for a finished look, and uses full-release 3M adhesive on the underside for attachment.
What the Catalog Confirms About These Hand Steps
-
Mazda RX-7 [FD3S] JDM Hand Steps: The hand steps are made from waterproof neoprene with stitched edges, available in black/black or black/red stitching. The neoprene material is durable and water-resistant, and the stitching color lets you match your interior or floor mats.
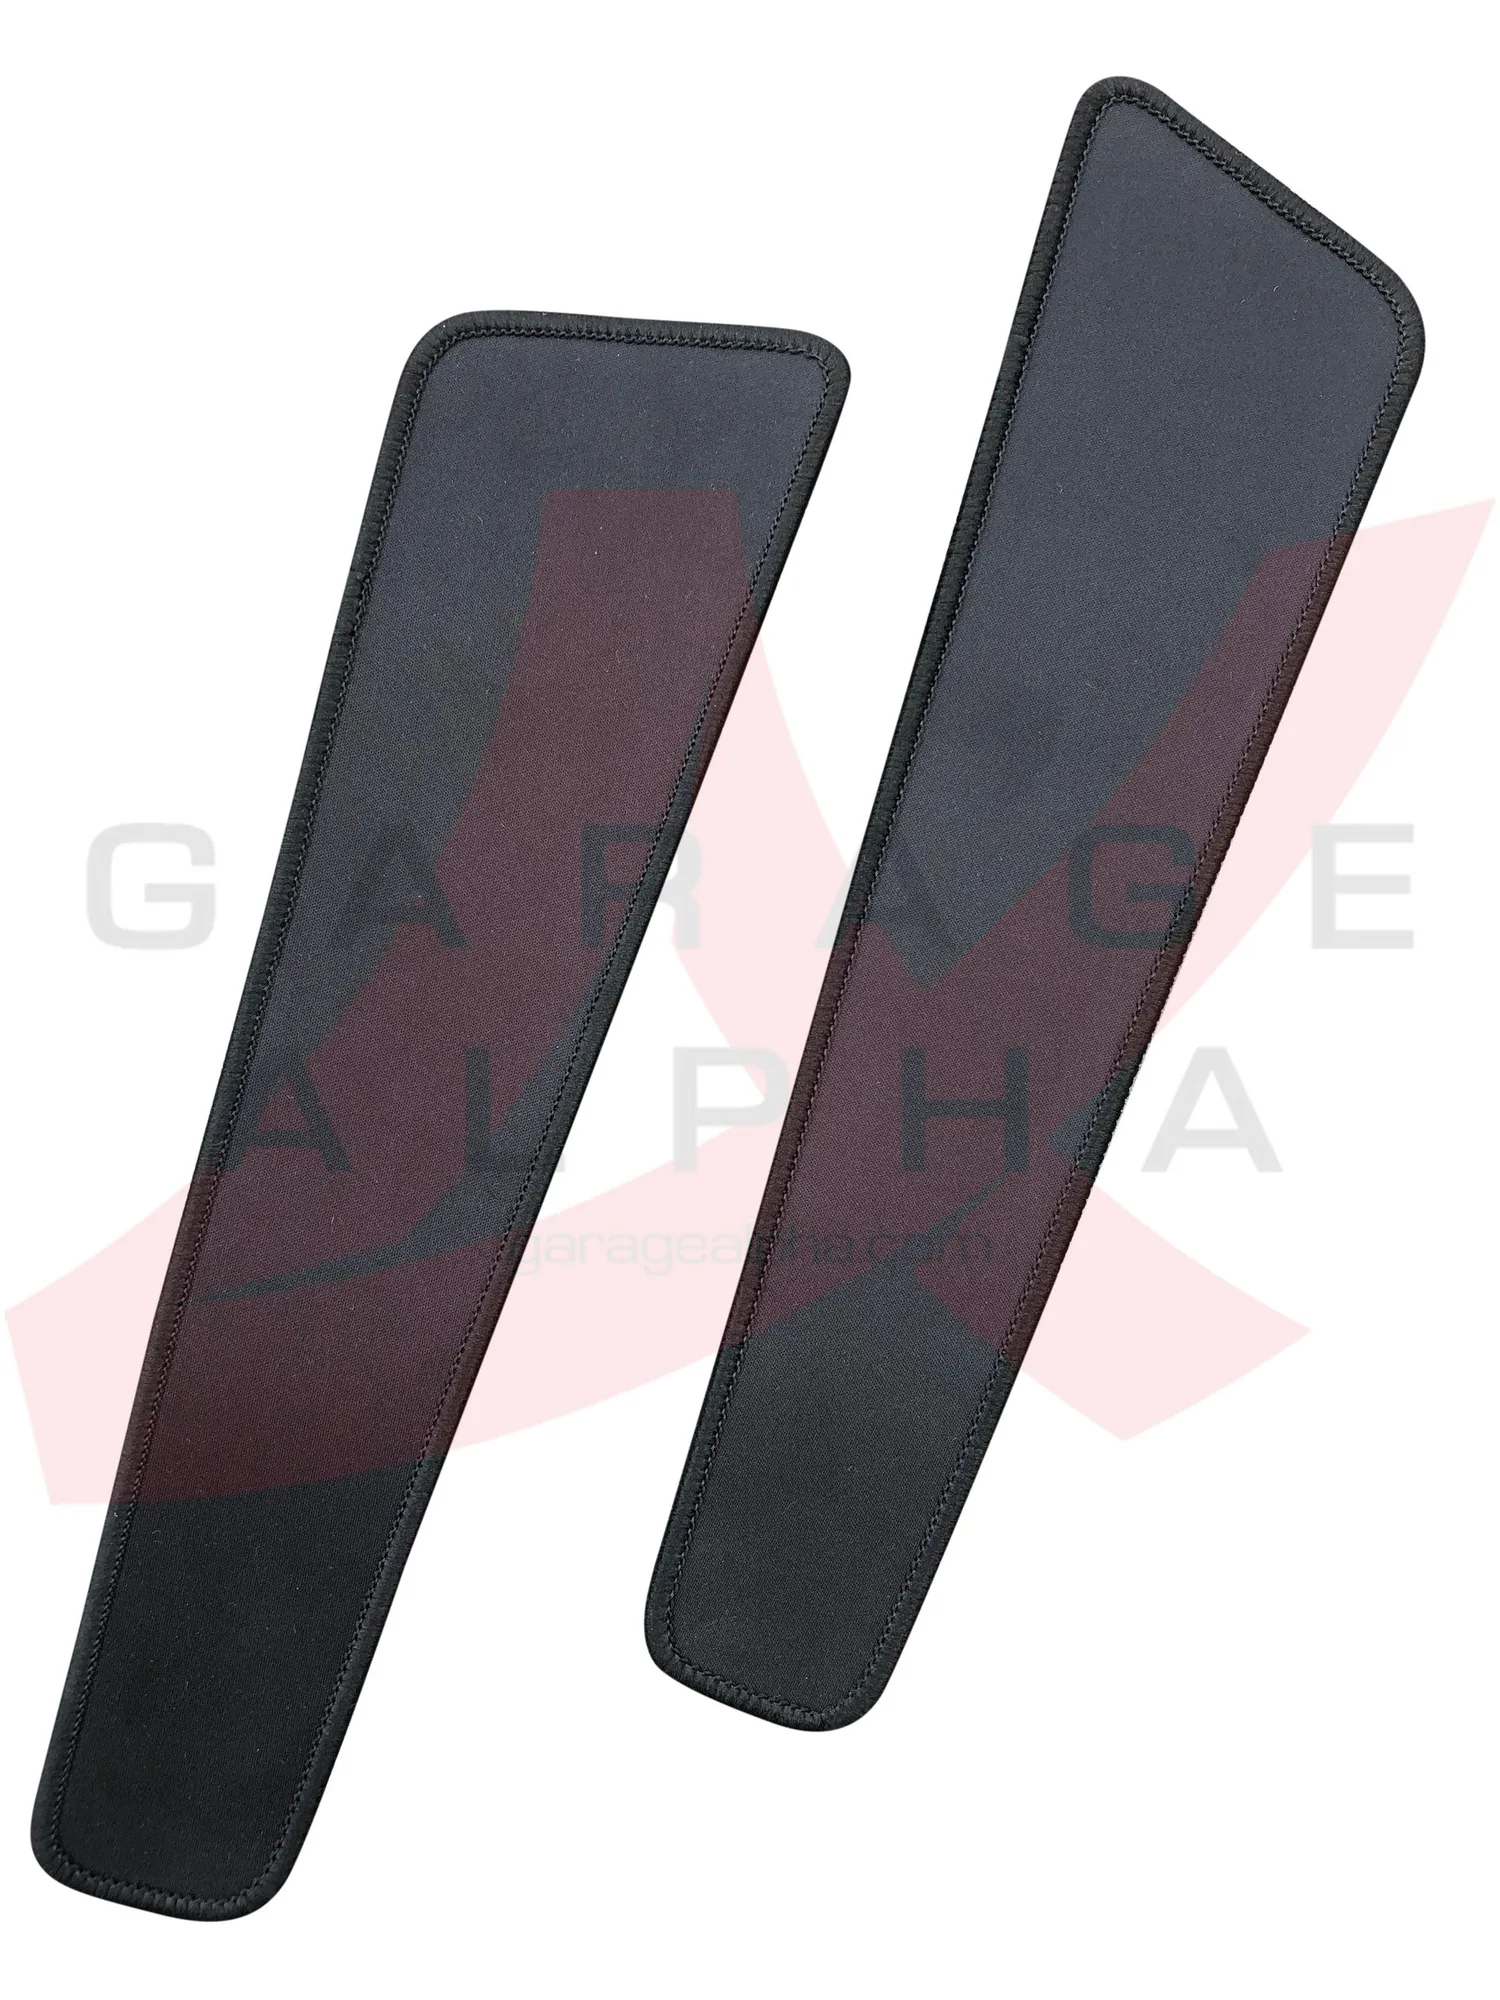
Mazda RX-7 [FD3S] JDM Hand Steps
-
Mazda RX-7 [FD3S] JDM Hand Steps: Attachment is handled with full release 3M adhesive applied to the underside. This adhesive is strong enough for long-term hold but can be removed without damaging surfaces if needed, following 3M's instructions.
-
Mazda RX-7 [FD3S] JDM Hand Steps: The OEM hand steps were attached using strips of body molding tape; this version uses 3M adhesive. The modern adhesive is likely easier to work with and more widely available than the original tape.
How to Install FD3S JDM Hand Steps
The installation is straightforward, but proper surface preparation is key to a lasting bond. Here are the steps based on the supplied information.
- 1. Choose your placement: These hand steps are designed to give you a place to plant your hand when exiting the vehicle. Common placement is on the door sill or adjacent interior panel where your hand naturally falls. Test the position before applying adhesive.
- 2. Clean the surface thoroughly: Use a mild cleaner to remove any dirt, grease, or wax from the area where the hand step will be attached. A clean surface is essential for the 3M adhesive to bond properly.
- 3. Dry the area: Ensure the surface is completely dry before applying the hand step. Moisture can prevent the adhesive from sticking.
- 4. Peel the backing and apply: Remove the release liner from the 3M adhesive on the underside of the hand step. Position it carefully and press firmly across the entire surface. Apply pressure for a few seconds to ensure good contact.
- 5. Wait before use: Allow the adhesive to cure. Follow the 3M adhesive instructions for best results. Avoid using the hand step for at least several hours to let the bond set.
Which Stitching Color to Choose?
The hand steps come in two variants: Black/Black and Black/Red. The stitching is the only visible difference. Black stitching blends in for a subtle look, while red stitching adds a sporty accent that can match red floor mats or other interior trim. Choose based on your interior color scheme.