Quick answer
Start with a clear story idea, then use the Figurative Quilt Design Workbook to sketch and refine your motifs before you cut fabric. The workbook’s full-color designs and doodle pages help you test block layouts and quilting lines without committing to cloth.
Why a workbook beats sketching on loose paper
A dedicated workbook keeps your design decisions in one place. The Figurative Quilt Design Workbook includes full-color quilting designs for shapes like hexagons, Dresden Plate, Log Cabin, and more, plus bonus doodle pages. That means you can compare motifs side by side and see how quilting lines interact with block structure before you sew.
Loose paper gets lost or wrinkled; a bound workbook becomes a reference you can return to while piecing and quilting. It also helps you avoid the common mistake of designing only the pieced blocks and forgetting to plan the quilting itself.
When to choose paper or PDF
The workbook is available in paper or PDF format. Choose PDF if you want to print specific pages at a larger scale for tracing or if you like to keep digital backups. Choose paper if you prefer a physical book that lies flat and doesn’t require printing.
One trade-off: a PDF requires you to manage printing and page sizes, while a paper copy is ready to use but can’t be resized. If you plan to enlarge designs for a bed-sized quilt, the PDF may be more flexible.
How to plan a figurative quilt with the workbook
- Define your story in one sentence: Write a single sentence that captures the main idea or feeling of your quilt. This keeps your design choices focused. Common mistake: trying to include too many ideas, which leads to a cluttered layout. Checkpoint: if you can’t summarize it in one sentence, simplify.
- Choose 2–3 anchor motifs: Flip through the workbook’s design pages and select two or three motifs that support your story. For example, use the Dresden Plate for a flower and the Log Cabin for a house. Common mistake: picking too many different motifs, which can make the quilt look busy. Checkpoint: limit yourself to three motifs for a cohesive look.
- Sketch the overall layout on doodle pages: Use the bonus doodle pages to rough out block placement and quilt size. Don’t worry about perfect proportions yet. Common mistake: skipping this step and jumping straight to fabric, which often leads to layout problems later. Checkpoint: make at least three thumbnail sketches before deciding on one.
- Test quilting lines on the full-color designs: Trace or draw quilting lines over the workbook’s full-color designs to see how they interact with the motifs. This helps you avoid quilting that fights the piecing. Common mistake: choosing quilting lines that are too dense for the motif scale. Checkpoint: ensure quilting lines enhance, not obscure, the main shapes.
- Finalize your fabric and color plan: Once the design is set, assign fabrics to each motif and background. Use the workbook’s colored designs as a reference for contrast. Common mistake: selecting fabrics before the design is finalized, which can limit your options. Checkpoint: test your fabric choices against the workbook’s color schemes to ensure clarity.
Product facts
-
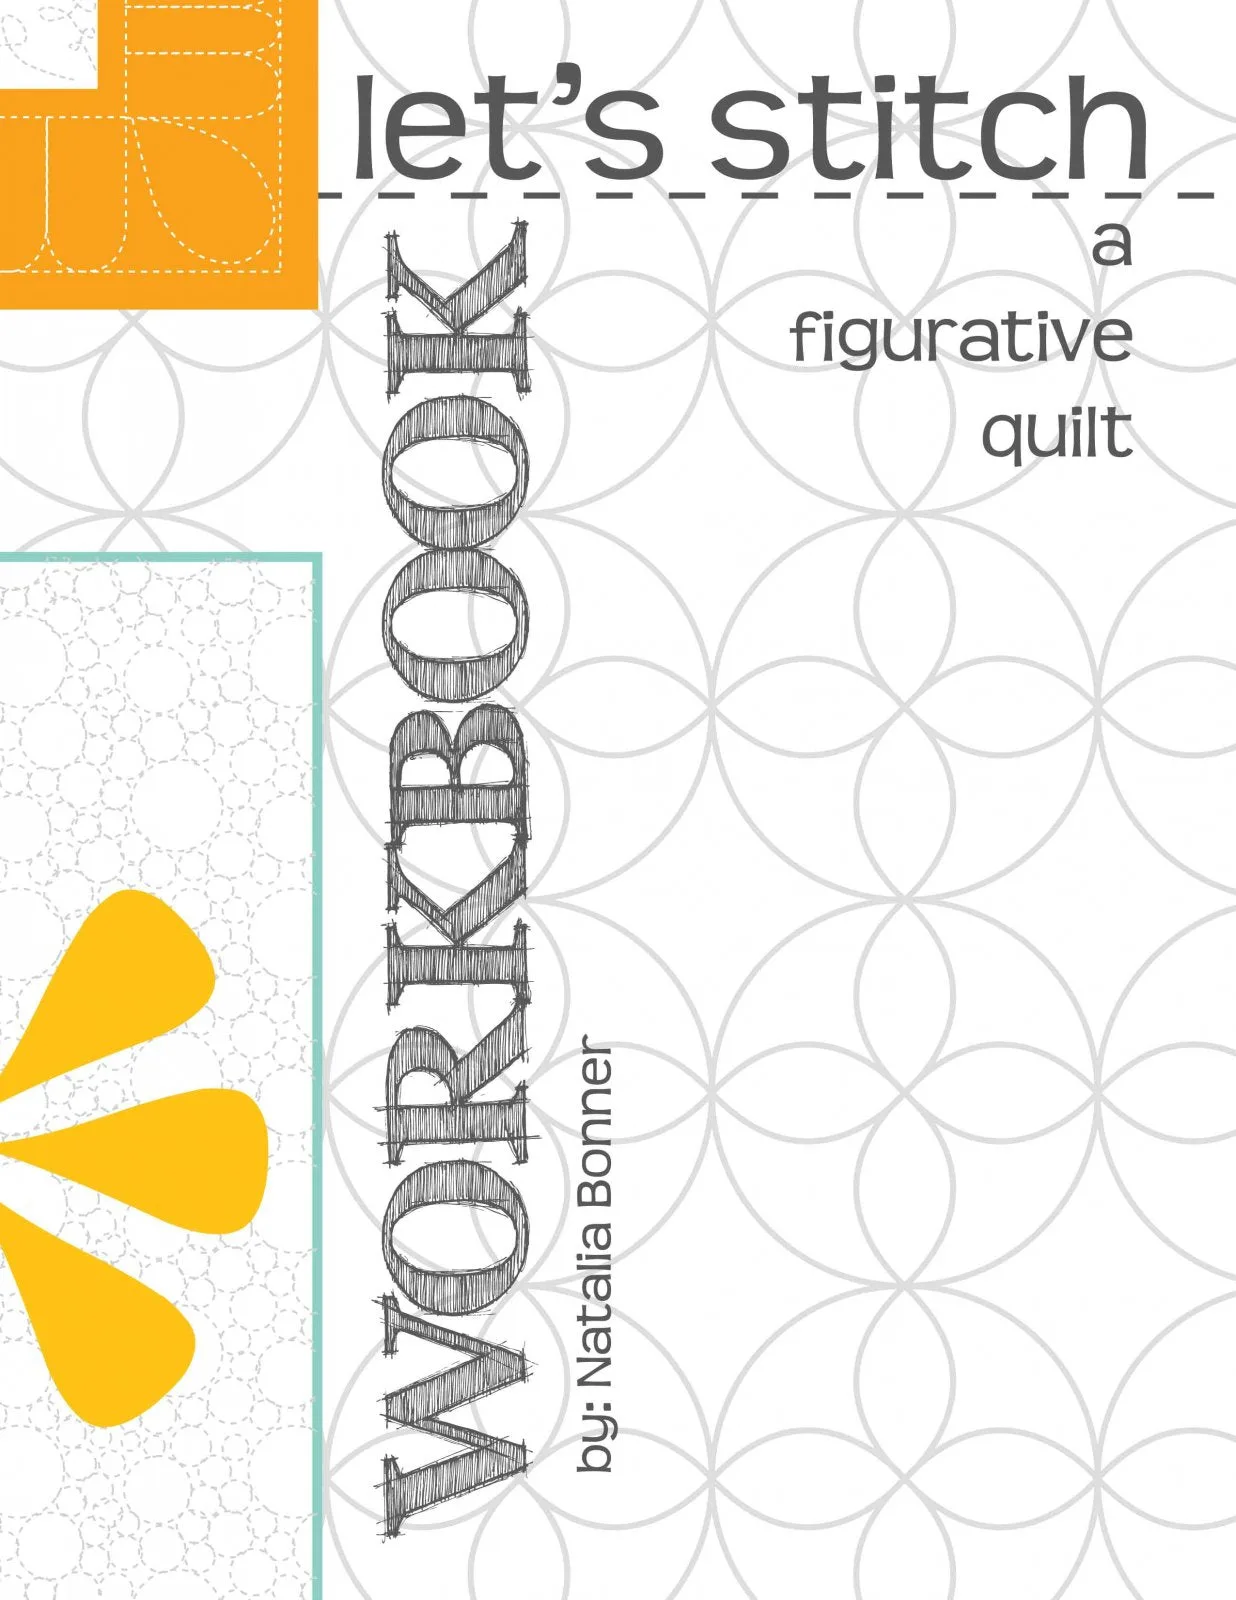
Let's Stitch A Figurative Quilt Design Workbook: Companion workbook to Natalia Bonner’s online class, with full-color quilting designs and bonus doodle pages. The full-color designs let you visualize quilting motifs clearly, and the doodle pages encourage you to practice variations before stitching.
Let's Stitch A Figurative Quilt Design Workbook