Quick Answer
To fix clumpy or stuck-together lash extensions, gently separate them using a clean spoolie or a lash comb while the adhesive is still slightly tacky. If the clumps are set, apply a small amount of lash remover to the affected area, carefully comb through, and allow to dry. For severe clumping, remove the cluster and reapply a fresh lash.
Lash extensions are a fantastic way to enhance your natural lashes, but when they clump together or stick, they can quickly become a frustrating mess. Clumpy lashes not only look less attractive but can also feel uncomfortable and even damage your natural lashes if not addressed properly. Fortunately, most clumping issues have simple solutions that you can do at home.
In this guide, we'll walk you through the common causes of clumpy lash extensions and provide step-by-step instructions to fix them quickly and safely. Whether you're dealing with fresh applications or maintenance, these tips will help you keep your lashes looking flawless.
Why Do Lash Extensions Clump or Stick Together?
Clumping typically occurs when adhesive bonds lashes together unintentionally. This can happen during application if the glue is applied too generously, if lashes are not properly isolated, or if you accidentally press your lashes together before the adhesive dries. Additionally, natural oils, makeup residue, or sleeping on your face can cause lashes to stick together over time.
Another common cause is using too much mascara or lash glue when applying false lashes. Even with professional-grade products, improper technique can lead to clumps. Understanding the root cause helps you prevent future issues and choose the right corrective action.
- Always ensure lashes are completely dry before closing your eyes or applying pressure.
- Use a clean mascara wand or spoolie to brush lashes daily to prevent tangling.
- Avoid oil-based makeup removers near the lash line.
Immediate Fixes for Clumpy Lash Extensions
If you notice clumping shortly after application, act quickly. Using a clean spoolie or a lash comb, gently brush through the lashes from underneath, working from the base to the tips. This can separate lashes that are stuck together while the adhesive is still pliable. Be gentle to avoid pulling out extensions.
For stubborn clumps, you can use a lash separator tool or a clean eyelash comb. If the adhesive has fully cured, applying a small amount of lash remover to the affected area can help dissolve the bond. Use a cotton swab to apply the remover precisely, then carefully comb through the lashes. Allow the remover to work for a few minutes before rinsing with water and brushing again.
- Always use a clean tool to avoid introducing bacteria or debris.
- Never pull or tug on clumped lashes, as this can damage your natural lashes.
Preventive Measures for Future Clumping
Prevention is key to avoiding clumpy lash extensions. During application, ensure each extension is properly isolated and the adhesive is applied sparingly. Use a high-quality adhesive that dries quickly to reduce the risk of lashes sticking together.
In your daily routine, brush your lashes with a clean spoolie each morning and night to keep them separated. Be mindful of how you sleep—try to sleep on your back to avoid pressing your lashes against the pillow. Also, avoid using oil-based products near your eyes, as they can weaken the adhesive and cause lashes to clump.
- Invest in a lash brush or spoolie and use it regularly.
- Keep your lash extensions dry for the first 24 hours after application.
- Choose a lash adhesive that is known for its quick-drying properties.
Diagnosis: Clumpy Lash Extensions
- Symptom: Lashes appear stuck together, with visible clumps or a spiky look. Identify the affected area and assess severity.
- Likely Cause: Adhesive applied too generously, lashes not isolated during application, or oil/mascara residue causing bonds. Determine if it's a fresh application or long-term wear issue.
- Corrective Action: Gently brush with a spoolie; if set, apply lash remover to the clumped area, comb through, and allow to dry. If lashes separate easily, continue with normal care.
- Stop or Choose Another Option: If lashes remain clumped after two attempts or if you experience discomfort, remove the affected cluster and replace with a new lash. Consider using a fresh lash from a Lash 3-Pack for a clean start.
Products That Help with Lash Clumping
- Bond Breaker Lash Remover: Remove your lash clusters quickly and gently. This portable lash remover contains a gentle formula designed to dissolve adhesive bonds. When lashes are severely clumped, this remover helps safely separate them without damaging your natural lashes.
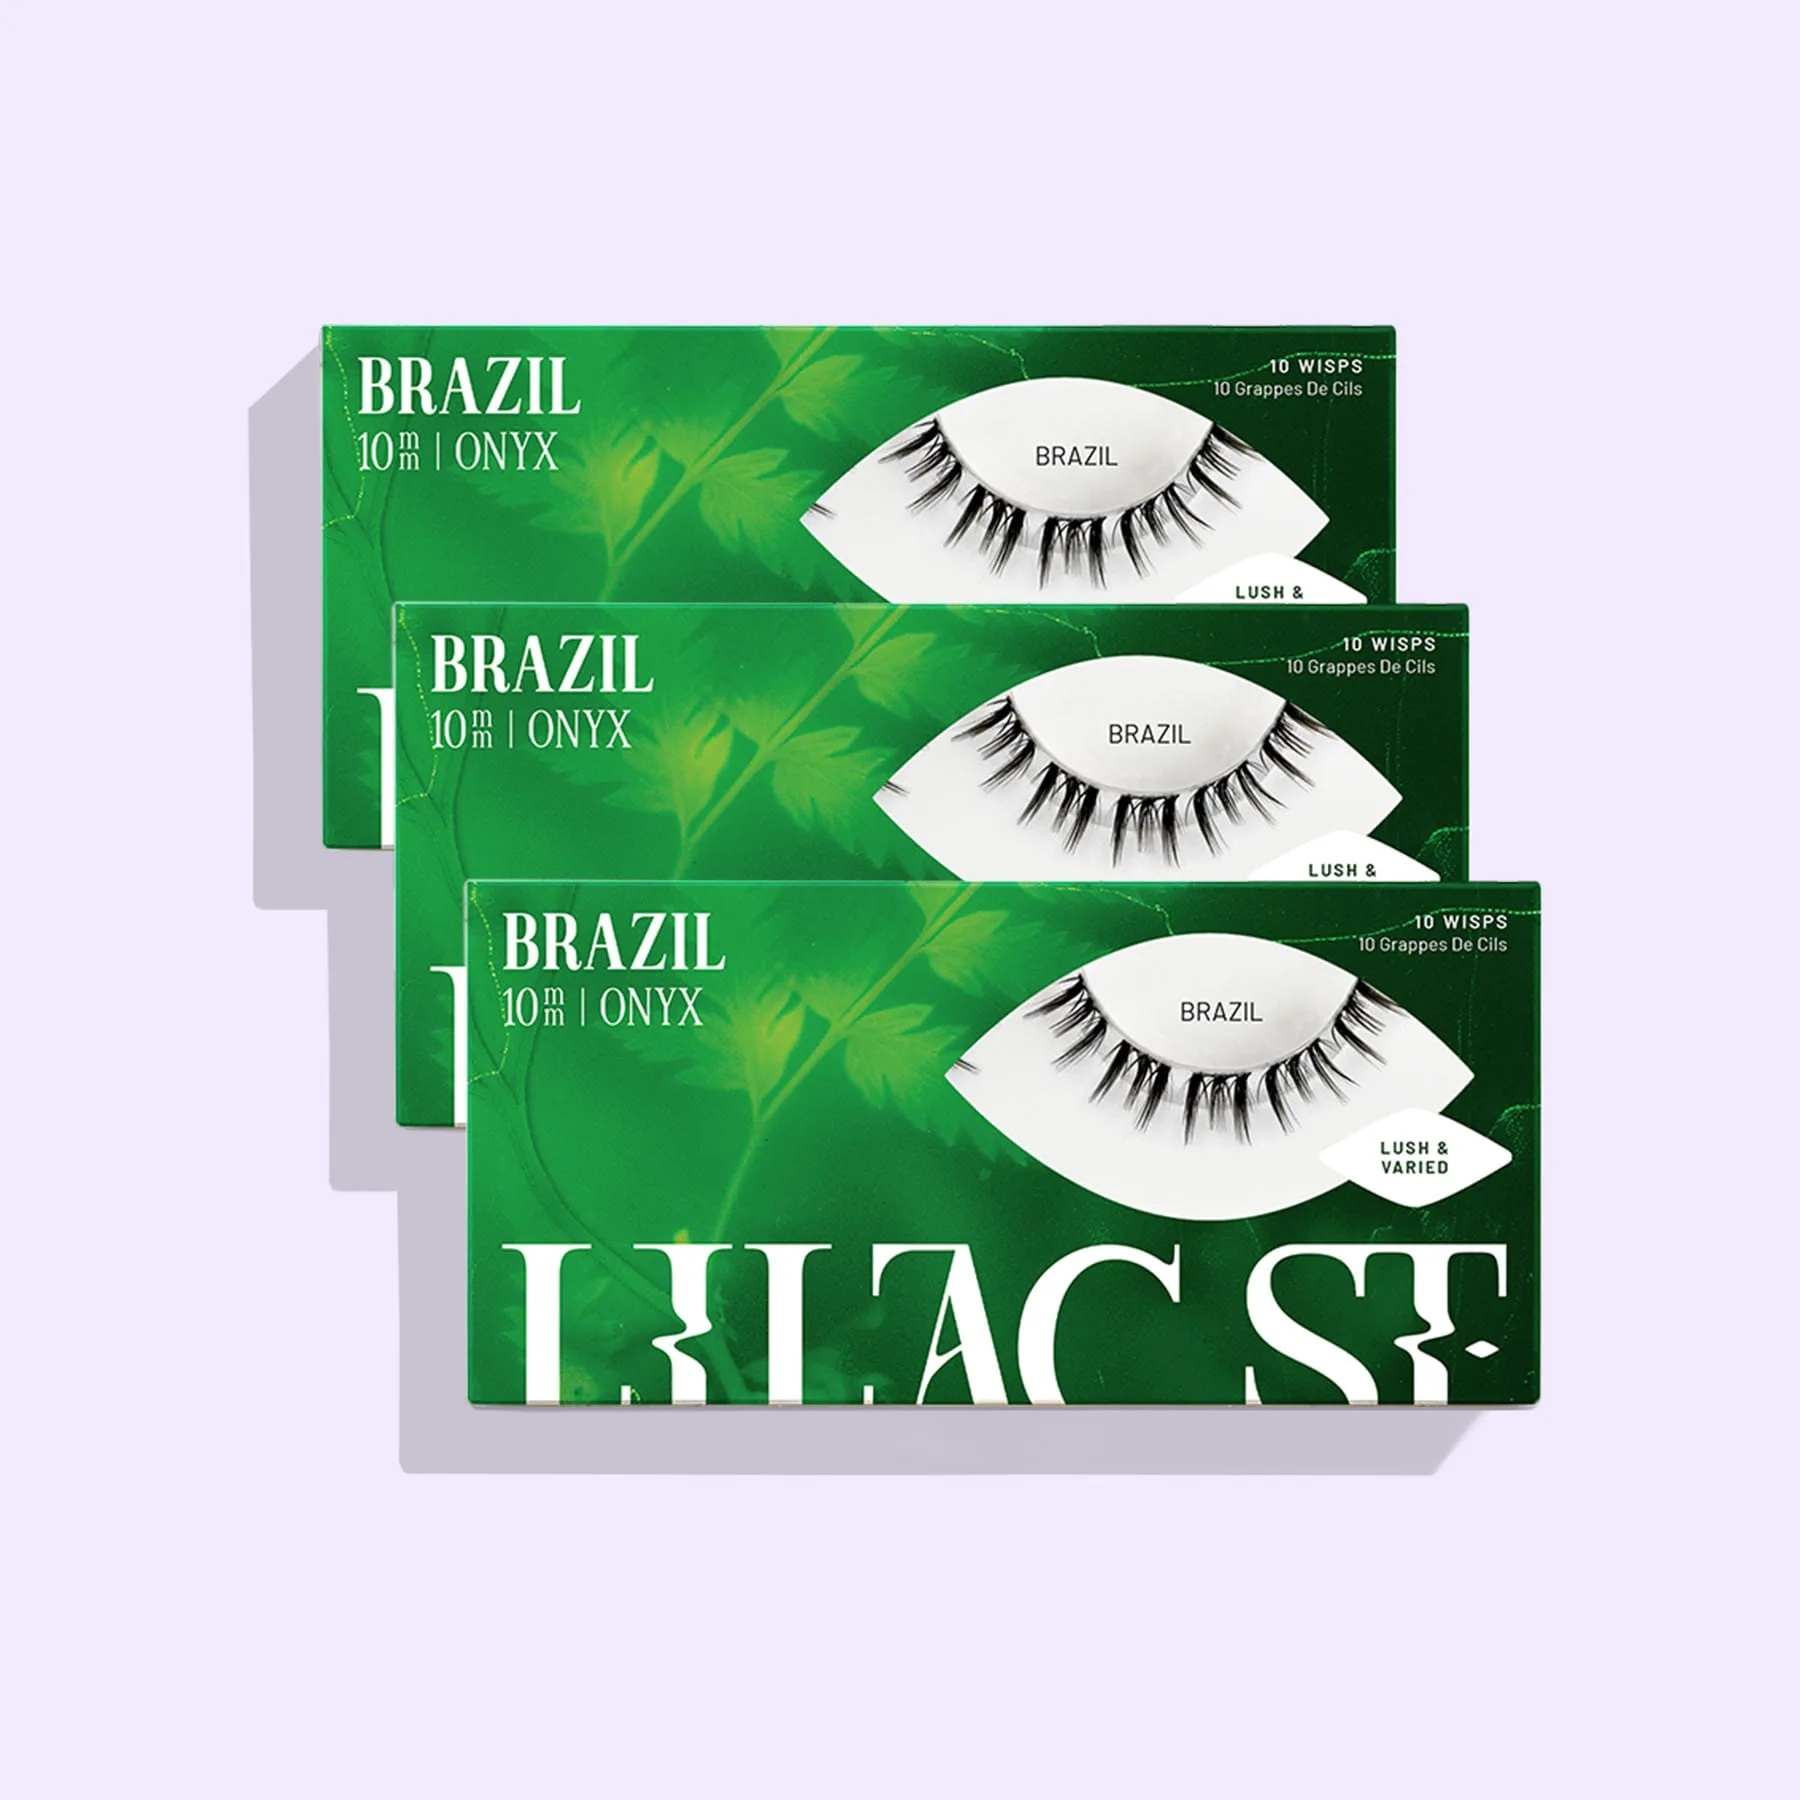
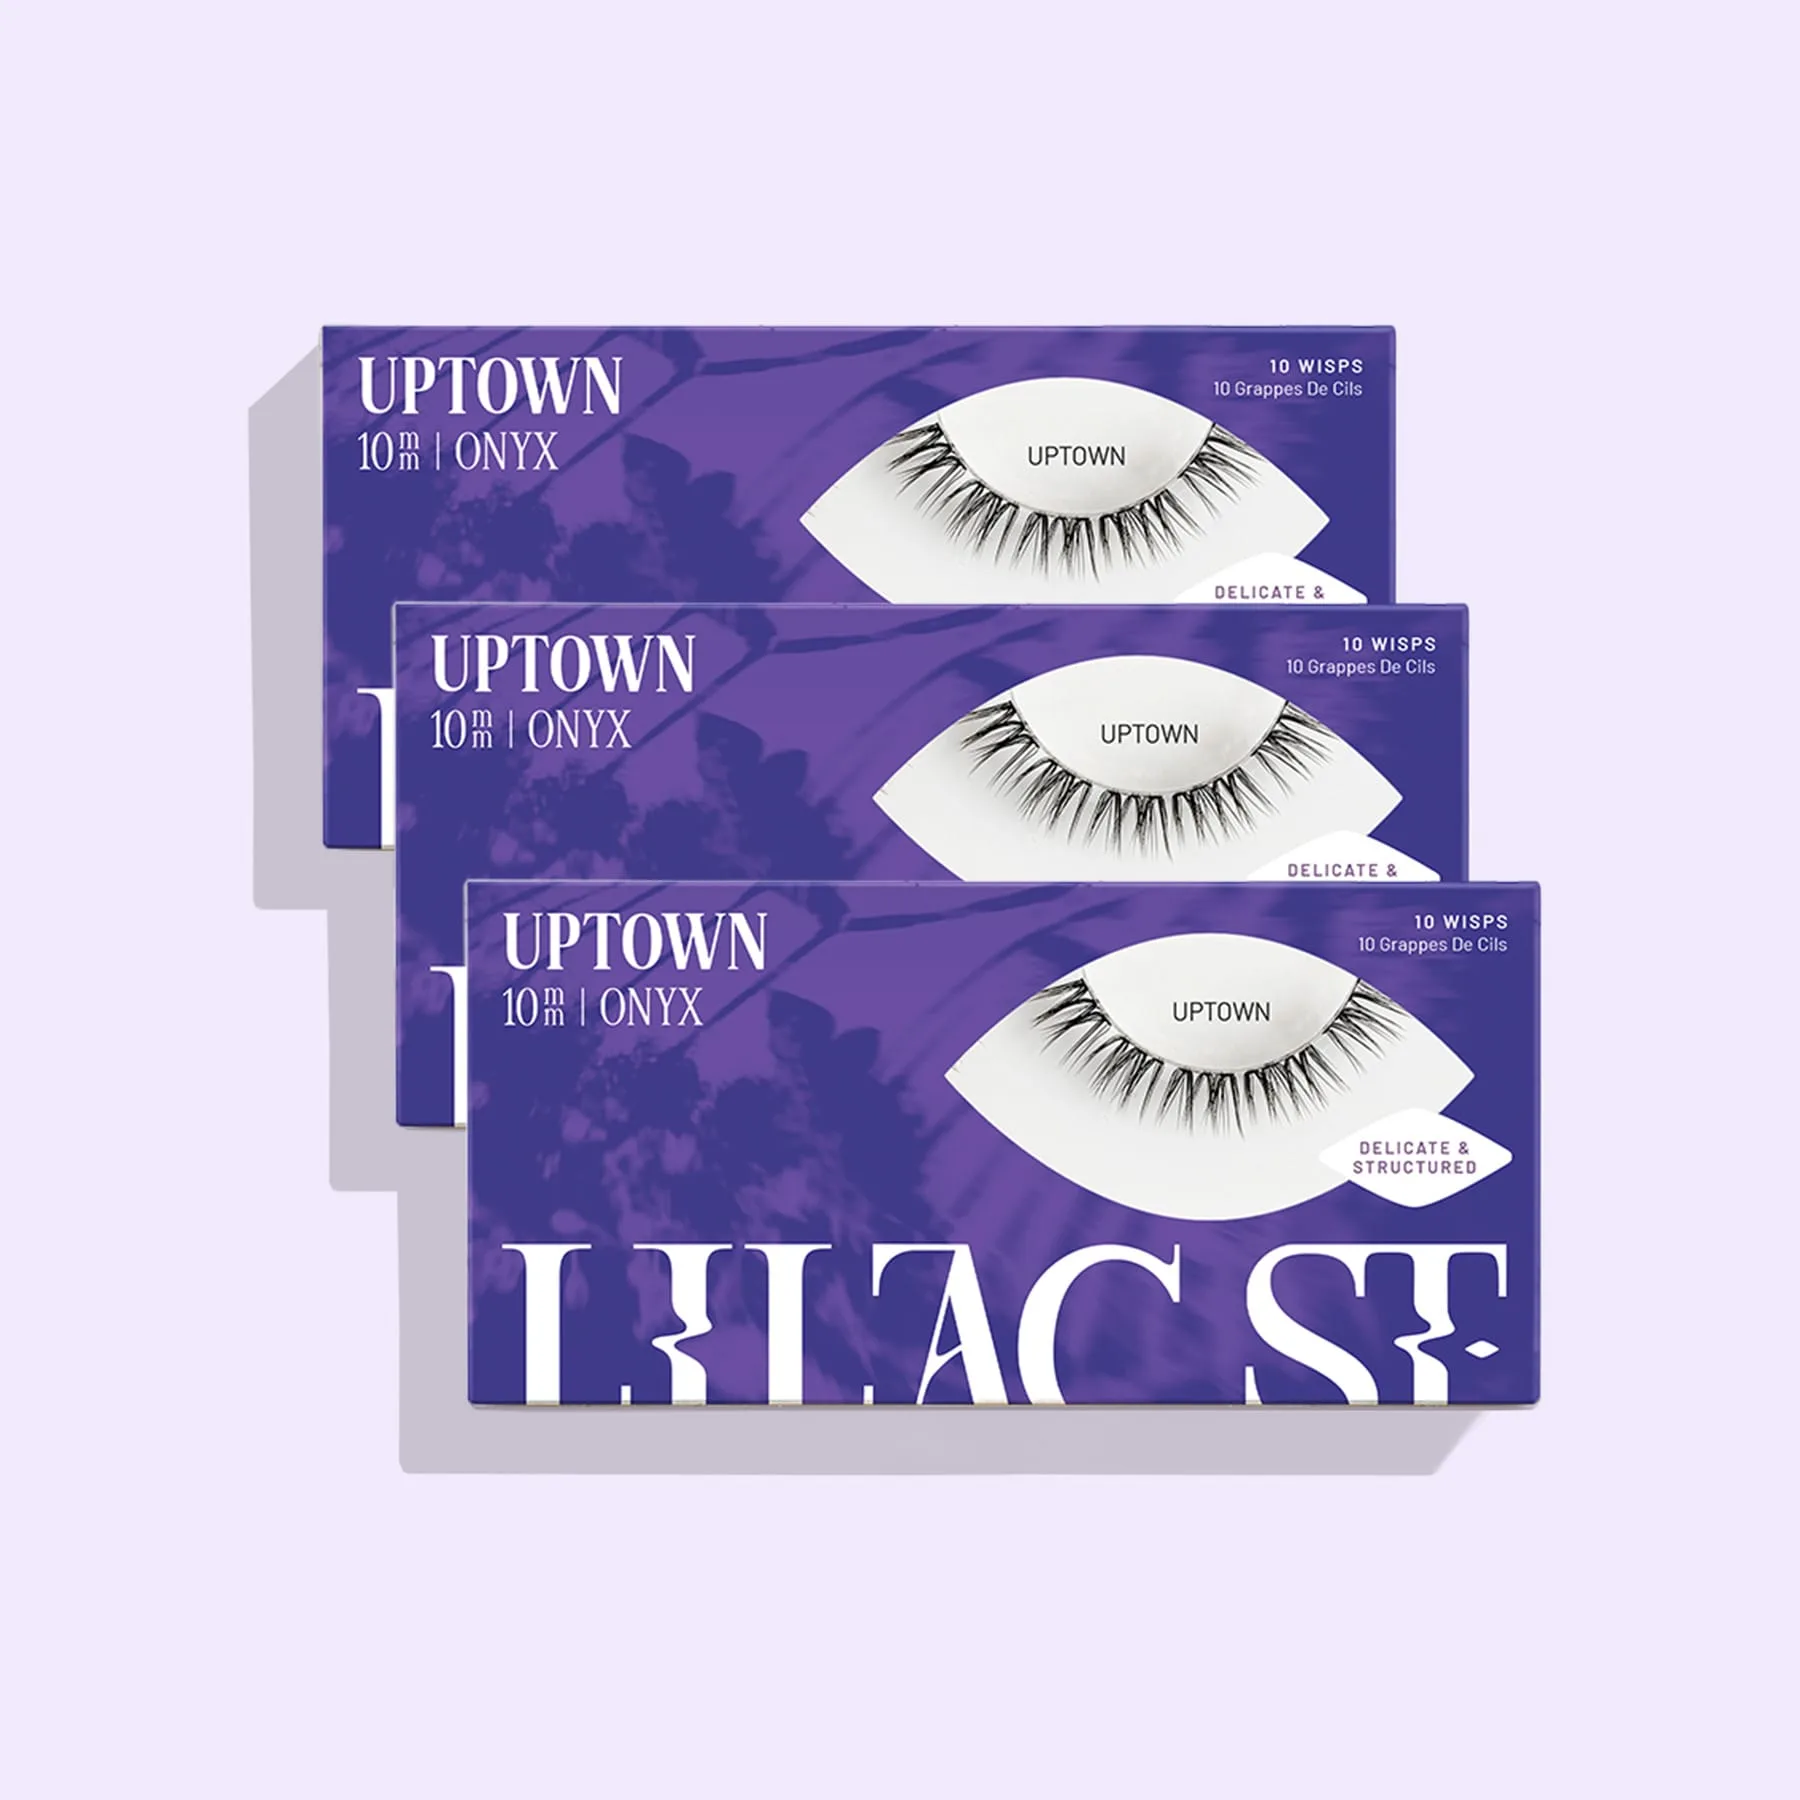
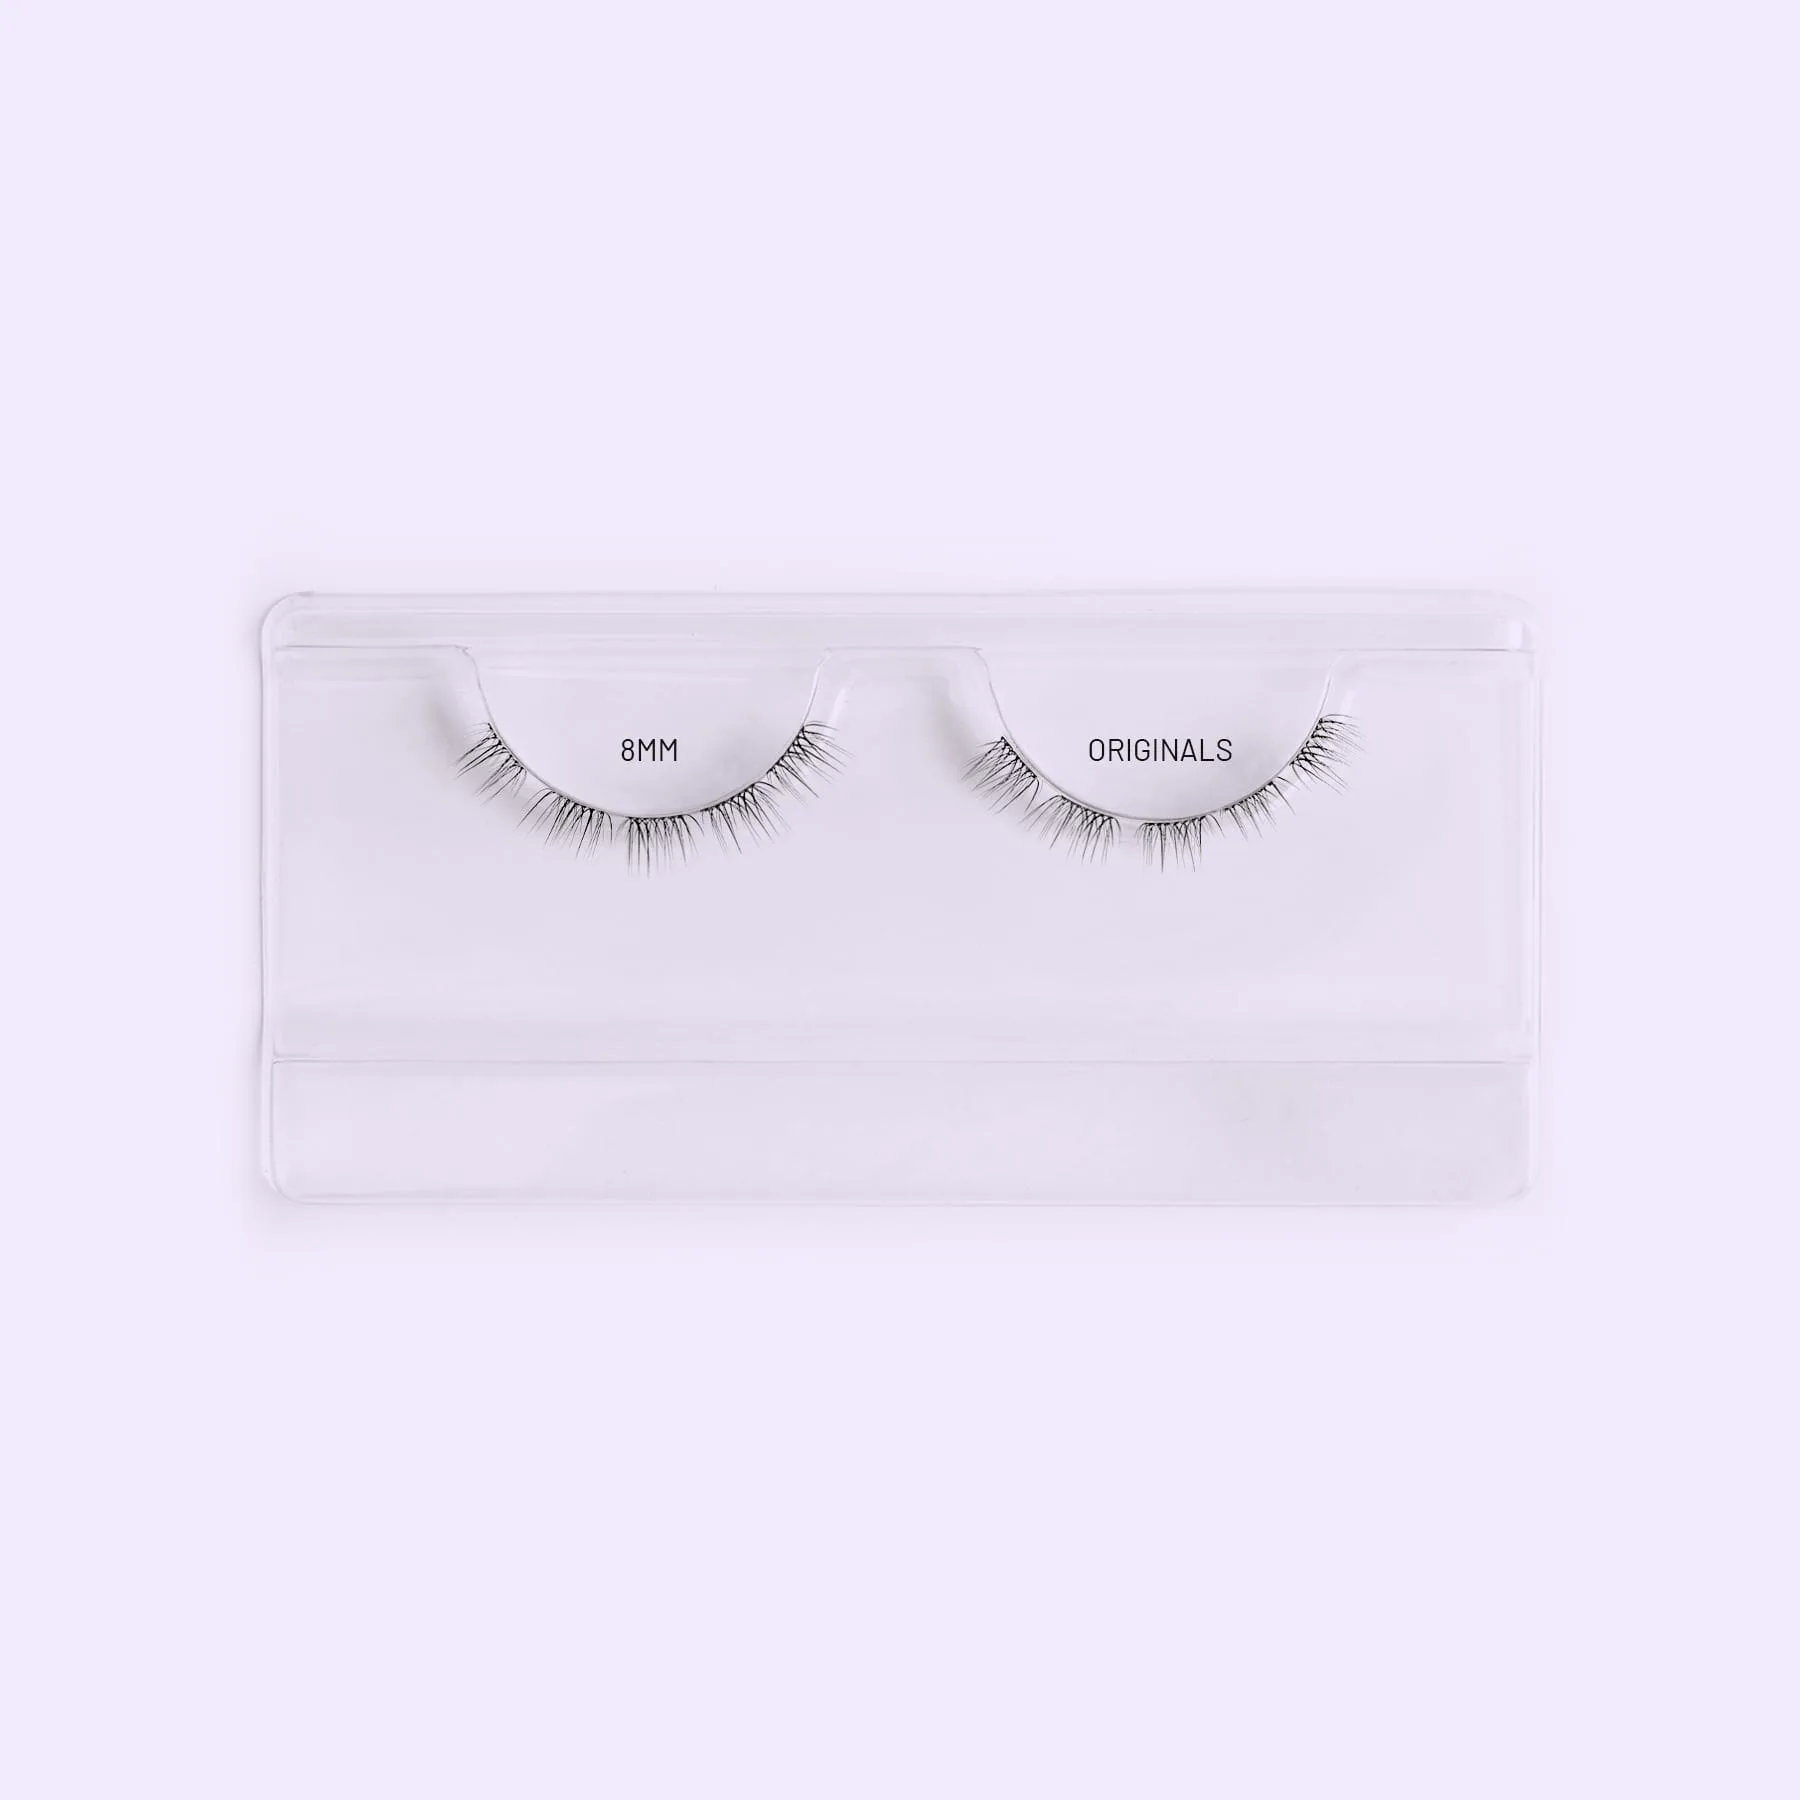
- Lash 3-Pack: Get the Lash 3-Pack from Lilac St. for your at-home DIY lash extensions. This pack includes three sets of lashes, giving you multiple applications or the flexibility to mix and match lengths. If clumping is beyond repair, having a fresh set of lashes on hand allows you to quickly replace the damaged ones and start over.
Clumpy lash extensions are a common issue, but they don't have to ruin your look. By following these quick fixes and preventive tips, you can keep your lashes looking beautiful and well-separated. If you need a fresh start, consider the Lash 3-Pack for a variety of lengths to achieve your desired style.