Quick Answer
Most paint mistakes on model kits can be fixed without starting over. For smudges or drips, let the paint cure, then gently sand or strip with isopropyl alcohol. Repaint in thin layers, and always test on a spare sprue first.
Painting a model kit is a rewarding step, but mistakes happen—drips, smudges, or uneven coats can ruin the look you worked for. The good news: most errors are fixable with the right techniques and a little patience.
This guide walks you through common paint problems, from acrylic paint smudges to thick drips, and shows you how to correct them without harming the plastic underneath. You'll also learn when to strip and start fresh, saving your kit from permanent damage.
Fixing Acrylic Paint Smudges
Acrylic paint smudges often happen when you touch a freshly painted surface or apply a second coat too soon. The paint is still soft, so your finger or brush leaves a mark. If you catch it early, let the area dry completely, then gently sand with a fine grit (1000+) to level the surface. Wipe away dust and repaint with a thin coat.
If the smudge is deep, you may need to strip the affected part. Isopropyl alcohol (70% or higher) works well for acrylics. Dip a cotton swab or soft brush and gently rub the smudge—avoid soaking the kit, as this can weaken glued seams. Rinse with water and let dry before repainting.
- Always let paint cure 24 hours before handling.
- Use a clean, lint-free cloth or glove when handling painted parts.
Dealing with Paint Drips and Runs
Drips and runs occur when you apply too much paint at once, especially with a brush or airbrush. The paint pools and forms a run that dries with a raised edge. To fix, wait until fully dry, then sand the drip down with progressively finer grits (800, 1000, 1500). This flattens the surface without removing all the paint.
After sanding, clean the area with a tack cloth or water. Repaint with thin, even coats, allowing each to dry. If the drip is severe, stripping the part and starting over might be faster than sanding through layers. Remember: thin coats are your friend.
- Hold the brush or airbrush at a consistent distance to avoid pooling.
- If using an airbrush, thin your paint more and reduce pressure.
When to Strip and Repaint
Sometimes a mistake is too big to sand out—like a heavy orange-peel texture or a color that's completely wrong. Stripping the paint is the safest way to start over. For acrylics, isopropyl alcohol (90%) is effective. Submerge the part in alcohol for 15-30 minutes, then scrub with an old toothbrush. Rinse and let dry.
For tougher paints like enamels or lacquers, you'll need specialized strippers, but these can damage plastic if left too long. Always test on a spare sprue first. After stripping, wash the part with soapy water to remove residue, then you're ready to repaint.
- Never use acetone on bare plastic—it melts the surface.
- Stripping is a last resort; try spot-fixing first.
Repainting with Confidence
Once your surface is clean and smooth, repaint with thin layers. Use a primer to ensure adhesion and an even base. Apply paint in multiple light coats, letting each dry completely. This prevents drips and gives a uniform finish.
If you're touching up a small area, use a fine brush and thinned paint. For larger sections, consider masking to protect already-painted areas. Patience is key—rushing leads to more mistakes.
- Use a paint retarder to slow drying time in hot, dry climates.
- Keep a wet palette to maintain consistent paint consistency.
Diagnosis: Identify the Mistake Before You Fix
- Symptom: Smudge, drip, uneven coat, or wrong color on your model kit. Identify the type of mistake first.
- Likely Cause: Touching wet paint, applying too thick a coat, or rushing between layers. Understand the cause to avoid repeating it.
- Corrective Action: For smudges, sand and repaint. For drips, sand down. For severe issues, strip with isopropyl alcohol and repaint. Choose the least invasive fix first.
- Stop or Choose Another Option: If the plastic is damaged or you've stripped multiple times without success, consider replacing the part or using a different paint type. Know when to stop to avoid further damage.
Products That Help Fix Paint Mistakes
- RCM028 Real Colors Markers - RAF Cockpit Grey-Green: AK Interactive Real Colors Markers are fast-drying, waterproof acrylic paint markers with high coverage. They can be applied in layers and do not blur. For touch-ups after fixing a smudge, a marker like this offers precise control and quick drying, so you can repaint small areas without airbrush setup.
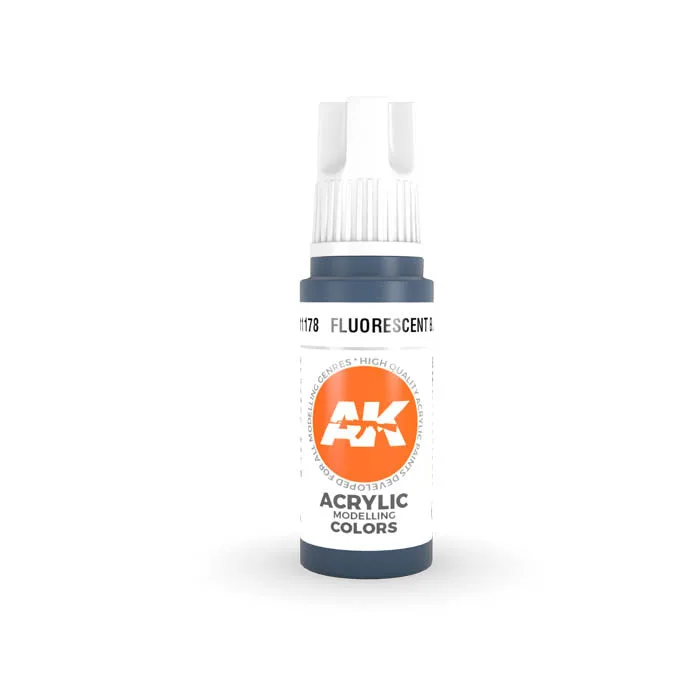
- AK11178 Gen-3 Fluorescent Blue 17ml: AK Interactive 3rd Gen Acrylic Fluorescent Blue comes in 17ml bottles and is designed for any modeler, with a clear label and reference code. If you stripped a part and need to repaint with a specialty color, this acrylic provides a consistent finish and can be layered for opacity.
Fixing paint mistakes is part of the modeling journey. With the right techniques and a calm approach, you can save your kit and learn valuable skills. Remember to test on spare parts and take your time—your model will thank you.