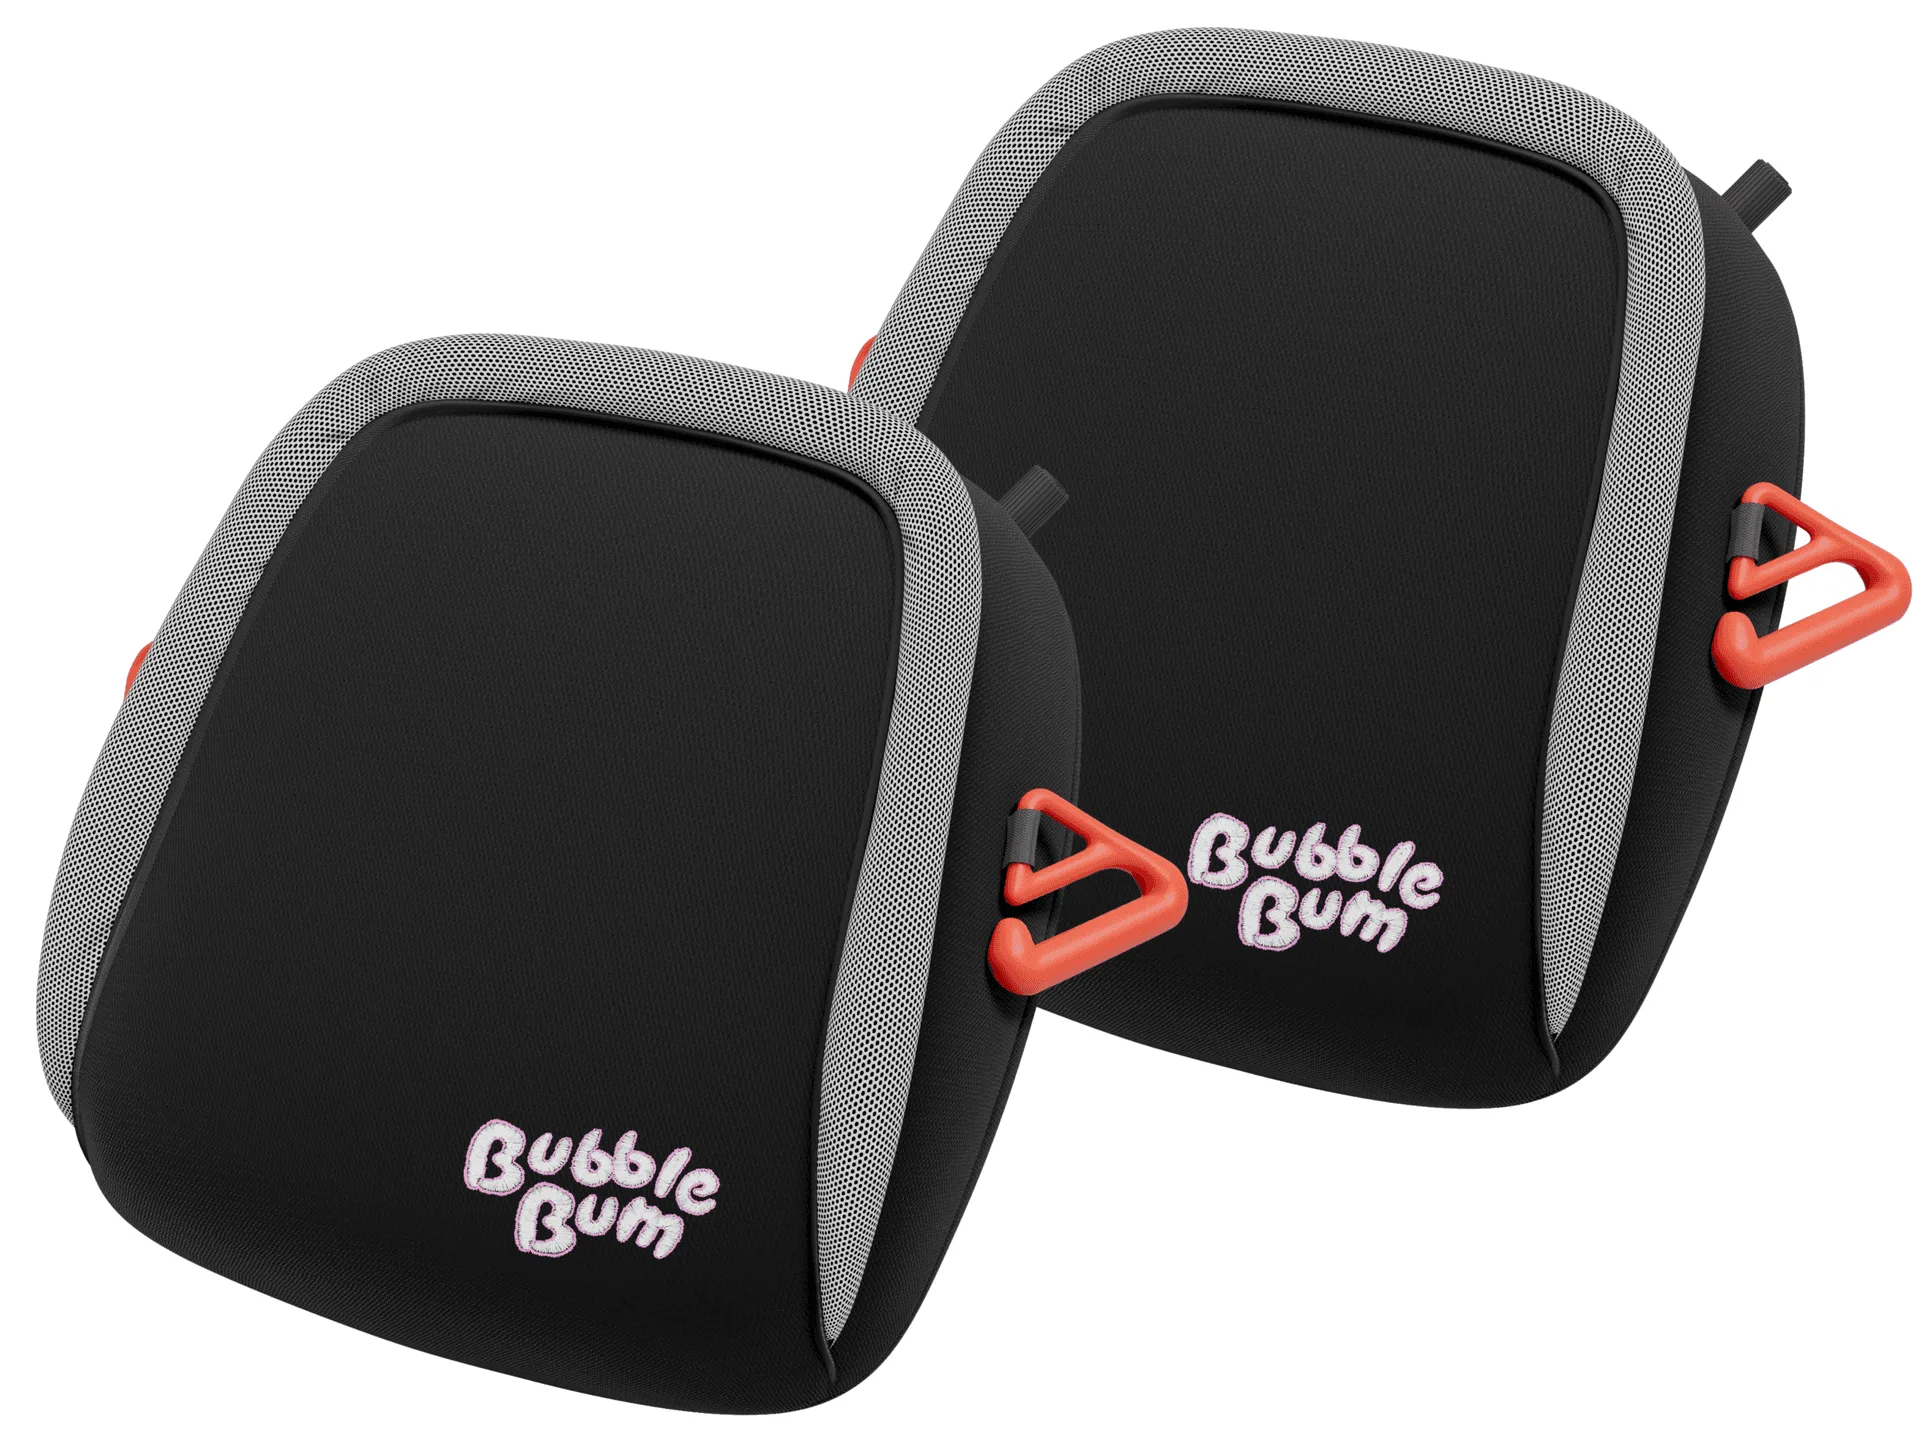
An inflatable booster seat is a lifesaver for families who travel frequently, but discovering a slow leak can be frustrating. Whether your child complains that the seat feels softer than usual or you notice the seat deflating overnight, knowing how to fix a leaky inflatable booster seat is an essential skill for any parent on the go. The good news is that most leaks are simple to locate and repair at home with the right approach.
BubbleBum booster seats are built to be durable, but like any inflatable product, they can sometimes develop small punctures or valve issues. Before you consider replacing the seat, try these quick troubleshooting steps. With a little patience and a few common household items, you can often restore your seat to full functionality and keep your child safe and comfortable on the road.
Step 1: Locate the Leak
The first step in any repair is finding where the air is escaping. Inflate your BubbleBum booster seat fully and listen for a hissing sound. If you can't hear anything, try running your hand over the surface of the seat, paying close attention to seams, the valve area, and any visible wear marks. A mixture of dish soap and water applied with a spray bottle or sponge will create bubbles at the leak point, making it easy to spot.
Common leak locations include the valve stem, where the material meets the valve, and along the folded creases where the seat has been repeatedly compressed. If the leak is very small, you may need to press gently on different sections of the seat to force air through the hole. Mark the spot with a piece of tape or a washable marker so you don't lose it during the repair.
- Use a spray bottle with soapy water to find tiny leaks that are hard to hear.
- Check the valve by inflating the seat and applying soapy water around the base.
Step 2: Prepare the Surface for Repair
Once you've identified the leak, deflate the seat completely and clean the area around the puncture. Use a mild soap and a soft cloth to remove any dirt, oil, or residue. Dry the surface thoroughly with a clean towel. A clean surface is critical for the patch to adhere properly. Most inflatable booster seats come with a repair kit, but if you've misplaced yours, a standard vinyl patch kit works well.
For BubbleBum owners, the material is a heavy-duty vinyl that responds well to patch adhesives. If the leak is near a seam or a stress point, consider using a slightly larger patch to ensure a strong bond. Allow the adhesive to cure for the recommended time—usually 12 to 24 hours—before reinflating the seat. Rushing this step can cause the patch to fail prematurely.
- Never use superglue or household adhesives—they can damage the vinyl.
- Let the patch cure for at least 12 hours for a permanent fix.
Step 3: Test the Repair and Prevent Future Leaks
After the patch has cured, reinflate the seat and check for any remaining air loss. Apply the soapy water test again around the patched area and the valve. If no bubbles appear, your repair is successful. If the seat still loses air, there may be a second leak point, so repeat the locating process. In rare cases, the valve itself may be damaged, and you might need to contact the manufacturer for a replacement part.
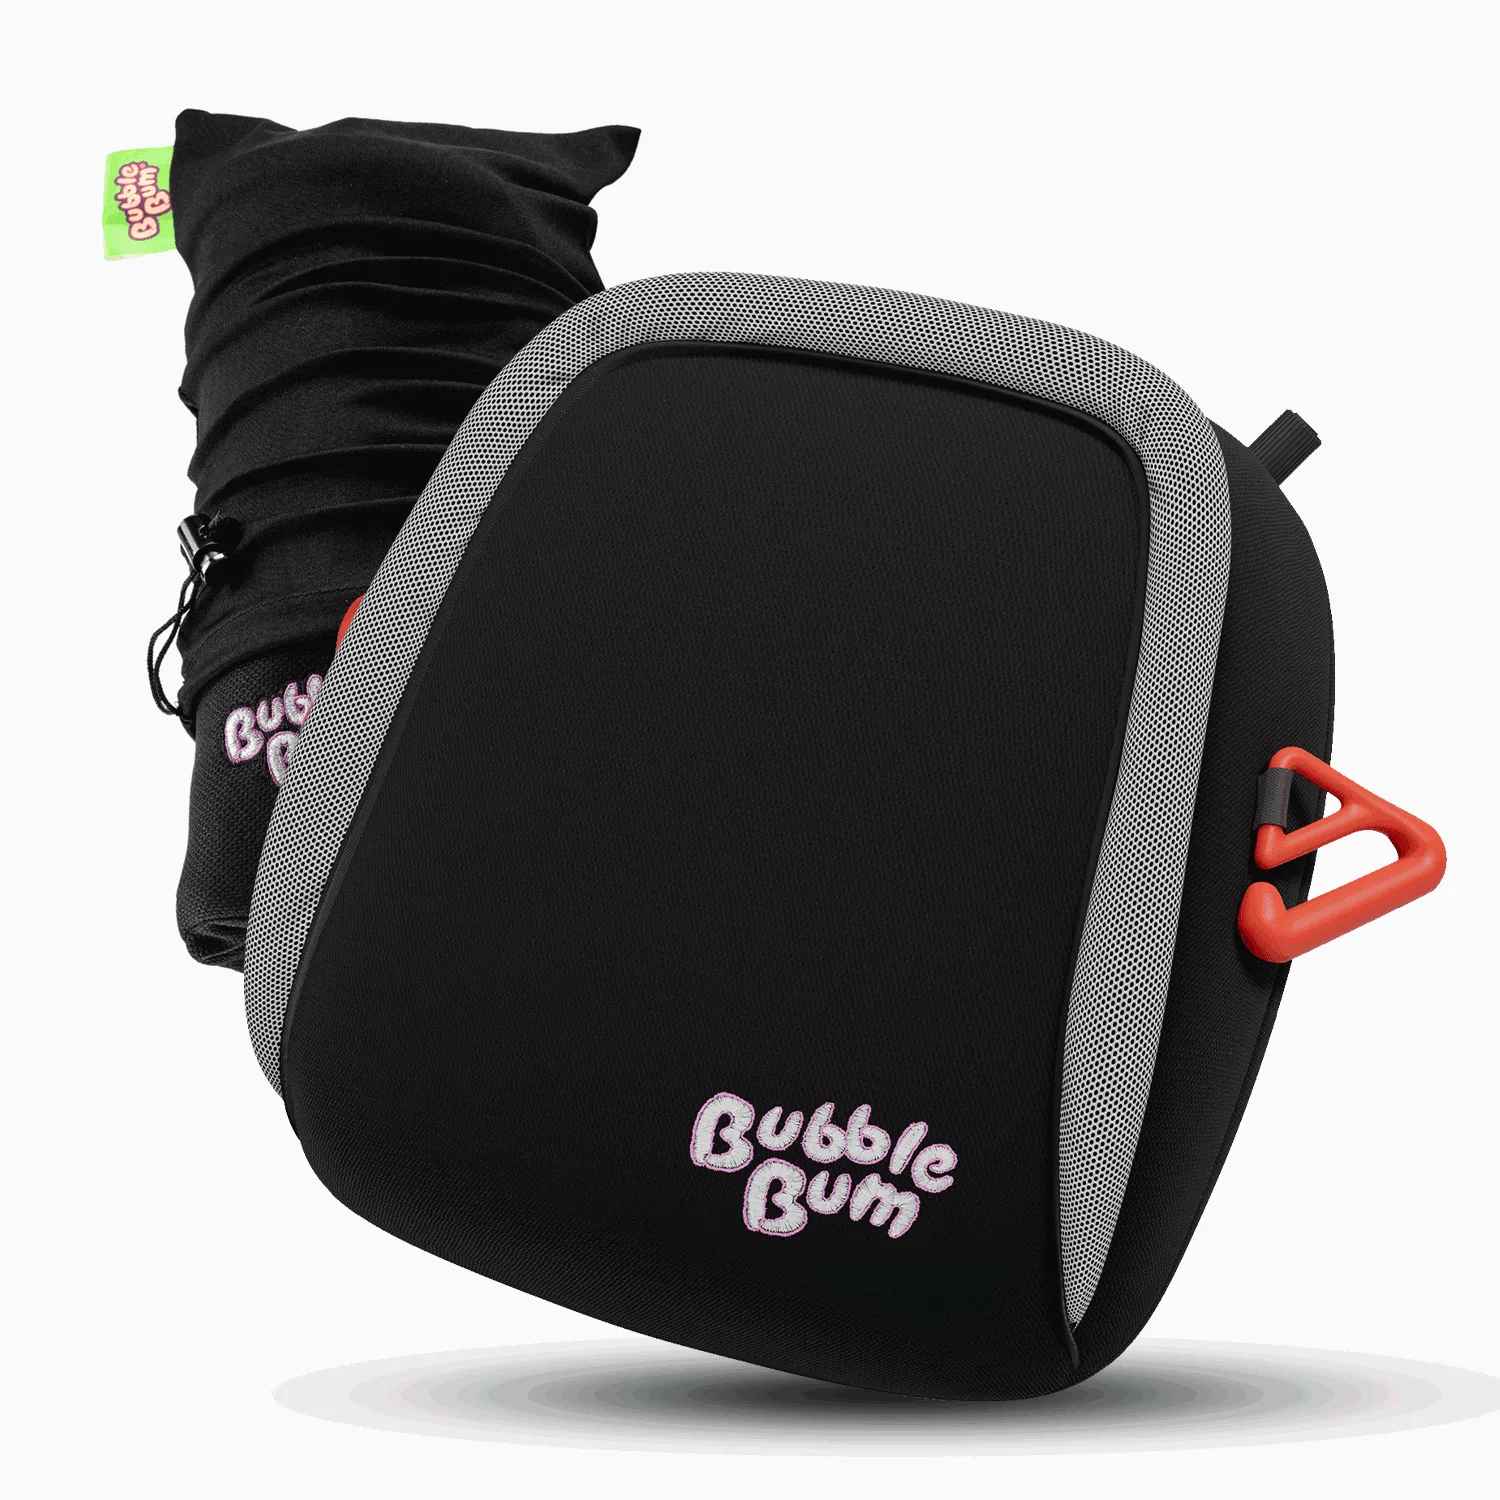
To prevent future leaks, store your BubbleBum booster seat in a protective bag when not in use. The Replacement Carry Bag For Bubblebum Inflatable Booster Car Seat is designed to shield the seat from sharp objects and excessive pressure during storage. Also, avoid overinflating the seat, as this can stress the seams. Always follow the recommended inflation guidelines provided with your seat.
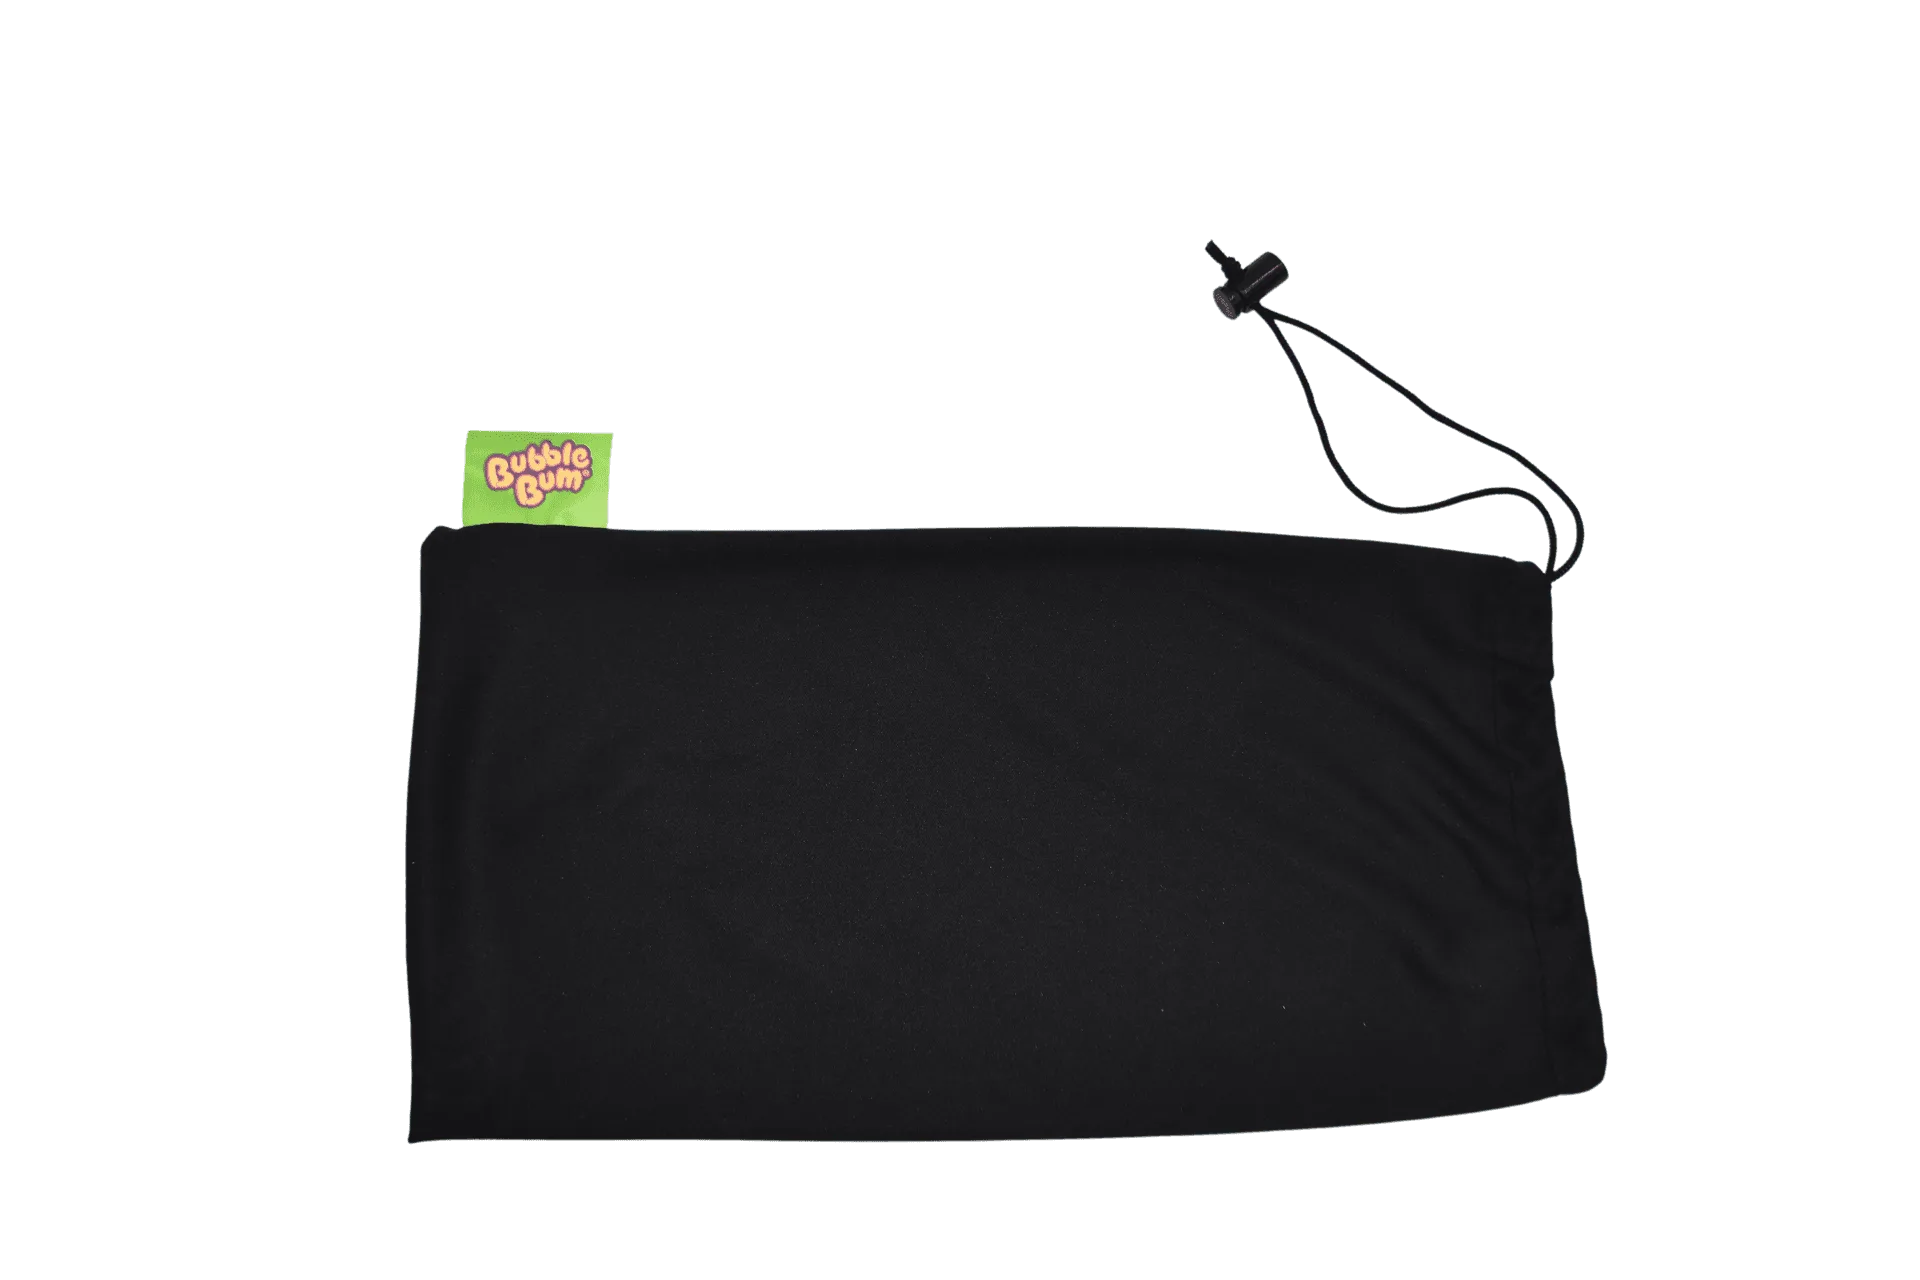
Replacement Carry Bag For Bubblebum Inflatable Booster Car Seat
- Store the seat in a cool, dry place away from direct sunlight to prevent material degradation.
- Inspect the seat regularly for signs of wear, especially before long trips.
When to Replace Instead of Repair
While most small punctures can be fixed, there are situations where replacement is the safer option. If the leak is along a major seam, near the valve, or if the material has cracked or become brittle due to age, a patch may not hold reliably. Safety is the top priority—if you have any doubts about the integrity of the seat, it's better to invest in a new one.
BubbleBum offers a range of replacement parts and accessories to extend the life of your seat. For example, the Replacement Shoulder Belt Positioning Strap Clip is an easy swap if the original clip wears out. However, for the inflatable body itself, a new seat ensures your child is protected according to current safety standards. Check the manufacturing date and replace the seat every five years or sooner if it shows significant wear.
- Replace the seat if the leak is larger than 1/4 inch or located on a seam.
- Always use a certified booster seat that meets UK safety regulations.
Bonus: Quick Maintenance Tips for Inflatable Booster Seats
Regular maintenance can prevent many common issues. After each trip, wipe down the seat with a damp cloth to remove crumbs and dirt that can wear down the material over time. When deflating, fold the seat carefully along its natural creases rather than crushing it into a tight ball. This reduces stress on the vinyl and helps the seat retain its shape.
For families who travel frequently, carrying a small repair kit in the car can be a lifesaver. Include a patch, adhesive, and a small bottle of soapy water. If you're using a BubbleBum seat, consider pairing it with the Totebook Kids Dry Erase Travel Activity Book to keep your child entertained while you check the seat's condition during rest stops. A little proactive care goes a long way in ensuring your booster seat stays reliable trip after trip.
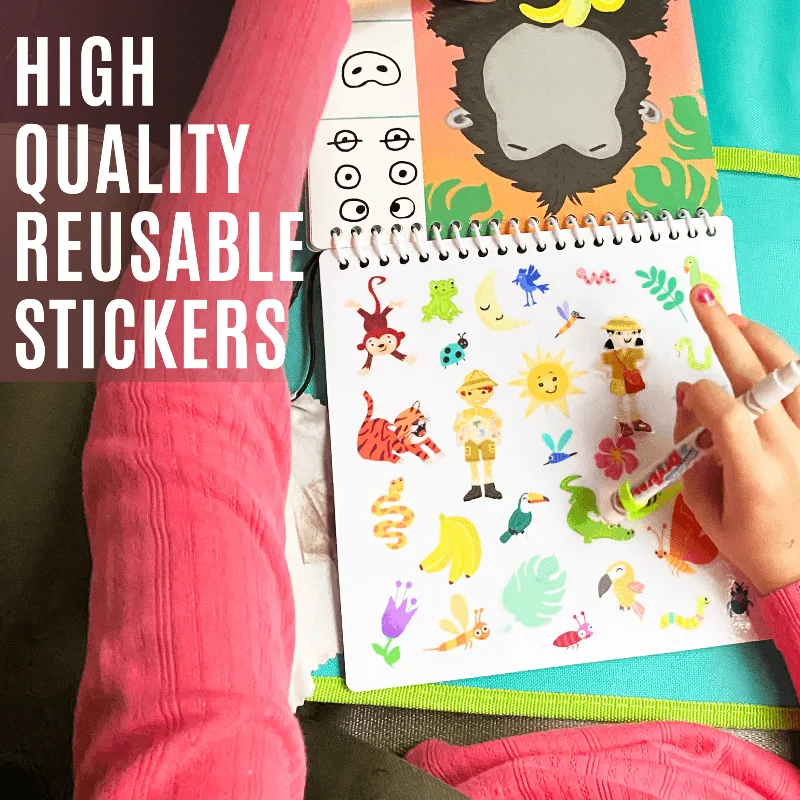
Totebook Kids Dry Erase Travel Activity Book
- Avoid storing the seat in extreme temperatures, as heat can weaken the vinyl.
- Teach older children not to play with the inflation valve to prevent accidental damage.
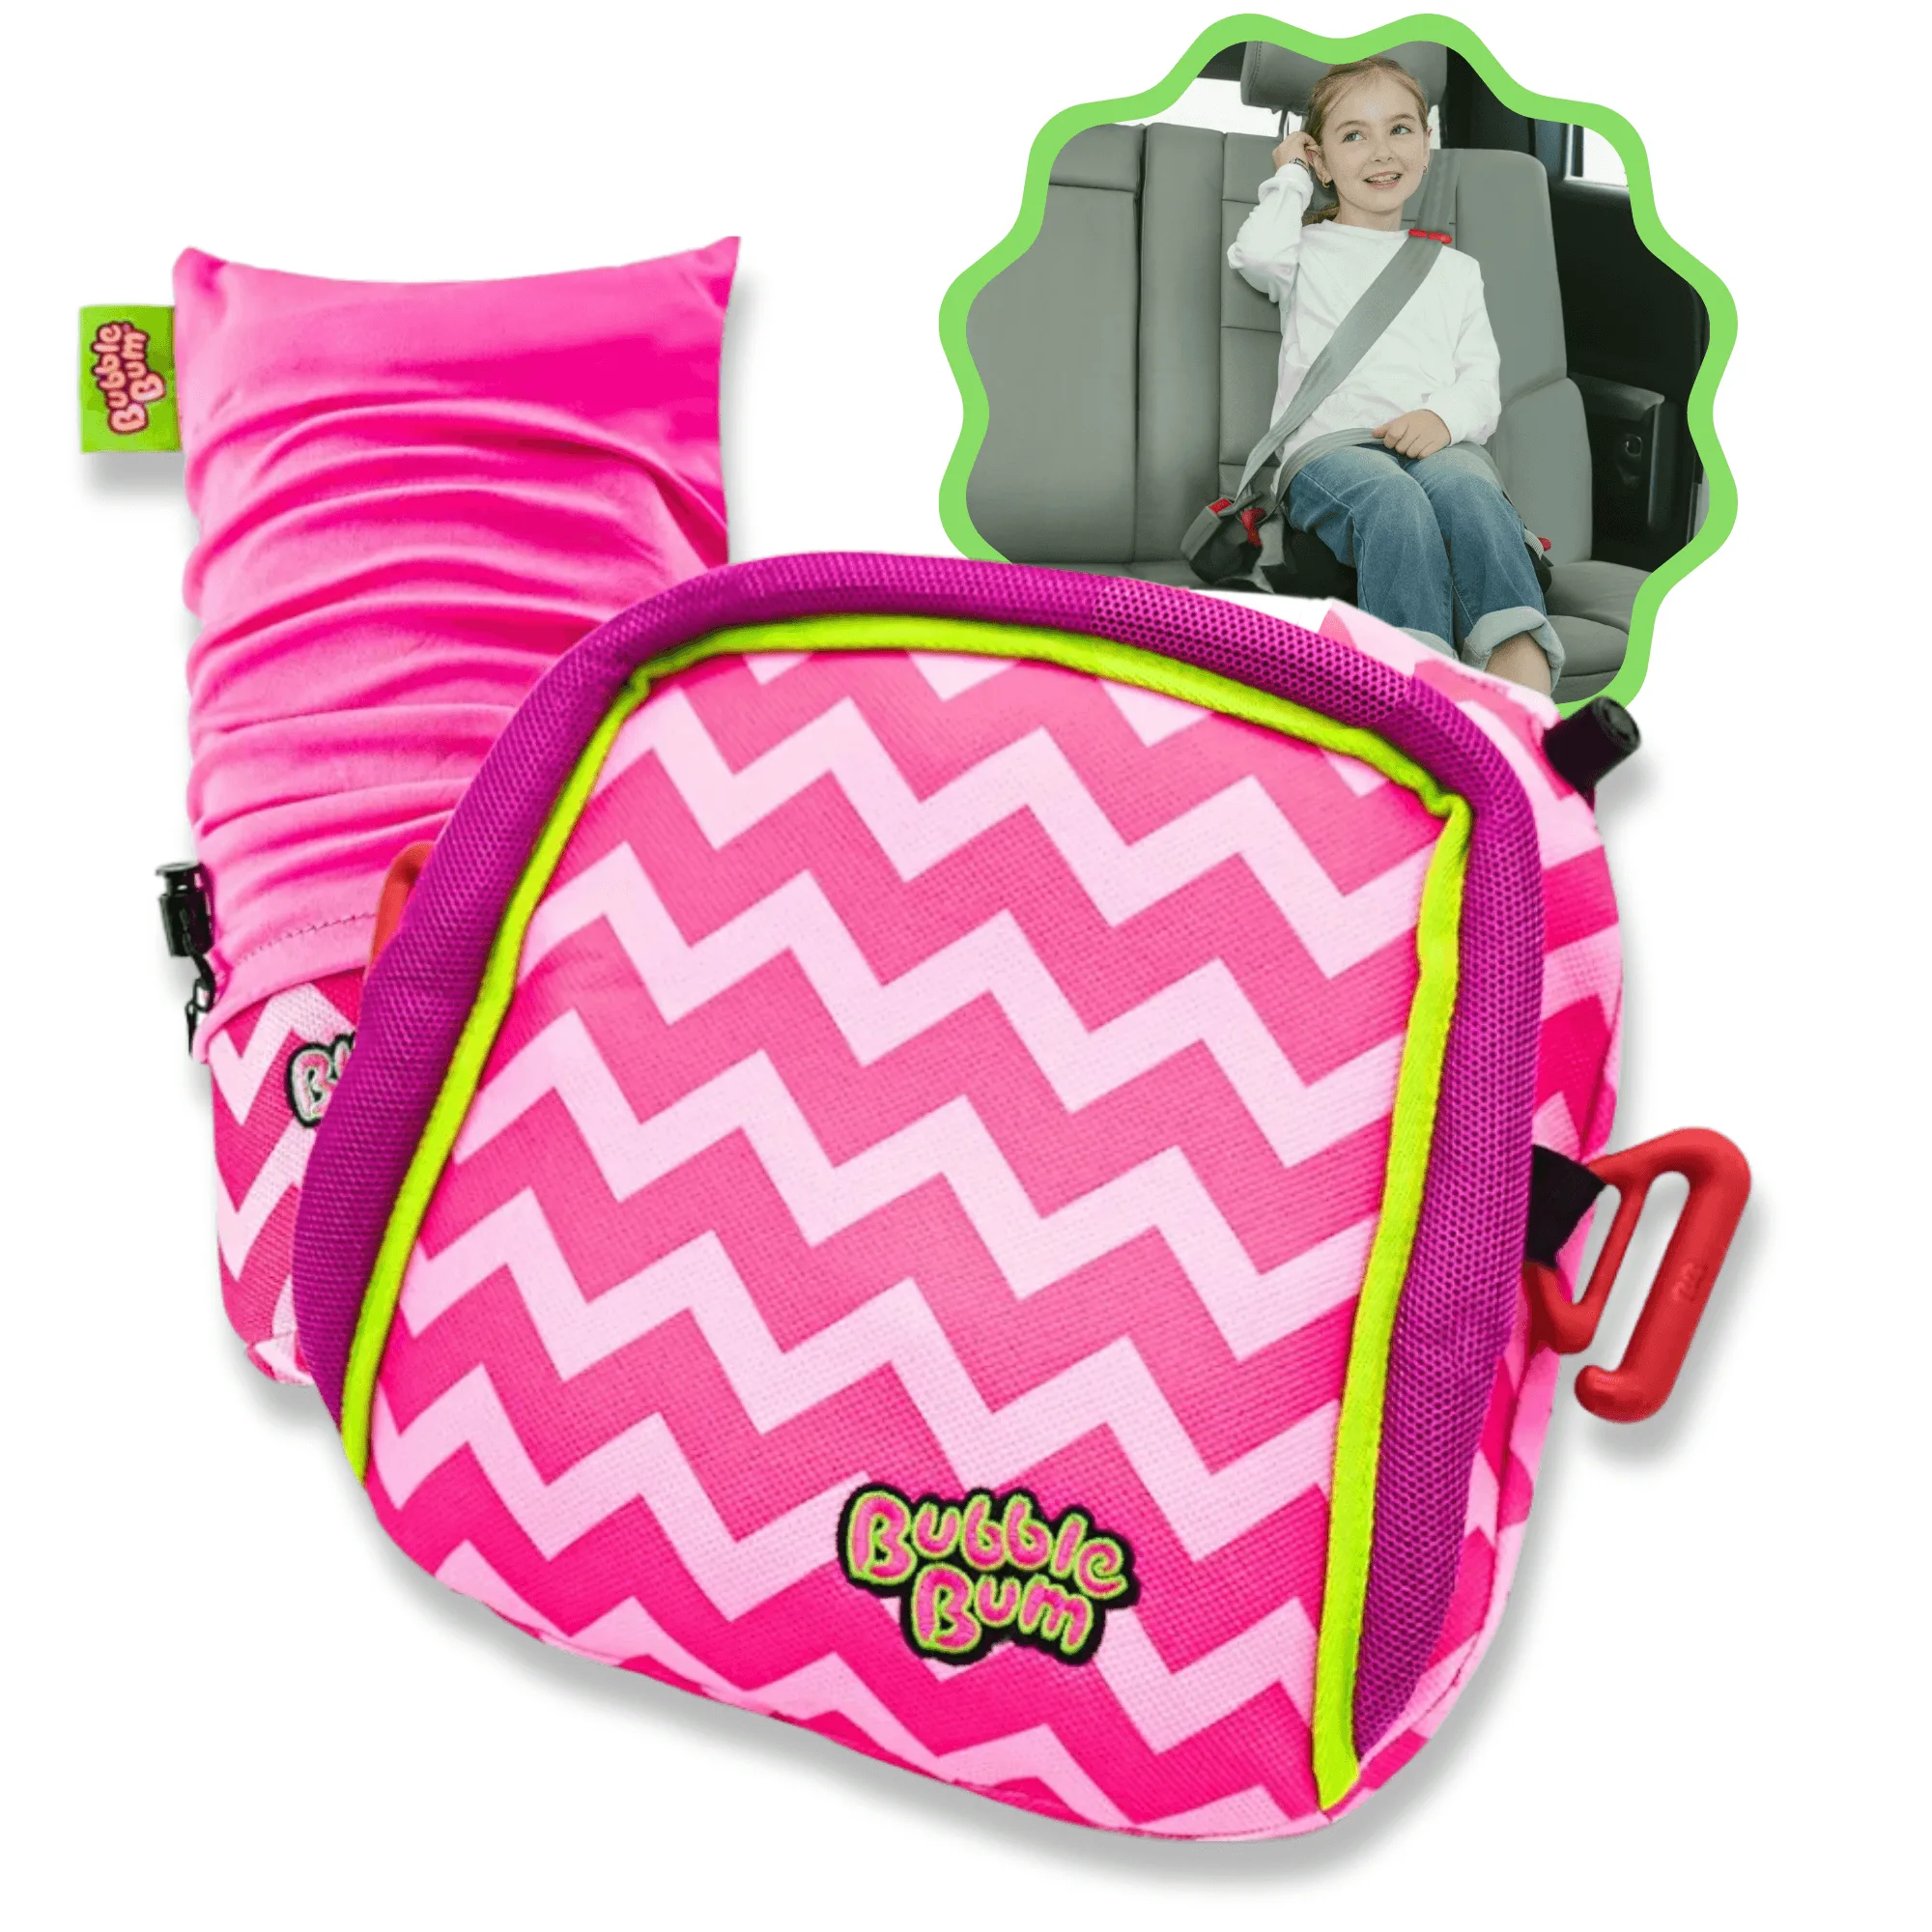
A leaky inflatable booster seat doesn't have to mean the end of its useful life. With a simple soapy water test, a quality patch, and a bit of patience, you can fix most punctures in under an hour. For those times when a repair isn't possible, BubbleBum makes it easy to find a replacement that meets the same high safety standards. Explore the BubbleBum Inflatable Car Booster Seat - Travel Booster Seat - Rainbow Style for a fun, reliable option that your kids will love and you can trust.