Quick Answer
Build the Flakpanzer IV Möbelwagen with confidence by following a logical assembly order, using the included parts wisely, and applying paint in thin layers to bring out the details.
Why the Möbelwagen is a Great First Armor Project
The Flakpanzer IV Möbelwagen was the Wehrmacht's first dedicated anti-aircraft tank, and its model kit offers a manageable build with rewarding details. The rotating turret and two decal variants give you room to customize without overwhelming complexity.
Because the kit includes basic colors, glue, and brushes, it's a solid choice if you're new to armor modeling or want a weekend project. The injection-molded track sections save you from fiddly individual links, while still allowing a realistic sag if you assemble them carefully.
Step-by-Step Assembly and Painting
- Prepare and Dry-Fit: Clean the parts from the sprue using a hobby knife or sprue cutter. Dry-fit major components like the hull and turret to see how they align before applying glue. Common mistake: forcing parts that need a little sanding, which can cause gaps. Keep a small file or sanding stick handy to smooth attachment points.
- Assemble the Lower Hull and Suspension: Follow the instructions to build the hull bottom, road wheels, and drive sprockets. Ensure the wheels rotate freely if you want to pose the model later. Common mistake: gluing wheels out of alignment, making the track sit unevenly. Use a square or straight edge to check wheel alignment before the glue sets.
- Build and Attach the Track Sections: Assemble the injection-molded track sections according to the manual. Attach them around the wheels, allowing a slight sag for realism. Common mistake: making the track too tight, which flattens the wheels and looks unnatural. Test the fit with a dry run before applying glue to the track ends.
- Construct the Turret and Gun: Build the rotating turret with the 3.7cm Flak gun. Choose between the two turret variants as shown in the instructions. Common mistake: gluing the turret ring before checking that it rotates smoothly. Sand the turret ring lightly to ensure a snug, movable fit.
- Prime and Paint: Apply a primer, then paint the model in thin layers using the included basic colors. Use a brush with even strokes and let each coat dry. Common mistake: applying thick paint that hides panel lines and rivets. Thin your paint slightly with water or thinner for a smoother finish.
- Add Decals and Weathering: Apply one of the two decal variants using decal setting solution if available. After they dry, add a wash or dry-brush to highlight details. Common mistake: applying decals over a glossy surface without setting solution, causing silvering. Seal the decals with a matte varnish to protect them and unify the finish.
Kit Highlights
-
Model Set Flakpanzer IV "Möbelwagen" 3.7cm Flak: The kit features a rotating turret with two variants and an injection-molded track with sections. You can pose the turret for display or action, and the track sections simplify assembly while giving a realistic look when painted.
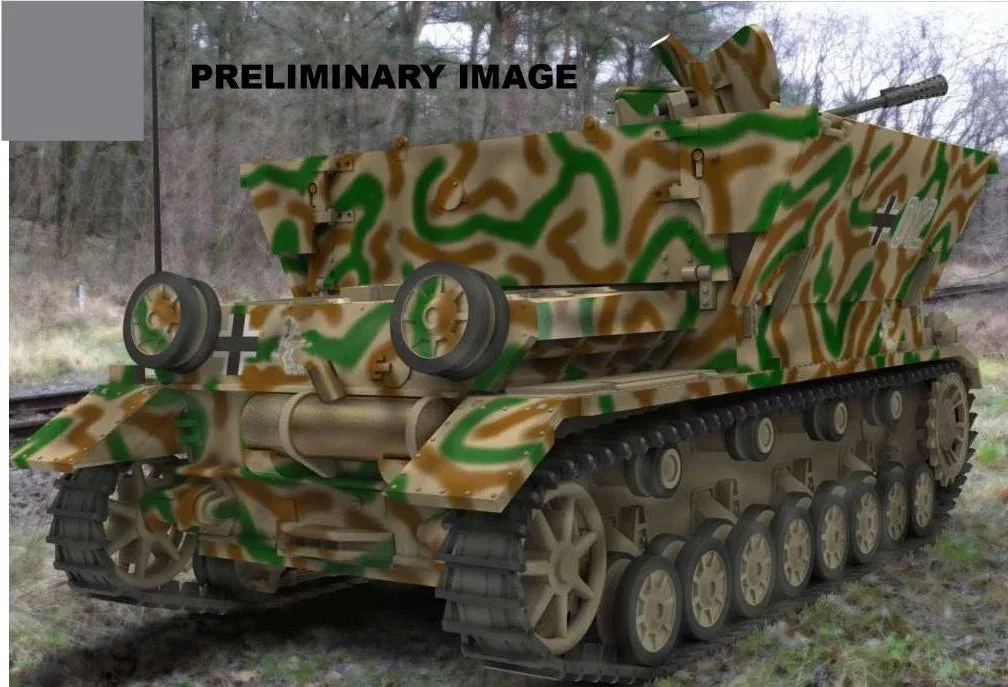
Model Set Flakpanzer IV "Möbelwagen" 3.7cm Flak