Quick answer
Start with one pre-punched felt animal, a plastic needle, and a short thread, then sew the perimeter with a simple running stitch before adding googly eyes. Keep sessions short and let your child finish one animal before opening the next.
Why pre-punched felt changes the beginner experience
The 12-Piece Beginner Sewing Kit uses felt with pre-punched holes, which removes the two hardest parts of a first sewing project: holding stiff fabric steady and finding where the needle should go. That means a child can focus on the motion of stitching rather than on measuring or pinning.
The trade-off is that pre-punched holes limit the shapes your child can sew to the supplied animals. If your child wants to invent a new creature, this kit is a starting point rather than an open-ended craft supply.
Set up a workspace that prevents the most common frustration
A cleared table, good lighting, and a small tray for loose googly eyes make a bigger difference than any instruction. Keep the storage box open beside the work area so finished pieces and unused felt do not get mixed together.
Safety scissors in the kit are for trimming thread and felt edges, not for cutting the pre-punched holes wider. If your child is still learning to control scissors, an adult should handle any cutting.
How to sew a forest animal: step by step
- Choose one animal and lay out its felt pieces: Open the storage box and take out only the felt pieces for one animal. Match the pre-punched holes along the edges so the front and back line up before threading a needle. Checkpoint: both felt layers should sit flat with holes aligned; if they do not, flip one piece over.
- Thread the plastic needle with a short length of thread: Cut a piece of colorful thread about the length of your child's forearm and thread the plastic needle. Tie a small knot at one end, or double the thread and knot the ends together if your child prefers a loop. Common mistake: using thread that is too long, which tangles easily; keep it short and rethread as needed.
- Sew a running stitch around the edge: Show your child how to push the needle through one hole and out the next, then repeat around the perimeter. Leave a small gap unsewn so the animal can be stuffed lightly if you choose, or sew it closed for a flat toy. Checkpoint: stitches should sit flat without pulling the felt out of shape; if the felt bunches, loosen the thread.
- Add googly eyes before closing the last gap: Place the googly eyes on the front felt piece and check the position before attaching them. Use a small dot of glue or a few stitches through the holes if the eyes have them, then finish sewing the remaining edge. Common mistake: attaching eyes after the animal is fully sewn, which makes it harder to reach the inside of the front piece.
- Finish and store the animal in the box: Knot the thread on the inside and trim the tail. Place the finished animal back in the storage box and tidy the needle and scissors before starting another. Checkpoint: give the animal a gentle tug to confirm the knot holds; if it slips, re-knot with a double knot.
Product facts
-
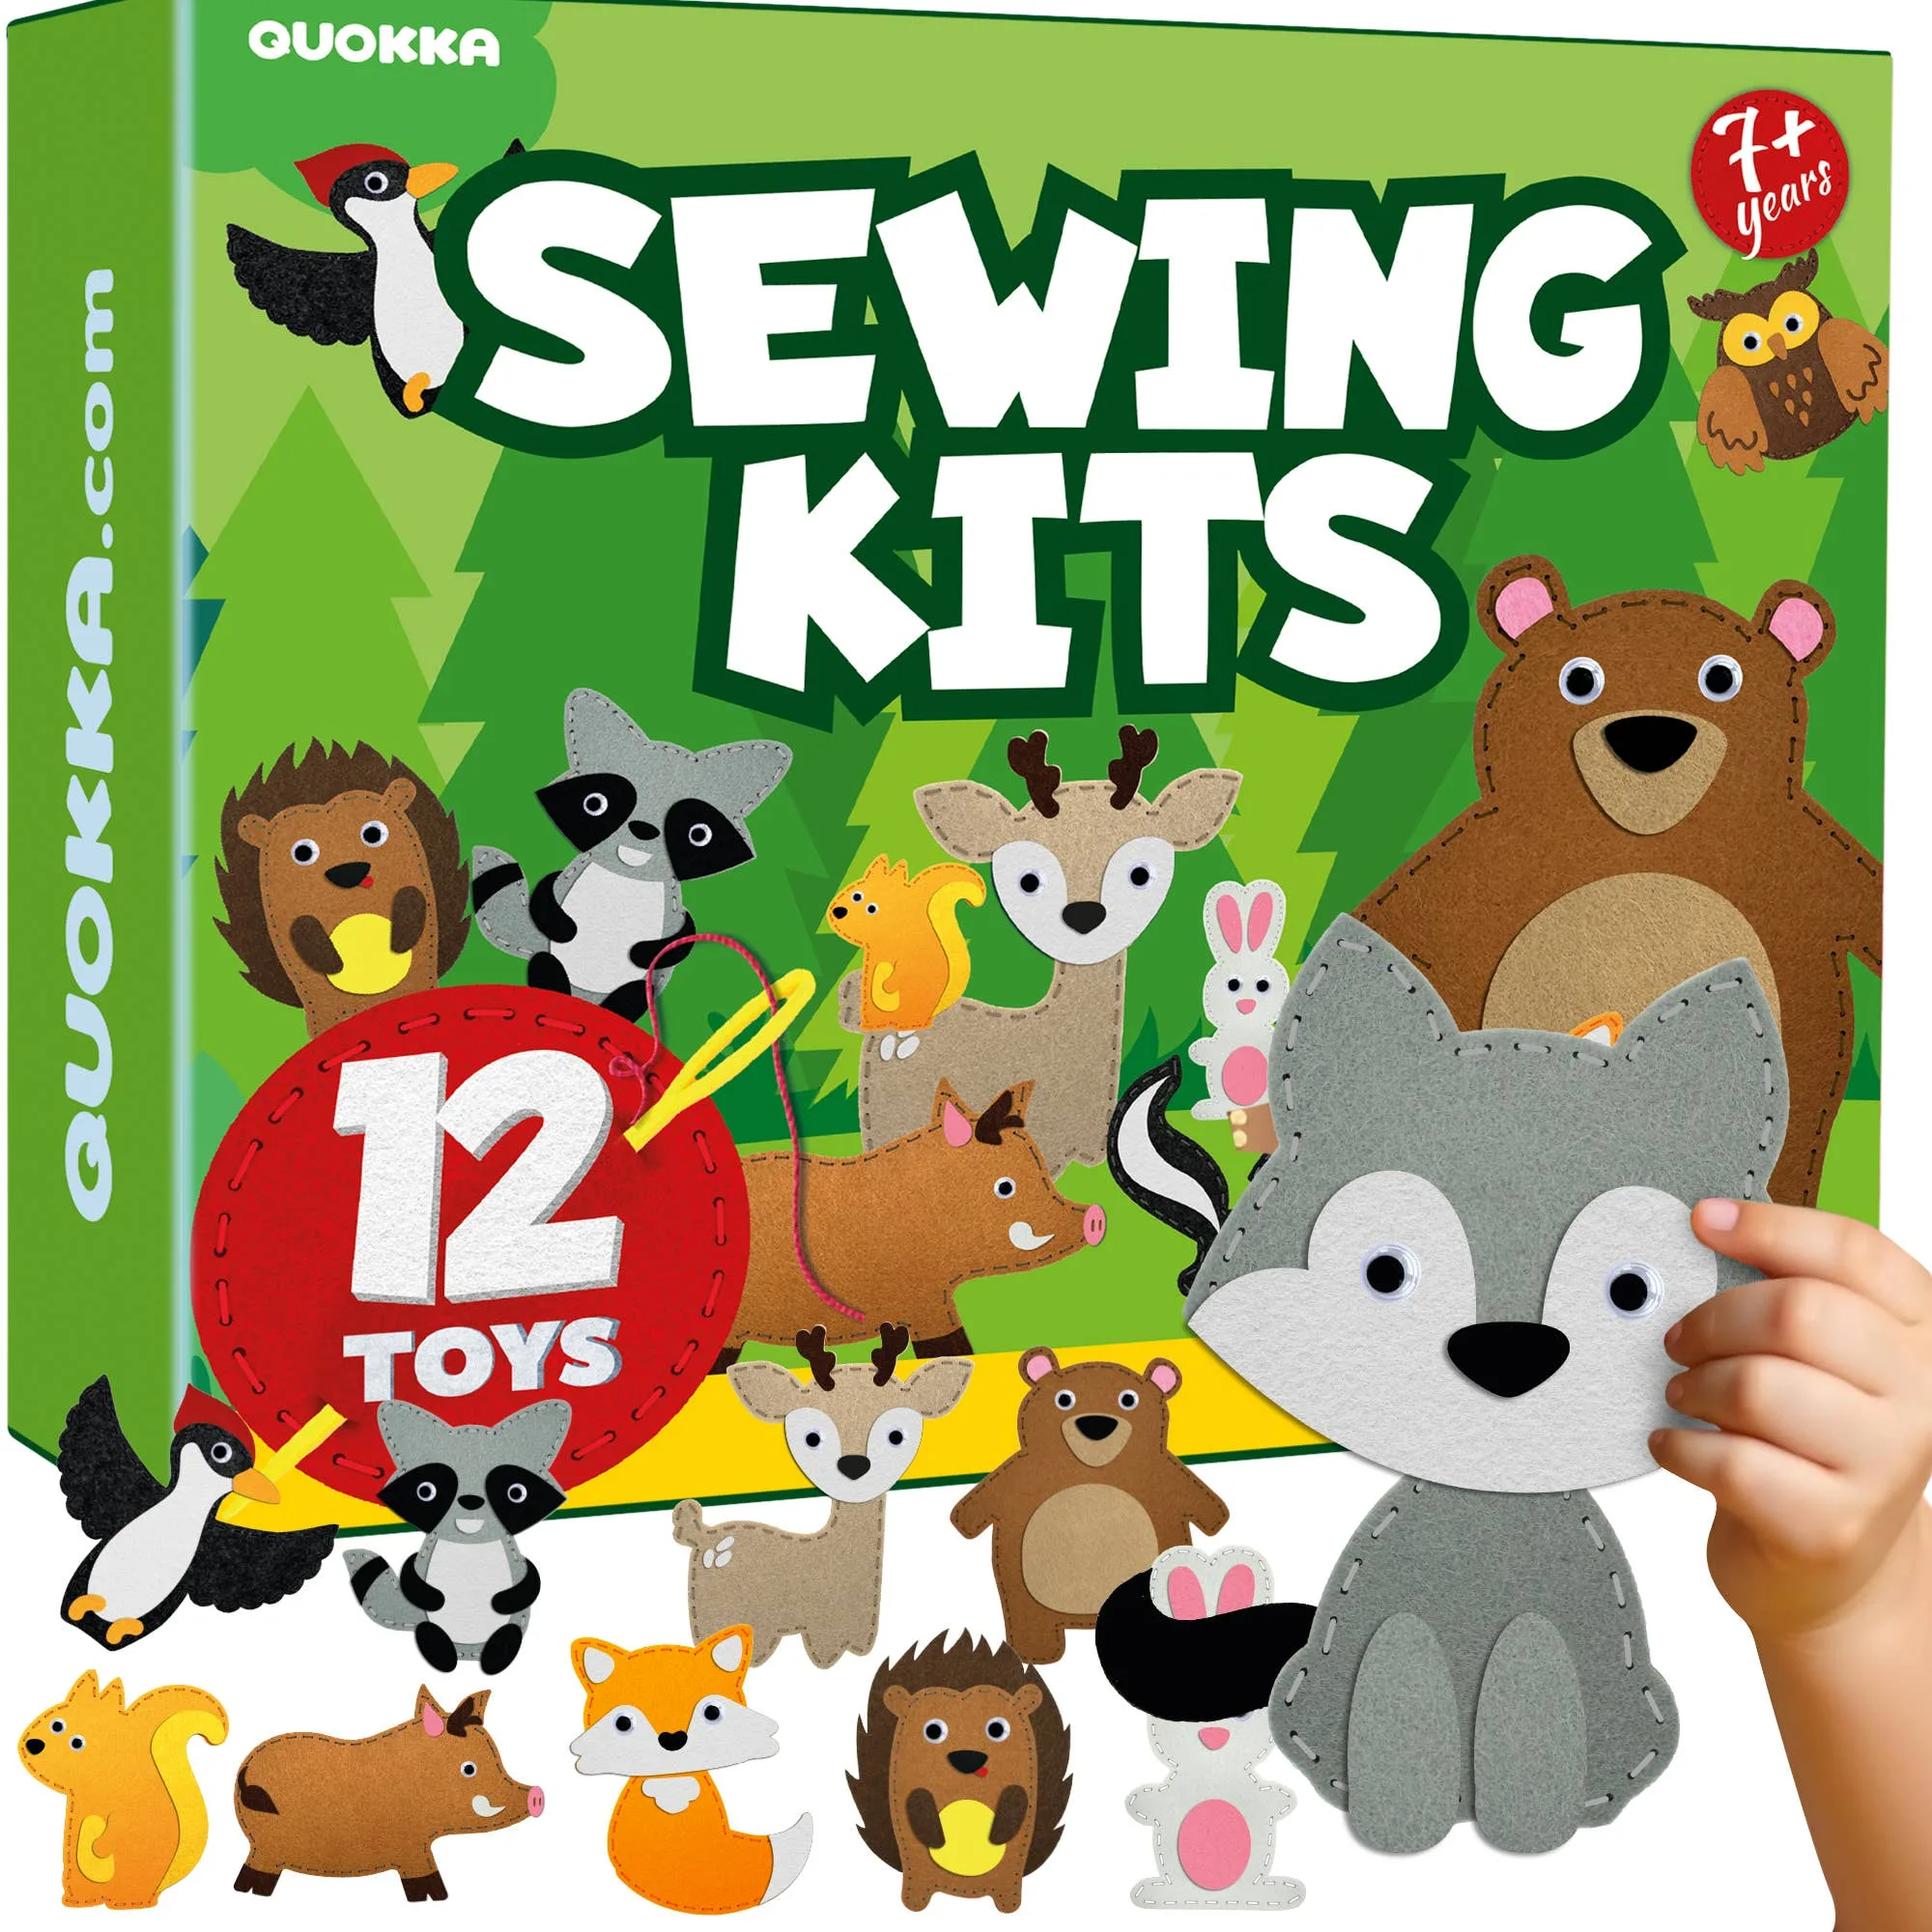
Craft Kits for Kids - 12 Forest Animals Sewing Kit: Includes 12 jumbo-sized felt forest animals with pre-punched holes, plastic needles, colorful thread, googly eyes, and safety scissors in a storage box. Everything needed for a first hand sewing project is in one box, so you can start with one animal without hunting for supplies.
Craft Kits for Kids - 12 Forest Animals Sewing Kit