Quick answer
Inspect your 21-inch friction baton at the start of every shift: extend it fully, check each shaft for dents or rust, wipe off grit, and apply a thin film of lubricant only where the catalog specifies. A two-minute daily routine prevents most deployment failures.
Why daily care matters more than occasional deep cleaning
Friction batons rely on precise metal-to-metal contact to stay locked open. Grit, dried lubricant, or a tiny burr on a shaft can interrupt that friction and cause a baton to fail to extend or collapse when you need it. Daily checks catch these problems before they become reliability issues.
The ASP Friction Baton, 21" is built for hard use, but it is not maintenance-free. The catalog notes that it expands by sharply flicking the baton straight up or straight down. That deployment method puts stress on the shaft surfaces and the locking mechanism, so regular attention to those areas pays off.
Know which parts wear and what to look for
The main wear points on a friction baton are the shaft surfaces, the tip, and the handle grip. Shafts can develop scratches, dents, or rust that increase friction or prevent full extension. The tip can become loose or worn, and the grip can degrade from sweat and abrasion.
You do not need to disassemble the baton for a daily check. Visual inspection and a slow, controlled extension will reveal most issues. If you notice deep gouges, a bent shaft, or a tip that wobbles, stop using the baton and have it serviced by a qualified armorer.
Daily inspection and care steps
- Extend and lock the baton: Hold the handle firmly and flick the baton straight down (or up, depending on your technique) to fully extend all shafts. Listen for a solid lock and feel for any hesitation. Common mistake: flicking at an angle, which can cause partial extension and misleading friction. If the baton does not lock consistently, clean and lubricate before your next shift.
- Inspect each shaft for damage: Run your fingers along each shaft (with the baton collapsed) to feel for dents, burrs, or rough spots. Look for rust or deep scratches. Common mistake: ignoring small burrs that can worsen with use and interfere with the friction lock. Any shaft with a noticeable dent or burr should be tagged out for armorer review.
- Clean the shafts and tip: Wipe each shaft with a clean, dry microfiber cloth to remove grit, moisture, and old lubricant. Pay attention to the tip and the area where shafts meet. Common mistake: using solvent-based cleaners that can strip lubricant or damage finishes. Use only a dry cloth for daily cleaning; save deeper cleaning for weekly maintenance.
- Apply lubricant sparingly: If the baton feels dry or sticky, apply one or two drops of the lubricant recommended by the manufacturer to the shaft surfaces and work the baton open and closed a few times. Wipe off any excess. Common mistake: over-lubricating, which attracts dust and can cause the baton to feel sluggish. A thin, even film is enough; visible wetness means you used too much.
- Check the tip and grip: Twist the tip to ensure it is secure and inspect the grip for cracks or excessive wear. Common mistake: overlooking a loose tip, which can separate during deployment. Replace a worn tip or grip promptly; do not rely on temporary fixes.
- Collapse and function test: Collapse the baton by striking the tip straight down on a hard surface (per your training) and confirm it retracts fully. Then extend it once more to ensure smooth operation. Common mistake: forcing a stuck baton, which can damage the locking mechanism. If the baton binds during collapse, stop and inspect for debris or damage before storing.
Product facts
-
Friction Baton, 21": Friction Batons expand by sharply flicking the baton straight up or straight down to extend the inner shafts. Practice this deployment motion during inspection so you can confirm the baton locks open smoothly and without excessive force.
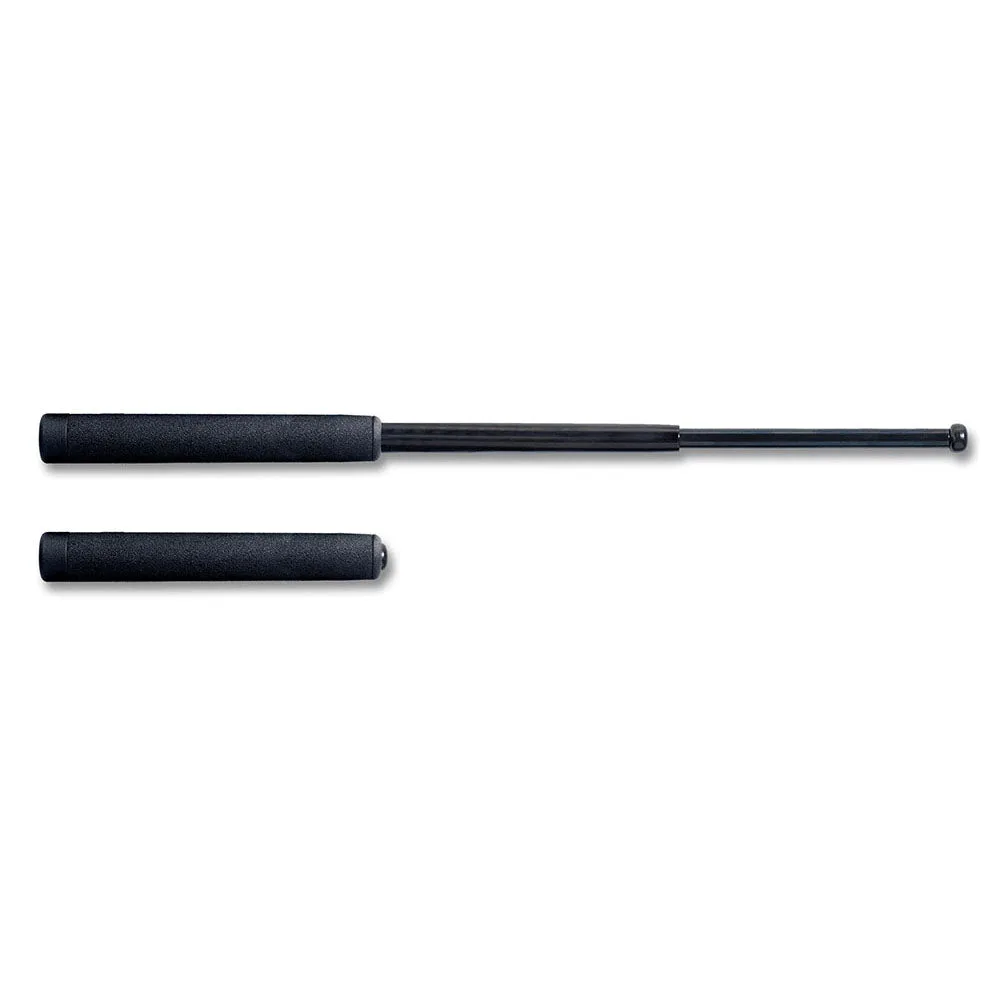
Friction Baton, 21"