Quick answer
Replace your fuel filter every 20,000 to 30,000 miles, or sooner if you see hard starting, hesitation, or a drop in fuel pressure. If your car uses an in-tank filter, the job usually means dropping the tank or accessing it under the rear seat. Always relieve fuel pressure and work with a cold engine before opening any fuel line.
A clogged fuel filter is one of the few maintenance items that can quietly rob power, trigger lean codes, and eventually strand you. The tricky part is that the right fuel filter interval depends on your fuel system design, not just mileage. Port-injected cars with an external canister filter are straightforward. Returnless and in-tank systems hide the filter inside the pump module, which changes both the https://deatschwerksevz.com/products/6-02-1006-7a13ff8544cc267e065c3400-2678010https://deatschwerksevz.com/products/6-02-1007-b0ccfd66fb95c83cd8aca3e4-2678153tools and the time involved.
This guide covers how to change a fuel filter safely, what symptoms justify doing it early, and the checkpoints that separate a clean install from a comeback. It applies to common external canister filters and to in-tank filters you reach through the pump module. If you are also upgrading the pump, the same access steps apply.
How often should you replace a fuel filter?
Most manufacturers list a fuel filter interval between 20,000 and 30,000 miles for external canister filters. Some newer cars call the in-tank filter a lifetime part, but lifetime assumes clean fuel and a healthy pump. If you regularly buy fuel from stations with older tanks, tow, or drive in dusty conditions, shortening that interval to 15,000 to 20,000 miles is reasonable.
Mileage is only one signal. Hard cold starts, surging under load, a whine from the pump, or lean bank codes on a scan tool all point to restricted flow. Check fuel pressure before and after the filter if you have a gauge. A pressure drop across the filter confirms restriction rather than a failing pump.
- External canister filter: 20,000-30,000 miles or every 2 years, whichever comes first.
- In-tank filter: follow the manufacturer interval, or replace it when you replace the pump.
- Diesel and flex-fuel vehicles often need shorter intervals because of fuel contamination and water absorption.
Signs your fuel filter is clogged
A restricted filter starves the engine under demand, so symptoms show up first during acceleration or on hills. You may feel hesitation, a flat spot, or a misfire that clears when you lift off the throttle. In severe cases the engine stalls at idle and restarts after sitting, because pressure slowly bleeds back through the filter.
Do not assume the filter is the only cause. A weak pump, a failing fuel pressure regulator, or a leaking injector can produce similar symptoms. Confirm with a pressure test and a look at fuel trims before you buy parts. Replacing a filter that is not restricted wastes money and does not fix the real fault.
- Hard starting when cold, then normal running once pressure builds.
- Lean codes (P0171/P0174) that appear under load, not at idle.
- A fuel pump that sounds louder than usual as it works against restriction.
Tools and parts to have ready
You need a new filter, new crush washers or O-rings if your fittings use them, a fuel line disconnect tool for quick-connect fittings, and a container for spilled fuel. Add a fire extinguisher and safety glasses. Work outdoors or in a well-ventilated space, and never open a fuel line near a water heater, space heater, or any open flame.
If your car has an in-tank filter, you also need a fuel pump module gasket or O-ring, a brass drift or spanner for the lock ring, and a torque wrench for the module retaining ring. Check whether your module uses a separate fuel filter cap, because some designs let you replace the filter without pulling the whole module.
- Confirm the filter part number against your VIN, not just the model year.
- Buy new sealing washers; reusing old ones is a common leak source.
- Have a labeled container ready for the fuel you drain from the line.
Step-by-step fuel filter replacement
Relieve fuel pressure before you touch anything. Pull the fuel pump fuse or relay and crank the engine for a few seconds until it stalls, then disconnect the battery ground. On returnless systems, expect residual pressure in the line; wrap a rag around the fitting when you crack it loose. Skip this step and you will get a face full of fuel.
For an external filter, note the flow direction arrow on the old filter and match it on the new one. Loosen the fittings with a flare wrench to avoid rounding the nuts, then remove the filter and drain it into your container. Install the new filter with new washers, hand-tighten the fittings, then torque to spec. Do not overtighten; you can crack the filter housing or strip the fitting.
For an in-tank filter, access the module through the rear seat or tank opening, clean the area around the lock ring, and remove the ring with a brass drift. Lift the module slowly to drain fuel back into the tank, then separate the filter from the module. Replace the filter, the module O-ring, and any fuel filter cap O-ring. Reassemble, reconnect the battery, and prime the system by cycling the key several times before starting.
- Match the flow arrow; a reversed filter restricts flow immediately.
- Use a flare wrench on fuel fittings to prevent rounded nuts.
- Lubricate new O-rings with a drop of clean engine oil before assembly.
Checkpoints after the install
Turn the key to run without starting and listen for the pump to prime. Do this two or three times, then check every connection you touched for weeping fuel. Start the engine and let it idle while you watch the fittings. A small seep will show up within a minute if a washer or O-ring is not seated.
Take a short drive and recheck for leaks and for the symptoms you were chasing. If hard starting or hesitation persists, measure fuel pressure again. A new filter that does not change the pressure reading points to a pump or regulator issue, not the filter.
- Prime the system before cranking to avoid a dry start.
- Recheck fittings after the first heat cycle; thermal expansion can reveal a seep.
- Dispose of old fuel and the used filter at a hazardous waste facility.
Fuel filter replacement steps at a glance
- Relieve pressure and disconnect the battery: Pull the fuel pump fuse or relay, crank until the engine stalls, then disconnect the ground cable. Checkpoint: no fuel spray when you crack the first fitting.
- Locate the filter and note flow direction: External canister filters sit under the car; in-tank filters are inside the pump module. Mark the arrow on the old filter. Checkpoint: new filter arrow points the same way as the old one.
- Remove the old filter and drain it: Use a flare wrench on fittings and a disconnect tool on quick-connects. Catch fuel in a labeled container. Checkpoint: no rounded fitting nuts and no spilled fuel near ignition sources.
- Install the new filter with fresh seals: Fit new washers or O-rings, hand-tighten, then torque to spec. Lubricate O-rings with clean oil. Checkpoint: fittings snug, not overtightened.
- Prime and leak-check: Cycle the key two or three times, then start the engine and watch every connection you touched. Checkpoint: no weeping at any fitting after one minute of idle.
- Test drive and recheck: Drive normally, then inspect fittings again after the first heat cycle. Recheck fuel pressure if symptoms persist. Next step: if pressure is still low, test the pump and regulator before replacing more parts.
Parts that pair with a fuel filter job
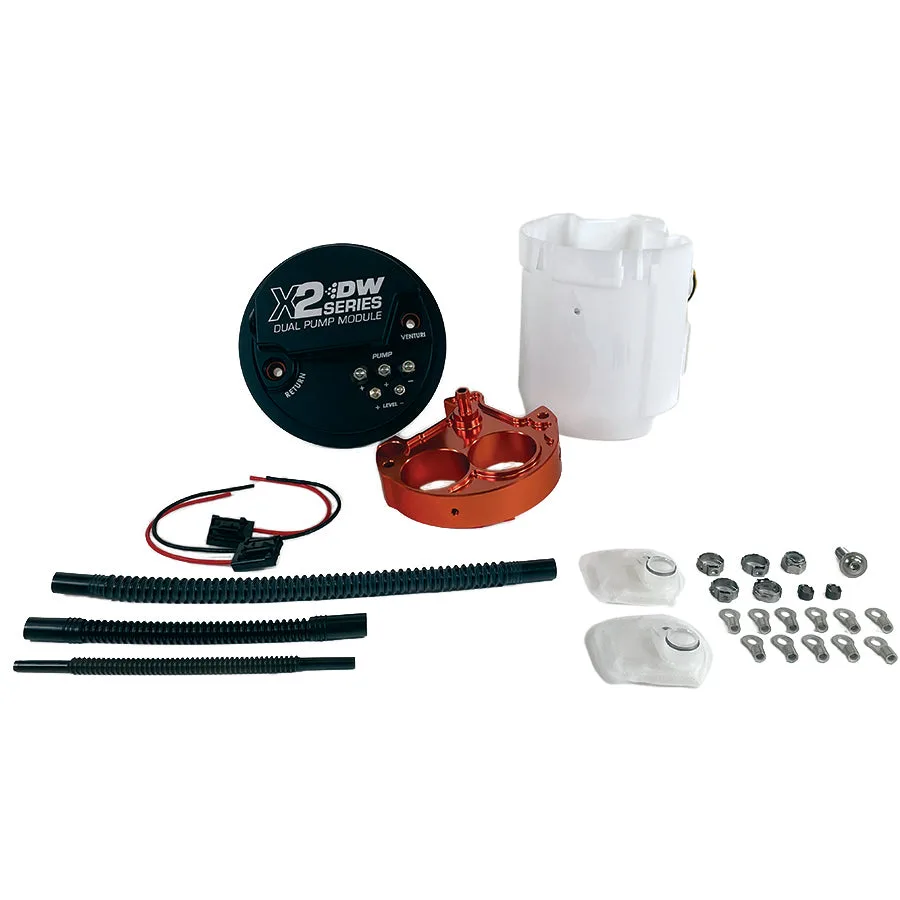
- DW300C Fuel pumps for Ford Lightning: DW300C series, 340lph compact fuel pump with install kit for 99-04 Ford Lightning and 02-03 Harley F150 (dual pumps). If your Lightning needs both a filter and a pump, this kit includes the install hardware so you are not hunting for separate pieces during the same access job.
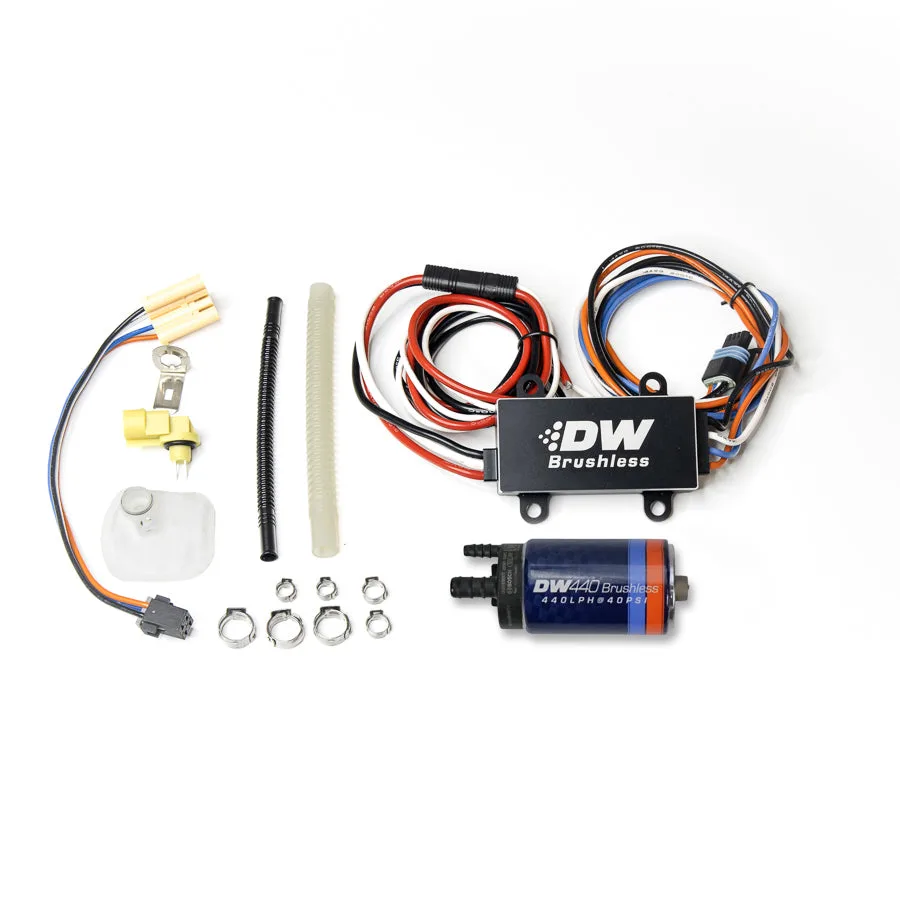
- DW440 Brushless Fuel pump w/2-speed controller for S550/S650 Mustang: 440lph in-tank brushless fuel pump plus single/dual speed controller with 9-0906 install kit for 2015+ Ford Mustang and F-150. On these cars the filter lives in the tank, so replacing the pump and filter together saves a second teardown.
Fuel filter replacement is a straightforward job once you know whether your filter is external or in-tank. Follow the interval, confirm the diagnosis with a pressure test, and treat every fitting as a potential leak point. Do that, and you will restore clean fuel flow without creating a new problem.