Quick answer
Upgrade the fuel rail when you need more flow capacity, a different injector fitment, or a cleaner feed and return layout for your power target. Match the rail to your intake manifold, injector body length and O-ring type, and the line size you already run. If your stock rail already feeds your injectors without pressure drop, spend the money on injectors, pump, and filtration first.
A fuel rail looks simple: a tube that holds injectors and feeds them fuel. In practice, it sets how evenly each injector sees fuel, how easily you can change injectors, and whether your feed and return lines fit without adapters that leak. That is why a fuel rail upgrade shows up in so many builds, and why it can also be the part that causes the most fitment headaches.
This guide gives you decision rules instead of a parts list. You will see when a high performance fuel rail is worth buying, how fuel rail compatibility is checked before ordering, and what a realistic fuel rail install involves. It also covers the supporting parts that usually get replaced at the same time, because a rail rarely ships as a standalone fix.
When a fuel rail upgrade actually helps
A rail upgrade is worth it when the stock rail becomes a restriction or a fitment problem. Common triggers: you are moving to larger injectors with a different body length or O-ring, you need dual feed or a return-style layout, or your intake manifold no longer accepts the factory rail. If none of those apply, the stock rail is usually fine and your money is better spent on injectors, a pump, or a filter.
Flow capacity matters most at high duty cycles. A rail that is too small for the injectors can contribute to uneven cylinder-to-cylinder fueling, especially on the end cylinders furthest from the inlet. A larger-bore rail with a proper feed location reduces that risk. It does not add power by itself, but it removes a variable that makes tuning harder.
- Upgrade for fitment first, flow second. A rail that does not fit your manifold is not an upgrade.
- If you are already at high injector duty cycle, fix fuel delivery before chasing rail flow.
How to check fuel rail compatibility before you buy
Compatibility comes down to four interfaces: the manifold or head mounting points, the injector bore and height, the injector connector and O-ring, and the inlet and outlet line size. Measure your current rail and compare bore spacing, injector seat depth, and port threads. A rail listed for your engine family is the safest starting point; a universal rail needs brackets and adapters that add leak points.
Injector choice drives rail choice more than most people expect. For example, a matched set like the 650cc Injectors for NA/NB Miata uses a specific body and O-ring, so the rail must accept that injector without spacers that change spray position. If you are mixing injectors from different sources, confirm the O-ring kit and insert before ordering the rail.
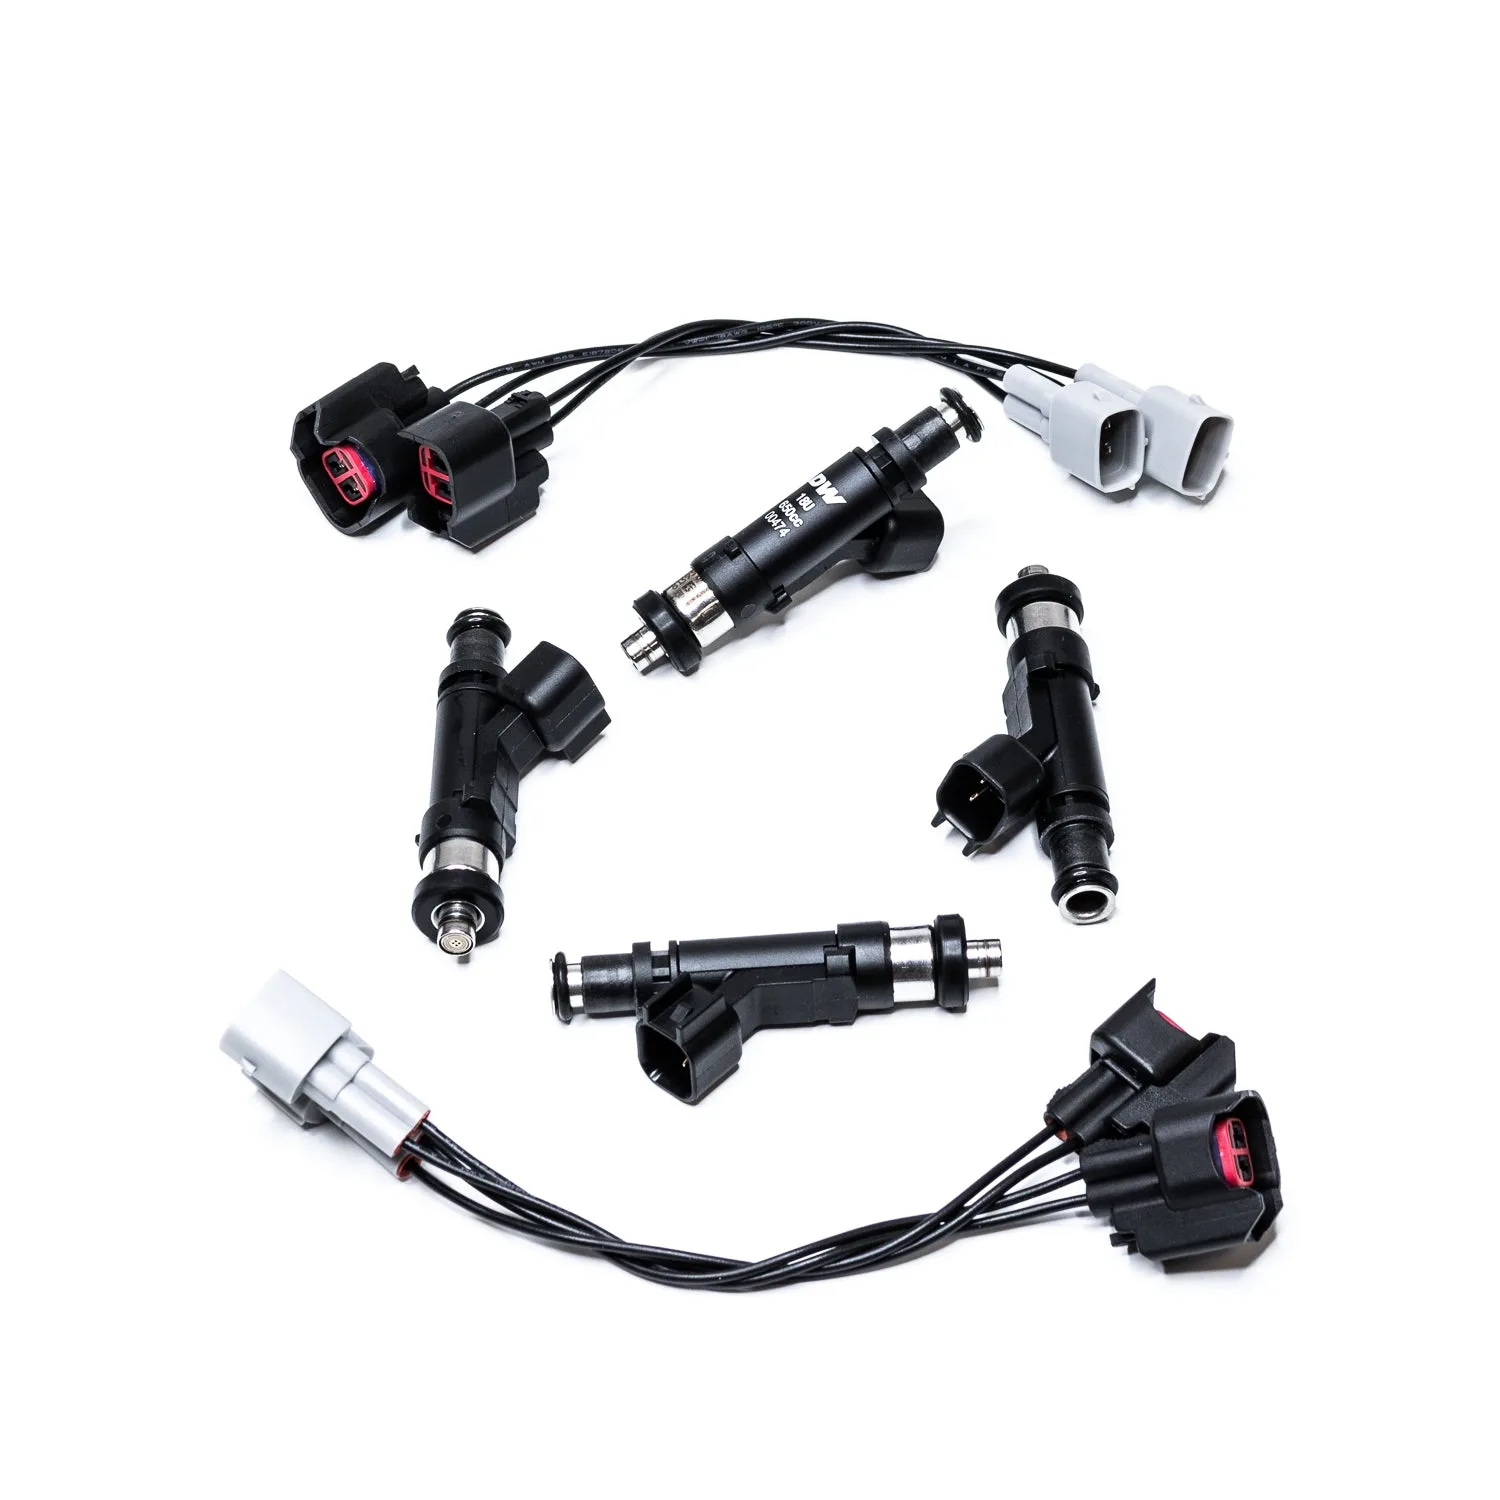
650cc Injectors for NA/NB Miata
- Photograph your current rail and injectors next to a ruler before ordering.
- Confirm thread sizes for feed, return, and any pressure gauge port.
- Check that the rail clears the intake, throttle body, and hood.
Feed, return, and line sizing decisions
Decide whether you are keeping a returnless system or converting to a return-style rail. Return-style rails give you a stable reference for the regulator and make pressure changes easier, but they require a return line and a regulator that can handle the flow. Returnless rails simplify plumbing but limit how you control pressure at the rail.
Line size should match your pump and power target. A -6 AN feed is common for mild builds; -8 AN shows up when flow demand rises. The 8AN 20Ft. of Reflective Heat Protection Sleeving is one example of a supporting part that protects a -8 AN hose from exhaust and engine bay heat, which matters more as line size and underhood temperature go up. Heat protection is not optional on a routed line near exhaust.
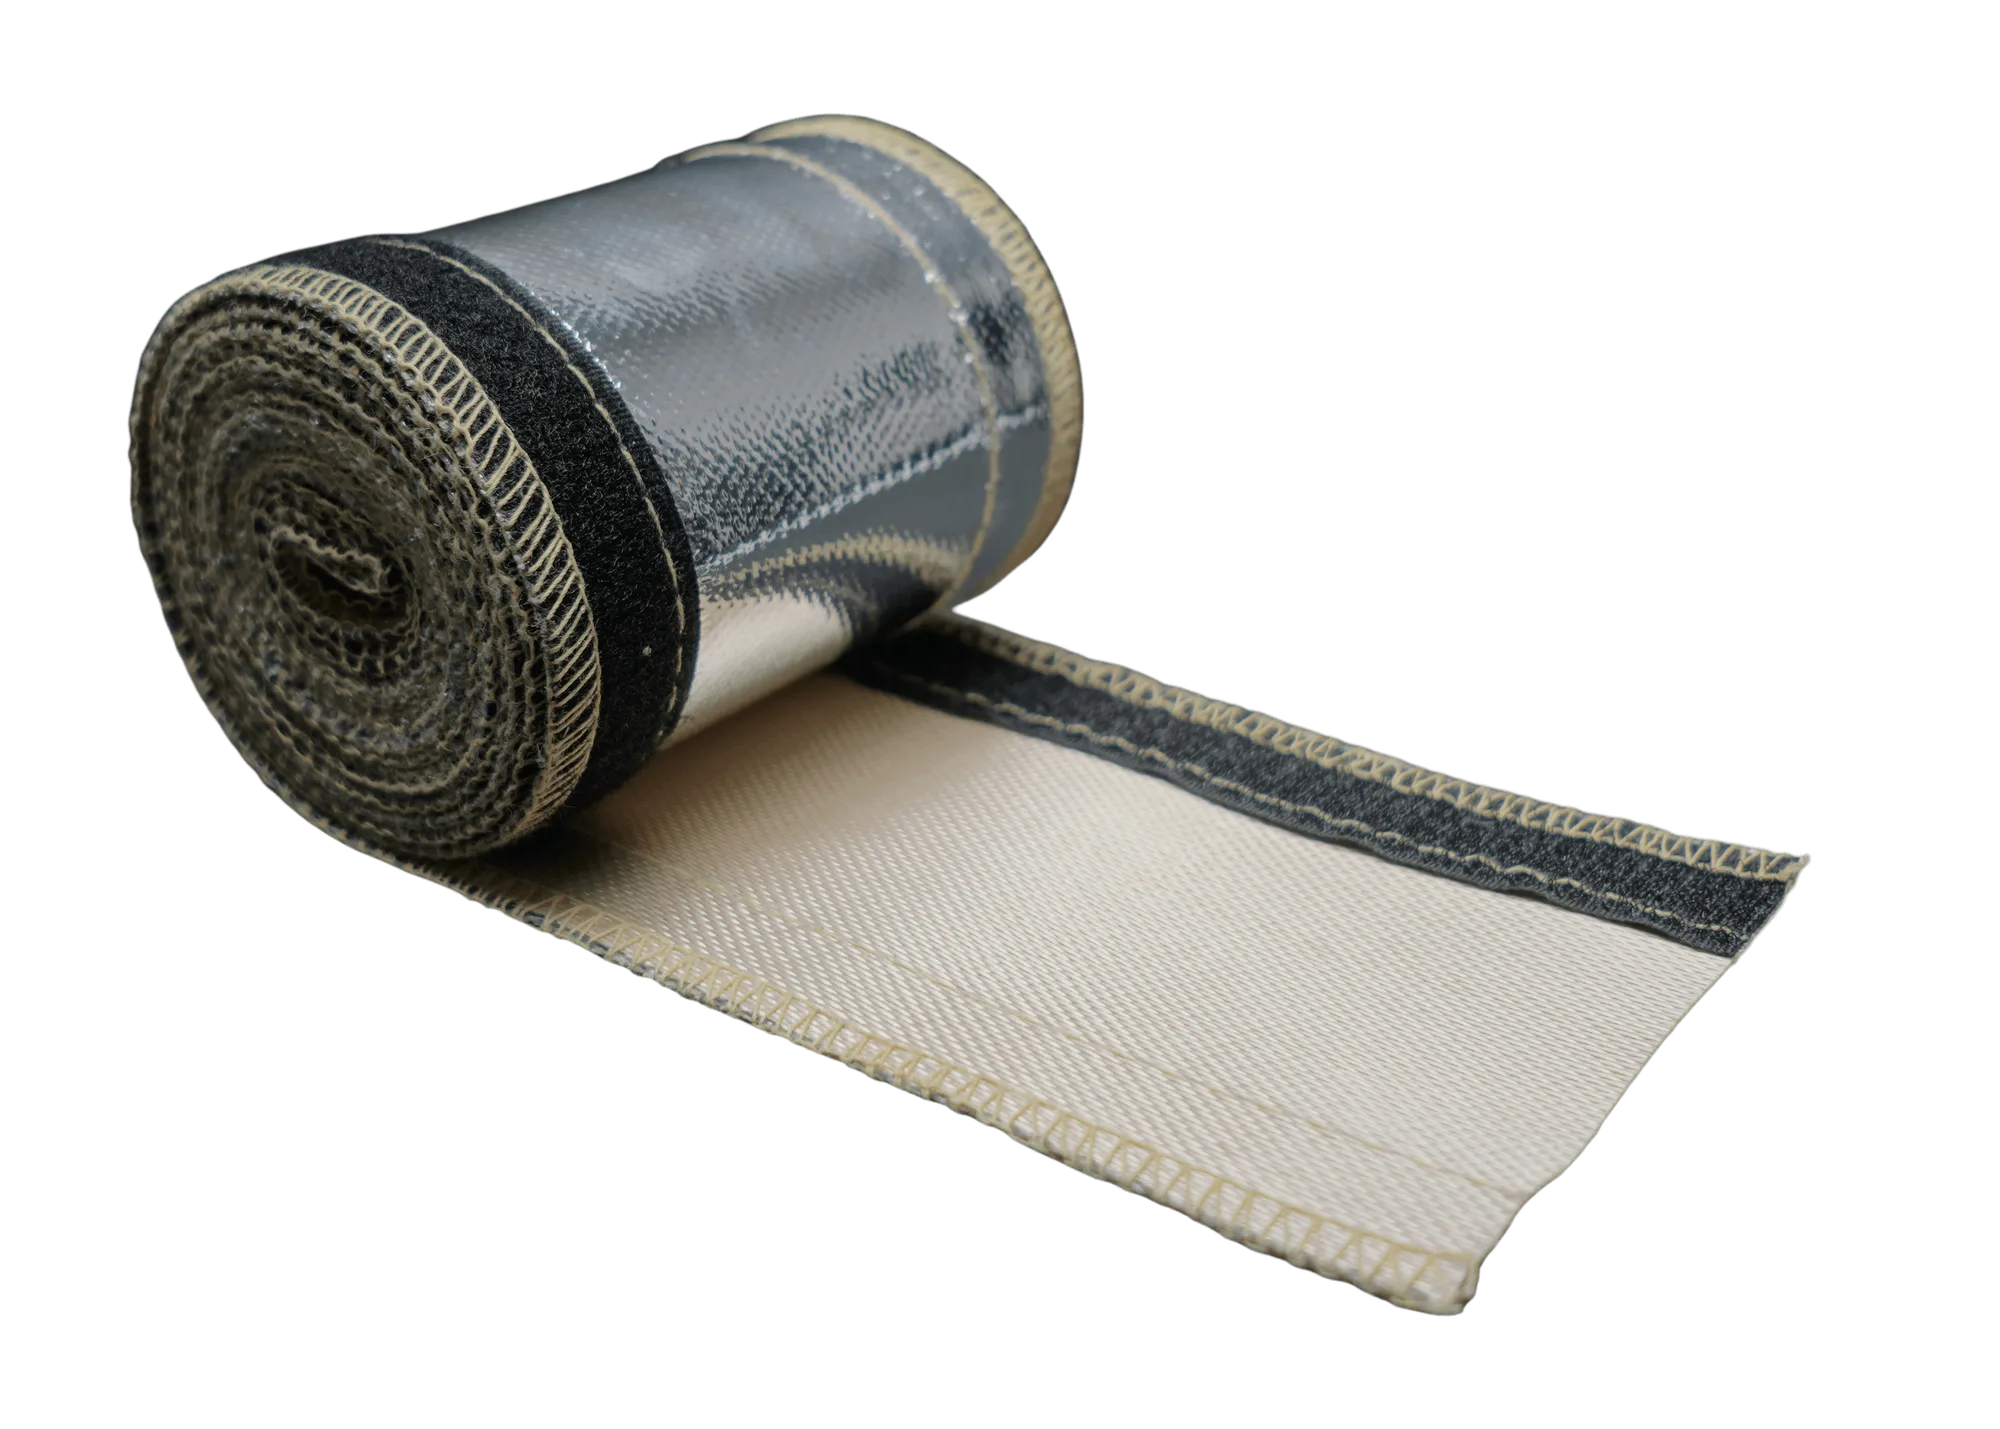
8AN 20Ft. of Reflective Heat Protection Sleeving
- Match rail port size to your existing hose and fittings to avoid adapter stacks.
- If you convert to return-style, plan the regulator location before you buy the rail.
- Use heat sleeving anywhere the line runs within a few inches of exhaust or turbo hardware.
What a realistic fuel rail install involves
A fuel rail install is not difficult, but it is unforgiving. Depressurize the system, disconnect the battery, and have new injector O-rings and inserts on hand. Old O-rings often tear during removal, and reusing them is a common cause of leaks and vacuum leaks. Lube new O-rings with a little clean engine oil or assembly grease so they seat without rolling.
Torque matters. Over-tightening rail bolts can distort the rail or crush injector seals; under-tightening leaves a vacuum or fuel leak. Follow the manufacturer's sequence and values. After assembly, pressurize the system and check every joint before starting the engine, then check again after the first heat cycle.
- Replace injector O-rings and inserts any time the rail comes off.
- Pressurize and inspect before cranking the engine.
- Re-check fittings after the first full warm-up.
Supporting parts that decide whether the upgrade works
A rail is one piece of a system. If you add flow capacity at the rail but keep a tired filter or a pump at its limit, you will not see the benefit. The 3/8 in, 40 micron, 70mm In-line fuel filter kit is a universal stainless element and housing that gives you a known filtration point before the rail, which helps protect new injectors. A clean, known filter is a cheap way to remove a variable.
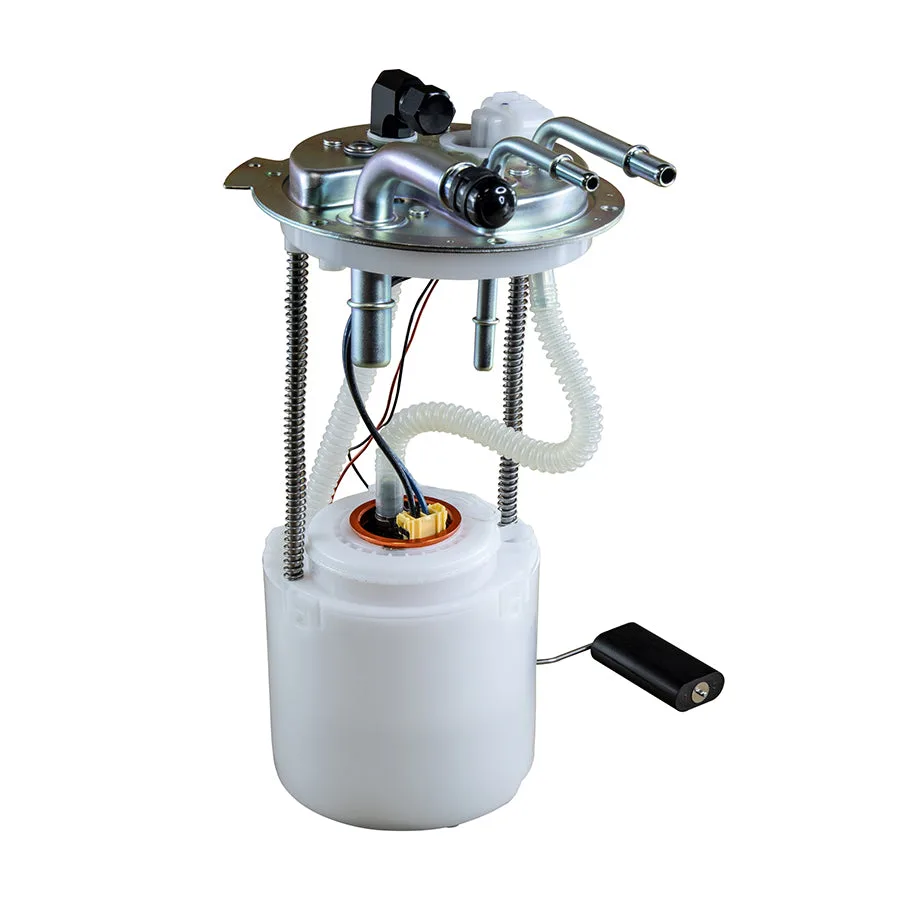
On the pump side, match flow to the rail and injectors. The DW400 Fuel Pump Module for 2005-19 Tahoe/Yukon is a drop-in module for those 4.8, 5.3, 6.0, and 6.2 V8 applications, so it keeps the factory-style install while supporting higher flow. If your platform uses a compact pump, the Civic 06-11 DW430c, 430LPH is a 430 lph compact option. Neither pump replaces the need for correct rail plumbing, but both set the ceiling for what the rail can deliver.
- Replace the filter when you upgrade the rail so debris does not reach new injectors.
- Confirm pump flow at your target pressure, not just at free flow.
- Keep injector part numbers and flow data with your tune notes.
Decision rules for choosing a fuel rail
- Rule 1: Fitment beats flow: If the rail does not bolt to your manifold and accept your injector body and O-ring, stop. No flow rating fixes a rail that will not seal or sit correctly. Verify mounting points, injector bore, and O-ring type before anything else.
- Rule 2: Match the rail to the injector, not the other way around: Larger injectors often use a different body length or connector. Choose the injector set you need for your power target, then pick a rail that accepts it without adapter spacers. Buy injectors and rail as a pair when possible.
- Rule 3: Size the feed line to the pump and power target: A -6 AN feed suits many mild builds; step to -8 AN when flow demand and line length rise. Keep rail port size consistent with your hose and fittings to avoid adapter stacks. Fewer adapters means fewer leak points.
- Rule 4: Return-style only if you will use it: A return-style rail with a regulator gives stable pressure control but adds plumbing. If you will not tune pressure at the rail, a returnless-compatible rail may be simpler and cheaper. Choose based on how you will control fuel pressure, not on style.
- Rule 5: Budget for the supporting parts: New O-rings, inserts, a filter, and heat protection are part of a rail upgrade. Skipping them is how a simple job turns into a leak or a clogged injector. Add these to the cart at the same time as the rail.
Product facts that affect your decision
- 650cc Injectors for NA/NB Miata: Matched set of 4 650cc injectors for NA/NB Mazda Miata. If you run this set, your rail must accept the injector body and O-ring without spacers that change spray position.
- 8AN 20Ft. of Reflective Heat Protection Sleeving: 20Ft. of Reflective Heat Protection Sleeving for -8 AN Hose. Useful when you route a -8 AN feed near exhaust or turbo hardware, where heat can degrade the line and fittings.
- 3/8 in, 40 micron, 70mm In-line fuel filter kit: In-line fuel filter element and housing kit, stainless steel 40 micron, 3/8in hose barb, 70mm. Universal. A universal filter before the rail gives you a known filtration point and protects new injectors from debris.
- DW400 Fuel Pump Module for 2005-19 Tahoe/Yukon: DW400 Pump Module for 2005-2019 Yukon, Tahoe 4.8, 5.3, 6.0, 6.2 V8. If your rail upgrade is part of a higher-flow build on these platforms, this module keeps a factory-style install while raising pump capacity.
Is a fuel rail upgrade right for your build?
Best for
- Builds moving to larger injectors with a different body length or O-ring than stock
- Engines where the factory rail no longer fits the intake manifold or throttle body
- Setups that need dual feed, return-style plumbing, or a cleaner pressure reference
- Tuners who want to remove rail flow as a variable at high injector duty cycle
Not for
- Stock or mild builds where the factory rail already feeds the injectors without pressure drop
- Owners who have not yet upgraded the pump, filter, or injectors to match the rail
- Anyone unwilling to replace O-rings and inserts and re-check fittings after install
Pick the rail that fits your injectors and manifold first, then size the feed and return for your pump and power target. Add new O-rings, a known filter, and heat protection while you are in there. Done that way, a fuel rail upgrade is a reliable supporting mod instead of a source of leaks.