Quick answer
If the plastic housing is cracked, the locking tab is gone, or the terminals are corroded, replace the connector rather than trying to glue or tape it. A cut-and-splice pigtail is the right fix when the damage is confined to the last few inches of wire; if the harness is brittle back toward the main loom, replace the affected section or the harness instead. Always match the connector style to the injector before you cut anything.
A brittle injector plug rarely fails all at once. It usually starts as a rough idle you blame on something else, then a misfire code that comes and goes, and finally a plug that crumbles in your hand when you try to remove it. The connector is a wear item, and heat, vibration, and repeated removal cycles all take a toll.
The good news is that most connector problems are fixable at the workbench. The trick is knowing when a pigtail repair is enough and when you are looking at a harness-level problem. This guide walks through the diagnosis, the repair, and the point where you should stop and choose a different option.
Symptoms that point to the connector, not the injector
The classic sign is an intermittent misfire that changes with engine movement or temperature. Wiggle the connector while the engine idles and listen for a change in tone or a stumble. If the misfire follows the wiggle, the connector or its terminals are the likely cause, not the injector itself.
A noid light or a quick resistance check on the injector can help separate the two. If the injector coil reads within spec but the circuit drops out when you flex the plug, you have confirmed a wiring-side fault. That distinction matters because it decides whether you are buying an injector or a connector.
- Intermittent misfire that worsens with heat or vibration
- Misfire code that moves or clears on its own
- Visible cracks, missing locking tabs, or green corrosion in the plug body
- Injector coil tests good but the circuit is intermittent
Why the plastic gets brittle
Connector housings live in a harsh spot: radiant heat from the head, constant vibration, and years of thermal cycling. Over time the plastic loses plasticizer and turns chalky. Once it is that far gone, the locking clip snaps instead of flexing, and the terminal retention weakens.
Heat is not the only culprit. Oil and fuel exposure, plus the mechanical stress of being unplugged during past repairs, accelerates the damage. A connector that has been removed and reinstalled several times is far more likely to fail than one that has never been touched.
- Chalky, faded, or cracked housing plastic
- Locking tab that will not hold or has broken off
- Terminals that push back out of the housing when you plug it in
- Any connector that has been removed multiple times
Pigtail repair vs. harness replacement
A pigtail repair replaces the connector and a short length of wire. It is the right call when the damage is limited to the connector body and the first few inches of wire. You cut the old plug off, splice the new pigtail in with a proper crimp or solder joint, and seal the splice with heat-shrink.
Harness replacement makes more sense when the wire insulation is brittle or discolored well back from the connector, or when multiple injector connectors on the same bank are failing. At that point you are chasing a systemic heat problem, and patching one plug at a time will keep you coming back.
- Choose a pigtail when damage is confined to the connector and a short wire run
- Choose a harness section or full harness when insulation is brittle further back
- Replace all failing connectors on the same bank at once if several are affected
- Use adhesive-lined heat-shrink on every splice to keep moisture out
Step-by-step connector install
Disconnect the battery ground first. Release the connector lock, then remove the old plug. Cut the wires one at a time so you do not lose track of which wire goes where, and leave yourself enough length to work with. Strip about a quarter inch of insulation, crimp or solder the new pigtail, and seal the joint.
Before you plug the new connector in, check that the terminal is fully seated and the lock engages with a click. Then start the engine and wiggle the harness while it runs. If the misfire is gone and stays gone under movement, the repair is sound.
- Disconnect the battery ground before cutting any injector wiring
- Cut and splice one wire at a time to avoid mixing up polarity
- Use the correct crimp tool or a proper solder joint, not a twist-and-tape
- Seal every splice with adhesive-lined heat-shrink
- Verify the lock clicks and recheck for misfire with the engine running
When to stop and choose another option
Stop and reassess if the wire is brittle more than a few inches back from the connector. Splicing into compromised wire just moves the failure point. In that case, replace the affected harness section or the full injector harness.
Also stop if the injector itself tests out of spec. A new connector will not fix a failed coil or a clogged injector. If you are already replacing injectors, it often makes sense to refresh the connectors at the same time so you are not back in the same spot a few months later.
- Brittle wire well back from the connector: replace the harness section
- Injector coil out of spec: replace the injector, not just the plug
- Multiple connectors failing on one bank: address the heat source and replace as a set
- Corroded terminals inside the injector body: the injector may need replacement
Diagnosis checklist: symptom, cause, action, stop point
- Symptom: intermittent misfire that changes with wiggle: Flex the connector while the engine idles. If the misfire follows the movement, the fault is in the connector or its terminals. Confirm the injector coil tests good before condemning the connector.
- Cause: brittle housing and weak terminal retention: Heat and thermal cycling make the plastic chalky and the locking tab unreliable. Terminals may push back out of the housing. If the housing is cracked or the tab is gone, replace the connector.
- Action: cut-and-splice pigtail repair: Cut one wire at a time, crimp or solder the new pigtail, and seal with adhesive-lined heat-shrink. Verify the lock clicks. Recheck for misfire with the engine running and the harness wiggled.
- Stop point: brittle wire beyond the first few inches: If insulation is discolored or cracking further back, splicing will not last. Replace the harness section or full harness. Also stop if the injector itself tests out of spec; replace the injector.
Injector and connector context from the catalog
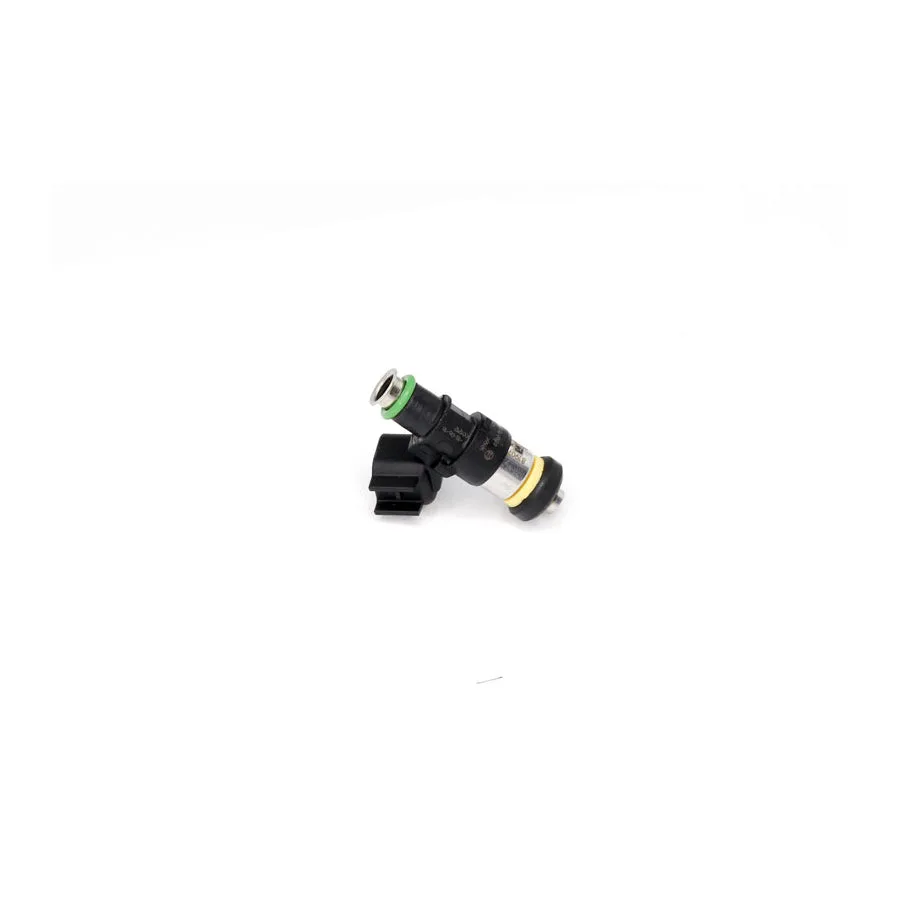
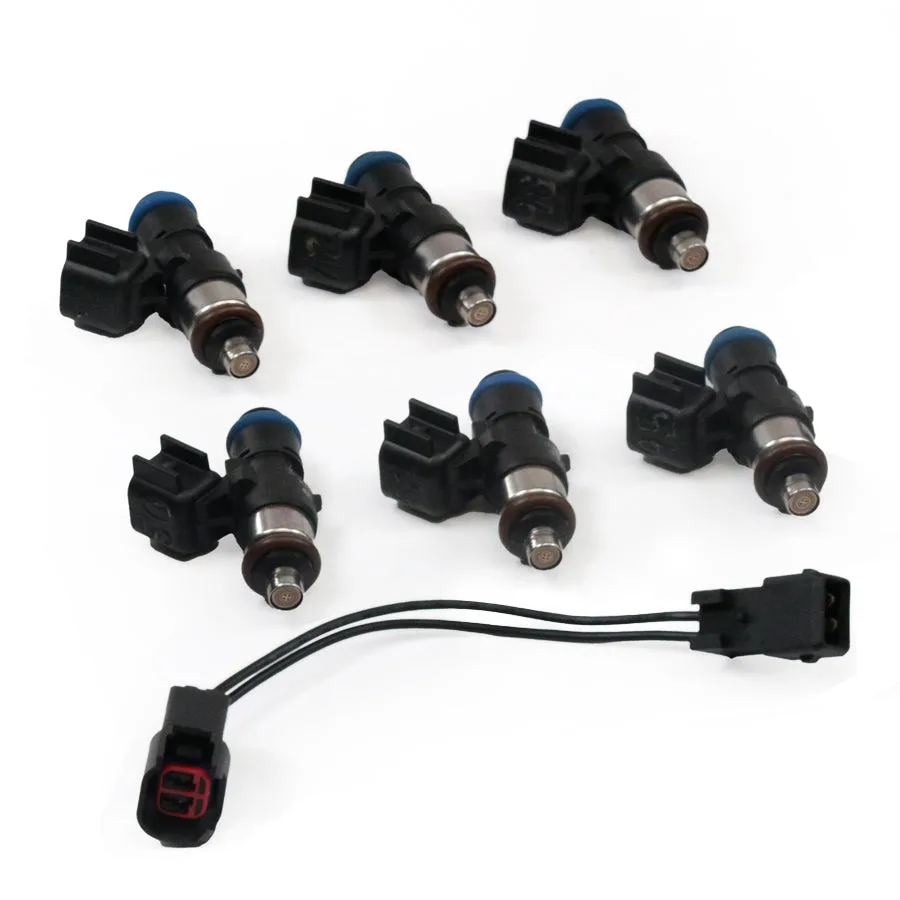
- 450cc - BMW 3-Series M3/Z3/Z4/CSL: Matched set of 6 450cc injectors for BMW 3-Series M3 2000-06, BMW Z3 Roadster 2000-02, BMW Z3 Coupe 2000-02, BMW Z4 Coupe 2006-08, BMW 3-series M3 CSL 2003. If you are replacing injectors on these applications, refreshing the connectors at the same time avoids a second teardown later.
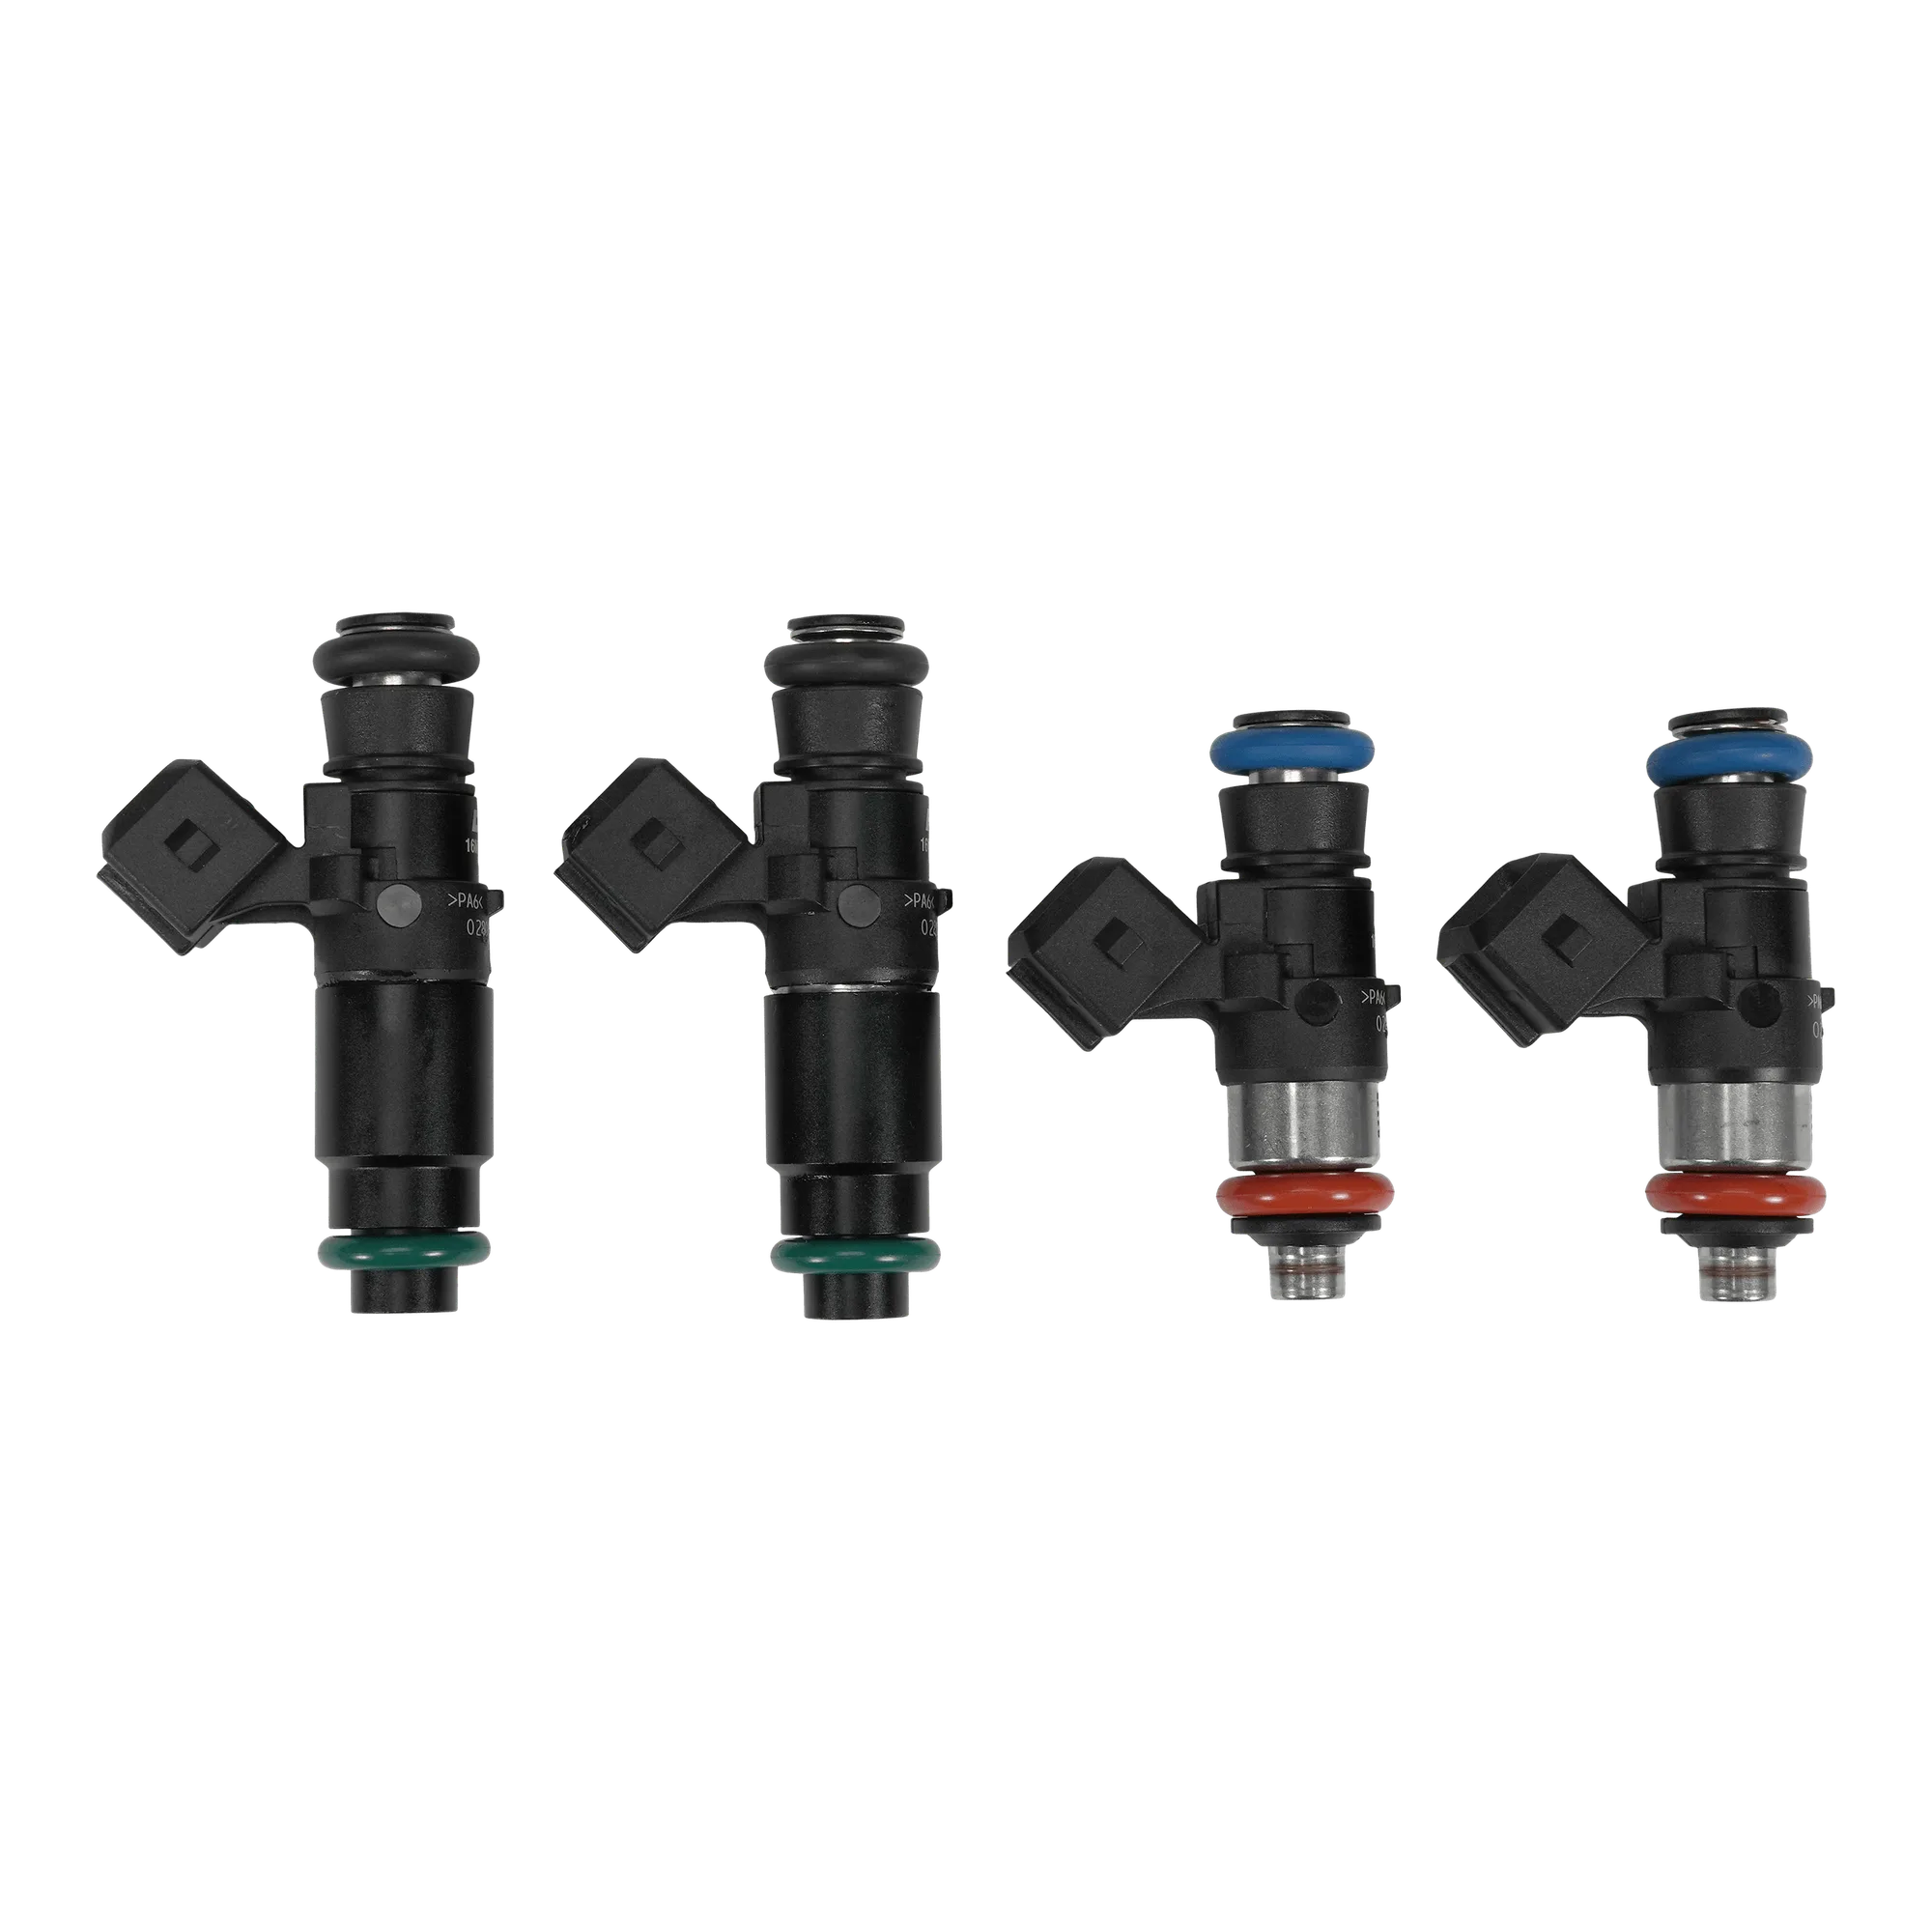
- 1500cc - RX-7: Matched set of 4 1500cc injectors for Mazda RX-7 1993-2002. High-flow injectors on a rotary see significant heat, which is exactly the environment that makes connector plastic brittle over time.
- 700cc - Kawasaki KX450F: Kawasaki KX450F 2009-2015. Powersports injectors live in a tight, hot package where a cracked connector can be hard to spot until it causes a running fault.
A brittle injector plug is a small part with an outsized ability to cause drivability problems. Diagnose it with a wiggle test and a coil check, repair it with a proper pigtail splice when the damage is local, and step up to harness or injector replacement when the problem runs deeper. Doing the diagnosis first saves you from replacing parts that were never the cause.