Quick Answer
A surge tank setup uses a small secondary reservoir that stays full so your high-pressure pump never pulls air during cornering, braking, or low fuel. Mount the tank above pump inlet height, feed it from a low-pressure lift pump, and return the high-pressure regulator bleed back into the tank. Then prime, check every joint for leaks, and verify pressure holds before you drive hard.
Fuel starvation rarely announces itself politely. It shows up as a lean spike mid-corner, a stumble on launch, or a pump that whines when the tank drops below a quarter. A surge tank fixes the cause instead of masking the symptom by keeping a small reserve of fuel around the pickup at all times.
This guide walks through the real fuel surge tank benefits, how to plan surge tank plumbing you can actually service, and an ordered surge tank installation with the checkpoint that matters at each stage. It also covers where the setup stops making sense, so you can decide before you cut hose.
What a Surge Tank Actually Solves
A factory tank pickup is fine at steady throttle and a full tank. Under sustained cornering, hard braking, or acceleration, fuel sloshes away from the pickup and the pump ingests air. The engine goes lean for a moment, and in a boosted or high-compression build that moment is expensive. A surge tank interrupts that chain by holding a small volume of fuel that the high-pressure pump draws from, regardless of what the main tank is doing.
The tank is fed by a low-pressure lift pump or a low-pressure carbureted-style pump, and any excess from the high-pressure regulator returns into the surge tank rather than the main tank. That keeps the reservoir full and keeps the high-pressure pump supplied with liquid fuel instead of foam. If you have already been chasing fuel pressure drop with a regulator or gauge, a surge tank addresses the supply side rather than the delivery side.
- Benefits are largest on track cars, autocross, drifting, road-race builds, and high-power street cars with a factory tank.
- A surge tank does not increase pump flow. It stabilizes what the pump already receives.
- If your only symptom is a single stumble on a full tank, diagnose the pickup and filter first before adding a tank.
Planning the Plumbing Before You Buy Parts
Sketch the layout on paper before ordering anything. You need four connections: lift pump feed in, high-pressure pump feed out, regulator return in, and a vent. The vent is the one people forget, and a sealed surge tank will pressurize and push fuel past the pump seals or starve the high-pressure pump as the tank empties.
Match hose and fitting sizes to the pump you are feeding. A high-pressure pump that moves serious volume needs a feed line sized for that volume, and a restrictive lift-pump feed will let the surge tank run dry under sustained load. Use fittings rated for the fuel you run, and keep the high-pressure side separate from the low-pressure side so a single failure cannot cross-contaminate both circuits.
- AN fittings are the common choice for surge tank plumbing because they seal reliably and are easy to reassemble.
- Plan a drain or service point. You will want to inspect the tank eventually.
- Keep the high-pressure pump feed line as short and straight as practical.
Choosing a Mounting Location
Mount the surge tank as close to the high-pressure pump as you can, and keep the tank outlet at or above the pump inlet. Gravity feed into the high-pressure pump is the goal; a pump that has to lift fuel out of the surge tank is a pump that can cavitate. In the trunk or under the rear of a hatch, that usually means a bracket on a rigid panel rather than a floating mount.
Heat is the other constraint. Keep the tank away from exhaust routing and from direct radiant heat where possible. If the tank has to live near a heat source, a heat shield is cheaper than a melted line or a vapor-locked feed. Vibration matters too: a tank that flexes on its mounts will eventually crack a fitting or chafe a hose.
- Rigid mount, soft isolation. Use rubber isolators between the bracket and the body, not between the tank and the bracket.
- Leave room to reach the fittings with a wrench after installation.
- Check clearance through full suspension travel before you drill.
Wiring and Pump Control
The lift pump and the high-pressure pump should be controlled together so you cannot run the high-pressure pump dry with the lift pump off. Use a relay triggered by the same signal that powers the high-pressure pump, and fuse each circuit separately. A lift pump that runs on its own switch is a common shortcut that eventually costs a high-pressure pump.
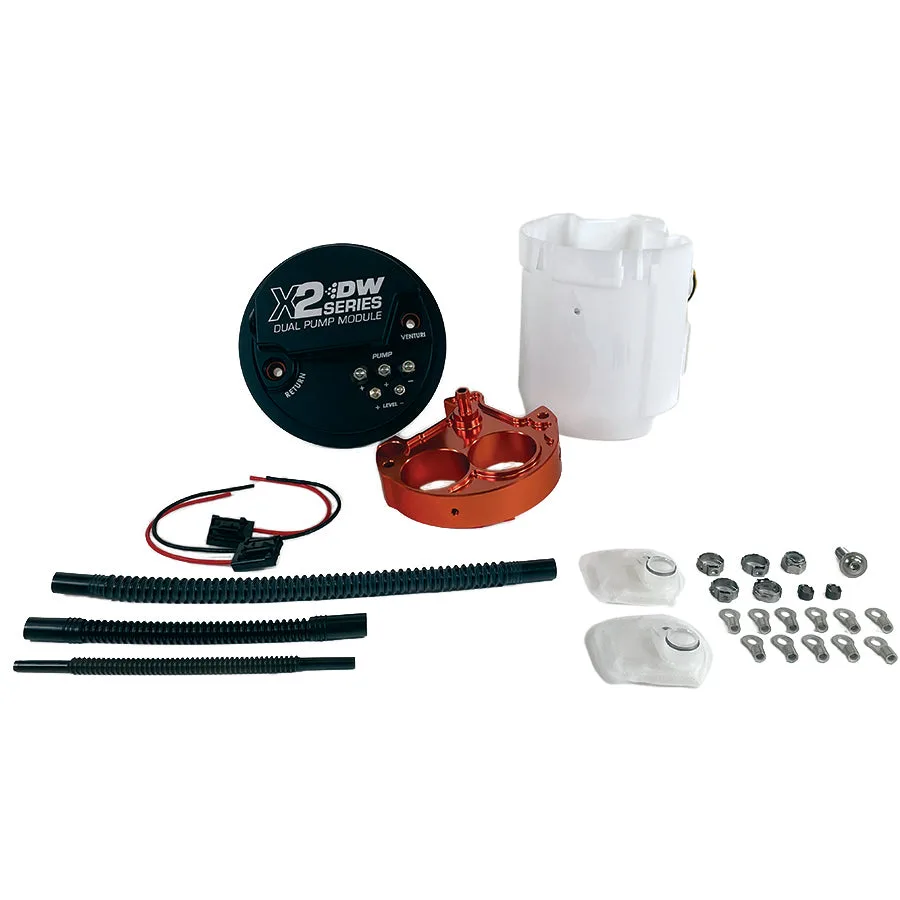
If your build uses a factory fuel pump module, verify how the module behaves when the tank is removed from the equation. Some modules include level senders and return plumbing that you still need. If you are adapting an existing module, plan the return path back into the surge tank so the regulator bleed does not deadhead.
- Fuse the lift pump and high-pressure pump on separate circuits.
- Trigger both from the same relay signal so they cannot run independently.
- Label the wiring. You will thank yourself at the next track day.
Priming, Leak Checks, and First Drive
Before the first start, pressurize the system and look for weeps at every joint. Fuel systems rarely fail dramatically on the first start; they seep at a fitting that was snugged but not tight, or at a hose end that was cut at an angle. Dry the area, run the pumps, and check again after the system has held pressure for a few minutes.
Then verify pressure at the rail under load, not just at idle. A surge tank setup that holds pressure at idle but drops under boost or high RPM usually has a lift pump that cannot keep up with the high-pressure pump, or a return path that is too restrictive. Fix the supply before you chase the tune.
- Never prime a new setup with the engine running until you have confirmed no leaks.
- Check pressure at idle, at part throttle, and under the hardest load you can safely replicate.
- Re-torque fittings after the first heat cycle.
Surge Tank Installation Steps
- 1. Plan the four connections and the vent: Lay out lift pump feed in, high-pressure pump feed out, regulator return in, and a vent before you drill or cut anything. Mark the tank orientation so the outlet sits at or above the high-pressure pump inlet. Checkpoint: if you cannot describe where the vent exits, stop and redo the layout.
- 2. Mount the tank rigidly, away from heat: Use a solid bracket with rubber isolators between the bracket and the body. Keep clearance from exhaust routing and confirm the tank does not contact anything through full suspension travel. Common mistake: soft-mounting the tank itself, which lets it flex and chafe the fittings.
- 3. Install the lift pump feed and return: Feed the surge tank from a low-pressure lift pump, and route the high-pressure regulator return into the surge tank, not the main tank. Size the feed hose for the lift pump volume, not the high-pressure pump volume. Checkpoint: the return must enter the surge tank above the fluid level to avoid aeration.
- 4. Connect the high-pressure pump feed: Run the shortest practical line from the surge tank outlet to the high-pressure pump inlet, with the outlet at or above the pump inlet. Use fittings rated for your fuel and keep this circuit separate from the low-pressure side. Common mistake: running the high-pressure pump inlet below the tank outlet, which forces the pump to lift fuel.
- 5. Wire both pumps to one trigger: Power the lift pump and high-pressure pump from the same relay signal so neither can run alone. Fuse each circuit separately and label the wiring. Checkpoint: with the key on and engine off, both pumps should prime together.
- 6. Prime and leak-check before first start: Pressurize the system, dry every joint, and inspect for weeps. Let it hold pressure for several minutes, then re-check. Do not start the engine until the system is dry. Common mistake: skipping the hold-pressure check and finding a seep at the first hard corner.
- 7. Verify pressure under real load: Check rail pressure at idle, at part throttle, and under the hardest safe load you can replicate. If pressure drops under load, the lift pump or return path is the likely cause, not the tune. Next step: re-torque fittings after the first heat cycle and re-check pressure.
Parts That Fit This Kind of Build
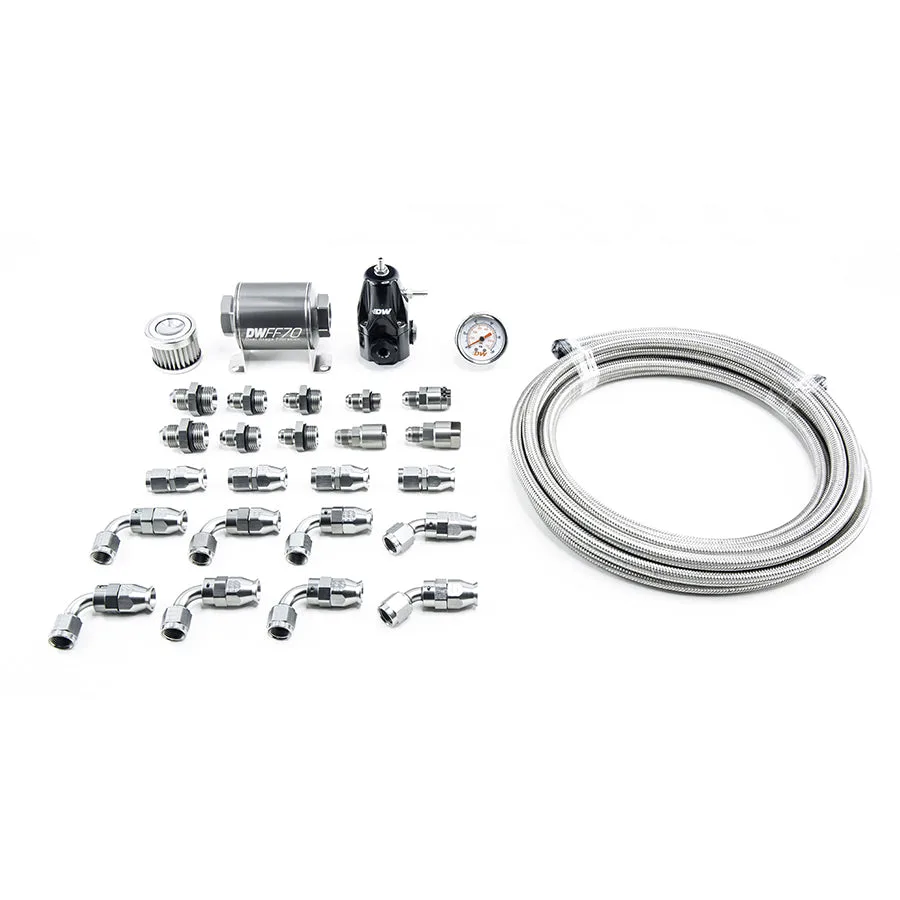
- DW400 Pump Module Return Plumbing Kit SS PTFE for 2001-15 Honda Civic: DW400 Pump Module Return Plumbing Kit SS PTFE for 2001-15 Honda Civic If you are running a DW400 module on a 2001-15 Civic and adding a surge tank, this kit gives you the stainless PTFE return plumbing to route the regulator bleed back into the surge tank instead of the main tank.
- 1500cc - F-Series, GT, Shelby GT350: Matched set of 8 Bosch EV14 1500cc/min Injectors for Ford F-Series 2005-2025, Mustang GT V8 2005-2025, Mustang Shelby GT350 2017-20, SVT Cobra 2003-2004, SVT Raptor 2009-2014, EV14 Universal A surge tank stabilizes supply, but a matched injector set keeps the delivery side consistent. This set covers a wide range of Ford V8 applications, so you can match injector capacity to the fuel volume your surge tank setup can actually supply.
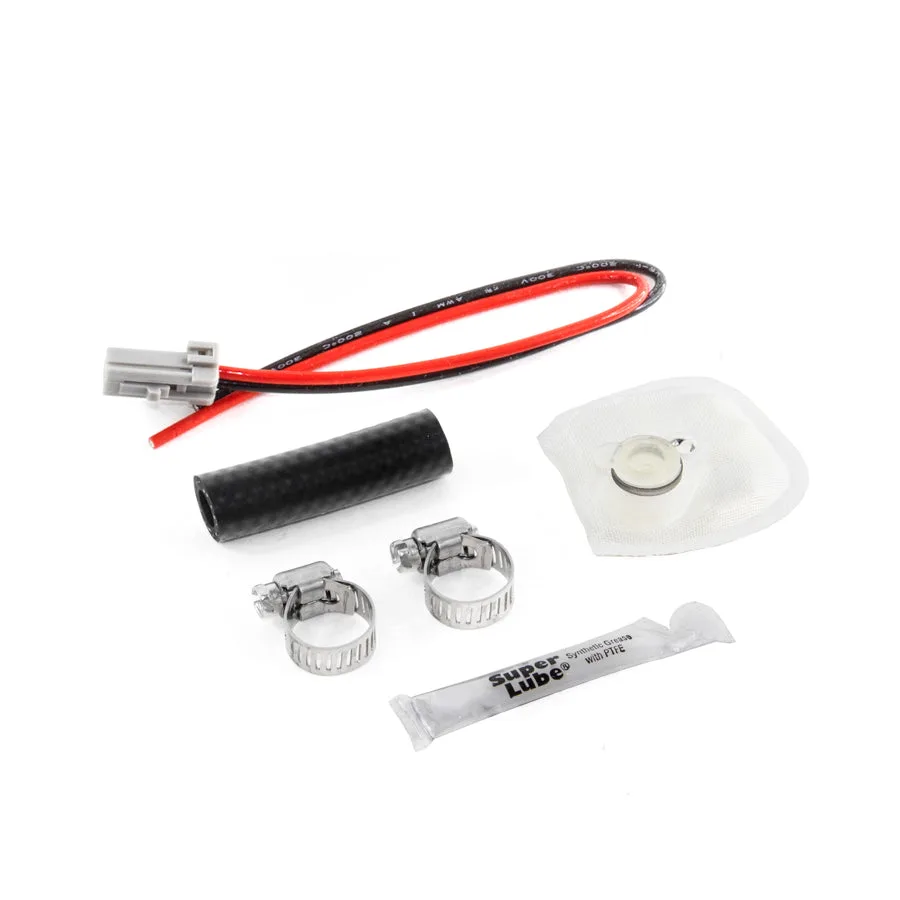
- DW300M Install kit for S197 Mustang 4.6: install kit for DW300M 05-10 Ford Mustang V6/V8 (exc GT500) If you are keeping the factory tank as your lift source on an S197 Mustang, this install kit covers the DW300M fitment for 05-10 V6 and V8 cars, excluding GT500. Confirm your model before ordering.
A surge tank setup is worth the effort when you are genuinely starving the pump under load, and it is overkill when a new filter or a properly positioned pickup would fix the same symptom. Plan the four connections and the vent first, mount the tank rigidly, wire both pumps to one trigger, and verify pressure under load before you trust it. Do that and the surge tank does exactly what it is supposed to: keep liquid fuel at the pump inlet no matter what the main tank is doing.