What This Foam Adhesive Does for Your GBA IPS Mod
If you are installing an IPS LCD screen in a Game Boy Advance, the foam adhesive is the part that holds the display in place after you close the shell. It also acts as a barrier against dust entering the console through the screen opening.
The adhesive is a replacement part, meaning it is designed for use after an original adhesive has been removed or when building a fresh mod. It is not a screen protector or a lens—it is the mounting layer between the LCD and the shell.
What the Listing Confirms
-
Game Boy Advance IPS LCD Foam Adhesive: A replacement foam adhesive for your Game Boy Advance IPS LCD. This confirms the adhesive is meant for a GBA IPS LCD mod, not for other consoles or for stock screens.
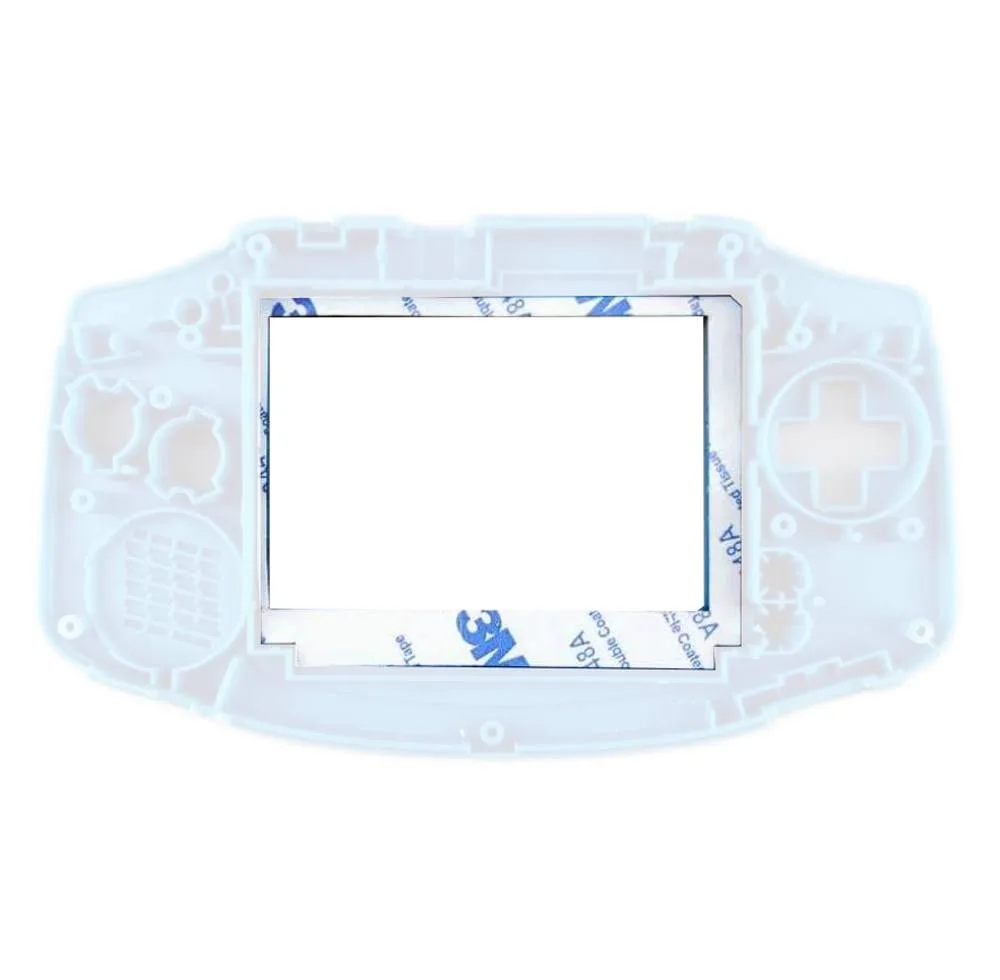
Game Boy Advance IPS LCD Foam Adhesive
-
Game Boy Advance IPS LCD Foam Adhesive: Helps to hold the LCD in place after installation. Its primary job is securing the screen—without it, the LCD may shift inside the shell.
-
Game Boy Advance IPS LCD Foam Adhesive: Barrier for dust entering the console. The adhesive also seals the gap around the screen, reducing dust buildup on the LCD surface.
-
Game Boy Advance IPS LCD Foam Adhesive: Shape of adhesive received may vary (see product photos). The exact cutout shape can differ from the product image, so check the listing photos before assuming fit with your specific shell or LCD.
-
Game Boy Advance IPS LCD Foam Adhesive: INCLUDED: 1x Foam Adhesive You get exactly one piece. If you are modding multiple consoles or need a spare, order accordingly.
How to Use the Foam Adhesive During a Screen Install
- Prepare the shell and LCD: Clean the area where the adhesive will sit. Remove any old adhesive residue and dust. The foam piece will stick to the shell first, then the LCD is pressed onto it.
- Peel and place the adhesive: Carefully peel the backing from the foam adhesive. Align it with the screen opening in the shell. Press it down evenly. Because the shape may vary, verify alignment before pressing firmly.
- Mount the IPS LCD: Remove the protective film from the adhesive (if present) and position the IPS LCD over the opening. Gently press the LCD into the adhesive. The foam holds the screen in place and creates the dust seal.
- Close the console: Once the screen is seated, reassemble the console. The adhesive should keep the LCD from shifting during normal use. No additional glue or tape is needed unless the listing for your specific shell indicates otherwise.
What the Listing Does Not Confirm
The supplied information does not specify whether the adhesive fits all GBA IPS LCD brands (such as FunnyPlaying or Q5). It also does not include installation instructions for the LCD itself, nor does it confirm compatibility with laminated shells or aftermarket housings. If you are using a shell that is not the original Nintendo housing, check the shape against the product photos before purchase.
The adhesive is not a lens or a screen protector—it is purely a mounting and sealing part. For a complete install, you will also need the IPS LCD, a compatible shell, and any additional brackets or spacers required by your specific mod kit.