Quick answer
Place your Get Shit Done sticker on a flat, high-visibility spot you see every day: the front cover of your planner, the top or bottom corner of your laptop lid, or the cover of your work notebook. Clean the surface, position it dry, and press firmly from the center out.
Why placement matters more than you think
A motivational sticker works only if you actually notice it. Put it somewhere you look during the moments you need a nudge—before opening your planner, while waiting for your laptop to wake up, or when you reach for your notebook. Avoid spots that are hidden by your hand, a sleeve, or a stack of papers.
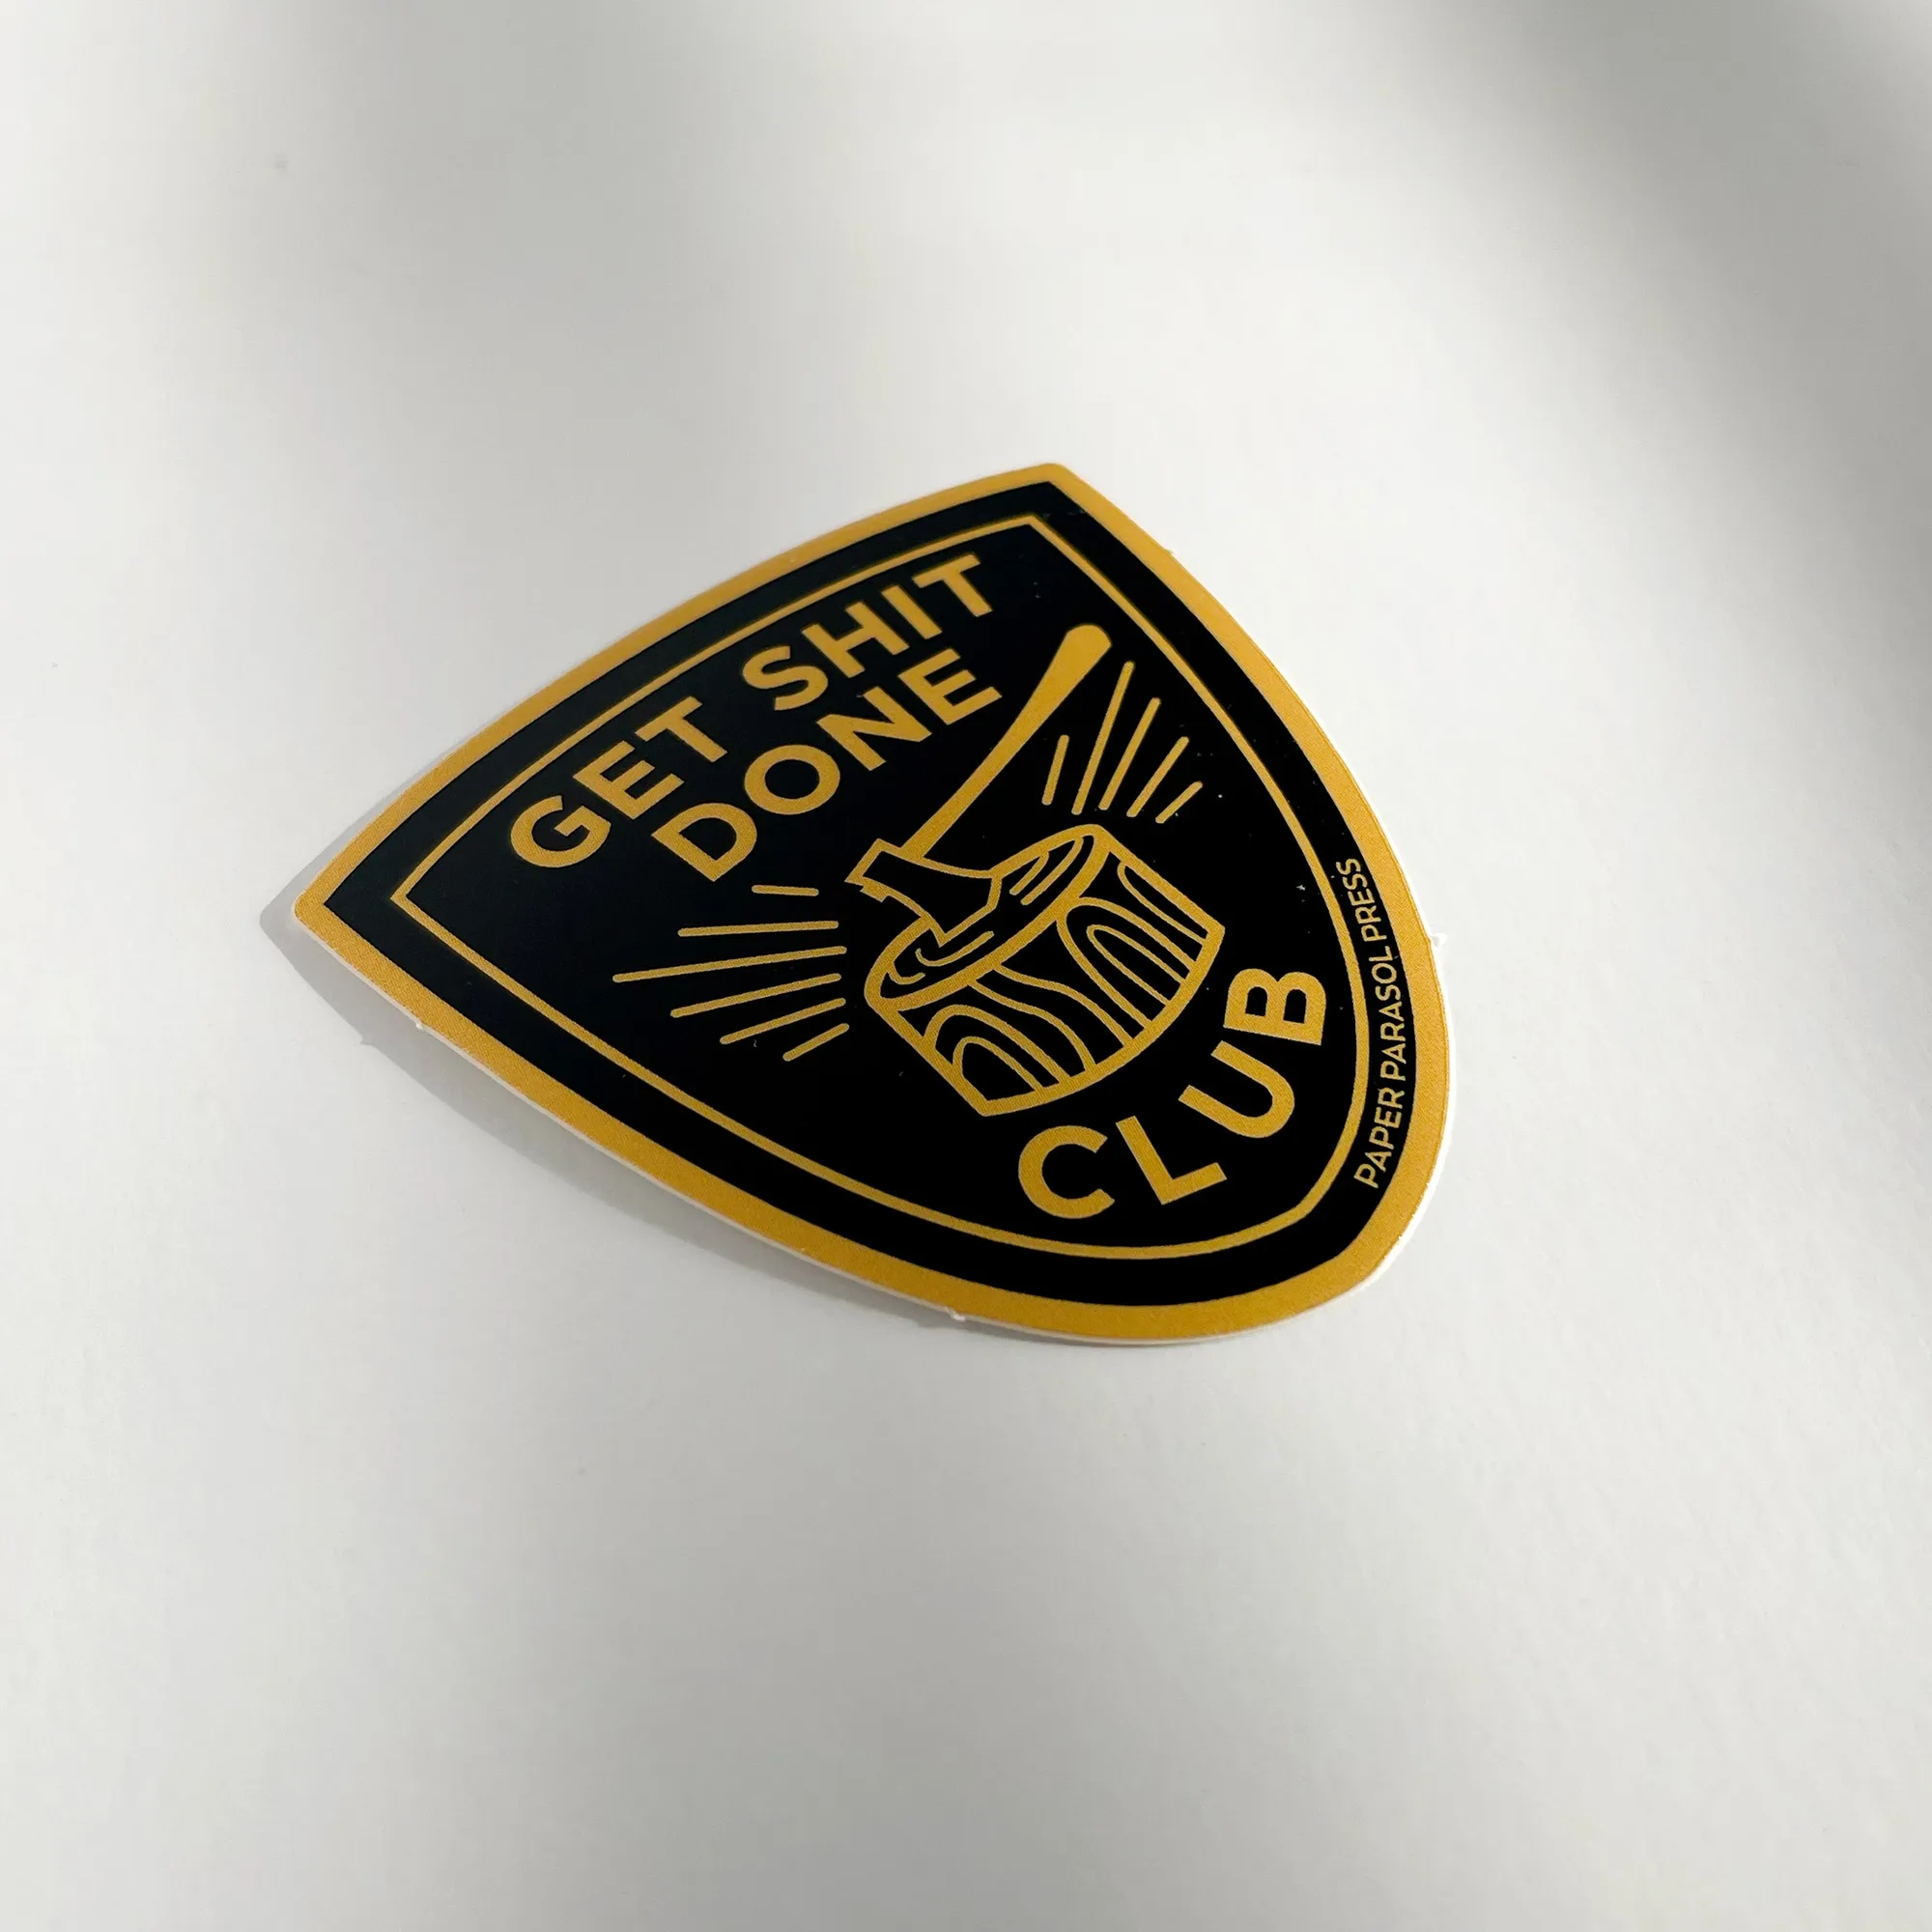
The Get Shit Done Sticker is a die-cut vinyl decal, so it conforms to gentle curves but will wrinkle on sharp edges or textured surfaces. It is scratch and weatherproof, which means it can handle daily handling and the occasional commute, but it still needs a clean, dry surface for a strong bond.
Planner vs. laptop vs. notebook: pick your spot
Planner covers are usually the easiest: a flat front cover gives you a large, visible canvas that you see every time you plan your day. Laptops offer high visibility but require more care—avoid placing the sticker over screws, rubber feet, vents, or the hinge area, and keep it away from the trackpad if you use a sticker on the palm rest. Work notebooks are the most portable option; a sticker on the front cover survives being tossed in a bag, but a spiral binding or soft cover may not be perfectly flat.
If you use more than one tool daily, put the sticker on the one you open first. That is usually your planner or laptop, not a notebook that stays in a drawer.
When to skip the sticker or choose a different spot
If your laptop lid has a textured finish, a skin, or a case, vinyl may not adhere well or may peel when the case flexes. In that case, place the sticker on a hard notebook or planner cover instead. Also skip the sticker on any surface that gets heavy abrasion, such as the bottom of a laptop that slides across a desk, or on a planner cover that lives in a tight sleeve where edges will catch.
The sticker is removable, but repeated peeling and re-sticking weakens the adhesive. Decide on your spot before you commit.
Step-by-step sticker placement
- Choose your target surface: Pick one flat, high-visibility spot: the front cover of your planner, the top or bottom corner of your laptop lid (away from hinges and ports), or the front of your work notebook. Check that the surface is smooth and free of texture or flex. Avoid curved edges, textured finishes, and areas that flex or get heavy wear.
- Clean and dry the surface: Wipe the area with a lint-free cloth and a little rubbing alcohol if needed, then let it dry completely. Dust, oil, and moisture are the main reasons stickers peel early. Do not use paper towels that leave lint; a microfiber cloth works better.
- Test the position before peeling: Place the sticker, still on its backing, where you plan to stick it. Step back and check that it is straight and fully visible when you use the item. For a laptop, open and close the lid once to confirm the sticker does not catch. If you are unsure, mark the corners lightly with a pencil or tape.
- Peel and apply from one edge: Peel a small section of backing, press the exposed edge down, and slowly peel the rest while smoothing the sticker with your thumb or a credit card. Work from the center outward to push out air bubbles. Do not stretch the vinyl; let it lay flat naturally.
- Press firmly and check the edges: Run your thumb or a soft cloth firmly over the entire sticker, especially the edges. Wait a few minutes, then check for lifted corners. If a corner lifts, press it down again while the adhesive is still fresh. For best adhesion, avoid using the item for an hour after applying.
Product facts
-
Get Shit Done Sticker: Die-cut vinyl sticker, 2.41" x 2.25", scratch and weatherproof. The compact size fits planner covers, laptop corners, and notebook fronts without overwhelming the surface, and the vinyl holds up to daily handling.
Get Shit Done Sticker