Quick answer
Pack for a two-night weekend by laying out clothing first, rolling soft items into the main compartment, keeping the detachable water-resistant pocket for toiletries or damp items, and checking the bag's weight before you close it.
Why a weekend bag fills up faster than you expect
A two-night trip usually needs less clothing than people bring and more small items than they plan for: chargers, toiletries, shoes, and a layer for changing weather. The Getaway Bag's lightweight, waterproof build and easy-to-clean interior help with spills and rain, but they do not create extra room. Decide what you will carry before you start folding.
The detachable, water-resistant pocket with zipper closure is the feature that changes the packing order. If you fill it last, you end up cramming wet or leak-prone items into the main space. Treat it as a separate zone from the beginning.
When the weekend plan changes the list
A city weekend and a cabin weekend need different shoes and layers, so build the list around the activity rather than a fixed checklist. If you are unsure about the weather, pack one extra thin layer instead of a bulky backup outfit. The tip-proof, treaded non-slip bottom helps the bag stay upright on a floor or bench, but it does not protect fragile items inside, so wrap anything breakable.
For trips longer than two nights, this method still works, but plan to do a small load of laundry rather than doubling the clothing. That keeps the bag carryable and leaves room for the detachable pocket to do its job.
How to pack the Getaway Bag step by step
- Lay out clothing for two nights: Choose two tops, one bottom, one sleep layer, and one weather layer, then set shoes beside the pile. Common mistake: packing a third outfit 'just in case' instead of one extra thin layer. If the pile does not fit in one layer on the bed, remove one item before you start rolling.
- Roll soft items into the main compartment: Roll shirts, sleepwear, and the weather layer tightly and place them along the bottom and sides of the main space. Common mistake: folding flat, which leaves gaps that later collapse. Leave a shallow channel in the center for shoes or a toiletry pouch.
- Place shoes and bulky items in the center channel: Put shoes sole-to-sole in a bag or wrap them, then slide them into the channel you left. Common mistake: putting shoes on top, which crushes the rolled clothing. Check that the bag still sits flat on its non-slip bottom before adding more.
- Fill the detachable water-resistant pocket: Put toiletries, a damp washcloth, or a swimsuit in the zippered pocket, then attach it or leave it out depending on your load. Common mistake: sealing damp items in the main compartment where they touch dry clothes. Zip the pocket fully and give it a shake to confirm nothing leaks before it goes into the bag.
- Add small items and chargers last: Slide chargers, a small pouch, and any flat items into the remaining gaps along the top. Common mistake: burying the charger at the bottom where you cannot reach it without unpacking. Keep one small item you will need first near the opening.
- Test the weight and close the bag: Lift the bag by its handle and hold it for a few seconds. If it feels heavy enough that you would not carry it across a station, remove one clothing item. Common mistake: closing the bag before checking weight. A weekend bag should feel carryable one-handed; if it does not, repack before you leave.
Getaway Bag details that affect packing
-
Getaway Bag: Lightweight, waterproof, and easy to clean You can set it down on damp ground and wipe out spills without worrying about the interior.
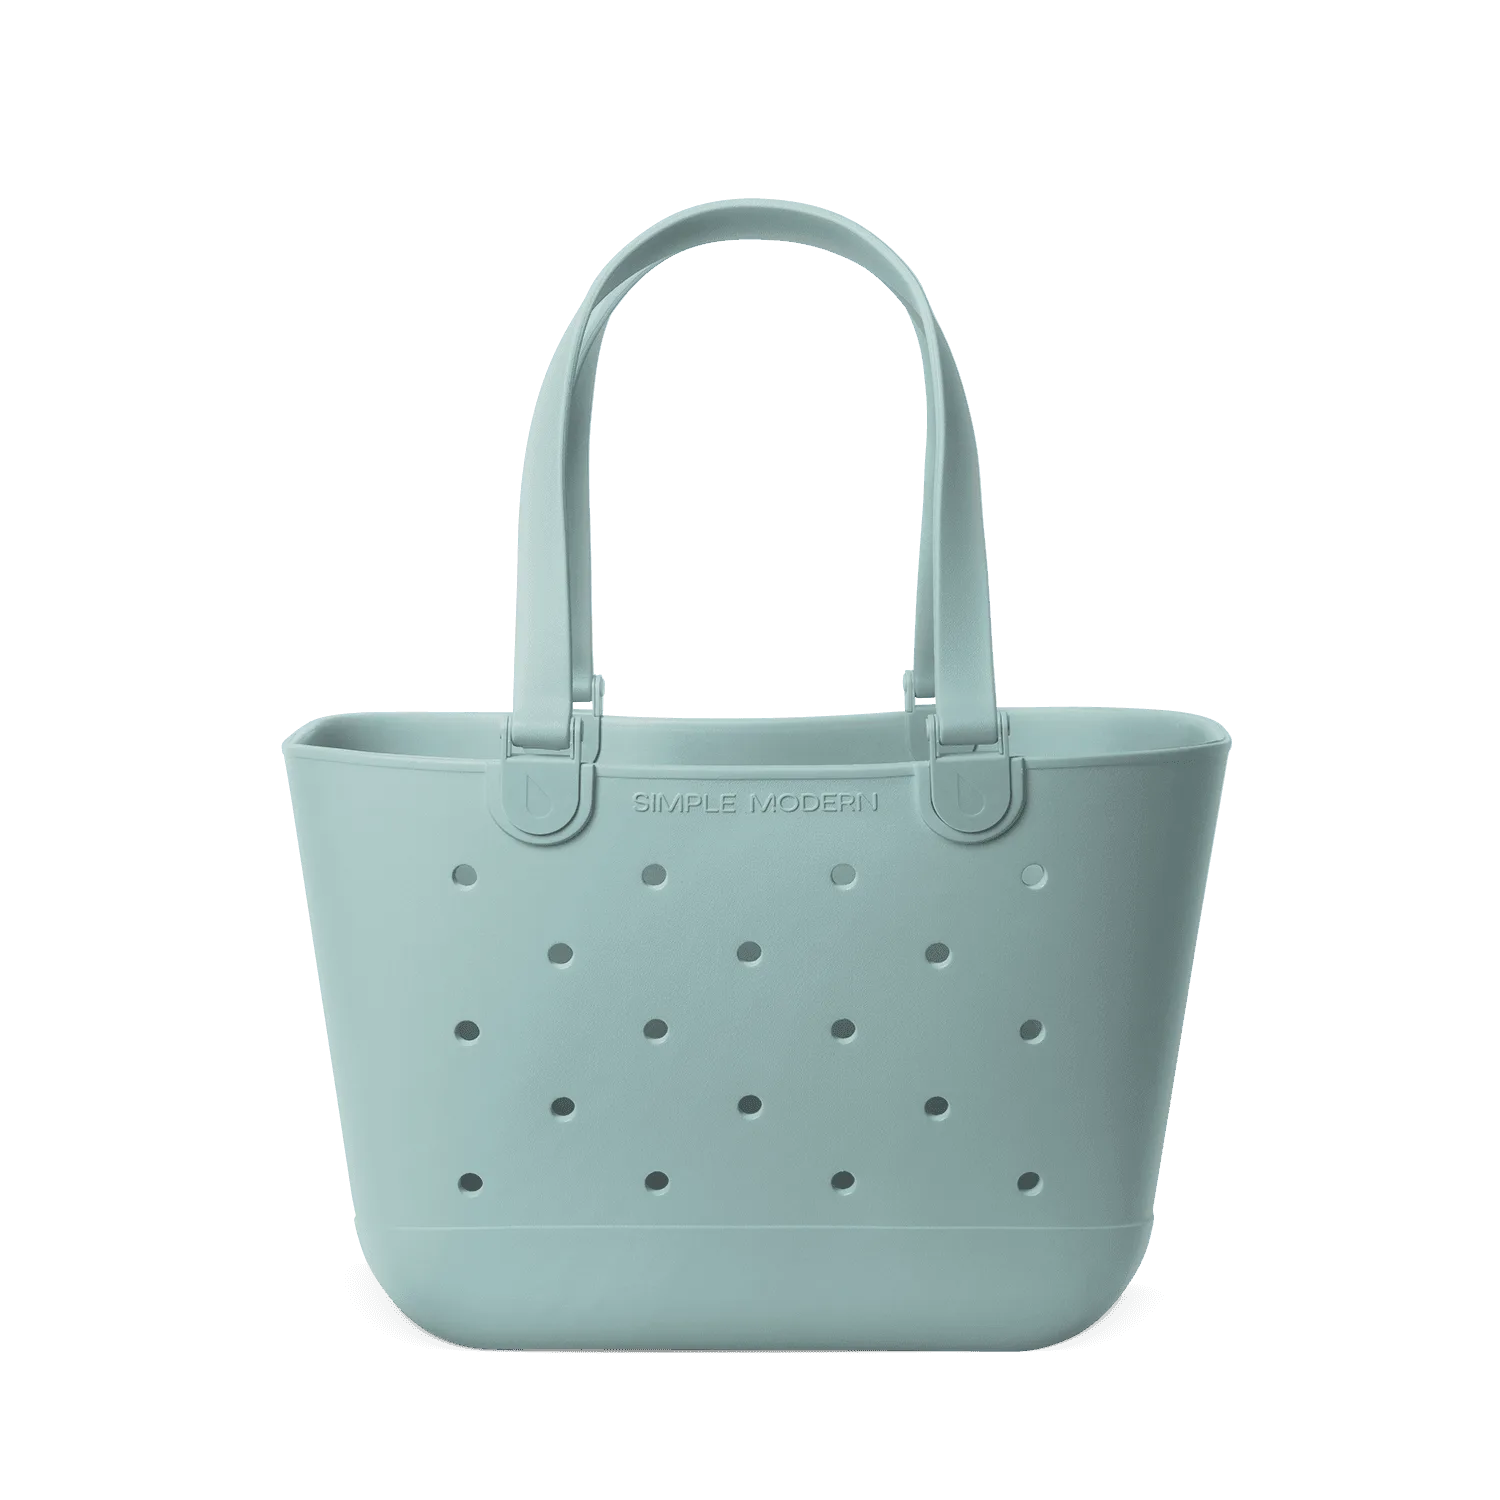
Getaway Bag
-
Getaway Bag: Includes a detachable, water-resistant pocket with zipper closure Keep toiletries or a damp swimsuit separate and remove the pocket entirely when you want a lighter load.
-
Getaway Bag: Tip-proof and treaded non-slip bottom The bag stands steady while you pack and unpack, which matters when you are loading it on a bed or bench.