Quick answer
Mount the SK400II-V on a sturdy stand, fit your modifier, start at low power with the modeling lamp on, and test-fire before your subject steps in. Set power by distance and modifier size, not by copying someone else's numbers.
Why the SK400II-V suits a first studio light
The SK400II-V gives you 400Ws and variable power from 1/16 to full, so you can learn light shaping without immediately hitting a ceiling. Its 10W LED modeling lamp stays cooler than a hot modeling bulb, which makes longer setup sessions more comfortable.
Recycling runs from 0.1 to 1.5 seconds and flash duration goes as short as 1/2000 sec. That range matters when you move from static portraits to small movement, but it does not make the light automatic. You still choose power, distance and modifier deliberately.
Where beginners usually get power wrong
A common mistake is starting at full power because the room feels dark. Full power slows recycling and can force small apertures that make focus and ambient light harder to manage. Start low, then raise power only after you see the test frame.
Another trap is changing power and distance at the same time. Move one variable at a time so you can tell whether the change came from the strobe setting or from the light being closer to the subject.
Step-by-step SK400II-V setup
- Place and secure the stand: Set the stand on a flat, stable surface with the legs spread fully. Mount the strobe and tighten every locking knob before attaching anything else. Checkpoint: give the stand a gentle nudge; if it rocks, reposition before adding a modifier.
- Fit the modifier before powering up: Attach your softbox or umbrella to the strobe's front mount and confirm it is seated and locked. For a softbox, open it fully and point the front toward the subject. Mistake to avoid: forcing a mount that does not seat; stop and check alignment rather than overtightening.
- Connect power and switch on in order: Plug the strobe into a grounded outlet, then switch it on and let it charge. Turn on the modeling lamp separately and aim it at the subject to preview light position. Checkpoint: if the modeling lamp does not come on, confirm the lamp switch and outlet before assuming a fault.
- Set low power and a starting aperture: Begin around 1/16 power and choose a mid aperture such as f/5.6 to f/8 at your camera's sync speed. Take one test frame and review the histogram. Raise power in small steps only if the frame is clearly underexposed. Change one variable per test frame so you know what caused the difference.
- Trigger the flash and confirm sync: Connect your chosen trigger method and fire a test frame. Check that the flash appears in the image and that there is no dark band from sync mismatch. Mistake to avoid: shooting above the camera's sync speed; drop the shutter speed if a band appears.
- Shape with distance and modifier angle: Move the light closer for softer, brighter light and farther for harder, dimmer light. Feather the softbox slightly off-axis to control spill. Checkpoint: if shadows are harsh, move the modifier closer before adding more power.
- Record your working settings: Note power level, distance, modifier, aperture and shutter speed for the frame you like. Use that note as your starting point next session. Mistake to avoid: relying on memory; a quick written note saves repeated test frames.
Product facts
-
Godox SK400II V Series brand new: 400Ws monolight with 1/16 to full variable power, 0.1 to 1.5 sec recycling, flash durations as short as 1/2000 sec, and a 10W LED modeling lamp. The wide power range and fast recycling let a beginner learn with low output and short waits between test frames.
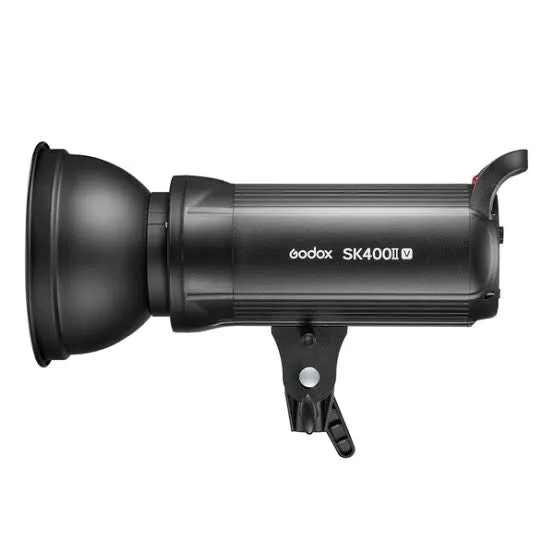
Godox SK400II V Series brand new