Quick Answer
Rinse the windshield with plain water first, then wash it with a clean microfiber cloth and a mild soap or plastic-safe cleaner. Never scrub dry acrylic, never use paper towels or ammonia glass cleaner, and always wipe in straight lines instead of circles. That single routine prevents most golf cart windshield scratches and stops clouding from getting worse.
A golf cart windshield takes more abuse than almost any other part of the cart. Dust, pollen, bug splatter, and road grit all land on the same acrylic panel you look through every time you drive, and most of the damage happens during cleaning, not driving. One dry wipe with a paper towel is enough to grind grit into the surface and leave permanent scratches.
The good news is that acrylic responds well to a simple, consistent routine. This guide walks through the exact steps to clean golf cart windshield panels safely, plus the checkpoints and mistakes that separate a clear windshield from a cloudy one after a few seasons.
Why Acrylic Windshields Scratch and Cloud
Most golf cart windshields are made from acrylic or polycarbonate, both far softer than automotive glass. That softness is intentional: it keeps the windshield light, flexible, and affordable. But it also means the surface scratches at a fraction of the pressure glass tolerates. Fine dust is abrasive enough to leave marks when dragged across the panel.
Clouding usually comes from two sources. The first is chemical: ammonia-based glass cleaners and harsh solvents attack the plastic surface over time. The second is mechanical: repeated dry wiping and abrasive pads create thousands of micro-scratches that scatter light. Both problems are cumulative, which is why golf cart windshield maintenance is about prevention more than repair.
- If your windshield feels slightly rough after cleaning, grit is still trapped on the cloth or the panel.
- Clouding that appears only in certain light angles is usually early micro-scratching, not dirt.
What You Need Before You Start
You do not need a cabinet full of specialty products. A hose or bucket of clean water, a mild car-wash soap or plastic-safe cleaner, two or three clean microfiber cloths, and a soft wash mitt cover most jobs. Keep a separate cloth for the final wipe so you are never spreading the dirt you just removed.
Avoid paper towels, shop rags, and anything labeled as glass cleaner unless it explicitly states plastic-safe. If your windshield already has light scratches, a dedicated golf cart windshield polish for acrylic can smooth the surface, but polish is a repair step, not a cleaning step.
- Dedicate one microfiber cloth to windshields only so it never picks up grit from wheels or body panels.
- Wash microfiber cloths without fabric softener, which leaves a film that streaks acrylic.
Step-by-Step Windshield Cleaning Routine
Start by parking in the shade and letting the windshield cool. Rinse the entire panel with plain water from top to bottom to float away loose dust and grit. This rinse is the most important step and the one most people skip, because it removes the particles that cause scratches before any cloth touches the surface.
Next, wash with a mild soap solution using light, straight passes. Rinse again, then dry with a clean microfiber cloth, again in straight lines. Finish by checking the edges and the lower corners, where dirt collects and where scratches often start unnoticed.
- Work top to bottom so dirty water never runs over a section you already cleaned.
- If the cloth picks up visible grit, swap it for a clean one instead of rinsing and continuing.
How to Handle Scratches and Clouding
Light surface scratches can often be improved with a plastic-safe polish applied by hand with a soft foam pad, following the product directions and working in small sections. Deep gouges that catch a fingernail will not polish out and are usually a replacement decision rather than a repair one. Clouding from chemical damage is similar: polishing may reduce it, but it rarely restores full clarity.
This is where honest expectations matter. If a windshield is heavily clouded or cracked at the mounting holes, replacement is the practical path. If it is only lightly hazed, a careful polish plus a better cleaning routine can add useful seasons of clear visibility.
- Test any polish on a small corner first to confirm it does not dull the surrounding area.
- Stop polishing if the surface starts feeling warm; heat can distort thin acrylic.
Habits That Prevent Clouding Long Term
Rinse before you wipe, every single time, even if the windshield only looks lightly dusty. Store the cart under cover when possible, since UV exposure and airborne debris both accelerate surface wear. When you clean the rest of the cart, clean the windshield last so soap and grit from other panels do not splash onto it.
A quick monthly inspection also helps. Run a clean hand over the surface to feel for new roughness, and check the mounting hardware for looseness. A windshield that rattles in its brackets can vibrate against the frame and scuff at the contact points.
- Keep a spray bottle of clean water and a microfiber cloth in the cart for quick bug removal after rides.
- Never use a squeegee with a dry or dirty blade; trapped grit turns it into a scraper.
Your 7-Step Windshield Care Routine
- Park in the shade and let the windshield cool: Clean acrylic only when the panel is cool to the touch. Direct sun softens the surface and makes cleaners evaporate before they can lift dirt. Checkpoint: if the panel feels warm, wait.
- Rinse with plain water first: Flush the whole panel from top to bottom with a hose or a poured bucket of clean water to remove loose dust and grit before any cloth touches it. Mistake to avoid: wiping a dry, dusty windshield.
- Wash with mild soap and a clean microfiber cloth: Use a mild car-wash soap or plastic-safe cleaner, working in straight lines with light pressure. Never use ammonia-based glass cleaner, paper towels, or abrasive pads. Checkpoint: your cloth should stay clean; if it turns gritty, replace it.
- Rinse again and dry in straight lines: Rinse away all soap residue, then dry with a separate clean microfiber cloth using straight passes rather than circles to avoid swirl marks. Mistake to avoid: reusing the wash cloth for drying.
- Inspect edges and mounting points: Dirt collects in the lower corners and around brackets. Check for loose hardware and for scuffing where the windshield contacts the frame. Checkpoint: tighten any loose mounting hardware you find.
- Polish only light scratches, and test first: Apply a plastic-safe polish by hand with a soft foam pad on a small test area. Deep gouges that catch a fingernail will not polish out and usually mean replacement. Mistake to avoid: over-polishing and heating the acrylic.
- Repeat monthly and after dusty rides: A quick water rinse and microfiber wipe after bug-heavy or dusty rides keeps grit from bonding to the surface between full cleanings. Next step: keep a water spray bottle and cloth in the cart.
Parts and Care Items Worth Knowing
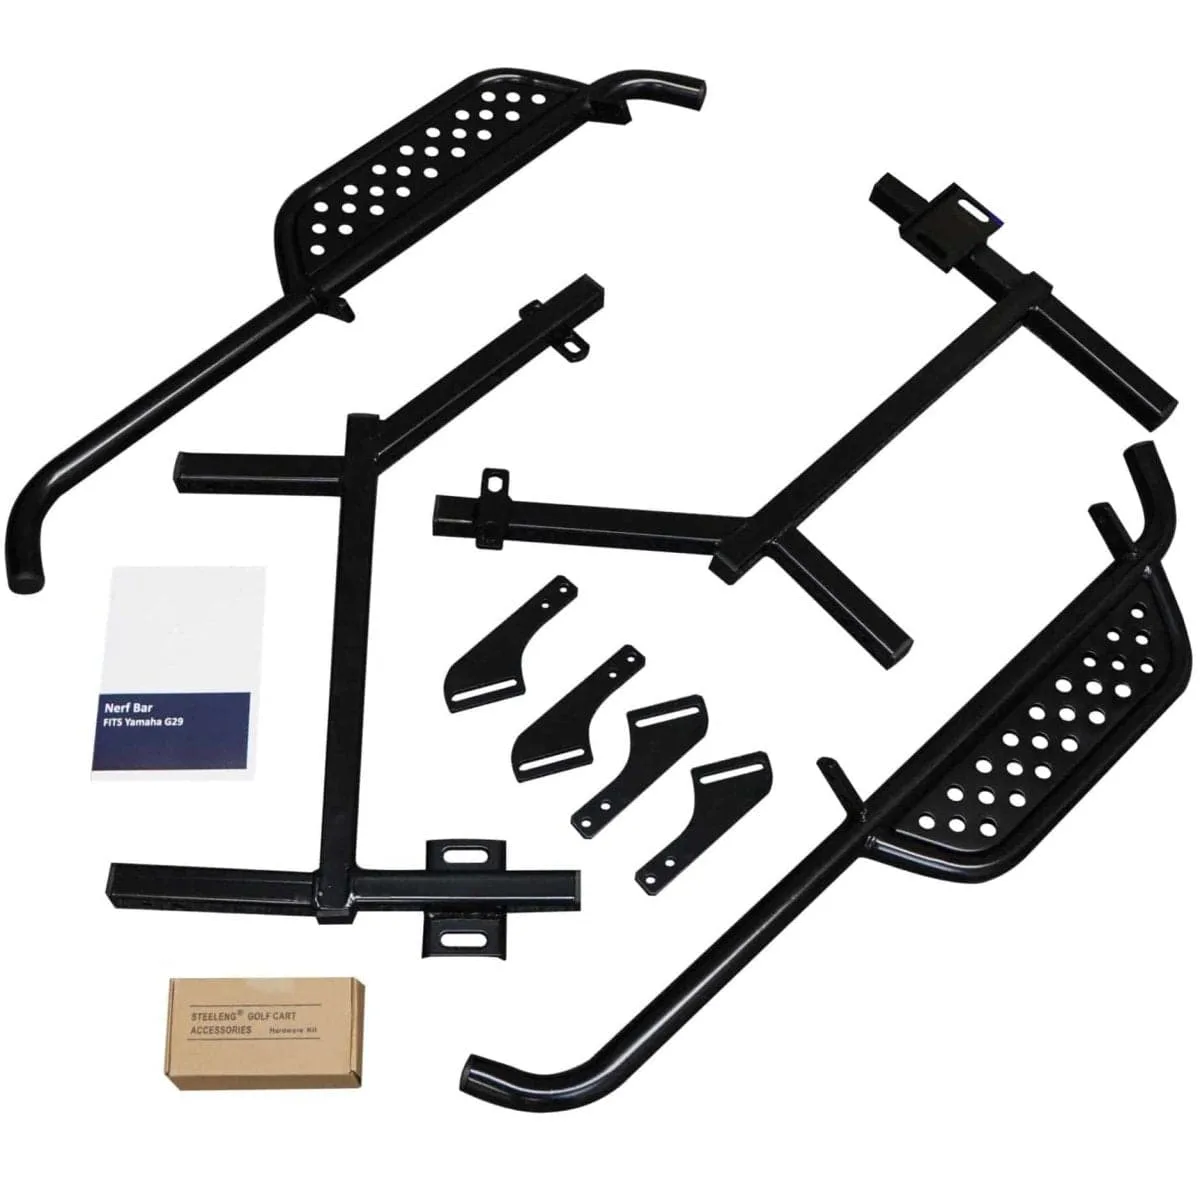
- Yamaha G29 (Drive) Golf Cart Nerf Bars / Running Boards (set of 2): These running boards are made from heavy-duty steel with a black powder coat finish and are sold as a complete set of two with brackets, hardware, and installation instructions. Nerf bars give you a defined step-in point, which reduces the chance of brushing against and scuffing the windshield edge when you climb in and out.
- Denso Spark Plug (BP4HS): This spark plug is listed as a replacement plug for golf cart applications, identified by OEM manufacturer and part number SP-BP4HS-D under the RHOX brand field. Keeping a gas cart running smoothly is part of overall cart care; a rough-running engine means more vibration, and vibration is one way loose windshields develop scuffs at the mounting points.
A clear golf cart windshield comes down to one habit: rinse first, wipe gently, and never let a dry cloth touch acrylic. Follow the routine above, skip ammonia cleaners and paper towels, and your windshield will stay readable for far more seasons before clouding or scratches force a replacement.