Quick answer
Assemble the GoTough Wedge by attaching the handles and camera mount, then add the tripod adapter for stable shooting or mounting on a tripod.
Why the GoTough Wedge?
The GoTough Wedge gives you 42 mounting points, so you can attach lights, microphones, or extra cameras without an aftermarket cage. Its two-handed design steadies handheld shots, especially when you are moving or diving.
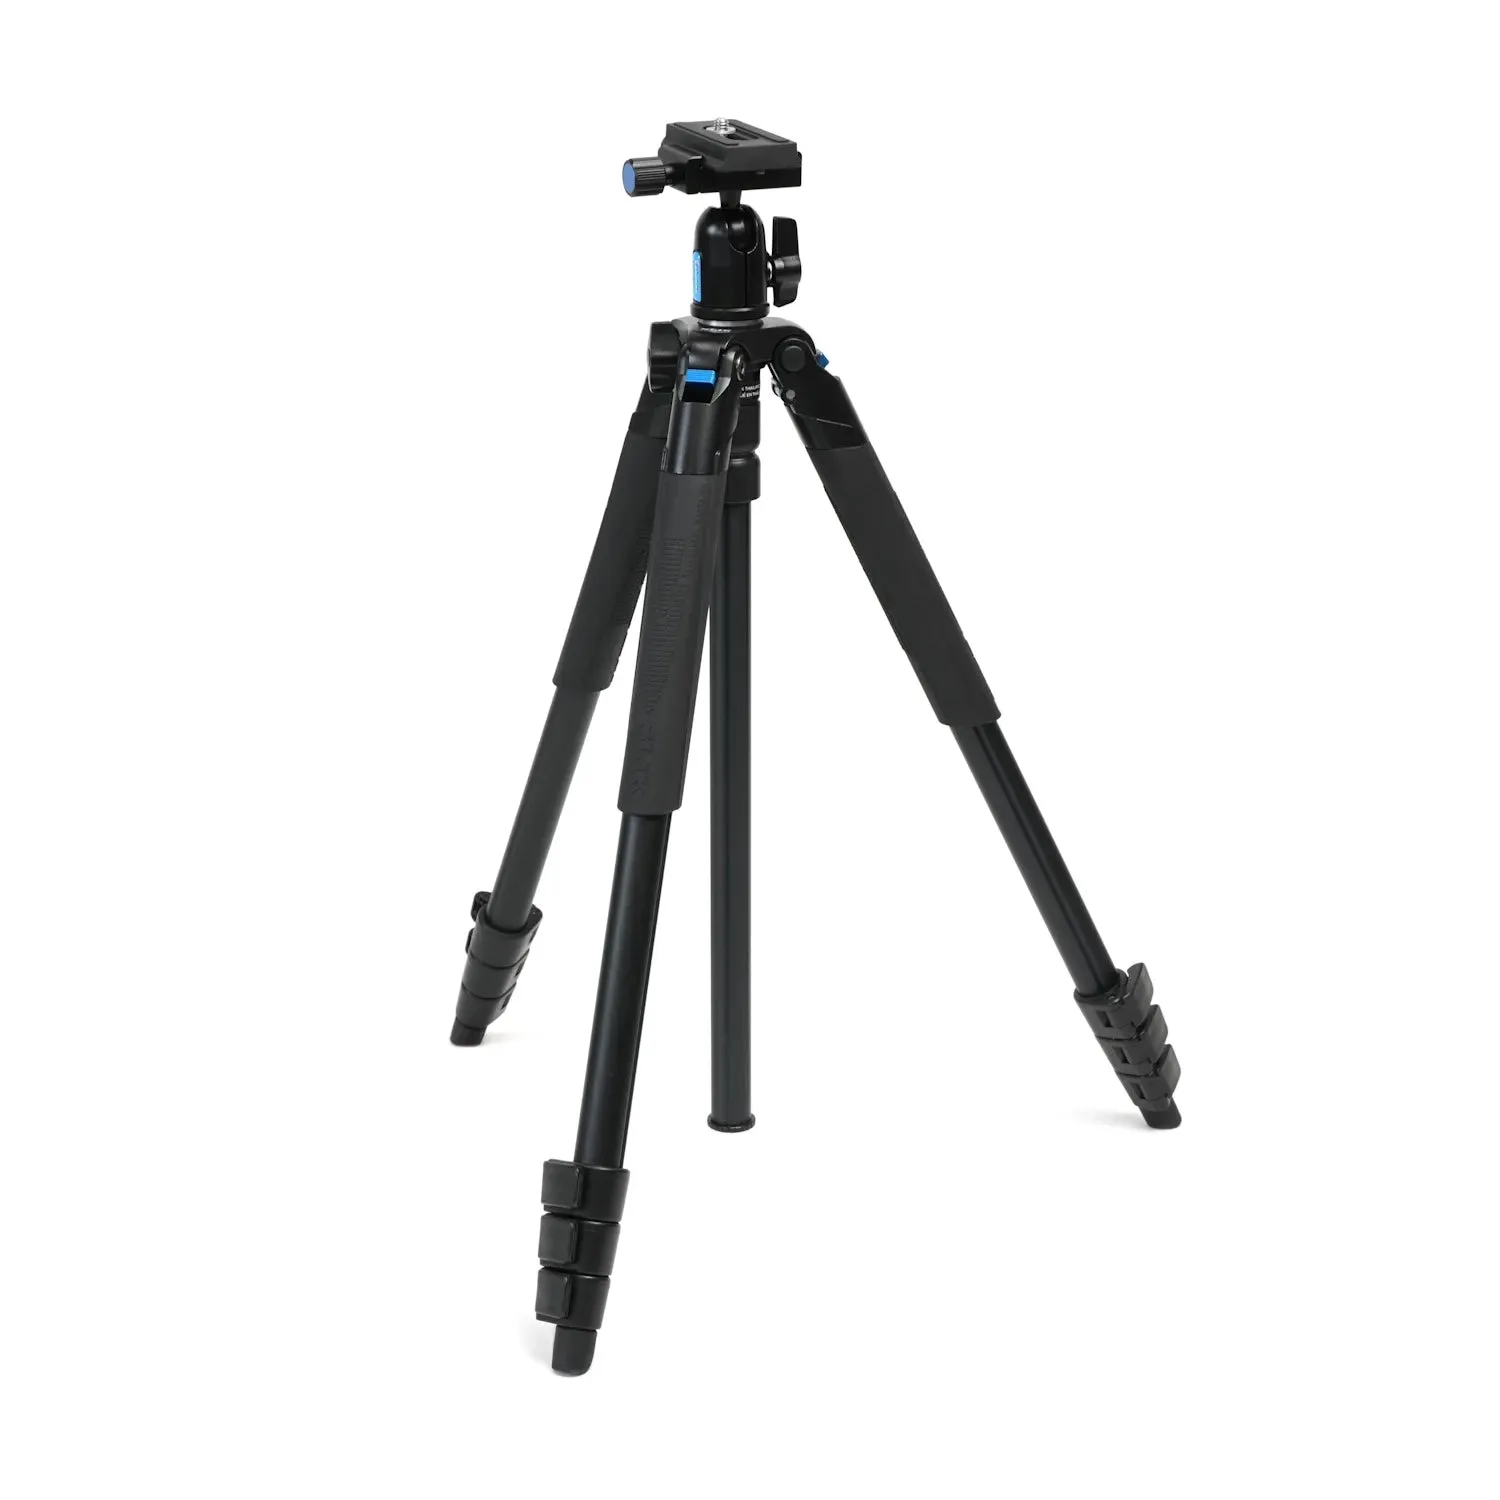
The included tripod adapter lets you lock the whole assembly onto a standard tripod for time-lapses or long exposures. The setup takes about five minutes and requires no tools.
Setup steps
- Attach the handles: Slide each handle into the main wedge rail until it clicks. The handles can be positioned left, right, or both for two-handed stability. A common mistake is forcing the handle backward; it only slides in one direction. Check the orientation arrows on the rail.
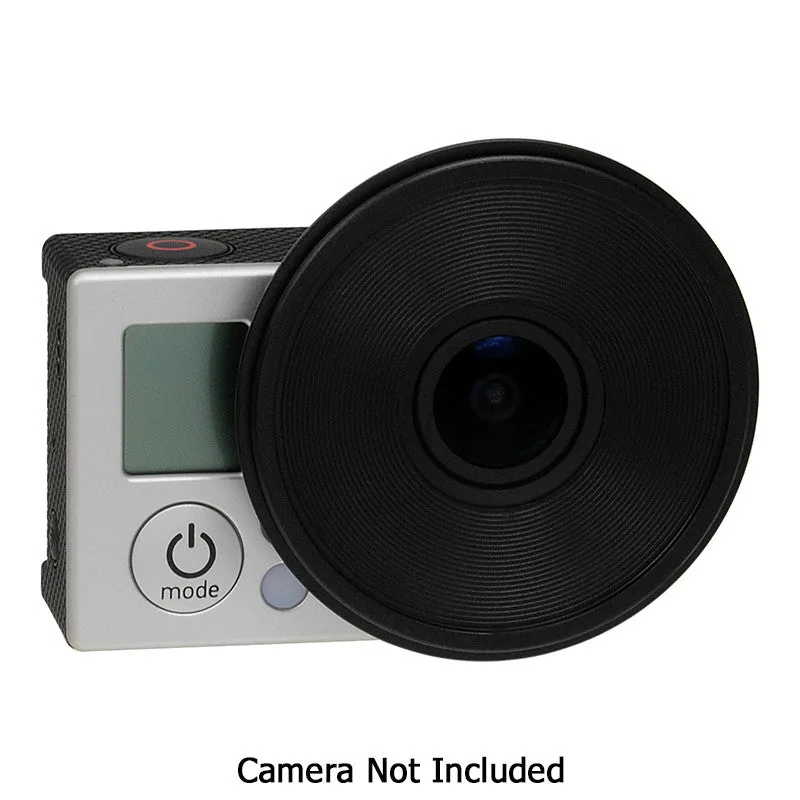
- Mount the GoPro: Snap the GoPro 2-prong mount onto the wedge's center mount plate. Push until you hear a click. The camera should sit level and secure. If the mount feels loose, remove and re-seat it. The 2-prong system locks only when fully pressed in.
- Add the tripod adapter: Thread the GoTough Tripod Adapter II into the 1/4-20 socket on the bottom of the wedge. Tighten by hand until snug. Do not over-tighten with tools; hand-tight is sufficient to prevent stripping the socket.
- Test the assembly: Hold the wedge by both handles and check that the camera stays level. Then mount the tripod adapter onto a tripod and verify the rig is balanced. If the rig tips forward or back, reposition the camera mount plate along the rail to shift the center of gravity.
Product facts
-
Fotodiox Pro GoTough Wedge with Tripod Adapter II - Aluminum Camera Diving Tray & Camcorder Sports Action Stabilizing Grip System for GoPro HERO 2-Prong Mounting System: Amazing 42 possible mounting points for cameras and accessories; user configurable, disassembles to fit easily in your camera bag. You can arrange the wedge exactly how you need it for each shoot, then break it down to pack flat.

Fotodiox Pro GoTough Wedge with Tripod Adapter II - Aluminum Camera Diving Tray & Camcorder Sports Action Stabilizing Grip System for GoPro HERO 2-Prong Mounting System