Quick answer
Apply Gotti Fusion Powder #43F Sleeping Orchid like any dip powder: prep nails, apply base, dip into the powder, activate, and file smooth. The soft orchid pink-purple shade works for both dip and acrylic systems, giving a romantic crème glow that suits weddings and everyday wear.
Why Sleeping Orchid stands out
Sleeping Orchid is a soft orchid pink-purple with a gentle crème glow. It's pigmented enough for even coverage in a smooth dip, so you don't need multiple coats to build color. The shade flatters most skin tones and works well for spring brunches, weddings, or any time you want a feminine, understated look.
Because Fusion Powder works as both a dip powder and an acrylic, you can choose the application method you're most comfortable with. For dip, you'll get a lightweight, natural feel; for acrylic, you can build more structure if needed. Either way, the powder resists chips for long-lasting wear.
What you'll need
Before you start, gather your supplies: Gotti Fusion Powder #43F Sleeping Orchid, a base coat, activator, and top coat from a compatible fusion system, a fine-grit file and buffer, a dust brush, and cuticle oil for finishing. Work in a well-ventilated area and avoid applying lotion right before your manicure, as oils can prevent proper adhesion.
Step-by-step application for Sleeping Orchid
- Prep your nails: Push back cuticles, lightly buff the nail surface to remove shine, and wipe with a dehydrator or alcohol to remove oils. Shape your nails and apply a cuticle guard if desired. Skipping prep is the most common cause of lifting; don't rush this step.
- Apply base coat: Apply a thin, even layer of base coat to one nail at a time, working from cuticle to tip. Avoid flooding the cuticles or skin. A thin base prevents pooling and ensures the powder adheres evenly.
- Dip into Sleeping Orchid: Dip the wet nail into the powder at a 45-degree angle, then tap off excess. For a smoother finish, you can also sprinkle the powder over the nail. Repeat for all nails. Dip at an angle to avoid powder clumping on one side; tap gently to remove excess.
- Brush off excess and repeat: Use a dust brush to remove excess powder from the nail and surrounding skin. For full coverage, apply a second layer of base and dip again, then brush off. Two thin layers usually give opaque color; avoid thick layers that can cause lifting.
- Apply activator: Apply activator generously over each nail and let it dry for about 2 minutes. This hardens the powder and sets the shape. Activator is essential for curing; don't skip it or the powder won't harden properly.
- File and shape: Use a medium-grit file to refine the shape and smooth the surface, then a fine-grit buffer to create a seamless finish. Be careful not to file too aggressively near the cuticles. File gently to avoid thinning the overlay; check for any ridges and smooth them out.
- Apply top coat: Apply a thin layer of top coat, cap the free edge, and let it dry completely. Apply a second layer if needed for extra shine and protection. Capping the edge prevents chips and extends wear time.
Product facts
-
Gotti Nails #43F Fusion Powder - Sleeping Orchid: Fusion system works as both a dip powder and acrylic. You can choose the method that suits your skill level and desired durability, making this powder versatile for different manicure styles.
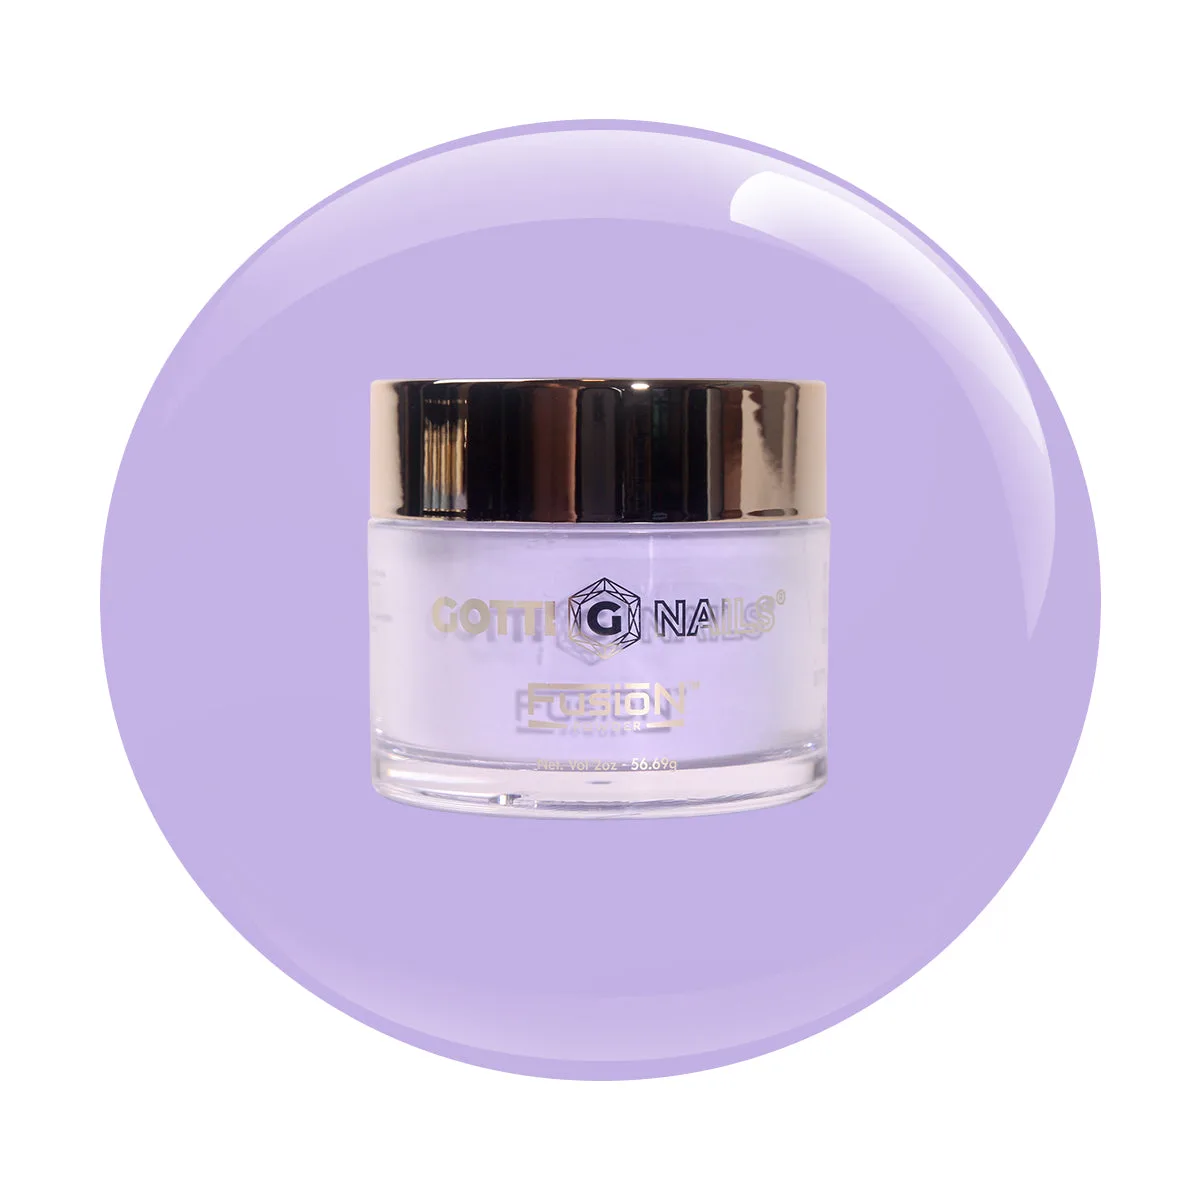
Gotti Nails #43F Fusion Powder - Sleeping Orchid
-
Gotti Nails #43F Fusion Powder - Sleeping Orchid: Rich, even color in a smooth dip. You get consistent, opaque coverage without streaks, so you can achieve a salon-quality look with fewer layers.
-
Gotti Nails #43F Fusion Powder - Sleeping Orchid: Durable, long-lasting overlay that resists chips. Your manicure stays intact longer, reducing the need for frequent touch-ups or repairs.