Quick answer
Build each card on a postcard base, then add one focal sticker, two or three supporting stickers, and a short handwritten line. Keep the sticker count low so the card still closes flat and the message stays readable. Sticker sheets from Hubman and Chubgirl give you themed sets to pull from, so you can make several cards from one sheet without repeating the same layout.
Why postcards make a better card base than folded blank cards
A postcard gives you a stiff, pre-cut rectangle with a clean edge, so you skip trimming and scoring. It also has a natural writing zone on the back, which keeps your message separate from the decorated front. If you want to mail the card, a postcard base usually needs less extra postage than a thick folded card.
The tradeoff is space. A postcard front is smaller than a folded card, so large sticker clusters crowd quickly. Treat the postcard as a frame, not a canvas, and let one sticker carry the theme.
Match sticker size to the postcard before you peel anything
Lay your postcard on the table and place stickers on top without peeling them. Step back and look at the balance. If a sticker covers more than about a third of the card, it becomes the whole design, which is fine for a single-image card but leaves no room for a border or message.
This dry-fit step also reveals color clashes. A busy sticker on a busy postcard print fights for attention. A solid-color or low-contrast postcard lets detailed stickers stand out.
Plan the message before the decoration
Write your message on scrap paper first, then count the lines. A postcard back fits roughly four to six short lines in average handwriting. If your message runs longer, switch to a folded card or write smaller.
Decide where the address goes if you are mailing it. Leave the right half of the back clear for the address and stamp, and keep decoration on the front only.
Six steps to a finished sticker card
- Choose the card base: Pick a plain postcard or a folded card that matches your sticker theme. Plain bases let detailed stickers read clearly. Checkpoint: if the base print is busy, choose simpler stickers or a plain base.
- Dry-fit the focal sticker: Place one main sticker off-center rather than dead center. Off-center placement leaves room for a small border or a second element. Common mistake: centering every sticker makes the card look like a label, not a design.
- Add two or three supporting stickers: Use smaller stickers from the same sheet to echo the focal color or shape. Keep them in a loose triangle around the main image. Checkpoint: if you cannot name why a sticker is there, remove it.
- Peel and press from the center outward: Press the middle of each sticker first, then smooth toward the edges to push out air bubbles. Repositionable vinyl lets you lift and reset if it lands crooked. Common mistake: pressing one edge first traps air and wrinkles the sticker.
- Write the message last: Write on the back or in the clear area after the stickers are set, so you can see exactly how much space remains. Use a fine-tip pen. Checkpoint: test your pen on a scrap of the same card stock to avoid smearing.
- Check the card closes and mails flat: For folded cards, close the card and run a finger along the fold. If stickers overlap the fold or add bulk, move them inward. For postcards, confirm the address zone is clear. Next step: make a second card from the same sheet with a different layout so you build a small set.
Sticker sheets that work well for card making
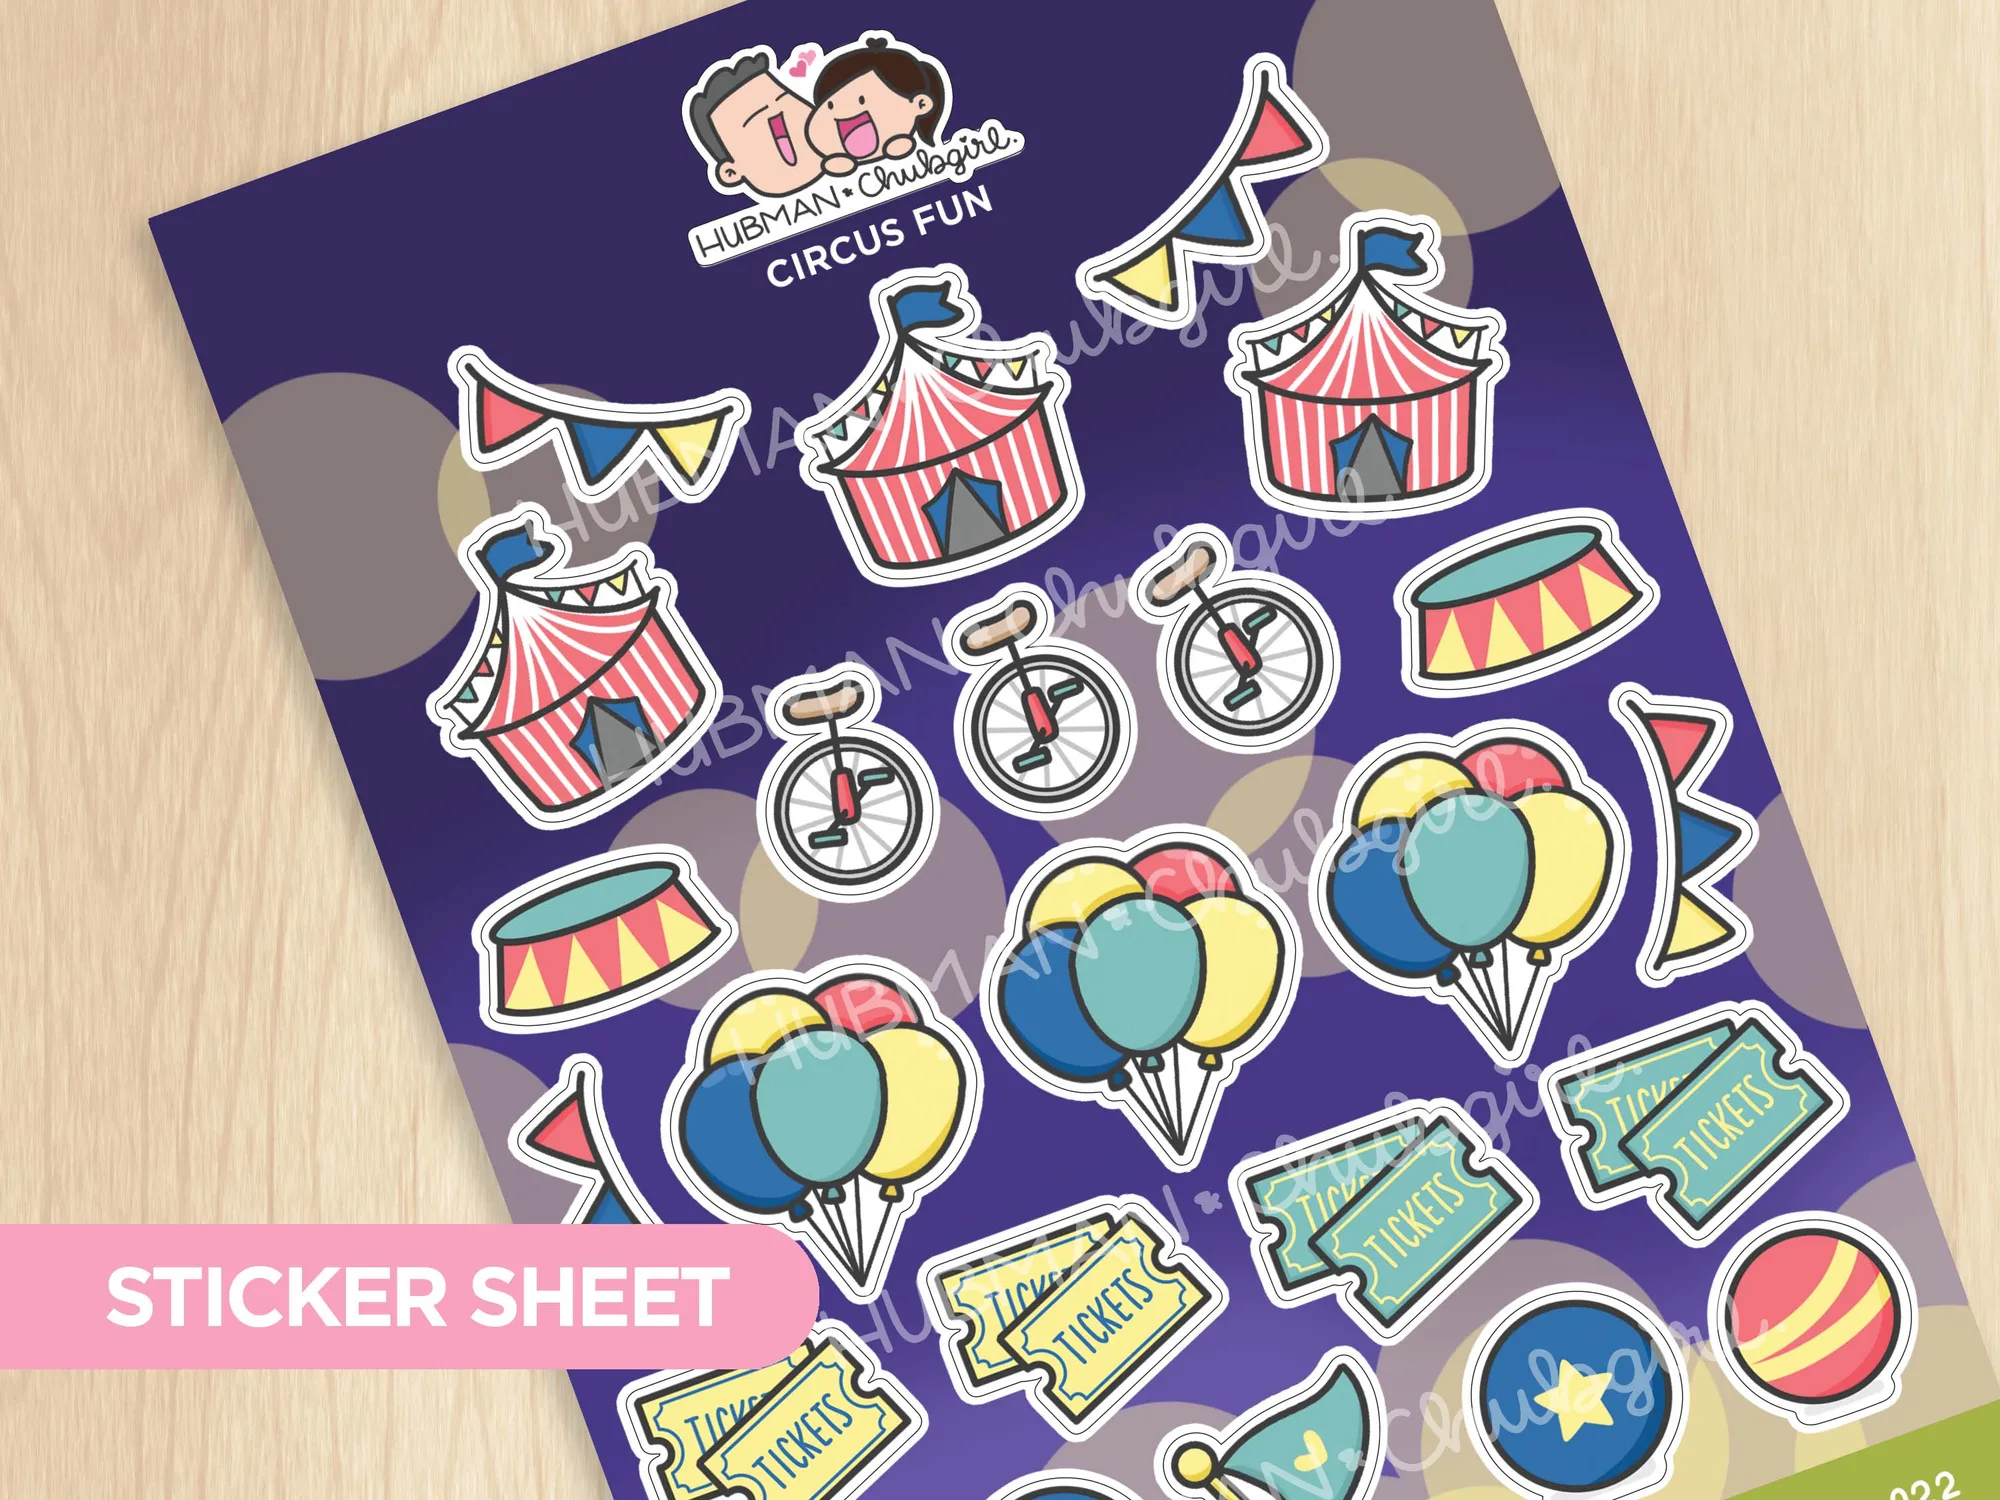
- Circus Fun Sticker Sheet: 5 x 7 inch sheet with 24 individual stickers, durable vinyl, waterproof and UV resistant. Enough stickers for several cards, and the vinyl holds up if the card is handled or displayed in sunlight.
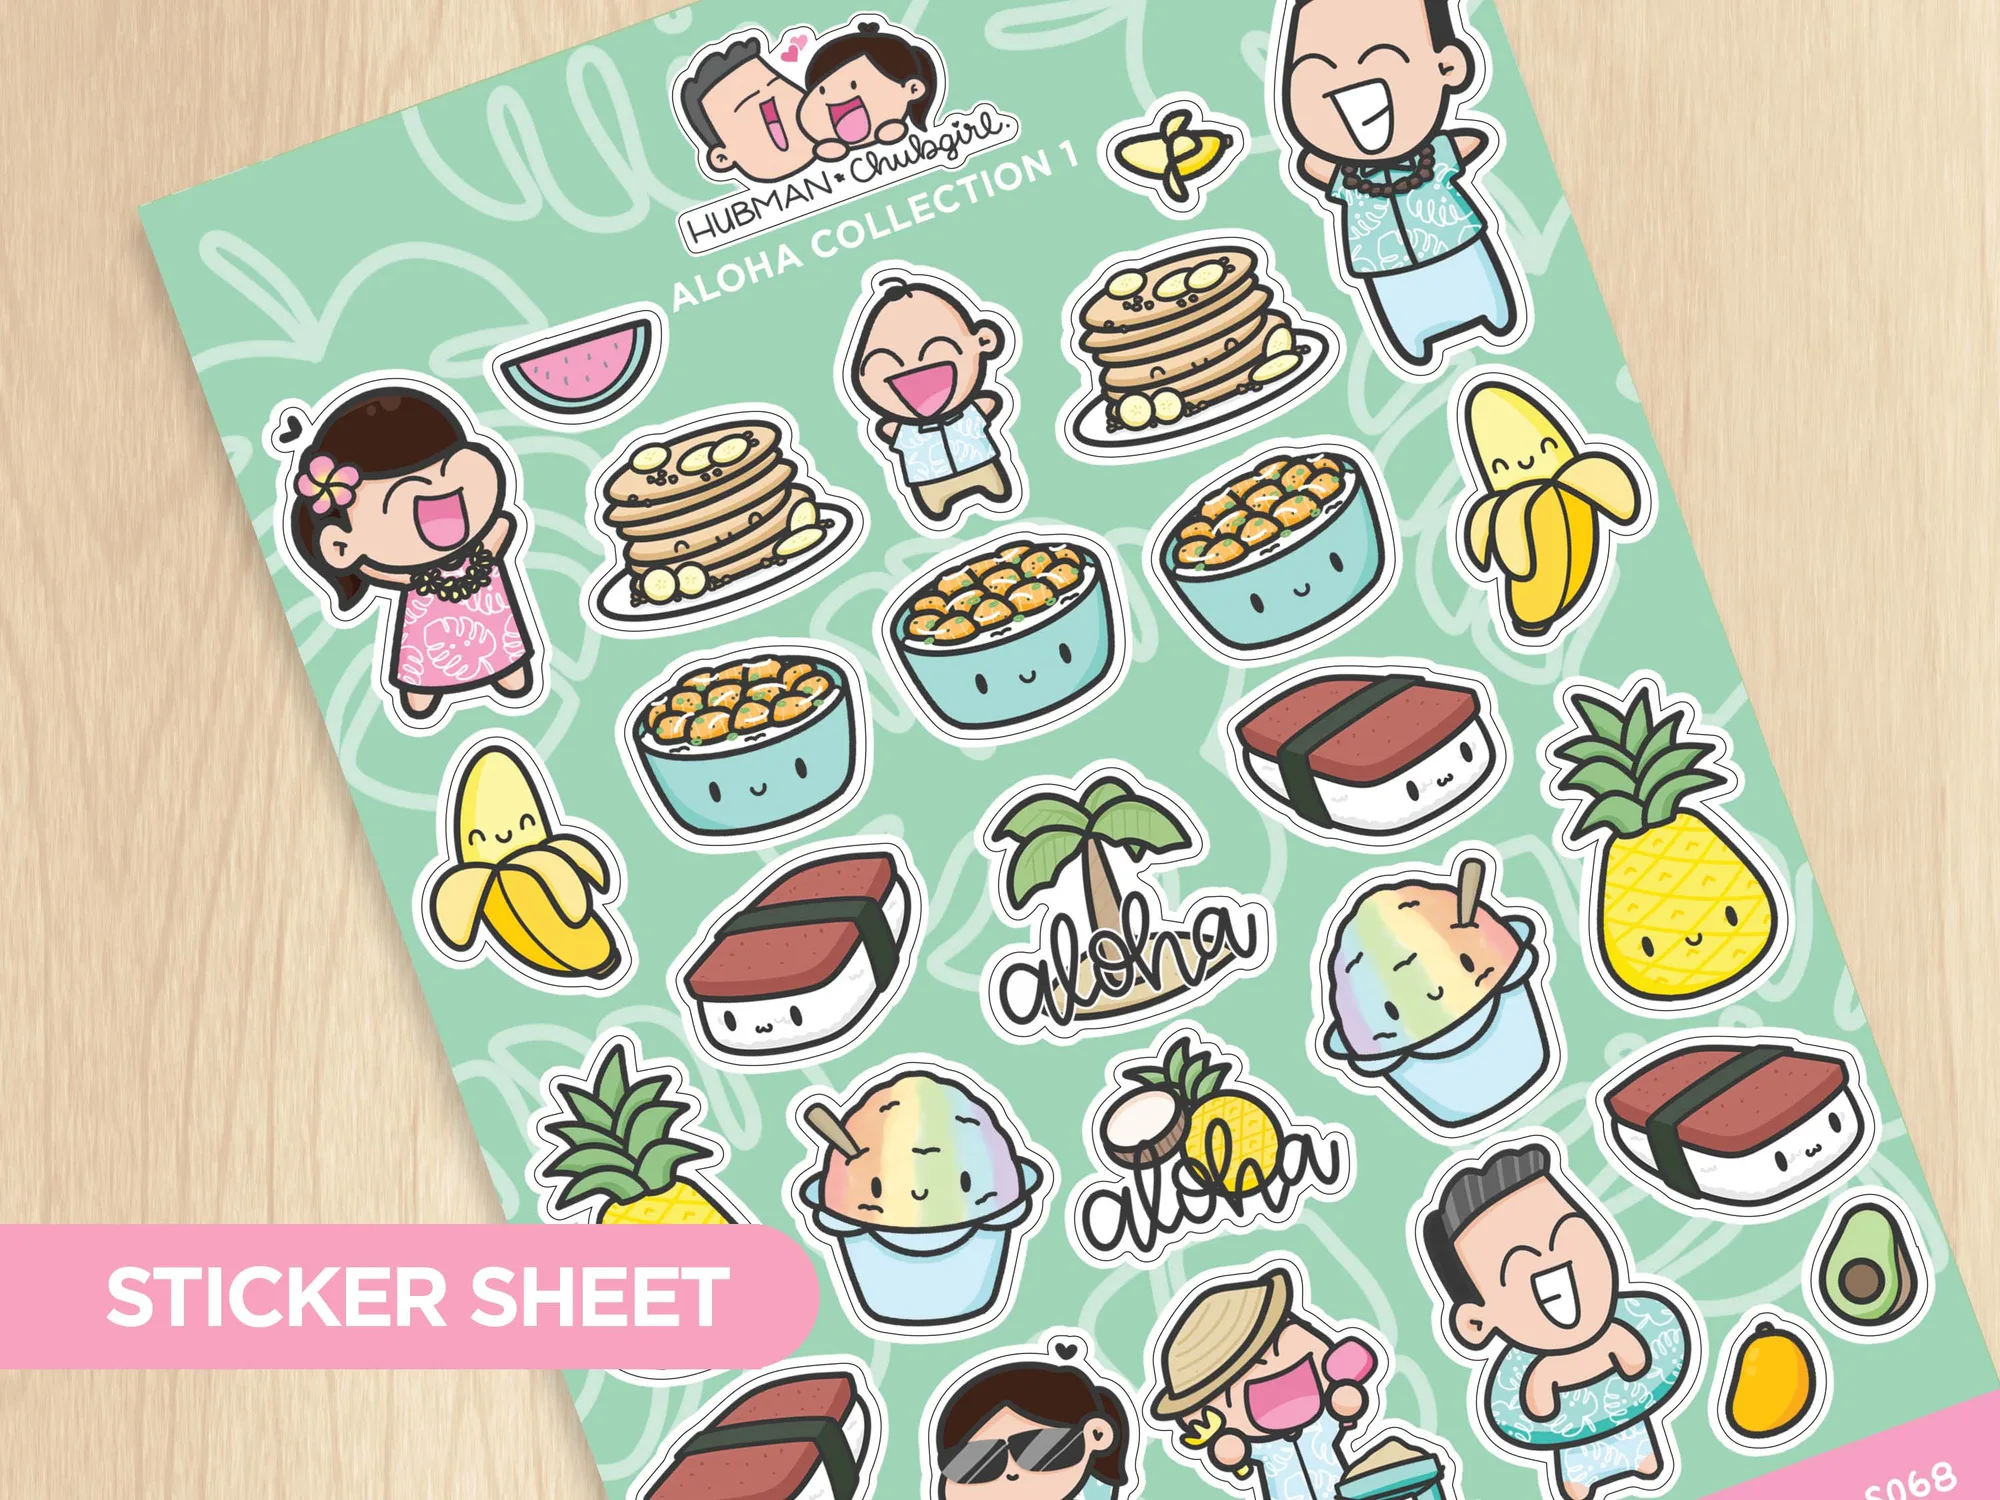
- Sticker Sheet - Aloha Collection 1: 5 x 7 inch sheet with 28 individual stickers, durable vinyl, waterproof and UV resistant. A slightly larger sticker count gives more mix-and-match options when you want to vary cards from the same theme.
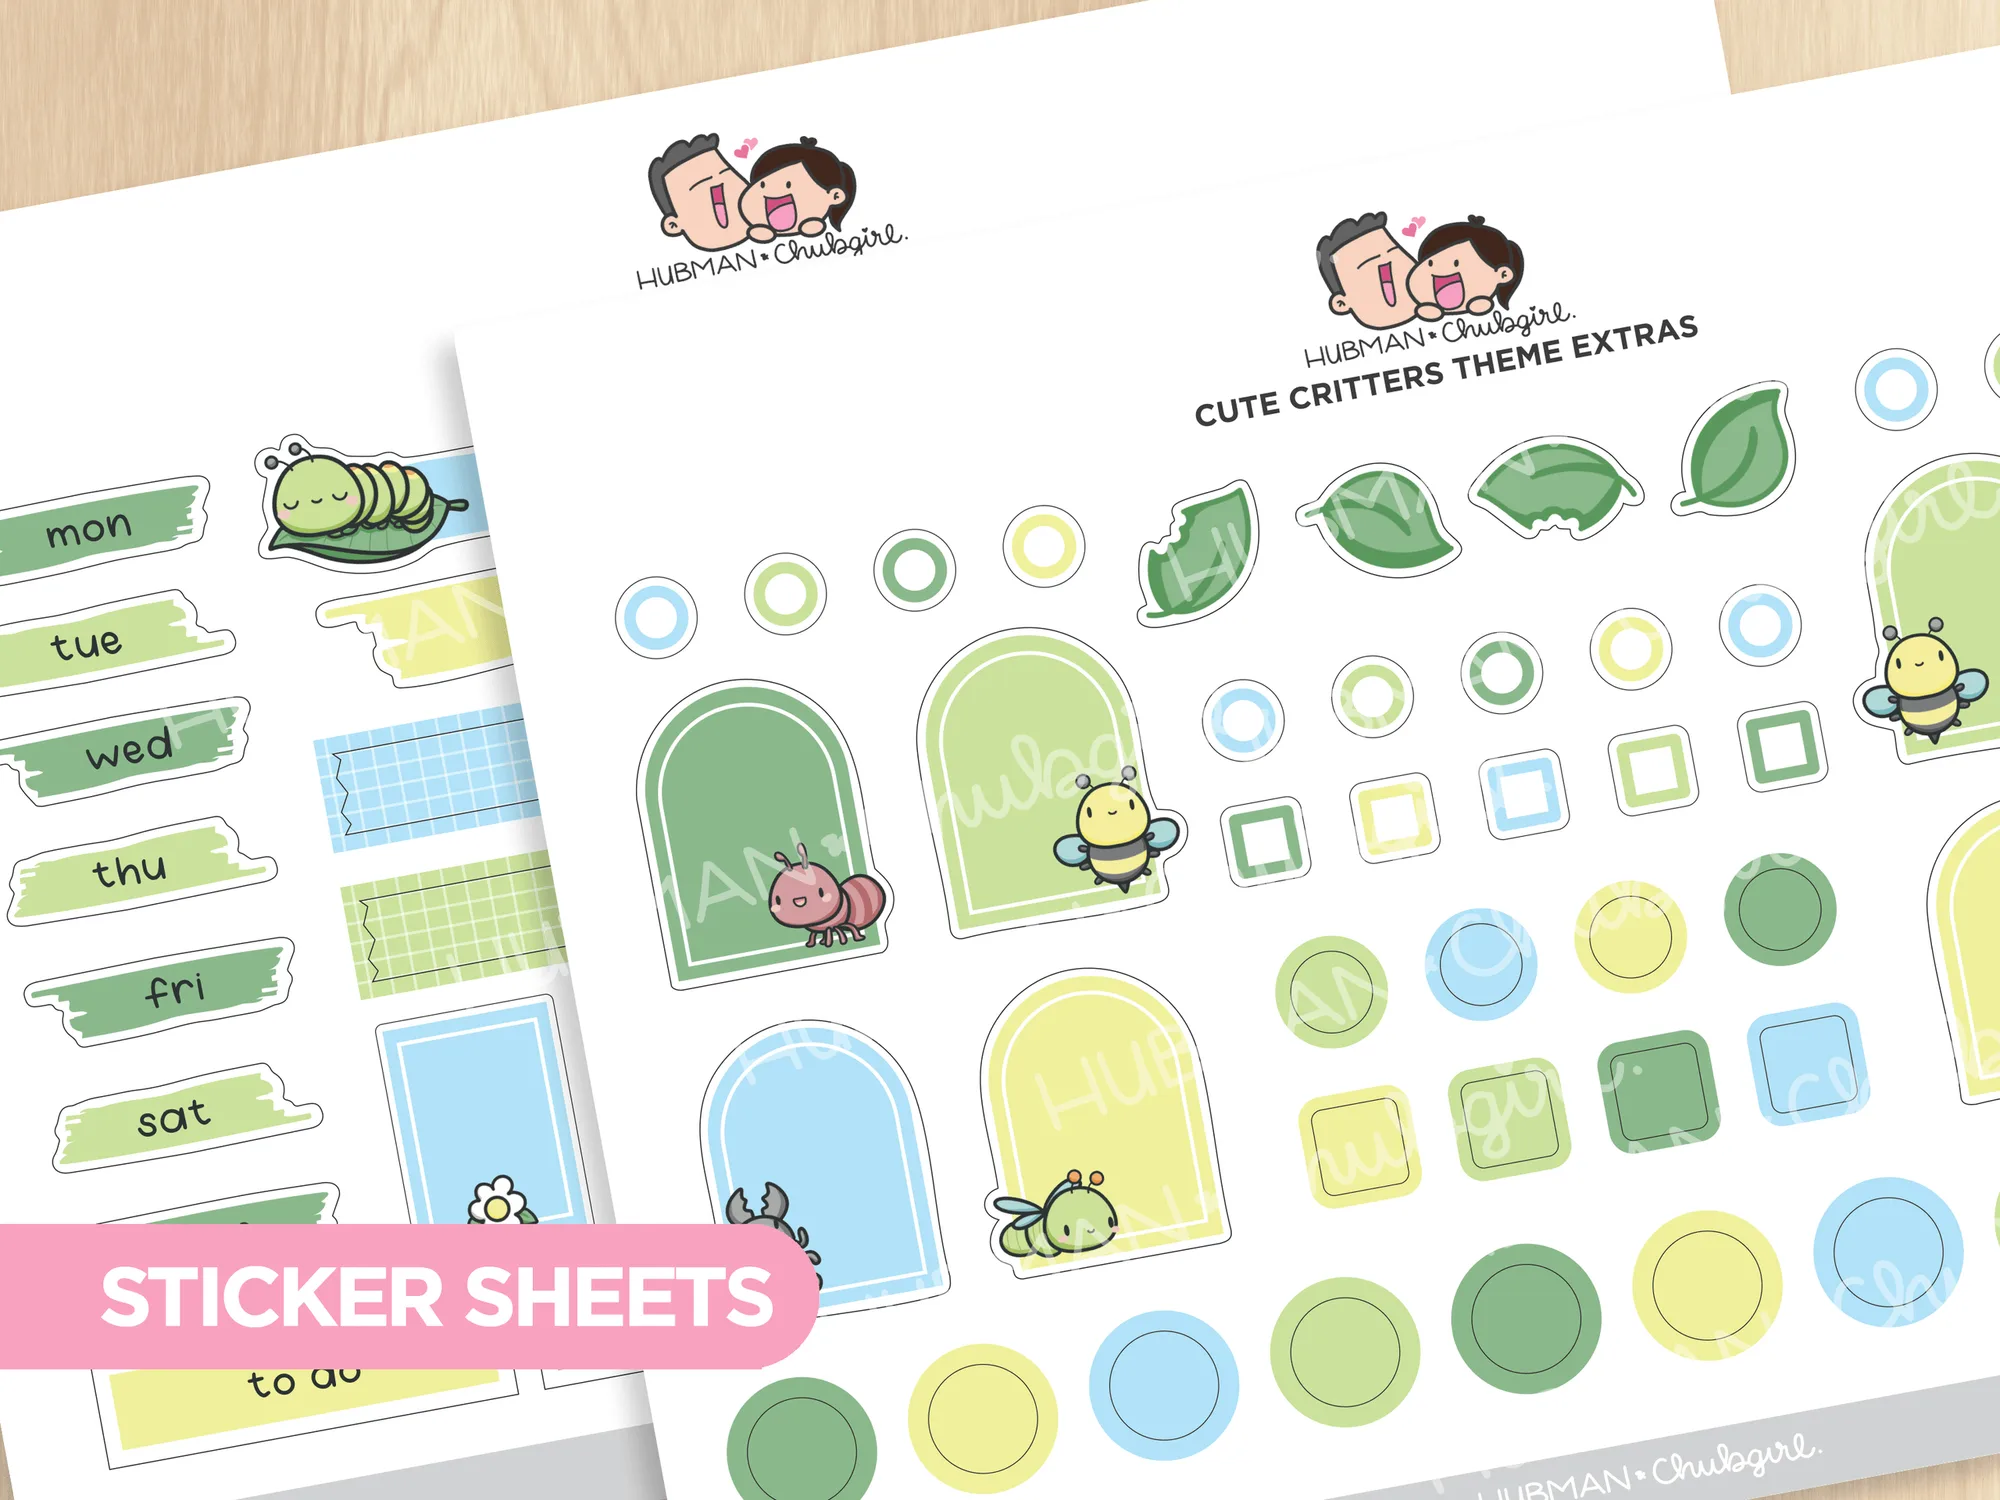
- Cute Critters Theme Extras: 5 x 7 inch sheets with 77 individual stickers, high quality vinyl, peel-and-reposition, no UV resistant lamination. The repositionable vinyl lets you adjust placement without tearing the card, but keep these cards out of direct sun since the sheet lacks UV lamination.