If you're a woodworker or knife enthusiast looking for a rewarding weekend project, finishing a Grohmann paring knife blank is a perfect choice. These blanks come with the blade already heat-treated and beveled, so all you need to do is add a handle and put a fine edge on it. The result is a beautiful, functional kitchen tool that you can be proud to say you made yourself.
In this guide, we'll walk you through every step of the process: from selecting the right scales and pins to shaping, sanding, and applying a finish. We'll also cover how to sharpen your new knife for optimal performance. Even if you've never made a knife before, our detailed instructions will help you achieve professional-looking results.
Why Choose a Grohmann Paring Knife Blank?
Grohmann knives are renowned for their quality and craftsmanship, and their paring knife blanks are no exception. The blade is made from high-carbon stainless steel, which holds an edge well and is easy to sharpen. Since the blank is already ground and beveled, you don't need to worry about the most difficult part of knife making—heat treating and grinding the main bevel. This makes it an ideal project for beginners and experienced makers alike.
Another advantage of starting with a blank is the freedom to customize. You can choose the shape, size, and material of the handle to suit your grip and style. Whether you prefer classic wood scales or modern synthetic materials, the possibilities are endless. Plus, you'll save money compared to buying a fully finished custom knife.
- High-carbon stainless steel blade for excellent edge retention
- Pre-ground and beveled, saving you hours of work
- Customizable handle for a personalized fit and look
Gathering Your Materials and Tools
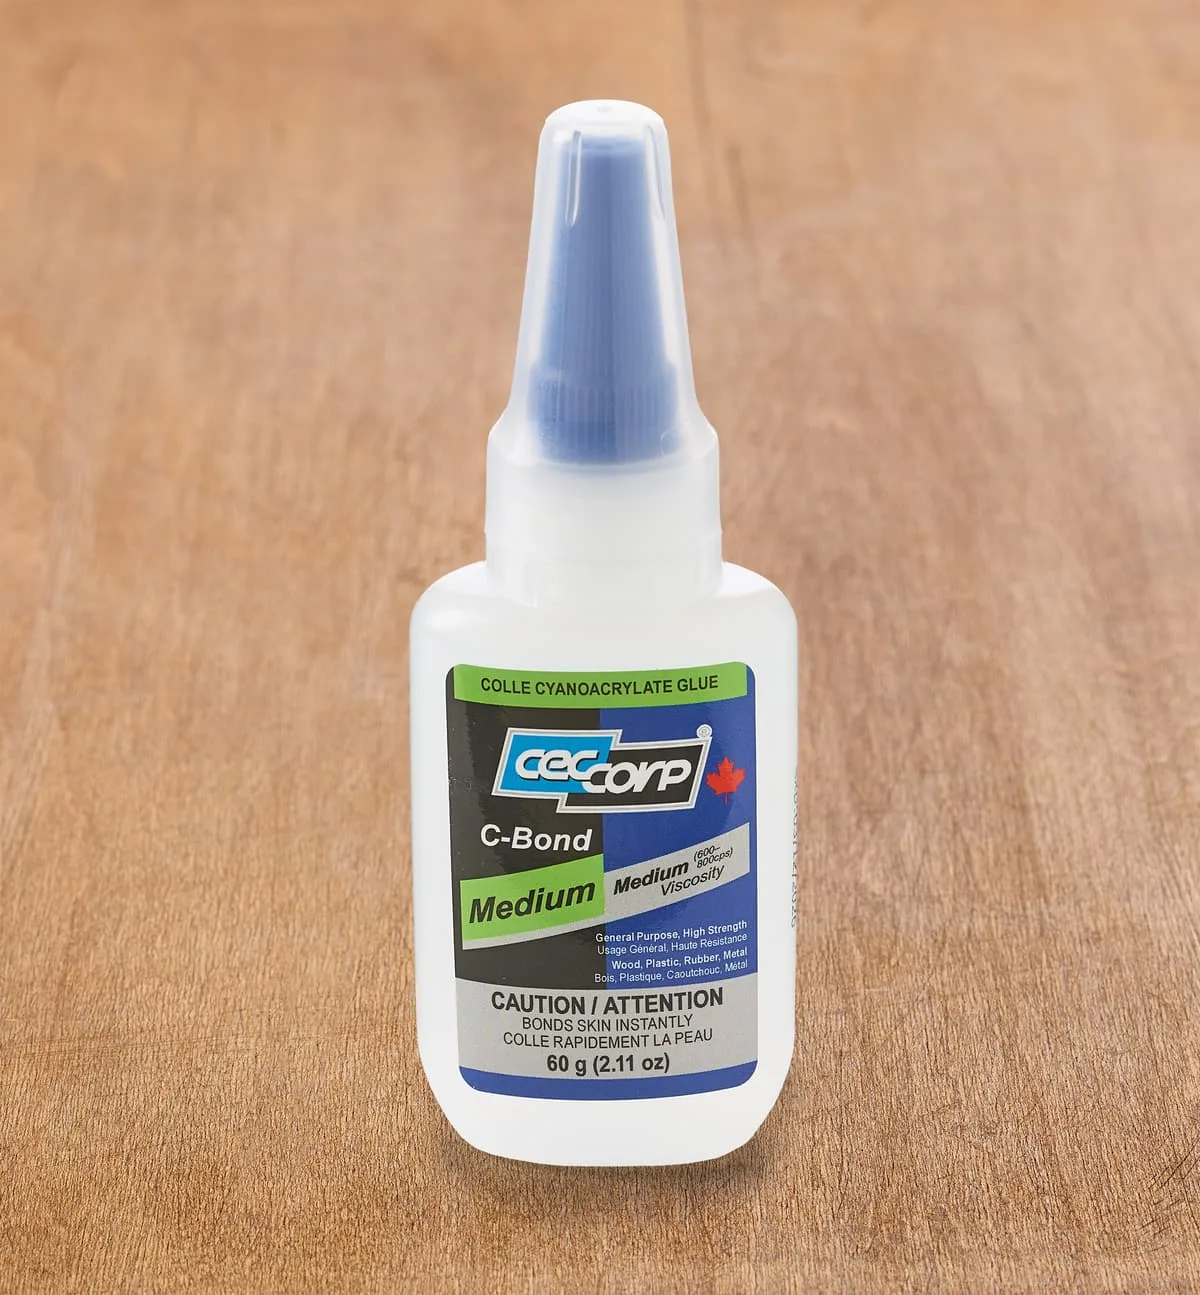
Before you begin, you'll need a few essential items. First, the Grohmann paring knife blank itself. For the handle, you can use wood scales, such as walnut, cocobolo, or stabilized wood, or you can opt for synthetic materials like G10 or Micarta. You'll also need two brass or stainless steel pins for a classic look, along with epoxy or cyanoacrylate glue to secure the scales.
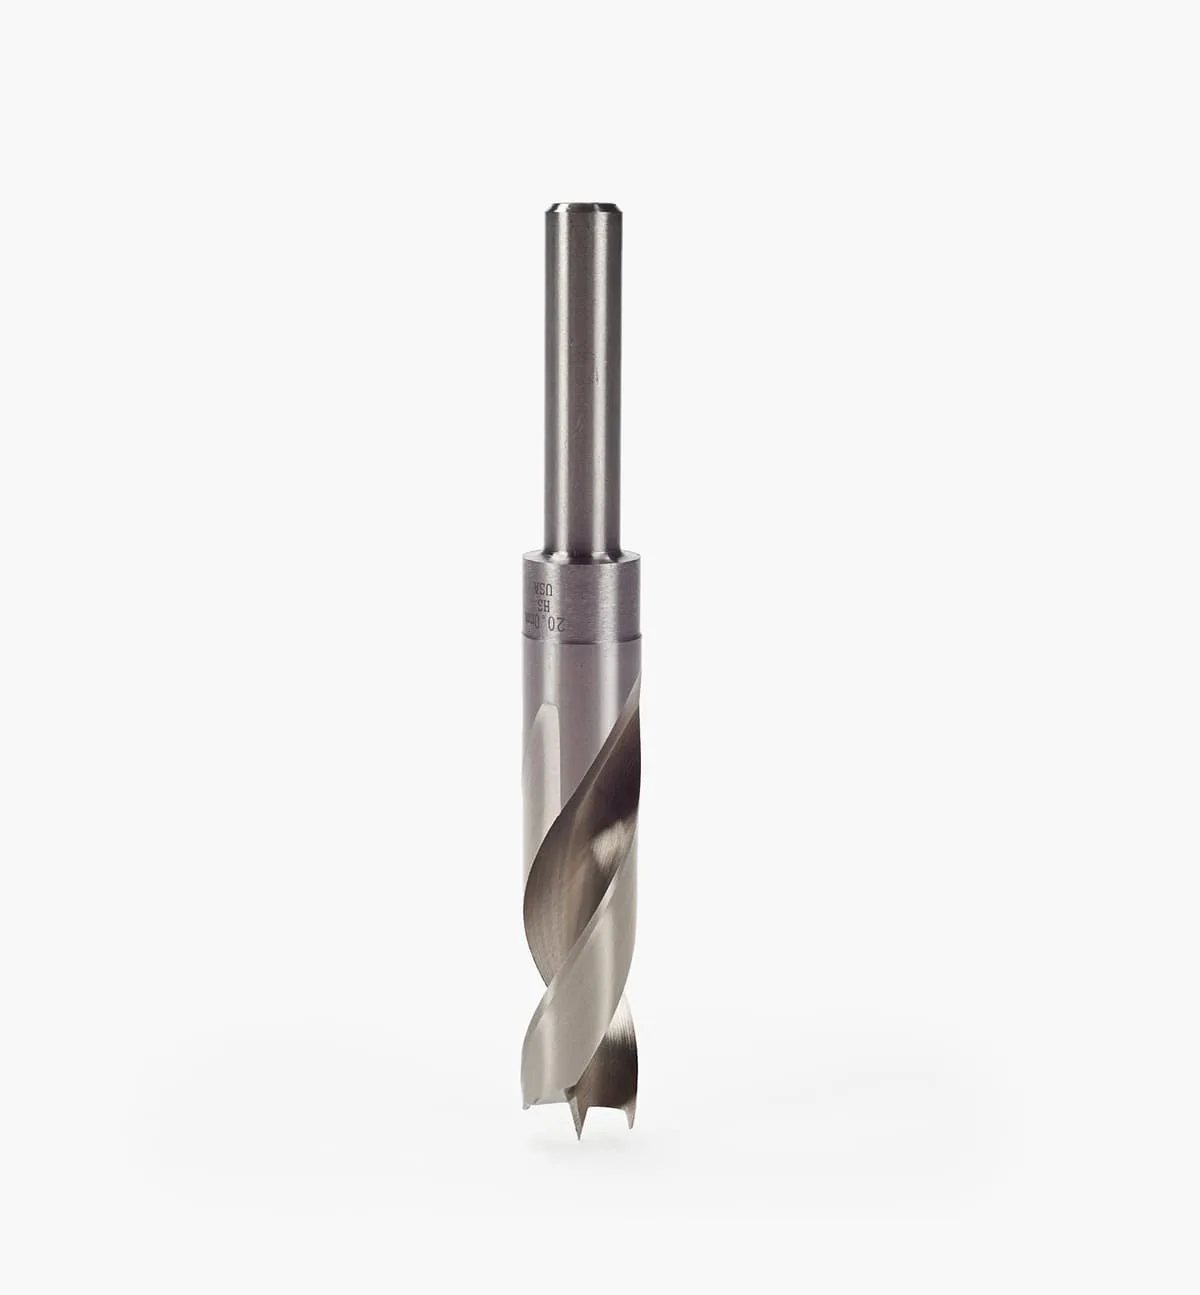
In terms of tools, you'll need a drill press or hand drill with bits to match your pin size, a vise or clamps to hold the blank while working, and a file or belt sander for shaping. For finishing, gather sandpaper in various grits (from 120 to 600), a wood finish like tung oil or varnish, and a buffing compound if you want a high shine. Finally, a sharpening stone or a honing rod will be necessary to put a razor edge on your new knife.
- Use a drill press for accurate pin holes
- Sand in one direction to avoid scratches
- Apply multiple thin coats of finish for a durable surface
Step-by-Step: Shaping and Attaching the Handle
Start by tracing the outline of the tang onto your chosen scale material. Cut the scales slightly oversized using a bandsaw or coping saw. Then, mark the location of the pin holes on the scales and drill them. It's crucial to drill through both scales and the tang simultaneously to ensure alignment. Use a drill press with a fence or clamp for accuracy.
Next, apply epoxy to the tang and the inside face of one scale, then clamp them together. Insert the pins and let the epoxy cure for the recommended time. Once cured, repeat with the other scale. After the glue is dry, use a file or belt sander to shape the handle to your desired contour. Be sure to leave the handle a bit thicker than you want initially; you can always remove more material later.
Once you're satisfied with the shape, start sanding with coarse grit (120) and work your way up to finer grits (220, 320, 400, 600). This will remove any tool marks and create a smooth surface. For a flawless finish, you can also sand in between coats of finish with 400-grit paper.
- Always wear safety glasses when cutting or sanding
- Test the fit of the pins before gluing
- Use a flat surface to check that the scales are flush with the tang
Finishing and Sharpening Your Knife
After sanding, apply your chosen finish. For wood handles, a couple of coats of tung oil or boiled linseed oil will bring out the grain and protect the wood. For a more durable finish, consider using a few coats of varnish or polyurethane. If you used synthetic scales, you can skip the finish and simply buff them to a high gloss.
Once the finish is dry, it's time to sharpen the blade. Start with a coarse whetstone to set a new edge, then progress to finer stones. Finish with a honing steel or a leather strop to polish the edge. The Grohmann blank is made to take a very sharp edge, so take your time to achieve a razor-like sharpness.
If you're new to sharpening, consider using a guided sharpening system to maintain a consistent angle. Alternatively, you can use a sharpening steel like the Hock Sharpening Steel, which is excellent for maintaining an edge between uses. Remember to always sharpen away from your body and keep your fingers clear of the edge.
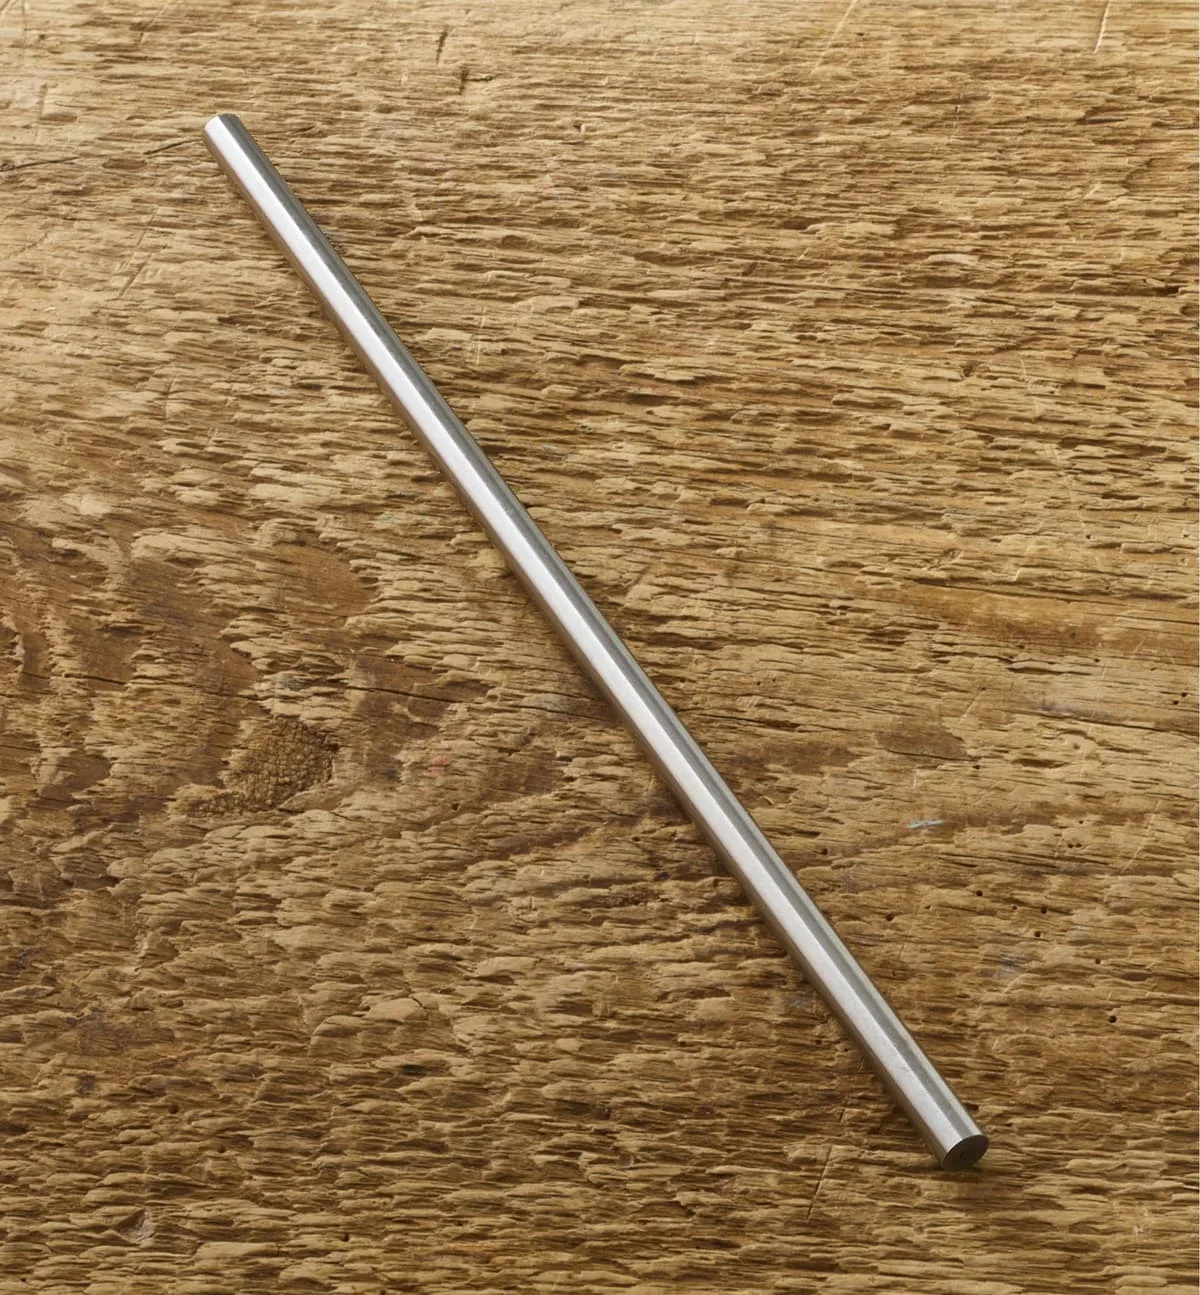
Hock Sharpening Steel
- Always sharpen away from your body
- A strop with polishing compound will give a mirror edge
- Test sharpness carefully on a piece of paper
Finishing a Grohmann paring knife blank is a satisfying project that yields a beautiful, functional tool. By following these steps, you'll have a custom knife that fits your hand perfectly and performs wonderfully in the kitchen. For your next project, consider exploring other knife blanks or woodworking tools to continue honing your skills.