Why Cable Management Matters in the H3 Flow
The NZXT H3 Flow is a space-efficient micro-ATX case that fits full-sized components without wasted volume. But a compact chassis means cables can quickly become a tangle, blocking airflow and making future upgrades harder. Good cable management keeps your build clean and helps the ultra-fine mesh panels and ventilated PSU shroud do their job—directing consistent airflow through the case.
The H3 Flow includes several features that make this easier than it looks: integrated cable channels, multiple tie-down points, and compatibility with rear-connector motherboards. This guide walks through each one so you can route cables efficiently from the start.
Key Cable Management Features in the H3 Flow
-
H3 Flow: Simplified Cable Management: Integrated cable channels and multiple tie-down points make it easy to route and organize cables for a clean, organized build. These channels guide cables along the case walls, keeping them out of the main chamber and away from fans. The tie-down points let you secure bundles without cable ties slipping loose.
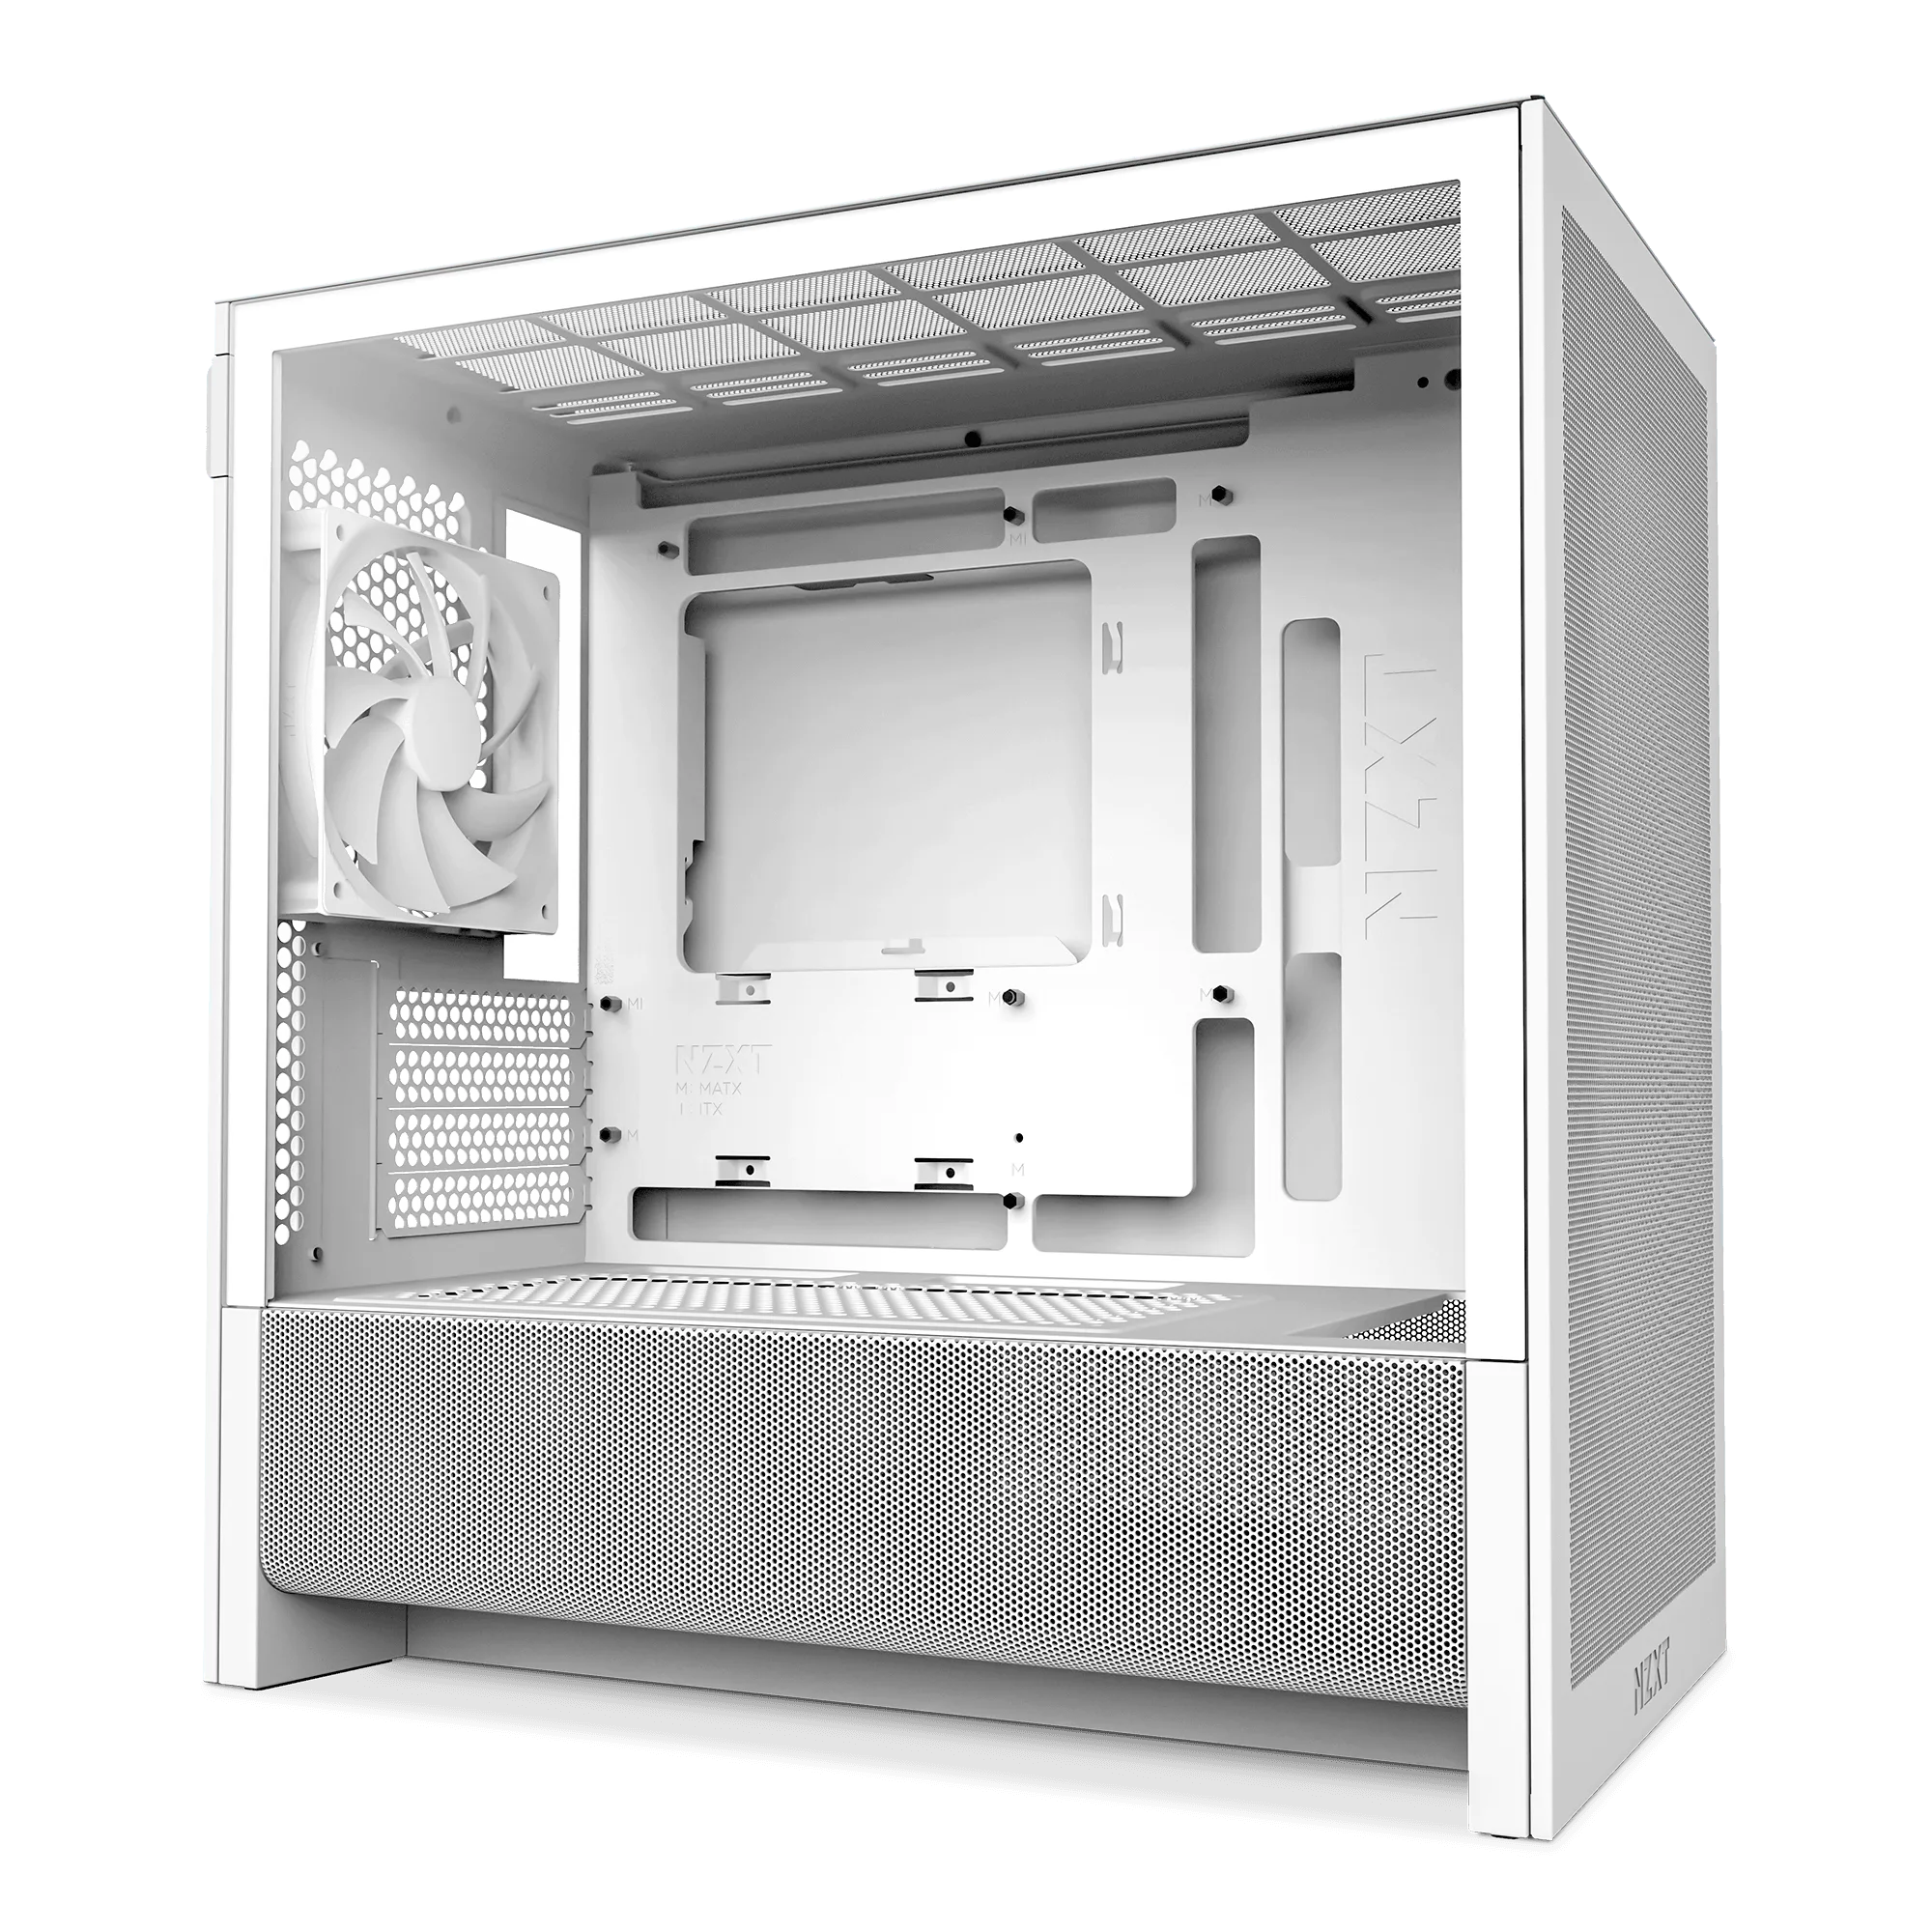
H3 Flow
-
H3 Flow: Back-Connect Motherboard Compatible: Ready for rear-connector motherboards like ASUS BTF and MSI Project Zero, enabling a clean, cable-free aesthetic. If you use a back-connect motherboard, most cables plug in from the rear of the case, hiding them completely. This is the fastest way to a nearly cable-free front view.
-
H3 Flow: Tool-Free Access: Removable top, front, and side panels allow for easy upgrades and cleaning—no tools required. You can pop off panels to reach cable channels without a screwdriver, making it simple to adjust routing after components are installed.
Step-by-Step: Routing Cables in the H3 Flow
Start with the power supply. Install the PSU in the ventilated shroud area, routing cables through the nearest channel openings before connecting them to components. This keeps excess length hidden behind the motherboard tray.
- 1. Use the integrated cable channels: The H3 Flow has channels built into the case frame. Run thick cables like the 24-pin and GPU power through these channels, securing them with the provided tie-down points. Leave slack only where the cable turns toward the component.
- 2. Manage fan cables early: The case comes with one pre-installed F120Q (CV) fan at the rear. Route its cable along the nearest channel before installing other components. If you add extra fans, group their cables together and secure them to the tie-down points near the fan hub.
- 3. Take advantage of back-connect motherboard support: If your motherboard uses rear connectors (ASUS BTF or MSI Project Zero), plug all cables into the back of the board before mounting it. This keeps the front chamber completely free of cable clutter.
- 4. Secure and finalize: After all components are connected, use the tie-down points to bundle any remaining slack. Close the side panels—they are tool-free and snap back on easily. A quick check: no cables should press against the side panel or block the front or top fan mounts.
What to Avoid for Best Airflow
The H3 Flow supports up to a 280 mm radiator in the front, a 240 mm radiator on top, and up to seven fans. To keep airflow unobstructed, avoid running cables across the front fan mount area or through the top radiator space. Use the integrated channels instead—they are designed to keep cables away from those zones.
Also, do not force cables behind the motherboard tray if they cause bulging. The tie-down points let you secure cables flat. If a cable is too long, route it in a loop along the channel rather than bunching it up near the PSU shroud.
Final Check Before Closing Up
Before you snap the side panels back on, verify that all cables are secured and none are pinched by the panel edges. The tool-free panels make it easy to reopen and adjust later, but catching issues early saves time. With the H3 Flow's cable management features, a clean build is achievable even for first-time builders.