Quick Answer
Use the Halo Sectional Matrix Kit to create anatomically contoured posterior composite restorations with tight, predictable contacts. Follow these steps to place the ring, band, and wedge correctly.
Why Sectional Matrices Matter for Tight Contacts
Sectional matrix systems like the Halo kit are designed to recreate the natural contour of the tooth while applying controlled separation. Unlike circumferential bands, they focus force precisely at the contact area, reducing the risk of open contacts and post-operative sensitivity.
The Halo kit includes nitinol rings that provide consistent force, stainless steel bands that contour to the proximal box, and wedges that seal the gingival margin. Each component works together to minimize flash and overhangs.
Step-by-Step Placement Guide
- 1. Select the Correct Ring and Band: Choose a nitinol ring that matches the tooth size (e.g., small for premolars, large for molars). Pick a stainless steel band that fits the mesial-distal width of the preparation. Using a ring that is too small can cause inadequate separation; too large may distort the band.
- 2. Place the Matrix Band: Insert the band into the proximal box, ensuring it sits flush against the gingival floor. The band should extend slightly beyond the marginal ridge to create a natural contour. If the band is not seated fully, composite flash will form at the gingival margin.
- 3. Position the Ring: Hold the ring with forceps and slide it over the band, engaging the occlusal and gingival prongs. The ring should sit perpendicular to the tooth axis and apply even pressure. Check that the ring does not tilt—a tilted ring can cause asymmetric separation and an open contact.
- 4. Insert the Wedge: Place a wooden or plastic wedge interproximally from the buccal or lingual side, just below the gingival margin. Tap gently to seal the band against the tooth. Over-insertion can lift the band away from the tooth, creating a gap.
- 5. Verify Separation and Contour: Use an explorer to confirm the band is tight against the adjacent tooth and that the contact area is slightly open (0.1–0.2 mm). Adjust the ring or wedge if needed. If the contact is already tight before curing, the restoration will likely be open after polymerization.
- 6. Place and Cure the Composite: Incrementally fill the preparation, adapting each layer to the band. Cure thoroughly from multiple angles before removing the ring and band. Removing the ring too early can collapse the contact before the composite is fully set.
Product Facts
-
Halo™ Sectional Matrix Kits: Includes nitinol rings, stainless steel matrix bands, and wedges. The nitinol rings deliver steady separation without manual adjustment, while the bands and wedges ensure a tight seal at the gingival margin.
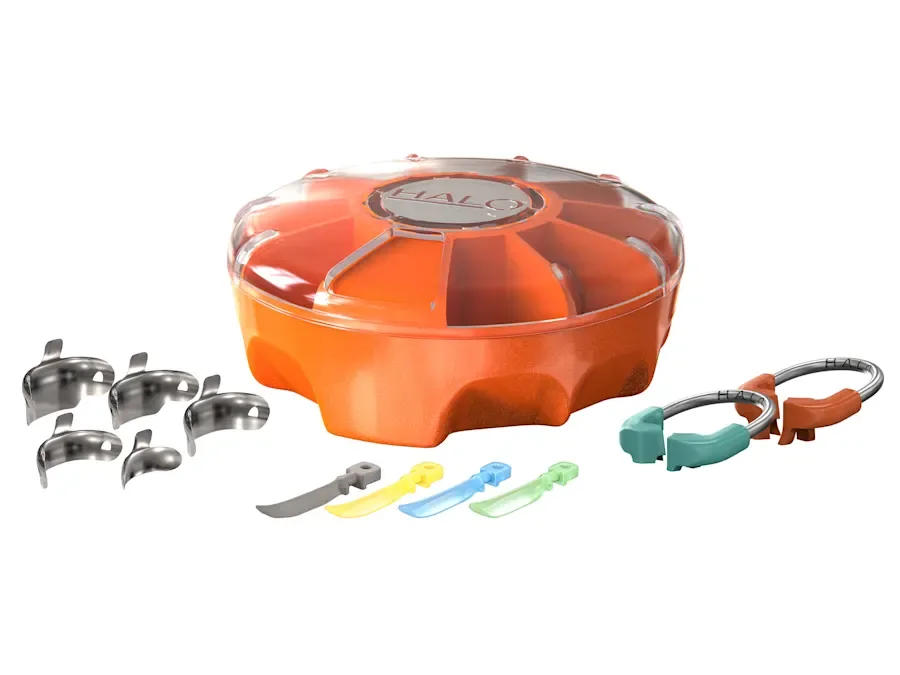
Halo™ Sectional Matrix Kits