Quick answer
To get consistently tight Class II contacts with Halo Sectional Matrix Rings, place a contoured sectional band and wedge first, then seat the ring so its flexible tines press the band firmly against both adjacent teeth. Verify the contact with floss before curing, and remove the ring before final finishing so you can inspect and clean any flash.
Why Halo rings behave differently at the contact
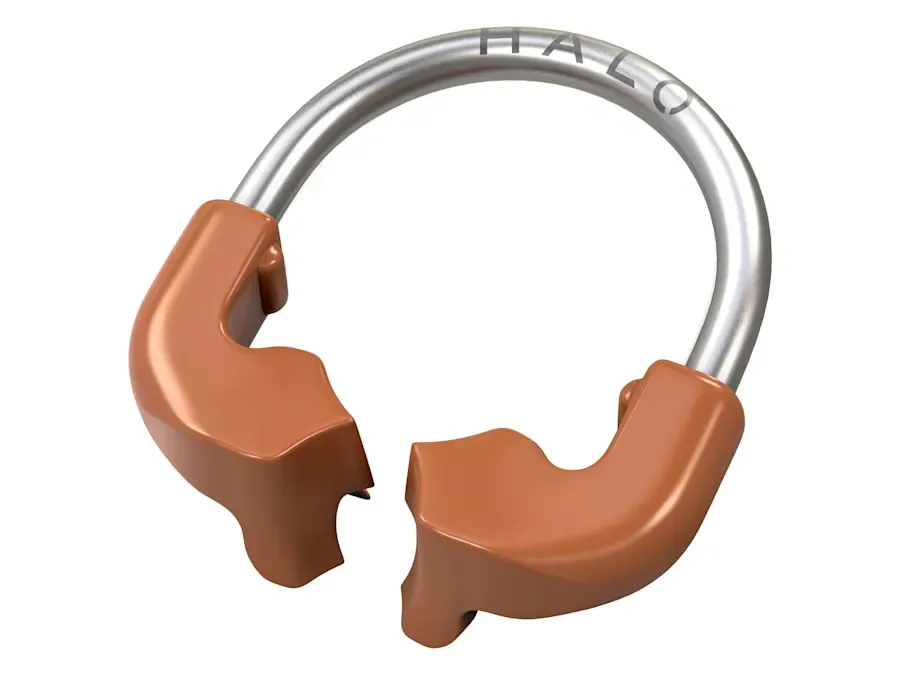
Halo rings use nitinol construction with strong, flexible tines. That combination is what lets the ring deliver sustained separating force while still flexing enough to seat around the tooth without the tines digging in or distorting the band. The practical benefit is a contact that stays tight through placement and cure rather than springing open when you remove the ring.
The nitinol build is also rated for over 1,000 uses, so the ring is a reusable instrument rather than a per-patient consumable. Treat it that way: inspect tines for deformation, clean and sterilize between cases, and retire any ring that has lost its spring. A fatigued ring is one of the most common hidden causes of a contact that looked tight and opened later.
Set up the tooth before the ring goes on
The ring amplifies whatever the band and wedge already do, so the prep and band placement matter more than ring force. Finish the proximal box cleanly, break the marginal ridge enough to see the contact area, and confirm the band sits below the gingival margin without curling. If the band is short or tilted, no ring will fix the contact.
Choose a band thickness and contour that matches the tooth anatomy, then wedge from the lingual or buccal as the anatomy allows. The wedge should seal the gingival margin and hold the band against the adjacent tooth while you position the ring. Skipping a well-seated wedge is the fastest way to get a gingival overhang.
Seat the ring, then verify before curing
Place the ring so the tines straddle the contact and press the band toward the adjacent tooth. Listen and feel for the ring to seat fully; a partially seated ring looks correct but delivers less separating force. Once seated, the ring should be stable and the band should not move when you gently probe it.
Verify the contact with floss before you cure. Floss should pass with light resistance and snap through, not drop through freely or tear. If the contact is open, reseat the ring or switch to a thicker band rather than adding composite and hoping the contour holds. Curing first and checking later means a retake.
Remove, inspect, and finish the contact
Remove the ring after the composite has set, then remove the band and wedge and inspect the proximal surface. Flash is reduced with a well-contoured band and a properly seated ring, but it still happens at the gingival margin and interproximally. Use a fine finishing strip and a scaler to clear it rather than leaving a rough edge that traps plaque.
Check the contact again after finishing. Finishing can open a contact slightly, so a final floss test confirms the result the patient will actually feel. If the contact is now light, address it before the patient leaves rather than at a later visit.
Step-by-step Halo ring technique
- Prepare and isolate the site: Finish the proximal box, confirm the marginal ridge is reduced enough to see the contact, and isolate with a rubber dam or retraction cord as needed. Checkpoint: if you cannot see the gingival margin clearly, stop and improve isolation before placing a band.
- Place the sectional band and wedge: Seat a contoured sectional band below the gingival margin, then wedge from the side that best matches the anatomy to seal the margin and press the band against the adjacent tooth. Common mistake: a short or tilted band. No ring force can correct a band that does not reach the margin.
- Seat the Halo ring fully: Position the ring so the flexible tines straddle the contact and press the band toward the adjacent tooth. Feel for full seating rather than stopping at the first point of resistance. Checkpoint: gently probe the band. If it moves, the ring is not fully seated.
- Verify the contact with floss before curing: Pass floss through the contact. It should snap through with light resistance. If it drops through freely, reseat the ring or switch to a thicker band. Common mistake: curing first and checking the contact afterward. Verify while you can still change the setup.
- Restore, cure, then remove the ring: Place and cure the composite with the ring in position, then remove the ring, band, and wedge in that order so you do not pull the restoration. Checkpoint: confirm the restoration has set before removing the ring to avoid lifting the contact.
- Finish and re-check the contact: Clear any flash at the gingival margin and interproximally with a finishing strip and scaler, then floss again to confirm the contact the patient will feel. Common mistake: skipping the post-finishing floss check. Finishing can slightly open a contact.
Product facts that affect the technique
- Halo™ Sectional Matrix Rings: Halo Sectional Matrix Rings feature strong, flexible tines and nitinol construction rated for over 1,000 uses, and are designed to ensure natural contours and reduced flash. The reusable nitinol build means the ring delivers consistent separating force across many cases, and the reduced-flash design saves finishing time at the gingival margin.
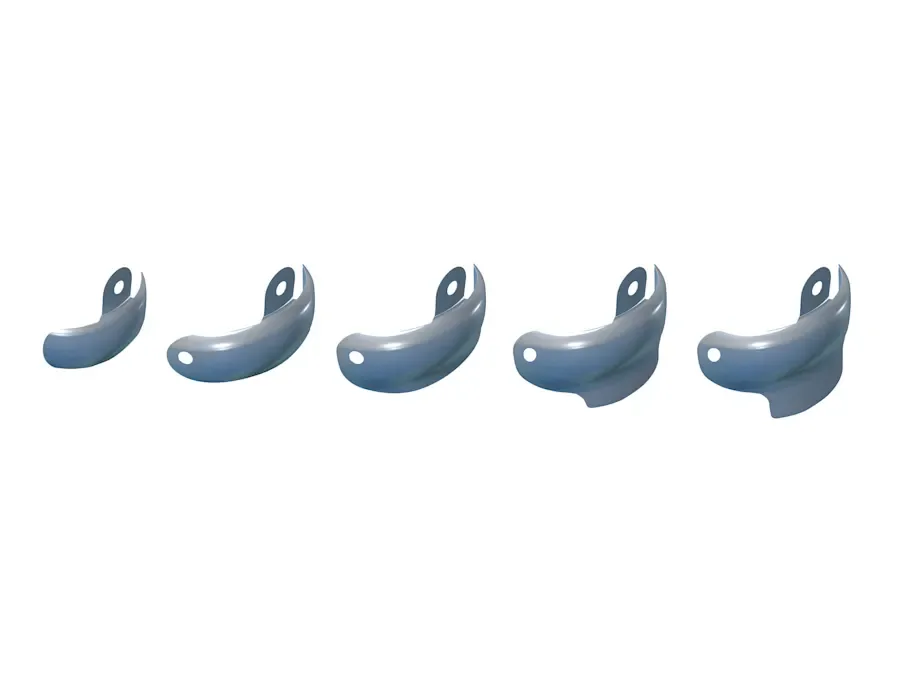
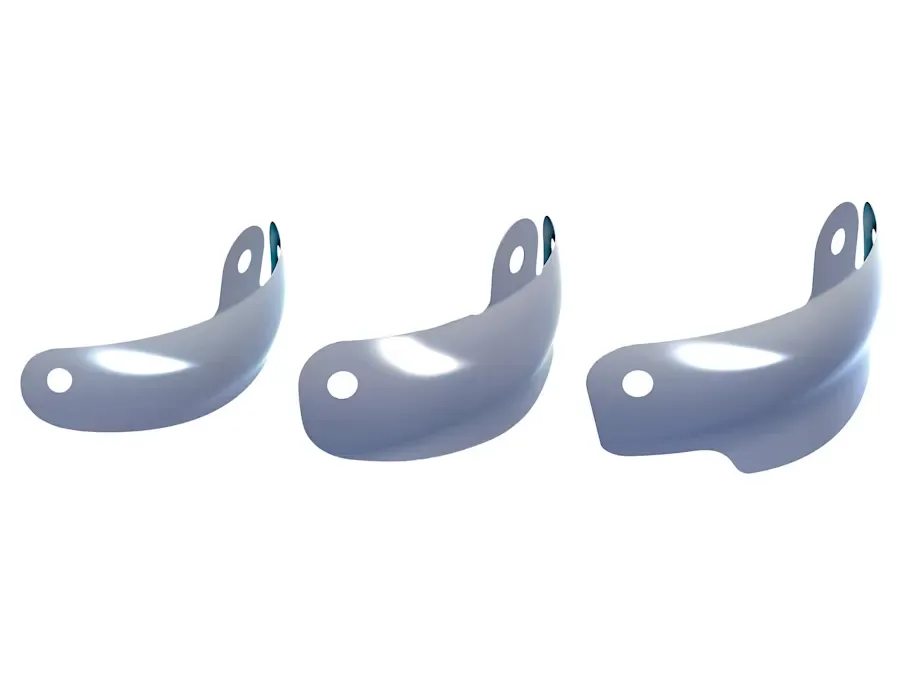
- V3 Tab-Matrix-Sectional Matrix: V3 Tab-Matrix-Sectional Matrix is a Reality Five Star award winning Ultradent sectional matrix band used by dentists as a go-to product. A contoured, well-regarded band pairs with Halo rings to hold the contact and contour, so the ring force is translated into the right proximal shape rather than a flat wall.
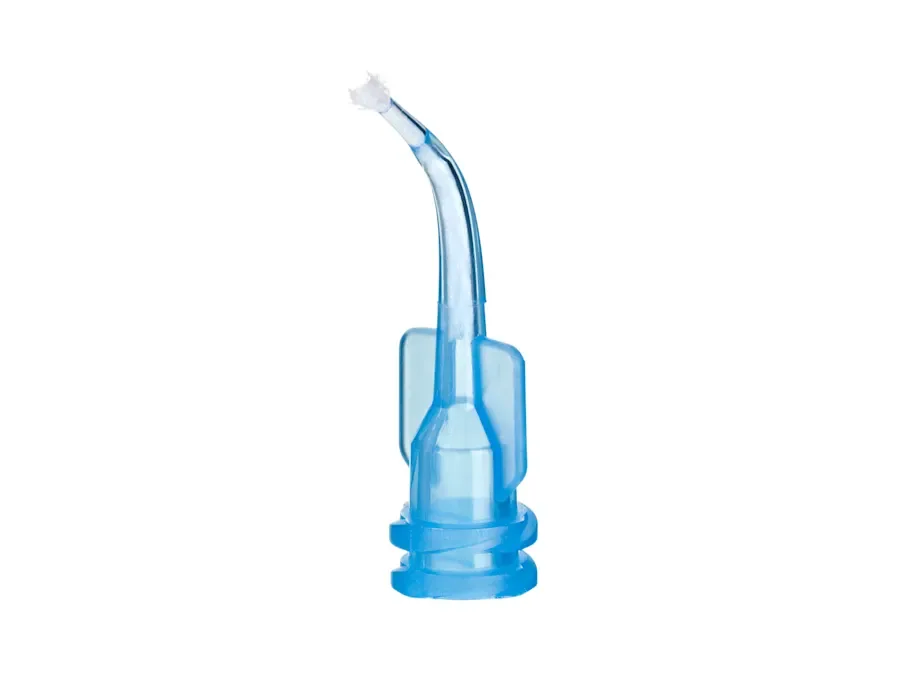
- Blue Mini™ Dento-Infusor™ Tip: The Blue Mini Dento-Infusor Tip allows controlled flow of drop-sized quantities so you can apply product exactly where you need it. When you need to place a hemostatic or bonding agent precisely at the gingival margin before band placement, drop-sized control keeps the field clean without flooding the prep.